In this article, we will look at how to access Home Assistant remotely. The key thing to understand before we look at how to access Home Assistant remotely is that there are many ways that you can accomplish this. The goal is to look at your requirements, then determine what the best course of action is in terms of configuring remote access.
How to Access Home Assistant Remotely
We will look at how to access Home Assistant remotely below. Please be aware that the options below vary in terms of security, and the overwhelming “most secure” option is to configure a VPN.
Connecting with a VPN Server
From a security perspective, setting up a VPN server is the most secure option that you can use as you’re only exposing one individual port and giving yourself access to everything on your local network. While you’ll be able to access Home Assistant remotely, you’ll also have access to NAS devices, PCs, local security systems, and anything else that is running on the network.
The other benefit of configuring a VPN server is there is absolutely no configuration on the Home Assistant side – you’ll access it the way you normally do. There are various VPN servers and we will look at a few of them below. Please be aware that these aren’t the only VPN servers you can use, but they are widely used and easy to set up and configure.
OpenVPN
OpenVPN allows you to configure a secure tunnel between the device you’re attempting to connect with and your local network. Since Home Assistant is configured on your local network, this means you’ll be able to securely access Home Assistant after connecting to OpenVPN.
OpenVPN forces you to authenticate with a certificate and a user account, which means that you’ll need to use the physical certificate and the username/password in order to authenticate and access Home Assistant. As mentioned above, you’ll also have access to anything else on the local network.
OpenVPN can be configured on various devices, with my favorite personal option being a router like pfSense. You should check your router to see if it’s supported, but if it isn’t, using a cheap Raspberry Pi is an awesome option as well.
Please keep in mind that you must be able to port forward for OpenVPN to work. If you can’t, please skip down to the Tailscale section.
WireGuard
WireGuard is an extremely simple and fast VPN Server that’s a great alternative to OpenVPN. Unlike OpenVPN, WireGuard’s code base is significantly smaller which means there’s a smaller attack surface that can provide greater security. That’s not to say OpenVPN isn’t secure as it certainly is, it’s just that the smaller codebase helps with performance and security.
WireGuard can be installed on various devices as well, with an extremely simple option being a Raspberry Pi. WireGuard support is still being developed for a lot of devices, but it’s gaining popularity and is something that should be considered if you want to access Home Assistant remotely.
Please keep in mind that you must be able to port forward for WireGuard to work. If you can’t, please skip down to the Tailscale section.
Tailscale
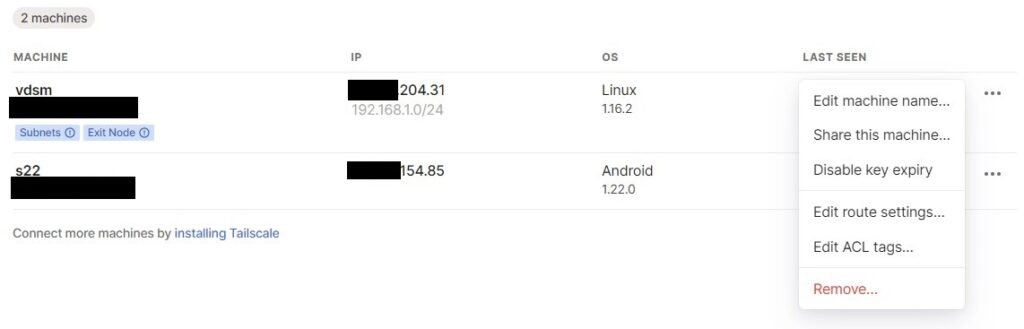
Tailscale is a zero-configuration VPN server that requires absolutely no port forwarding. In summary, you sign up for an account, configure the devices that you’d like to connect to/from, and you’re able to access them securely. You can also configure an exit node, which means that you’ll be able to access anything on your local network.
There are various devices you can configure Tailscale on, but please be aware that you must configure an exit node so that you can access Home Assistant by its local IP address. There’s also a Home Assistant integration if you’d like to monitor your Tailscale VPN server!
Connecting using a Reverse Proxy
I want to be clear before we look at this step that using a VPN is more secure and there are not any changes that have to be made to Home Assistant. In general, you’ll simply connect to the VPN and then access Home Assistant the way that you do at home.
However, if you’d like to access Home Assistant remotely, a reverse proxy is a great option. An NGINX reverse proxy will allow you to port forward one individual port (generally TCP port 443) and access as many local services as you’d like. It can be set up and configured on Home Assistant directly (which we will look at below), or you can use a different reverse proxy software entirely.
Please be aware that you must be able to port forward, own your own domain, and/or configure Dynamic DNS in order to get this process to work.
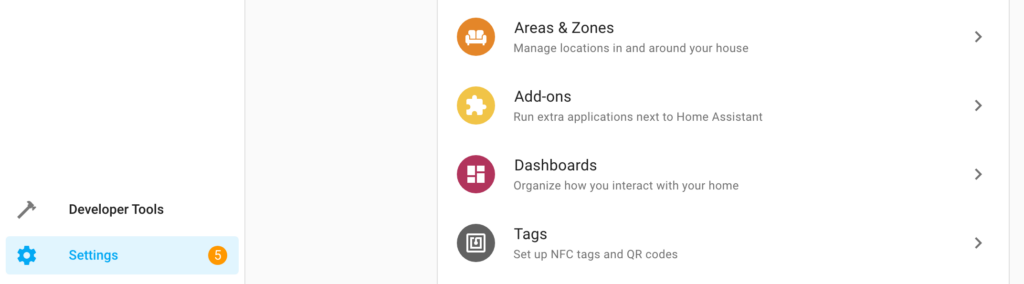
1. Open Home Assistant, select Settings, then Add-ons.
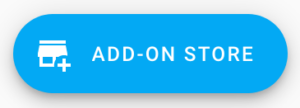
2. In the bottom right, select Add-on Store.
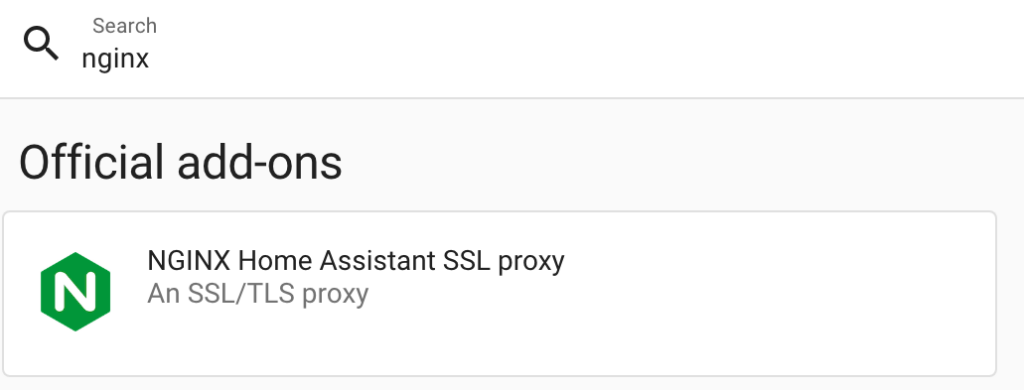
3. Search for NGINX and select the NGINX Home Assistant SSL Proxy add-on.
4. Select Install to install the NGINX Home Assistant add-on.
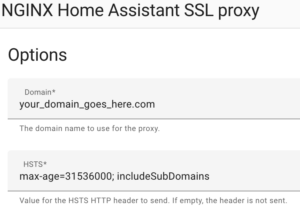
4. At the top, select Configuration. Enter your DDNS hostname or Domain Name, then select Save.
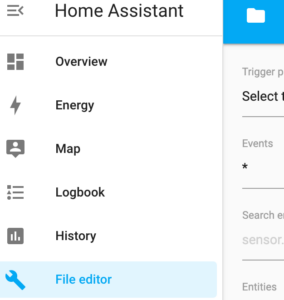
5. The last step we must complete is the configuration.yaml file changes. Select File Editor, then find your configuration.yaml file and open it (using the folder icon in the top left).
6. Paste the information below on to a new line in the configuration.yaml file, then save and reboot your Home Assistant server.
The code below will ban IP addresses who attempt to login 5 times and fail! Modify the ip_ban_enabled and login_attempts_threshold settings to alter this! Always take backups before modifying the Home Assistant configuration file!
http:
  use_x_forwarded_for: true
  trusted_proxies:
    - 172.30.33.0/24
  ip_ban_enabled: true
  login_attempts_threshold: 5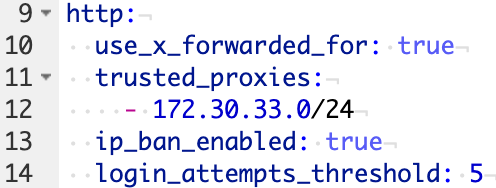
7. The final step we have to complete before starting NGINX is to download and install the Let’s Encrypt Add-on. If you are using the DuckDNS Add-on, you do not have to complete this step. However, this will allow you to manage Let’s Encrypt certificates which will be used by NGINX.
Select Settings, then Add-ons and search for, then install the Let’s Encrypt add-on.
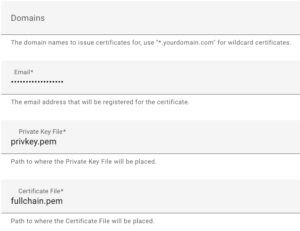
8. Select Configuration, then add the Domain Name you’d like to use, as well as an email address and save. Please keep in mind that by default, Let’s Encrypt uses TCP port 80, so you’ll have to port forward this in the next step as well.
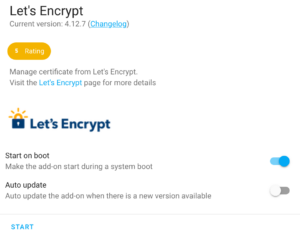
9. Start the Let’s Encrypt service and make sure it starts on boot.
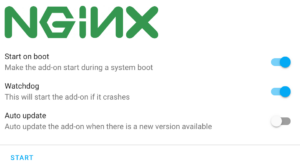
10. Now that the changes have been made to NGINX and Let’s Encrypt (or DuckDNS has been configured), head back to the NGINX Add-on, ensure that Watchdog is enabled, then select Start.
Reverse Proxy Port Forwarding
Now that the reverse proxy changes have been made in Home Assistant, you must port forward TCP port 443 to your Home Assistant local IP Address. This will allow Home Assistant to listen on that port and route the traffic properly. Each router will be different as far as port forwarding goes, so it’s best to search the name of your router + port forwarding (ex. Netgear port forwarding) in Google and see how it’s done.
Below is an example rule that I created in pfSense to configure the port forwarding. Please keep in mind that you will have to port forward TCP port 80 as well for the Let’s Encrypt certificate.

After the port forwarding is complete, you should be able to access Home Assistant using the DDNS Hostname or Domain Name that you used above!
Port Forwarding for Remote Access
While port forwarding the default Home Assistant port (TCP 8123) is an option, it’s my least favorite. Mainly because TCP 8123 is known to be a Home Assistant port which means that port scanners can potentially target this port to get an idea of which Home Assistant instances are accessible through the internet.
While this is not my preferred approach, that doesn’t mean that you can’t use it. I just wanted to give that disclaimer before proceeding.
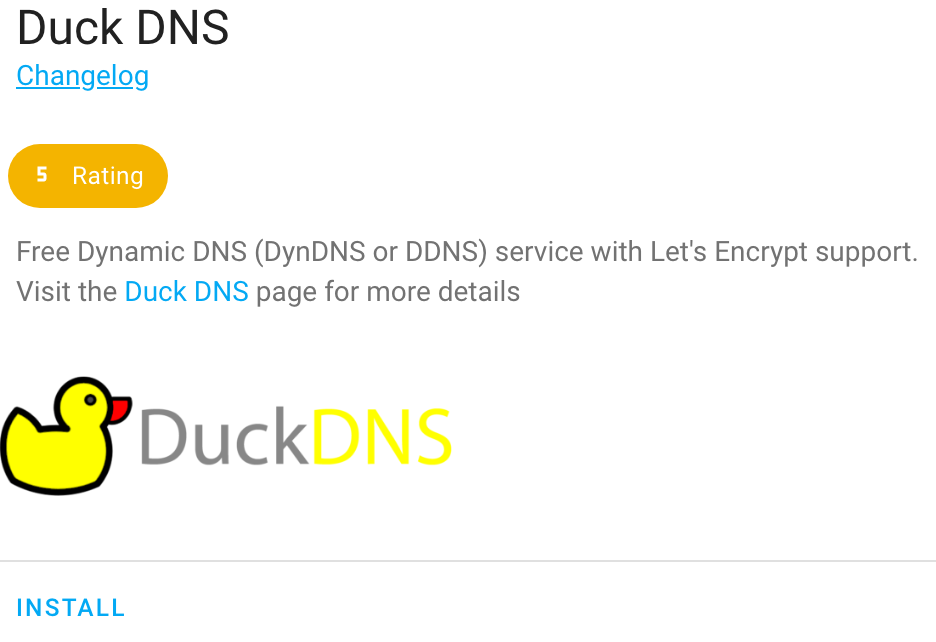
1. Select Settings, then Add-ons, then search for DuckDNS and install it.
2. Navigate to the DuckDNS website, sign up for an account, then add the domain that you’d like to use.

3. Copy the Token from the DuckDNS website and enter it into the Duck DNS Configuration settings in Home Assitant. Enter the same domain name selected in the step above, and when you’re done, save the configuration.

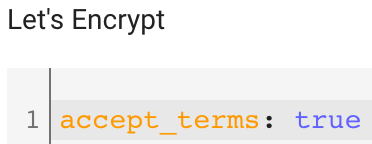
4. Change the accept_terms value in the Let’s Encrypt section to true.
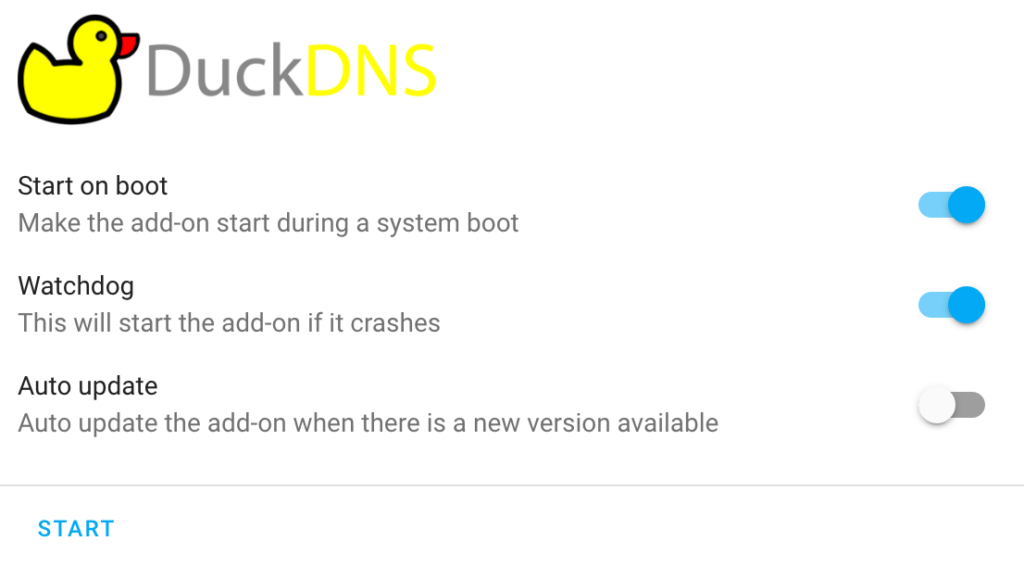
5. Port forward TCP ports 80 (for the Let’s Encrypt certificate) and 8123. When you finished port forwarding it, enable Watchdog, then Start the DuckDNS add-on.
6. The last step we must complete is the configuration.yaml file changes. Select File Editor, then find your configuration.yaml file and open it (using the folder icon in the top left).
7. Paste the information below on to a new line in the configuration.yaml file, then save and reboot your Home Assistant server.
The code below will ban IP addresses who attempt to login 5 times and fail! Modify the ip_ban_enabled and login_attempts_threshold settings to alter this! Always take backups before modifying the Home Assistant configuration file!
http:
  ssl_certificate: /ssl/fullchain.pem
  ssl_key: /ssl/privkey.pem
  ip_ban_enabled: true
  login_attempts_threshold: 5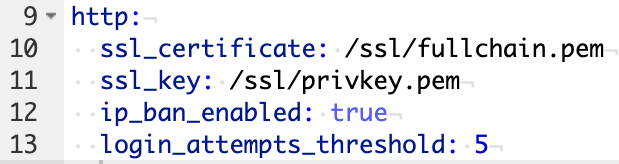
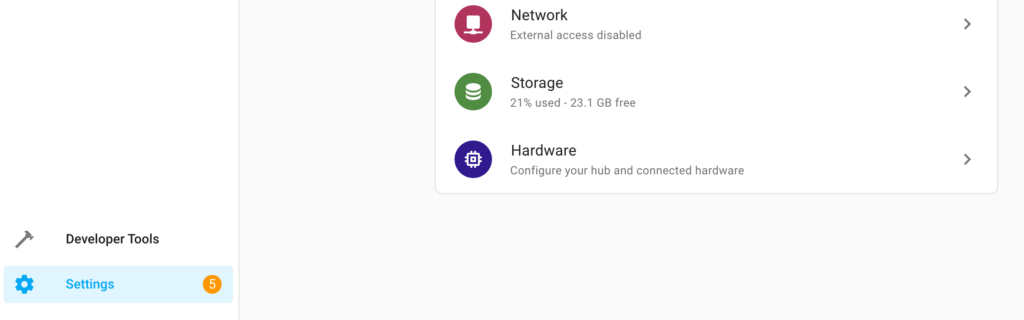
8. After the system loads back up, select Settings, then System, and finally, Network.
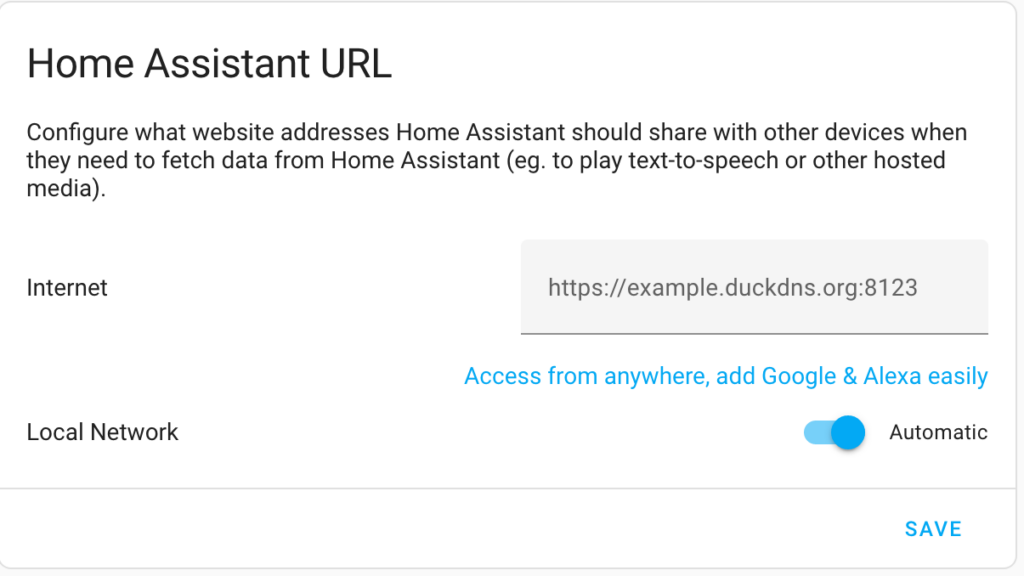
9. In the Home Assistant URL section, enter the DuckDNS hostname selected above and port 8123, then select Save.
NOTE: Make sure that you leave Local Network as Automatic or enter the IP address of the local server so you don’t lose access to Home Assistant! Once again, always make sure you have backups of Home Assistant!
9. If DuckDNS is running, it should get a certificate (as long as the port forwarding is complete) and you should be able to access Home Assistant by using the URL selected and port 8123. As mentioned earlier, if you’re going through all of this work to configure port forwarding, it might make sense to simply use a reverse proxy for the slightly increased security.
https://[DuckDNS_URL]:8123
Conclusion & Final Thoughts on Remote Access for Home Assistant
This tutorial looked at how to access Home Assistant remotely. In general, I always recommend setting up a VPN as it’s extremely powerful in the sense that you’ll be able to operate from anywhere in the world as if you were sitting at home. However, not everyone can configure a VPN based on their requirements, so a reverse proxy or port forwarding is certainly an option.