HACS (Home Assistant Community Store) is what most people install right after getting Home Assistant running. It gives you access to community-built integrations, themes, and cards that aren’t in the official store. I run Home Assistant OS in a Proxmox VM, but the process is the same whether you’re on the Supervised version or running it as a Docker container. The steps are slightly different between the two, so both are covered below.
One thing to know upfront: installing HACS doesn’t add any integrations by itself. It just gives you the ability to find and install them. That part comes after the setup.
Installing HACS on the Supervised Version
The HACS install command has to run from a terminal. The Terminal & SSH add-on handles that, but it’s hidden by default until you enable Advanced Mode.
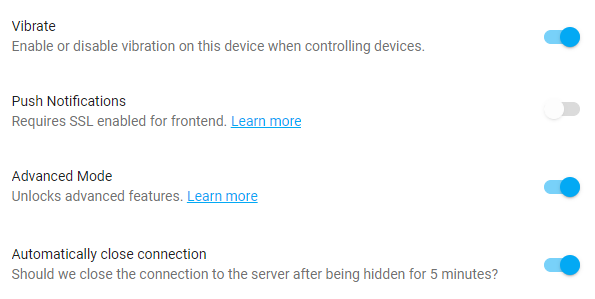
1. Enable Advanced Mode.
Select your user account in the bottom left corner of Home Assistant.

Turn on Advanced Mode in the account options.
Install the Terminal & SSH Add-on
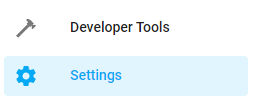
2. Open Settings.
Select Settings in the bottom left.
3. Go to Add-ons.
4. Open the Add-on Store.
Select Add-on Store in the bottom right.
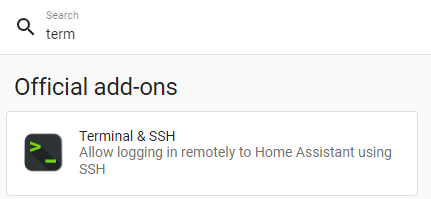
5. Search for Terminal & SSH and select the official add-on.
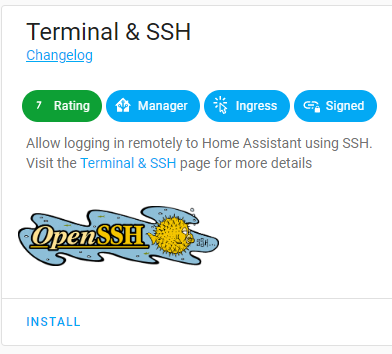
6. Install it.
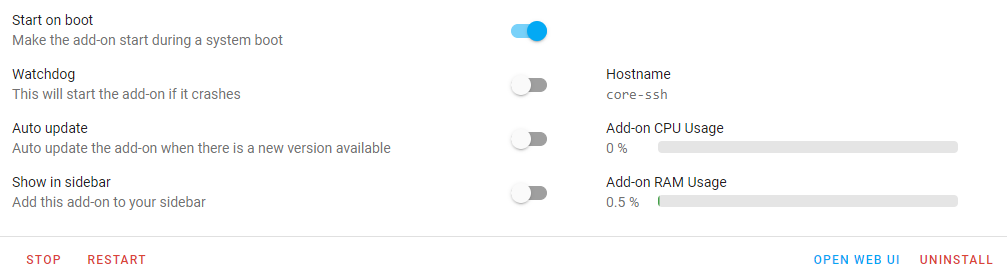
7. Once installed, start the add-on. You can also enable Start on boot here if you want it available after restarts.
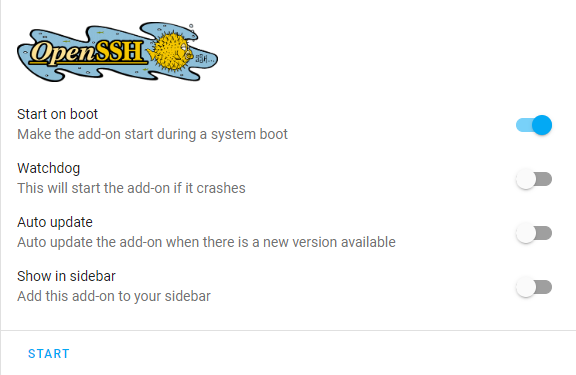
8. Select Open Web UI.
Run the HACS Installer
9. Paste the command below into the terminal window. Use CTRL + SHIFT + V to paste.
wget -O - https://get.hacs.xyz | bash -10. Once HACS finishes downloading, restart Home Assistant. You can run the command below or do it manually through the UI.
ha ha restartSkip down to the Adding the HACS Integration section to finish setup.
Installing HACS on Docker
If you’re running Home Assistant in Docker, you don’t have the add-on store available. The approach is to SSH directly into your Docker host and run the HACS install command from the folder where your Home Assistant /config volume is mounted.
1. SSH into your Docker host and navigate to the /config volume location.
On my setup, the Home Assistant config folder is mounted at /home/frank/docker/homeassistant. Your path will be different depending on how you set it up. Here’s an example:
cd /home/frank/docker/homeassistantIf you need help getting Home Assistant running in Docker first, my setup guides for Home Assistant on Proxmox and Home Assistant on a Synology NAS both cover volume mapping in detail.
2. Run the HACS install command.
wget -O - https://get.hacs.xyz | bash -3. The files will download into your Home Assistant config directory.
4. Reboot your Docker host. The method varies depending on where Docker is running. Once it’s back up, log into Home Assistant and continue below.
If you’re managing Docker through Portainer, my guide on installing Home Assistant on Portainer covers the volume mapping approach for that setup.
Adding the HACS Integration to Home Assistant
With the files in place and Home Assistant restarted, the last step is adding HACS as an integration.
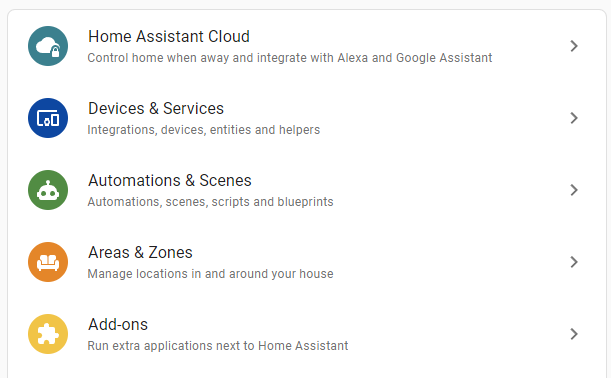
1. Go to Settings, then Devices & Services.
2. Select Add Integration in the bottom right.
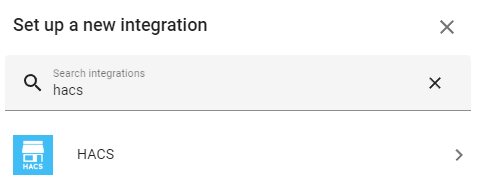
3. Search for HACS and select it.
4. Review the terms, check all the boxes, and select Submit.
5. Copy the device code that appears, then select the link to sign into GitHub.
6. Sign in to GitHub and paste the code.
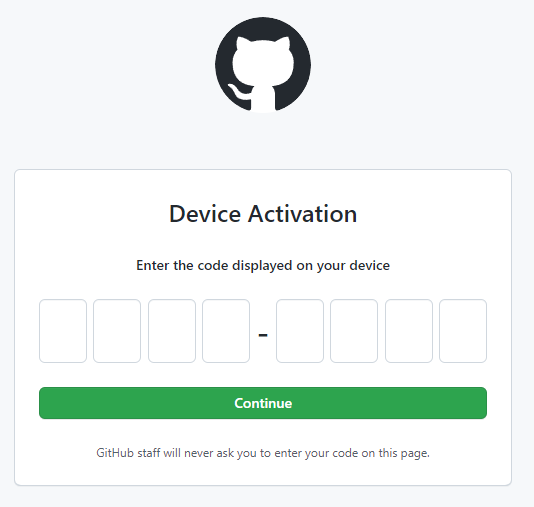
7. Select Authorize HACS.

8. Go to Settings > System > Restart Host to reboot. The reboot option location may have changed in recent versions, so check your current Home Assistant UI.
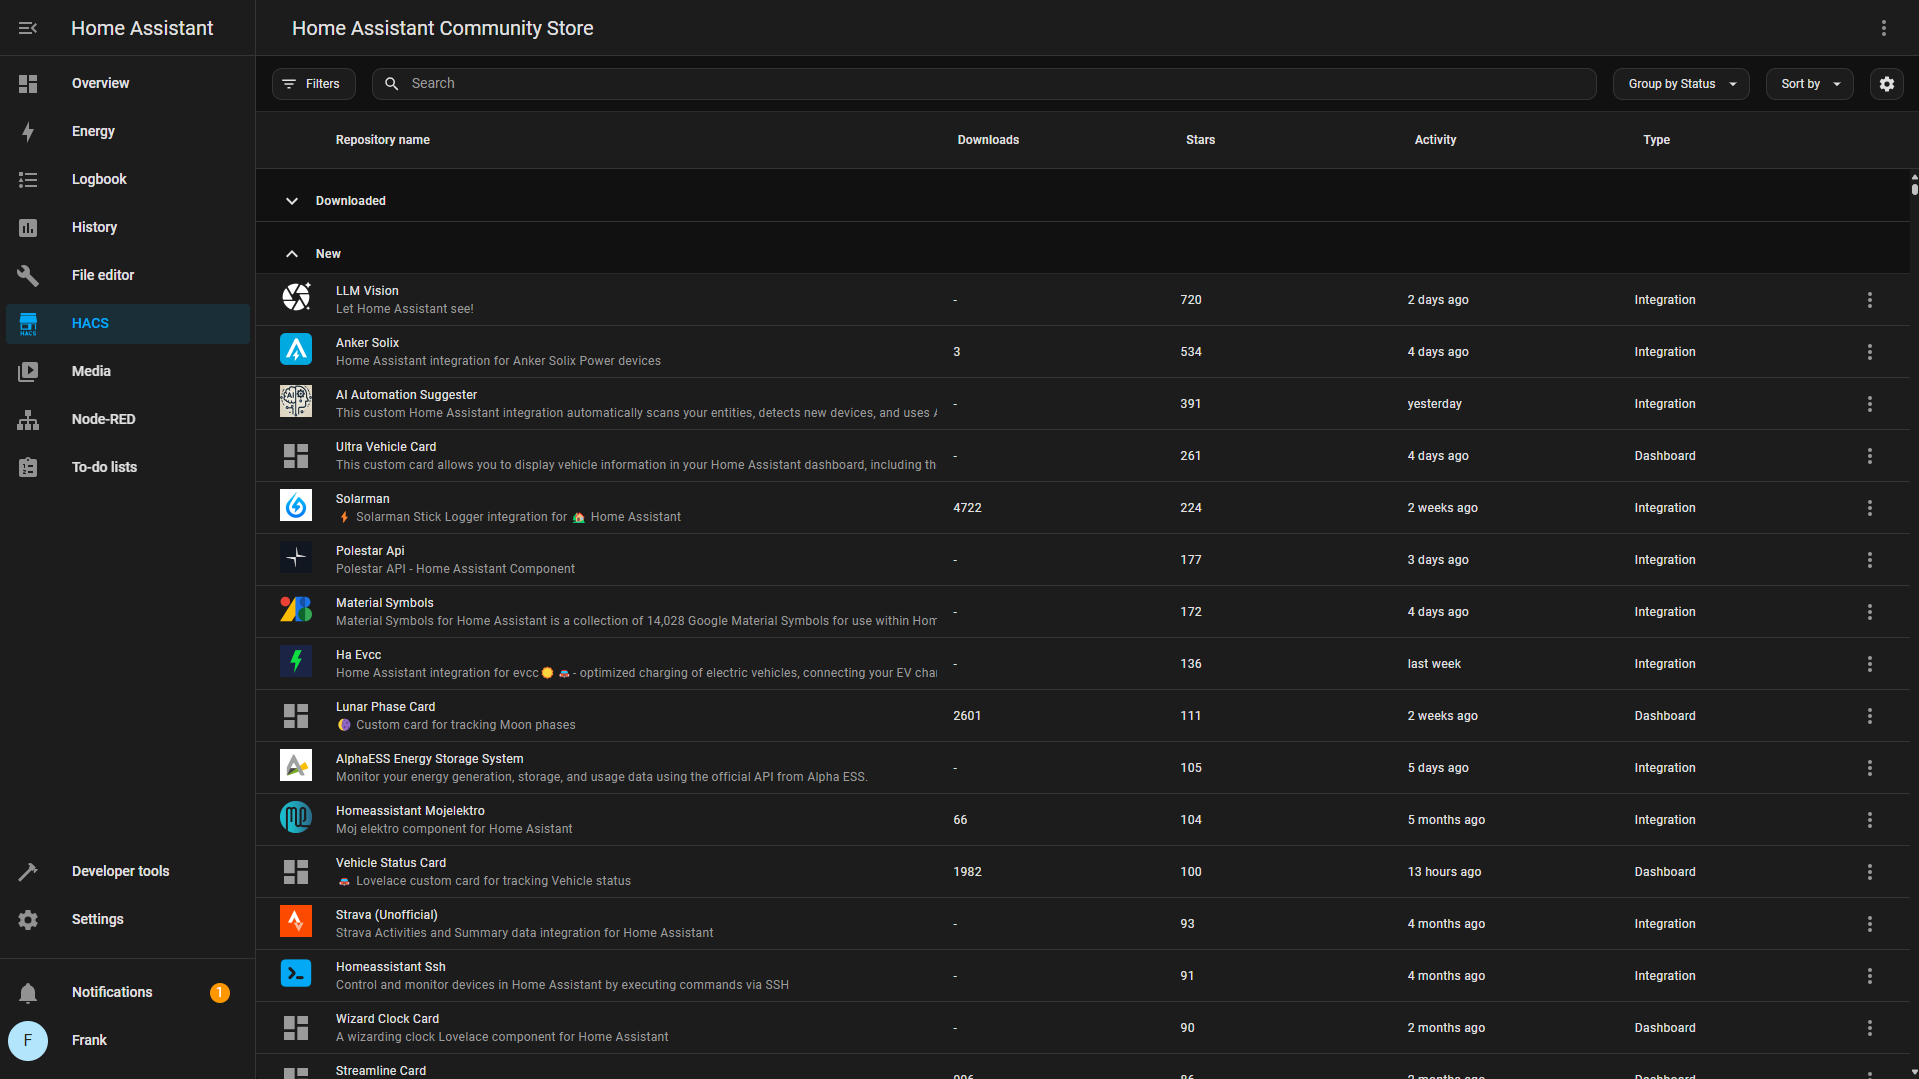
After Home Assistant loads back up, HACS will appear in the sidebar, and integrations installed through it will start showing up as available in the integration search.
A Few Things Worth Knowing
HACS is maintained by the community, not the Home Assistant team. That means some integrations are excellent and well-maintained, and others go months without updates. Before installing anything through HACS, check when it was last updated and how many people are using it.
I wouldn’t install every HACS integration you come across just because it’s there. Most of the value comes from a small number of well-supported add-ons.
If you’d like to remotely access everything once it’s all set up, my tutorial on accessing Home Assistant remotely covers how to do that.