This tutorial will look at how to set up Node-RED on Home Assistant!
Node-RED is a visual editor that allows you to set up various different types of automation in Home Assistant. While you can set up various different types of automation in Home Assistant directly, the GUI editor that Node-RED provides is extremely helpful and very easy to use. Please keep in mind that you must have different devices connected to Home Assistant to configure Node-RED automations, but most users will already have devices connected to Home Assistant.
How to Set Up Node-RED on Home Assistant
We will look at how to set up Node-RED below!
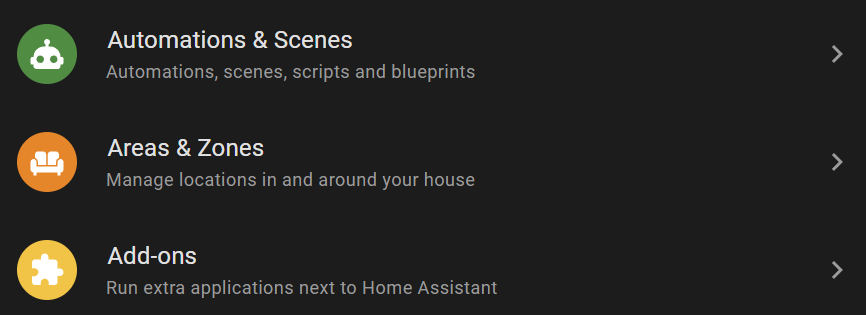
1. Open Home Assistant, then select Settings and Add-ons.
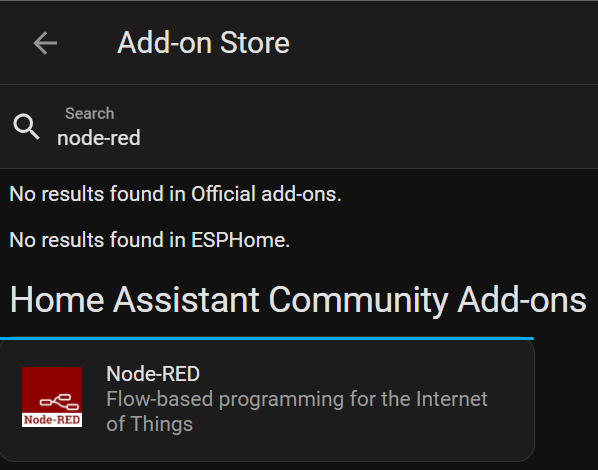
2. Select Add-on Store, then search for Node-RED and select it.
3. Select Install to install the Node-RED application.

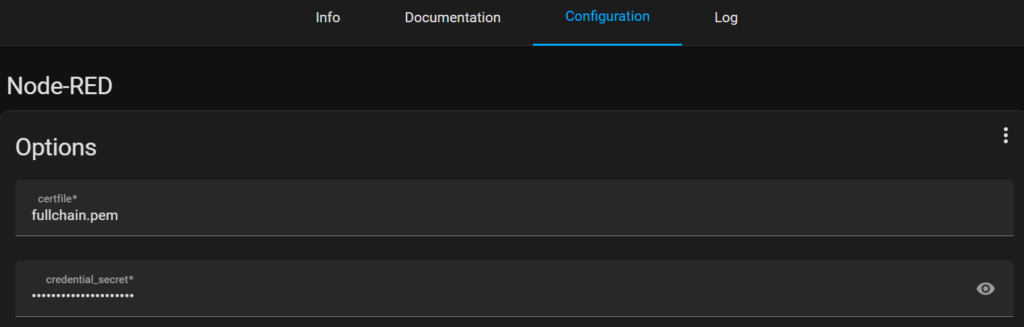
4. After Node-RED is installed, select Configuration to configure the settings needed for Node-RED.

5. Set a crednetial_secret, which is a password used to encrypt sensitive information.
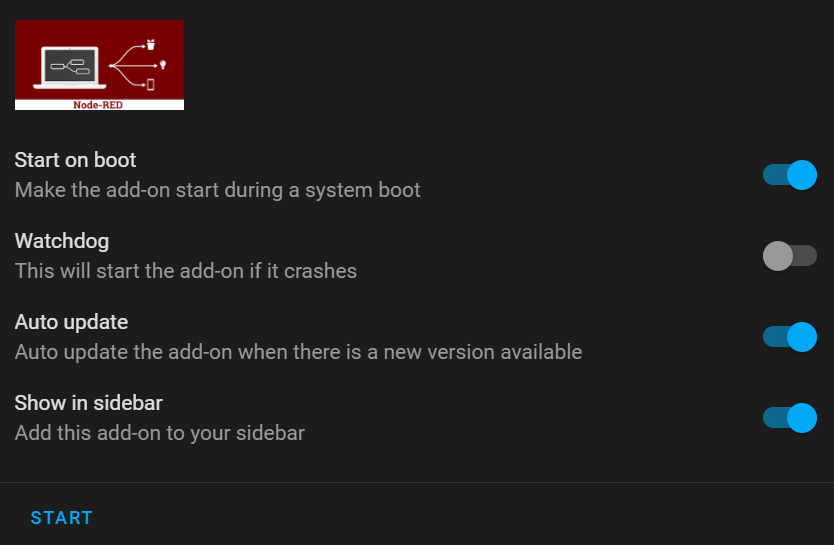
6. If you do not have SSL enabled on your Home Assistant instance, you will have to uncheck SSL. After you do that, select Save at the bottom, then select Info.

7. Enable Watchdog and Show in Sidebar (unless you don’t want it to), then select Start!
7. Node-RED will then start and can be accessible from the sidebar! You can also select Open Web UI to launch the web user interface!
Node-RED Automations – How to Set Up Node-RED on Home Assistant
At this point, Node-RED is installed and accessible, however, you must go through and configure different automation based on the requirements you have. It’s difficult to say exactly what will be needed based on the type of automation you’d like to create, but I’ll point out a few things that could be helpful in configuring Node-RED.
Debug Node – How to Set Up Node-RED on Home Assistant
The Debug Node is one of the most common node types you’ll use. The main reason is that it’ll allow you to see an output of an object type which can be extremely helpful in determining how to set up different node types (states, services, etc).
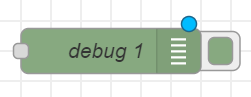
1. To create a debug node, drag it onto the editor, then double-click it.
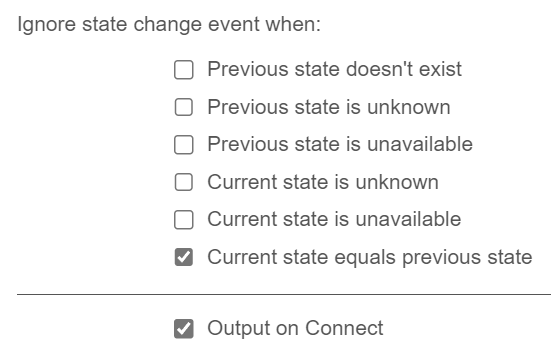
2. Change the output from msg.payload to complete msg object. Select done, then add a node in front of it (my favorite is the events:state node). Update the settings in the first node, then select Output on Connect at the bottom of the states node.
3. Drag the output to the input of the debug node, then select Deploy in the top right.
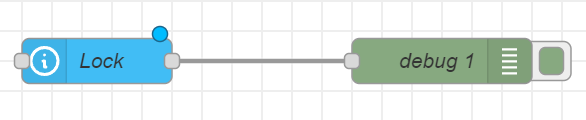
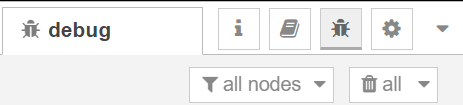
4. After deploying, select the debug icon in the top right.
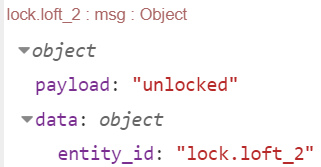
5. You should see that an object will appear and you’ll be able to navigate through it to see the current state and information about the item. At this point, you can create a new flow that will allow you to automate an action based on this state.
6. An example flow that I’ll show below will wait 25 seconds after a door is unlocked to see if it’s still unlocked. If it is, it will perform an action to lock the door automatically.

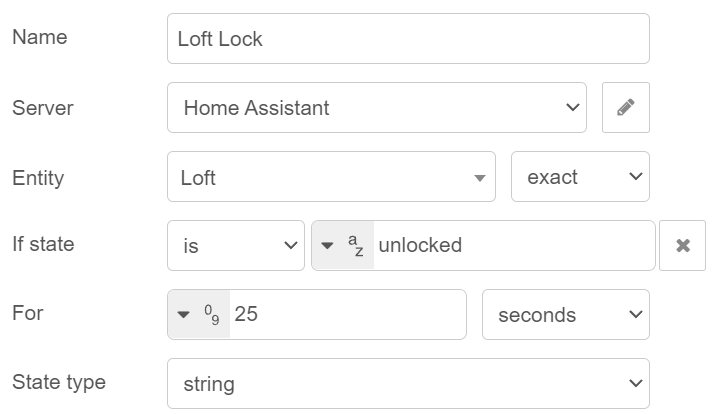
7. This is an extremely simple flow, but very powerful. It can also be significantly more complex if desired, meaning that door sensors can be added to the door to check after 25 seconds if the door is closed. If it is, the door can automatically lock – if it’s still open, the door can stay unlocked, and a wait until action can be added that will wait until the door is closed. As soon as it’s closed, the door will lock.

8. This is just an example of some of the flows that can be configured in Node-RED. There are many, many powerful flows that can be added which will automate various items in your home, and Node-RED makes it extremely easy.
Conclusion: How to Set Up Node-RED on Home Assistant
This tutorial looked at how to set up Node-RED on Home Assistant. Overall, Node-RED is incredibly powerful and is one of my favorite add-ons for Home Assistant. The different automation types you can create are truly incredible and it’s so easy to understand how they’ll work based on the GUI. If you’re interested in setting up different automation, I’d highly suggest at least installing Node-RED and playing around with it. The possibilities are truly endless!