In this article, we’ll look at how to access Home Assistant with an NGINX reverse proxy. There are many ways that you can access Home Assistant remotely, but one of the main options for many people is by using a reverse proxy. While you can utilize reverse proxy software to do this, one of the easiest approaches is to configure an NGINX reverse proxy server directly on Home Assistant.
If you’d rather install NGINX Proxy Manager, you can use that as well to access Home Assistant.
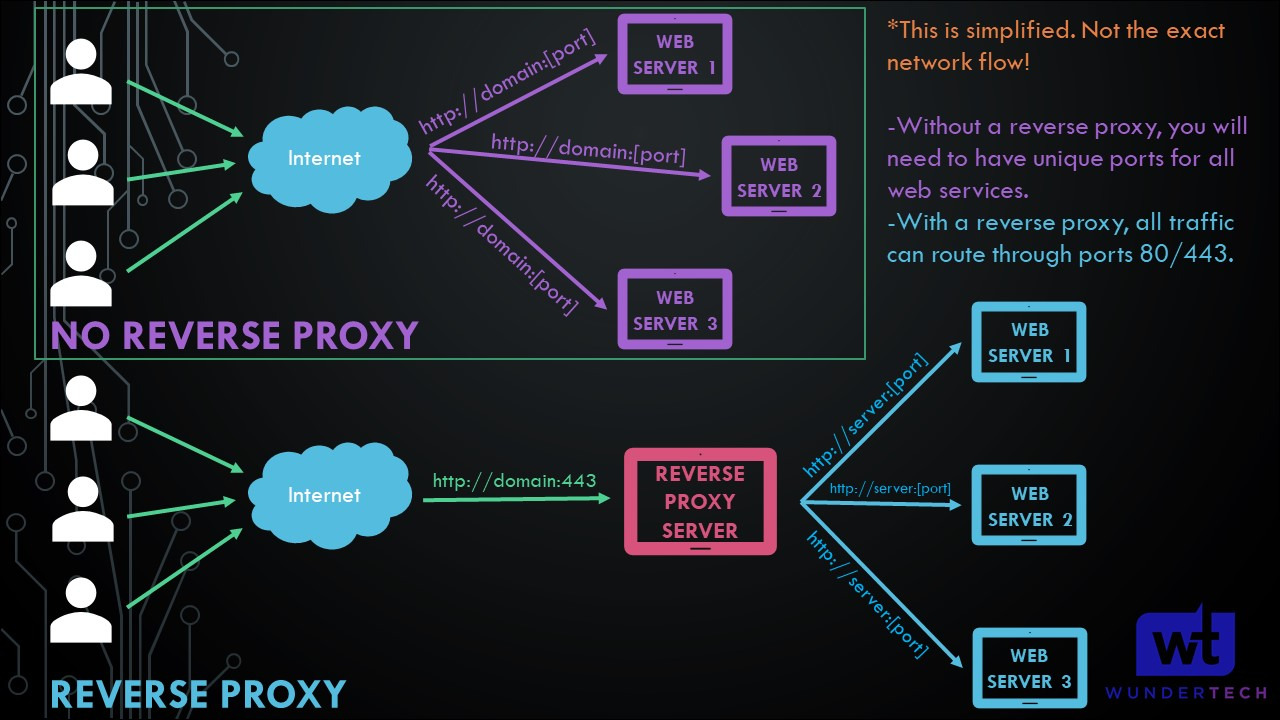
What is a Reverse Proxy?
A Reverse Proxy Server allows you to expose one server (using ports 80/443) and access as many different web services as you’d like. This is a simplified explanation of exactly what a reverse proxy server does.
How to Access Home Assistant with an NGINX Reverse Proxy
I want to be clear that using a VPN is more secure and there are not any changes that have to be made to Home Assistant. In general, you simply connect to the VPN and then access Home Assistant the way that you do at home, no matter where you are.

If you don’t have a VPN server currently, you can either configure WireGuard on a Raspberry Pi or OpenVPN on a Raspberry Pi (which are two of the easiest tools to configure it on).
With that said, if you’d rather access Home Assistant remotely, a reverse proxy is a great option. A reverse proxy will allow you to port forward one individual port (generally TCP port 443) and access as many local services as you’d like. It can be set up and configured on Home Assistant directly with NGINX (which we will look at below), or you can use a different reverse proxy software entirely.
Please be aware that you must be able to port forward, own your own domain, and/or configure Dynamic DNS in order to get this process to work. We will also be utilizing the Home Assistant Supervisor to complete this.
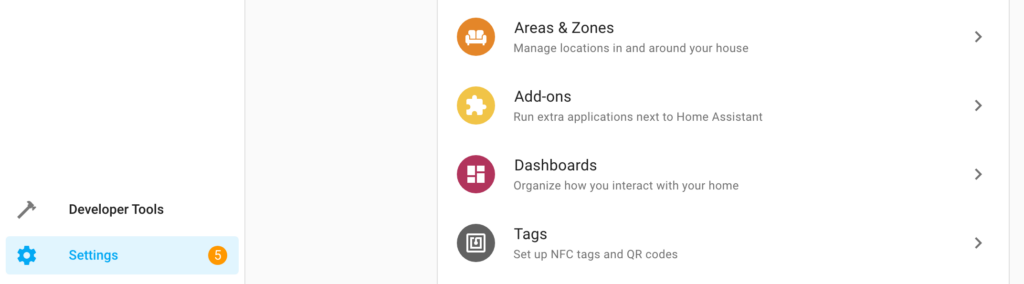
1. Open Home Assistant, select Settings, then Add-ons.
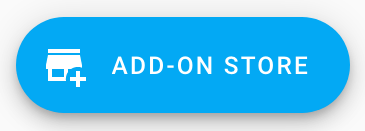
2. In the bottom right, select Add-on Store.
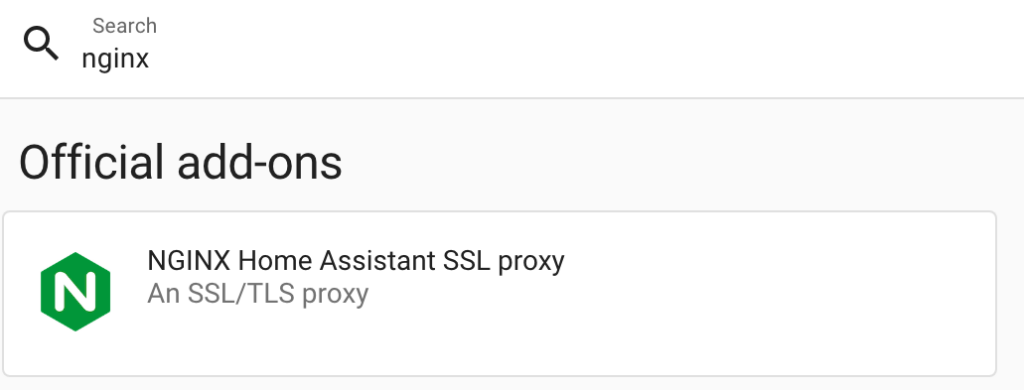
3. Search for NGINX and select the NGINX Home Assistant SSL Proxy add-on.
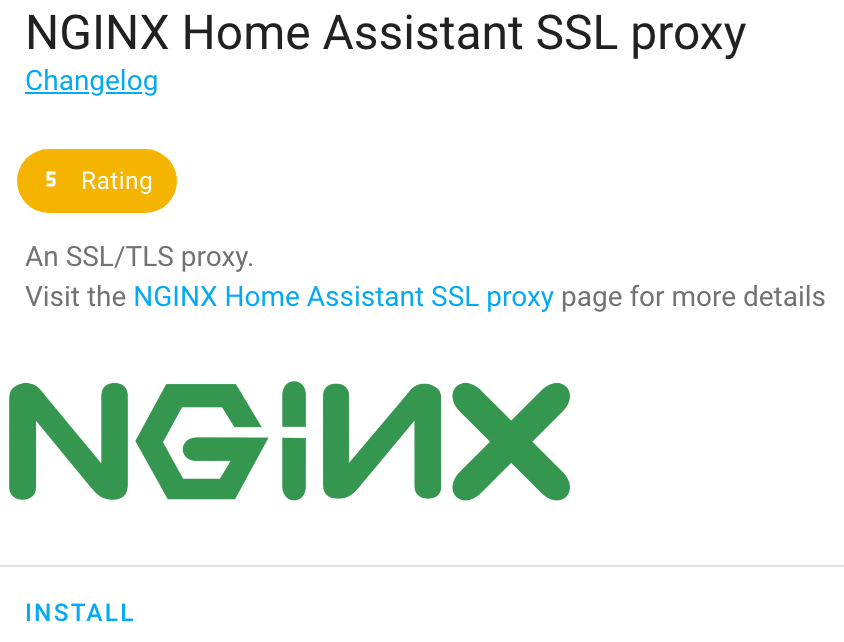
4. Select Install to install the NGINX Home Assistant add-on.
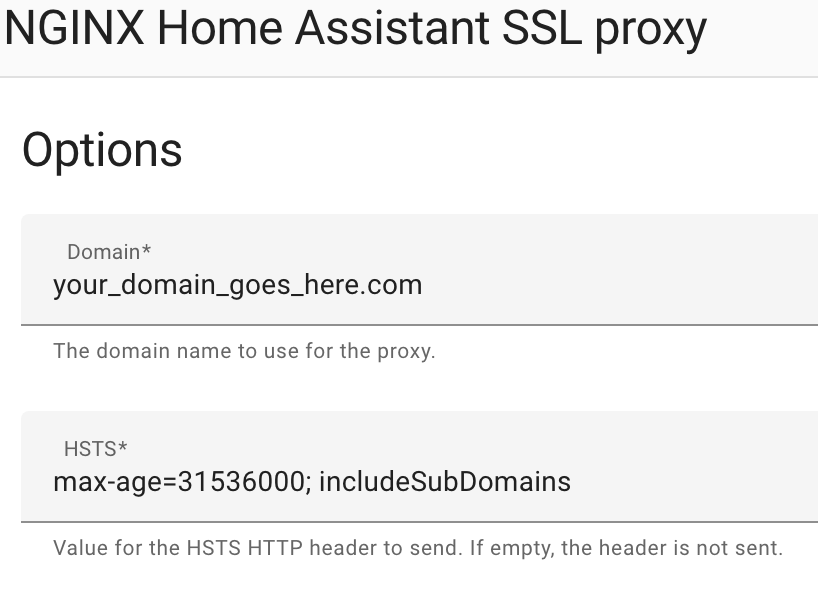
4. At the top, select Configuration. Enter your DDNS hostname or Domain Name, then select Save.
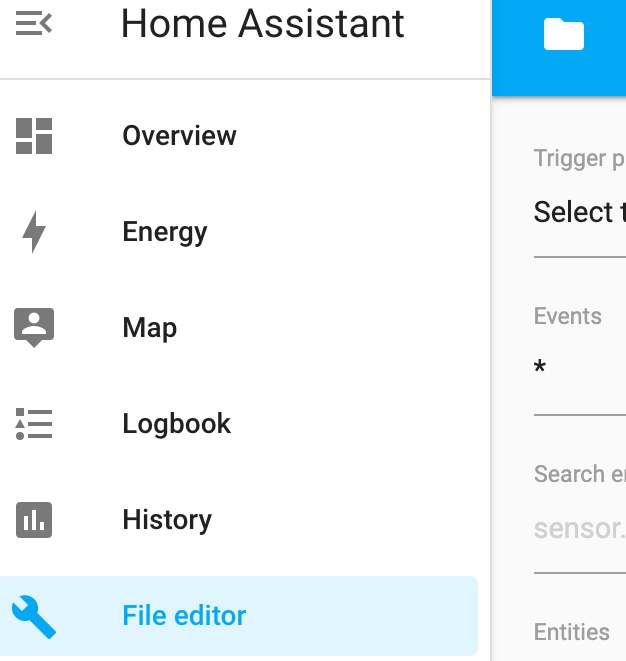
5. The last step we must complete is the configuration.yaml file changes. Select File Editor, then find your configuration.yaml file and open it (using the folder icon in the top left).
6. Paste the information below onto a new line in the configuration.yaml file, then save and reboot your Home Assistant server.
The code below will ban IP addresses who attempt to log in 5 times and fail! Modify the ip_ban_enabled and login_attempts_threshold settings to alter this! Always take backups before modifying the Home Assistant configuration file!
http:
  use_x_forwarded_for: true
  trusted_proxies:
    - 172.30.33.0/24
  ip_ban_enabled: true
  login_attempts_threshold: 5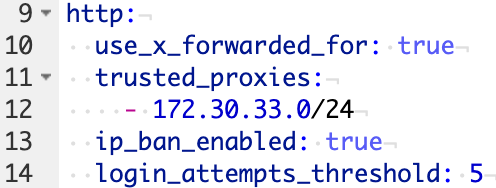
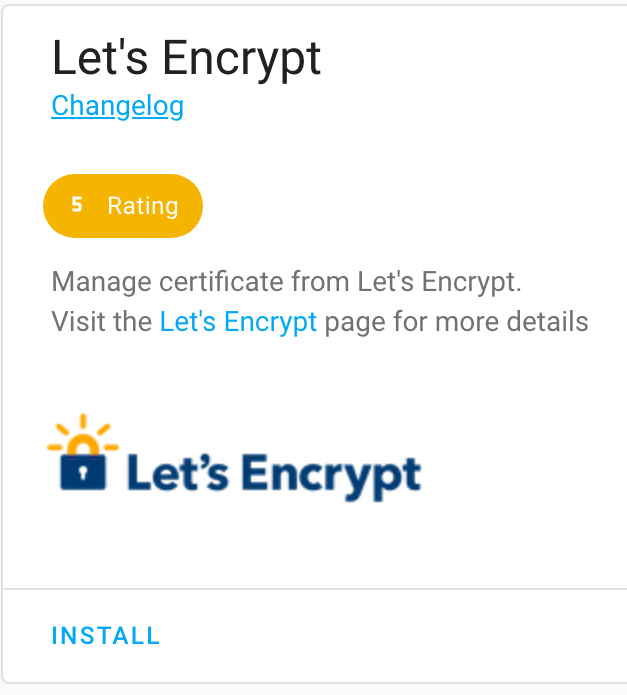
7. The final step we have to complete before starting NGINX is to download and install the Let’s Encrypt Add-on. If you are using the DuckDNS Add-on, you do not have to complete this step. However, this will allow you to manage Let’s Encrypt certificates which will be used by NGINX.
Select Settings, then Add-ons, and search for, then install the Let’s Encrypt add-on.
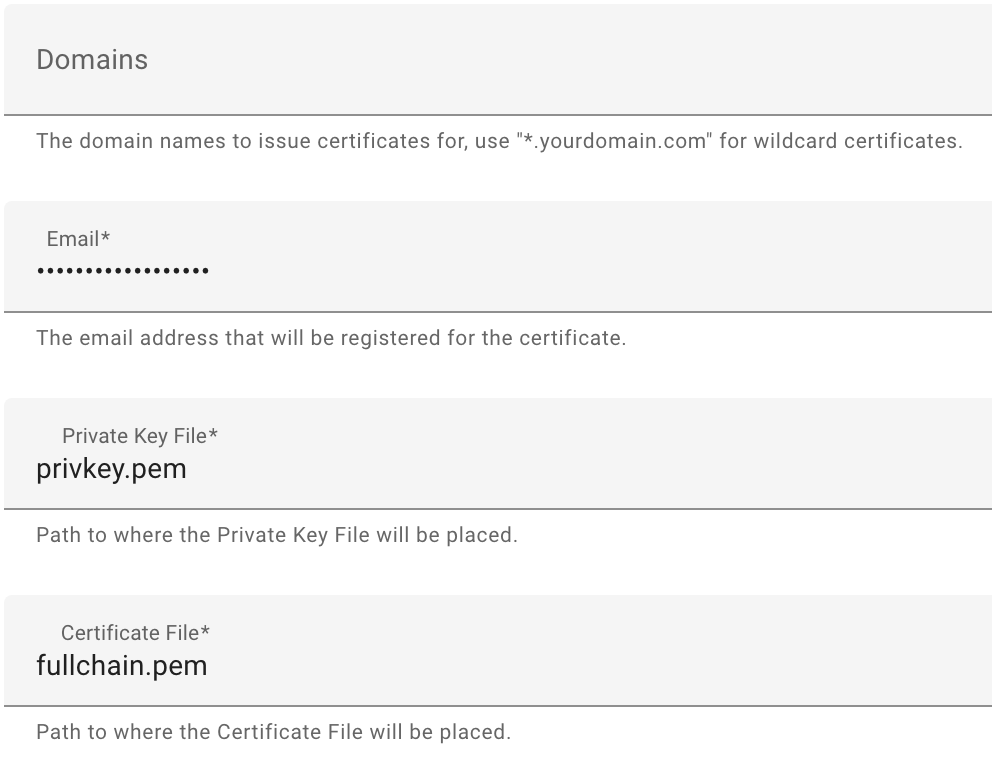
8. Select Configuration, then add the Domain Name you’d like to use, as well as an email address, and save. Please keep in mind that by default, Let’s Encrypt uses TCP port 80, so you’ll have to port forward this in the next step as well.
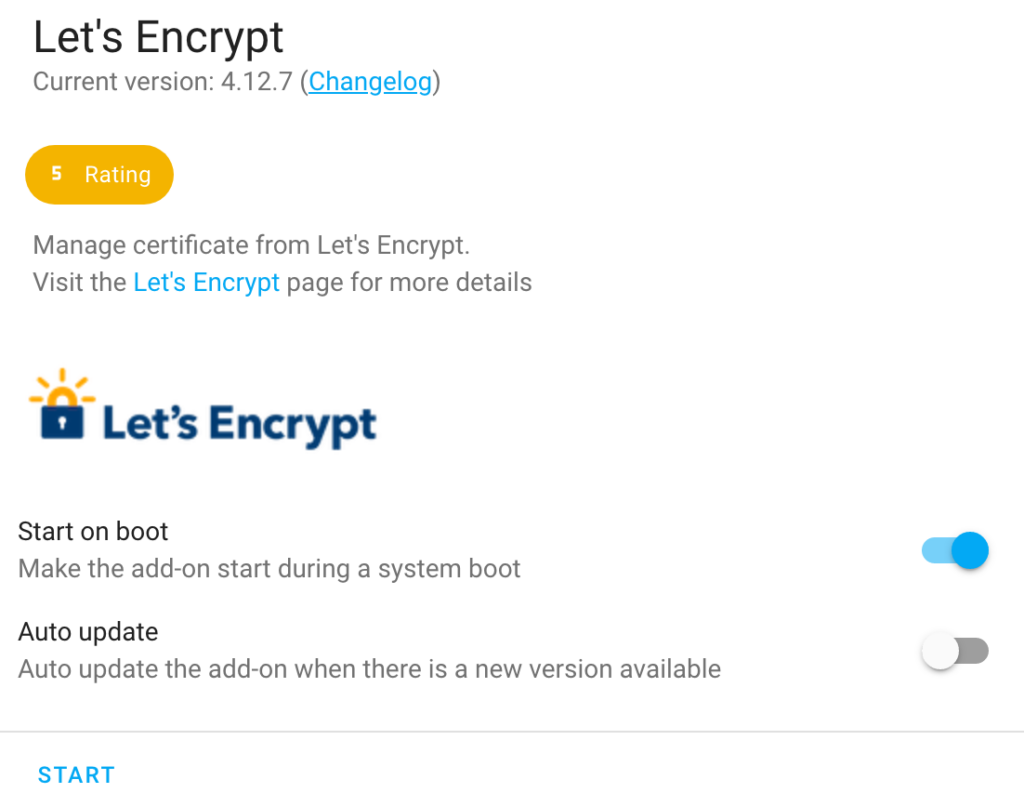
9. Start the Let’s Encrypt service and make sure it starts on boot.
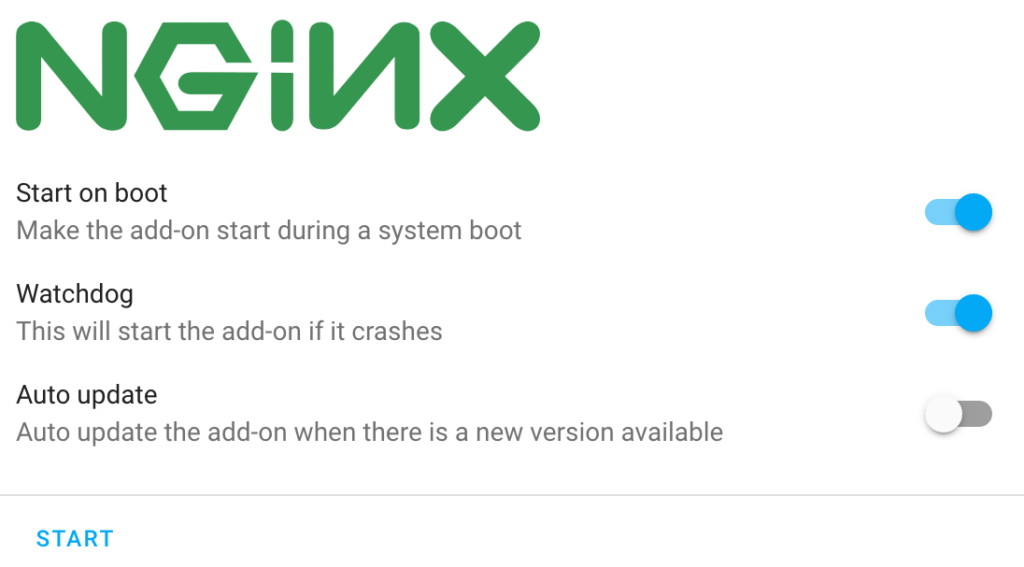
10. Now that the changes have been made to NGINX and Let’s Encrypt (or DuckDNS has been configured), head back to the NGINX Add-on, ensure that Watchdog is enabled, then select Start.
Port Forwarding for the Reverse Proxy Server
Now that the reverse proxy changes have been made in Home Assistant, you must port forward TCP port 443 to your Home Assistant local IP Address. This will allow Home Assistant to listen on that port and route the traffic properly.
Each router will be different as far as port forwarding goes, so it’s best to search the name of your router + port forwarding (ex. Netgear port forwarding) in Google and see how it’s done.
Below is an example rule that I created in pfSense to configure the port forwarding. Please keep in mind that you will have to port forward TCP port 80 as well for the Let’s Encrypt certificate.

After the port forwarding is complete, you should be able to access Home Assistant using the DDNS Hostname or Domain Name that you used above! You can test it by entering the domain name directly into your browser!
Conclusion & Final Thoughts on NGINX + Home Assistant
This isn’t really my favorite way of accessing Home Assistant externally, but it does work and it does work well. It’s also going to be one of the fastest approaches from a performance perspective, so if performance is a concern, this is the way to go.