WireGuard is one of the easiest ways to create a VPN back to your home or small-business network. If you want to access a NAS, Proxmox server, Home Assistant, Pi-hole, Blue Iris, UniFi controller, file share, or another internal service while you’re away from home, this setup works really well.
I’ve used WireGuard on Raspberry Pis, pfSense, UniFi gateways, and other Linux systems, and the reason I still like the Raspberry Pi setup is that it’s simple. You don’t need to replace your router, you don’t need a dedicated firewall appliance, and you don’t need to expose a bunch of internal services to the internet.
That said, this is not the setup I’d use for every network. If your router or firewall already supports WireGuard, like pfSense, OPNsense, or UniFi, I’d usually run WireGuard there instead. But if your router does not support WireGuard, or you want a simple dedicated VPN server, a Raspberry Pi running PiVPN is still a great option.
Before you start, make sure your Raspberry Pi is running the latest Raspberry Pi OS. If you still need to set that up, follow my Raspberry Pi setup guide first.
- When This Raspberry Pi WireGuard Setup Makes Sense
- Split Tunnel vs Full Tunnel
- Install WireGuard on a Raspberry Pi with PiVPN
- Configure the Main PiVPN Settings
- Create a WireGuard Client Profile
- Configure Split Tunnel or Full Tunnel
- Optional: Persistent Keepalive
- Port Forward WireGuard on Your Router
- Connect Your Devices
- Test the WireGuard VPN
- What I Would Avoid
- Useful PiVPN Commands
- Final Thoughts
When This Raspberry Pi WireGuard Setup Makes Sense
I would use this setup if you want a dedicated VPN server and your router/firewall does not already have WireGuard built in. It’s also a good fit if you want something simple, low-power, and separate from the rest of your network hardware.
- Access your home lab remotely.
- Connect to a NAS, Proxmox server, Home Assistant, Pi-hole, or internal web interface.
- Use a VPN without replacing your router.
- Avoid port forwarding individual internal services.
- Create separate VPN profiles for phones, laptops, tablets, or off-site devices.
I would not use this setup if you already have a firewall or gateway that supports WireGuard and you’re comfortable managing it there. In that case, running WireGuard directly on the firewall is usually cleaner.
Split Tunnel vs Full Tunnel
There are two main ways to configure this VPN:
- Split tunnel VPN: only traffic for your home network goes through the VPN.
- Full tunnel VPN: all traffic goes through the VPN.
For most home lab users, I would start with a split tunnel VPN. It gives you access to internal devices without forcing all internet traffic through your home connection. If you travel a lot or use public Wi-Fi often, it can also be useful to create a full tunnel profile.
You can use both. Create one split tunnel profile for normal remote access and one full tunnel profile for public Wi-Fi.
For a deeper explanation, check out my split tunnel vs full tunnel VPN guide.
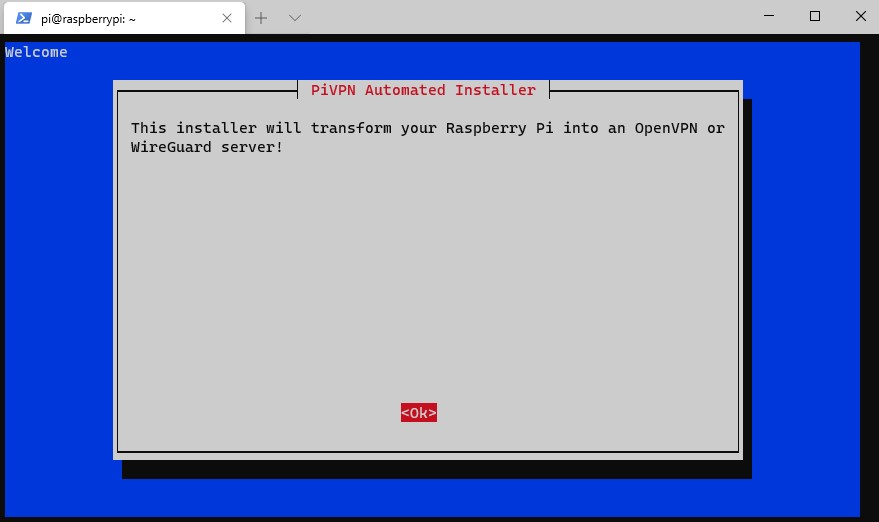
Install WireGuard on a Raspberry Pi with PiVPN
PiVPN is a script that automates most of the WireGuard installation process. It handles the WireGuard server configuration and makes it easy to create client profiles.
Open Terminal on the Raspberry Pi and run:
curl -L https://install.pivpn.io | bash
After the required packages install, the PiVPN installer will open.
Configure the Main PiVPN Settings
PiVPN will walk through several settings. These are the ones that matter most:
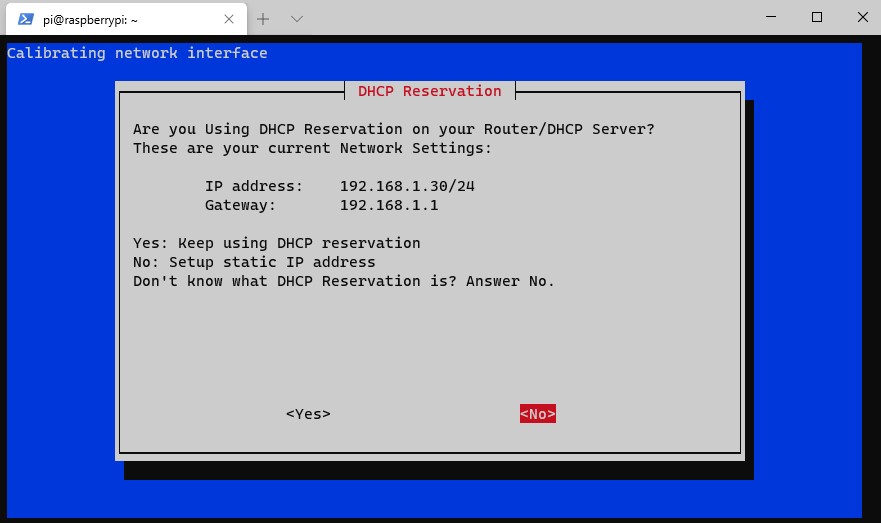
- Static IP address: The Raspberry Pi needs a consistent IP address. I prefer creating a DHCP reservation on the router instead of manually setting a static IP on the Pi, but you can do it here if your router doesn’t support that.
- Local user: Select the Raspberry Pi user that should manage the VPN profiles.
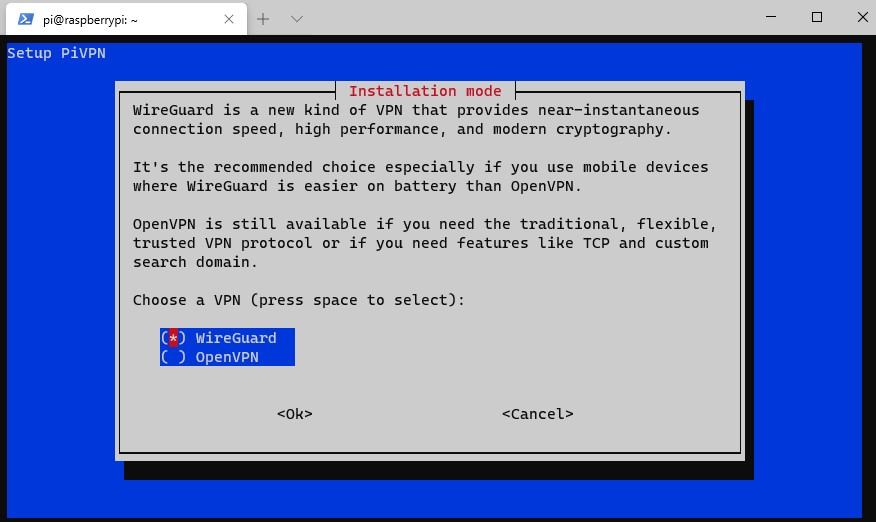
- VPN type: Select WireGuard.
- Port: Use the default UDP port 51820 unless you have a reason to change it.

- DNS server: Use your local DNS server, like Pi-hole, if you want VPN clients to resolve internal hostnames.
- Public IP or DNS hostname: Use Dynamic DNS if your ISP changes your public IP address.
- Unattended updates: I generally enable this because the Raspberry Pi will be reachable from the internet through a port forward.
If your ISP gives you a dynamic public IP address, use a DDNS hostname instead of your raw public IP. If you need to configure DDNS, follow my DuckDNS DDNS guide or use the DDNS option built into your router/firewall. After PiVPN finishes, reboot the Raspberry Pi.
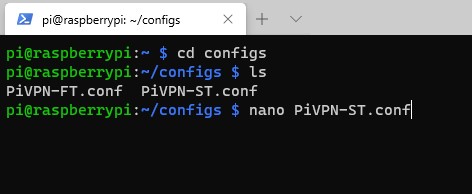
Create a WireGuard Client Profile
After WireGuard is installed, create a client profile. This is what your phone, laptop, or remote device will use to connect to the VPN.
sudo pivpn add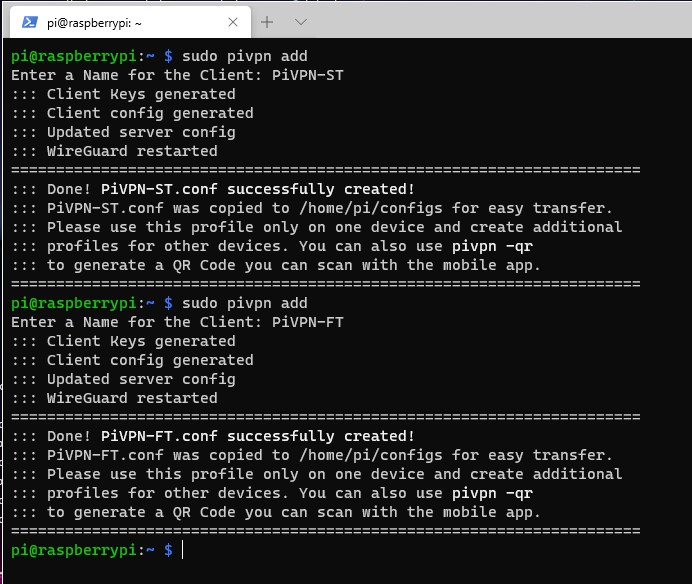
Give the profile a name that matches the device, like:
Frank-iPhone
Frank-Laptop
PiVPN-ST
PiVPN-FT
I like creating one profile per device. Do not reuse the same WireGuard profile across multiple devices if you can avoid it. Separate profiles make it easier to revoke access for one device later without affecting everything else.
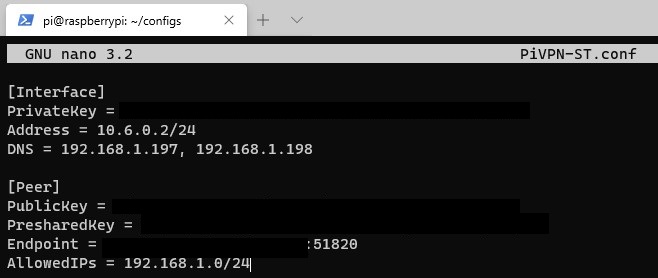
Configure Split Tunnel or Full Tunnel
The WireGuard setting that controls split tunnel vs full tunnel is AllowedIPs.
For a full tunnel VPN, AllowedIPs usually looks like this:
AllowedIPs = 0.0.0.0/0This sends all IPv4 traffic through the VPN tunnel. If IPv6 is configured, you may also see:
AllowedIPs = 0.0.0.0/0, ::/0For a split tunnel VPN, use only the internal networks you want to access. For example:
AllowedIPs = 192.168.1.0/24If you also want VPN clients to communicate with each other, include the WireGuard VPN subnet as well. PiVPN commonly uses a subnet like:
AllowedIPs = 192.168.1.0/24, 10.6.0.0/24For most home lab remote access, this is the option I would use first. You get access to your internal network without routing every website and app through your home internet connection.
Optional: Persistent Keepalive
WireGuard only sends traffic when it needs to. That is normally fine, but if you have a remote device that should always stay connected, you can add PersistentKeepalive.
Open the WireGuard server config:
sudo su
nano /etc/wireguard/wg0.conf
Add this under the peer where you want the connection to stay active:
PersistentKeepalive=25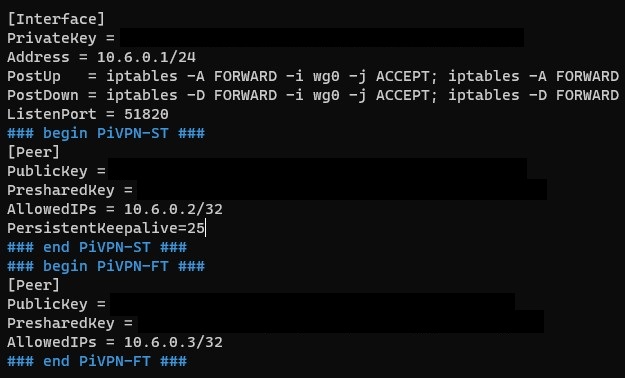
You do not need this for every phone or laptop profile. I would only add it when there is a reason.
Port Forward WireGuard on Your Router
To connect to the Raspberry Pi from outside your network, forward the WireGuard UDP port to the Raspberry Pi’s internal IP address.
UDP 51820For example, if your Raspberry Pi IP address is 192.168.1.30, forward UDP 51820 to 192.168.1.30.
The exact process depends on your router. If you need a generic reference, this port forwarding guide from No-IP covers the basic idea.
- Protocol: UDP
- External port: 51820
- Internal IP: your Raspberry Pi IP address
- Internal port: 51820
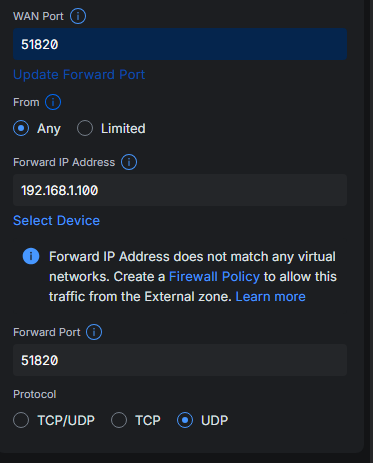
If you are using the Raspberry Pi firewall, make sure UDP port 51820 is allowed there as well.
Connect Your Devices
For phones, the easiest option is to use a QR code. Install the WireGuard app on your phone, then run:
pivpn -qr PROFILE_NAMEThe QR code contains the full VPN configuration, so do not share it with anyone.
For Windows, macOS, or Linux, install the WireGuard app from the official site:
Then copy the client configuration file from the Raspberry Pi and import it into the WireGuard app. Do not share these config files. Anyone with the config can connect as that client.
Test the WireGuard VPN
Do not test the VPN from inside your own Wi-Fi network and assume it works. Disconnect Wi-Fi on your phone and test over cellular, or use a completely different external network.
After connecting, test a few things:
- Can you access the Raspberry Pi?
- Can you access a local NAS, server, or internal web interface?
- If you created a split tunnel profile, does normal internet browsing still use the local connection?
- If you created a full tunnel profile, does your public IP change to your home/business network?
- Do internal hostnames resolve properly?
If the VPN connects but you cannot access anything internally, check AllowedIPs, DNS, firewall rules, and port forwarding.
What I Would Avoid
- Do not reuse the same profile on multiple devices. Create one profile per client.
- Do not test only from inside your LAN. Test from a cellular or another external network.
- Do not forget UDP. WireGuard uses UDP, so forwarding TCP 51820 will not work.
- Do not skip DDNS if your public IP changes. Dynamic DNS prevents profiles from breaking when your ISP changes your IP.
- Do not assume full tunnel is always better. Split tunnel is usually better for normal home lab remote access.
- Do not expose other services if WireGuard solves the problem. VPN access is usually cleaner than port forwarding every internal service.
- Do not forget backups. Back up your PiVPN/WireGuard configuration once everything is working.
The best WireGuard setups are usually boring in the right ways: one profile per device, a stable Raspberry Pi IP address, DDNS if needed, one UDP port forward, and a clear decision between split tunnel and full tunnel.
Useful PiVPN Commands
pivpn addCreate a new client profile.
pivpn -qr PROFILE_NAMEGenerate a QR code for a mobile device.
pivpn -lList existing client profiles.
pivpn revokeRevoke a client profile.
pivpn -dRun PiVPN debug if something is not working.
Final Thoughts
At this point, WireGuard should be running on your Raspberry Pi, and you should be able to connect back to your home or business network remotely.
For most people, I would create a split tunnel profile first. It gives you access to internal devices without forcing all internet traffic through your home connection. If you travel or use public Wi-Fi often, create a full tunnel profile too.
The most important parts are making sure the Raspberry Pi has a consistent IP address, forwarding UDP port 51820 correctly, using DDNS if your public IP changes, and creating separate profiles for each device.
Once WireGuard is working, you can safely access internal services without exposing each one individually to the internet, which is the main reason I like this setup so much.