Today we are going to look at how to install OpenMediaVault on a Raspberry Pi, turning it into a NAS!
OpenMediaVault is a NAS solution that’s based on Debian Linux. It has tons of different options and more importantly, running OpenMediaVault on a Raspberry Pi works great! My goal is to create various OpenMediaVault tutorials, so this will be the basic tutorial that will show you how to set up and configure OpenMediaVault.
First, ensure that you set up your Raspberry Pi correctly!
How to Install OpenMediaVault on a Raspberry Pi
1. By default, OpenMediaVault provides a very easy way to install it on a Raspberry Pi. Thanks to their script, running the command below will install the entire thing! If you’d like to see what the script contains, you can do so here.
curl -sSL https://github.com/OpenMediaVault-Plugin-Developers/installScript/raw/master/install | sudo bash
2. After the script finishes installing OpenMediaVault, your Raspberry Pi will reboot automatically. You can then access OpenMediaVault by navigating to the IP address of your Raspberry Pi!
http://[RASPBERRY_PI_IP]
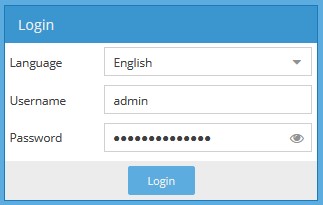
3. log in to OpenMediaVault using the username admin and the password openmediavault.
Important Note
When we make changes, they will sometimes require the changes to be applied. To avoid having to add this to every section, if you receive the banner below after making a change, select Apply.

OpenMediaVault Changes – How to Install OpenMediaVault on a Raspberry Pi
When you first log in to OpenMediaVault, there are a few important changes and some “quality of life” enhancements that you can make. We will quickly go over a few of them now.
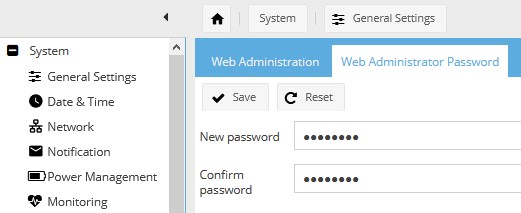
Web Administrator Password
The first thing that we need to do after we log in is to change the password of our admin user. Select General Settings, then Web Administrator Password. Enter your new password and save.
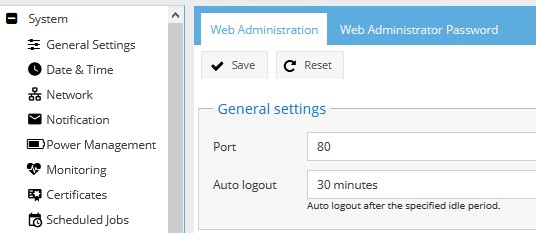
Auto Logout
By default, OpenMediaVault will log you out after 5 minutes of inactivity. You can change this to a maximum of 30 minutes if you’d like.
1. Select General Settings on the left-hand side.
2. Change the Auto Logout time from 5 minutes to something longer. Save the settings.
Time Zone
Follow the instructions below to change the time zone.
1. Select Date & Time.
2. Select the correct time zone and then save and apply.

Updating OpenMediaVault
Periodically running OpenMediaVault updates is very important. Fortunately, it’s very straightforward.
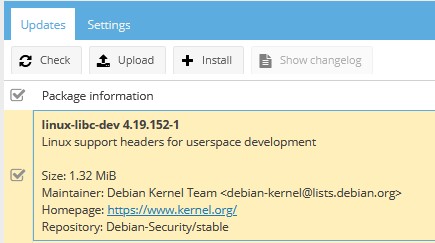
1. Select Update Management and then select Check. This will check for new updates.
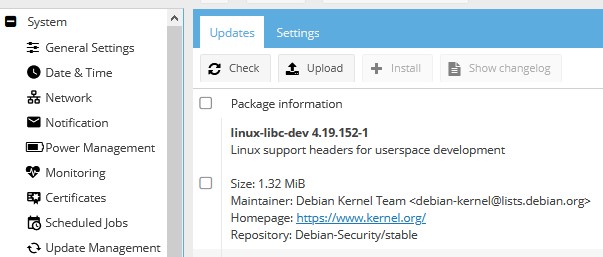
2. Select all updates and then click Install. All updates will now install!
Additional Users & Groups – How to Install OpenMediaVault on a Raspberry Pi
By default, the Raspberry Pi operating system will create a user named pi. If you’re starting with a fresh install, you might want to add new users or groups. It’s important to note a few different things:
- The users that you create will be able to access your shared folders, however, they will need to have permission to access those shared folders.
- You can change the privileges on a shared folder to have a group access them or a user.
- If you intend on granting multiple users permission to the same shared folders, it’s best to create a group and give that entire group permission to the folder.
- It’s perfectly acceptable to manage permissions for individual users rather than using groups.
- We will look at folder permissions in later steps.
Mounting Disks
When you plug in an external hard drive, you first need to mount that hard drive. Follow the instructions below to mount your drives.
1. Select File Systems.
2. Select the drive you’d like to mount and select Mount.
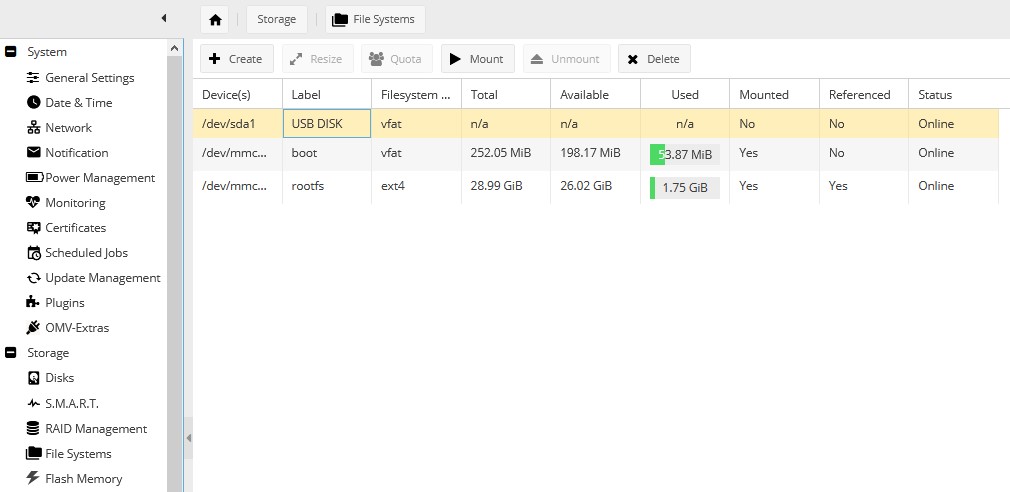
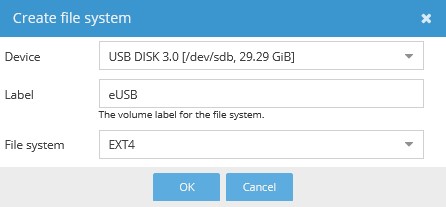
3. If you are using a drive that doesn’t have a label, you will be asked to create a label. Select Create, select the device, add a label, and then select the file system you’d like to use. You will then be able to mount the drive.
If you’d like to store data on your device, you need to do it via a shared folder. Creating a shared folder is very easy after the drive has been mounted.
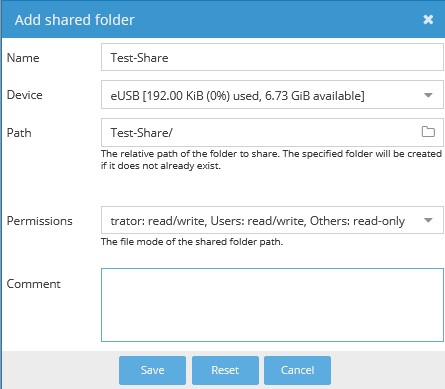
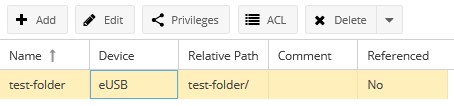
1. Select Shared Folders and then select Add.
2. Enter a name, select the device you’d like to use, ensure the path is correct, and then select the permissions. Select save after you’ve set everything as you’d like.
SMB/CIFS – How to Install OpenMediaVault on a Raspberry Pi
The majority of people will be using SMB/CIFS to access their shared folders. To turn on SMB/CIFS, follow the instructions below.
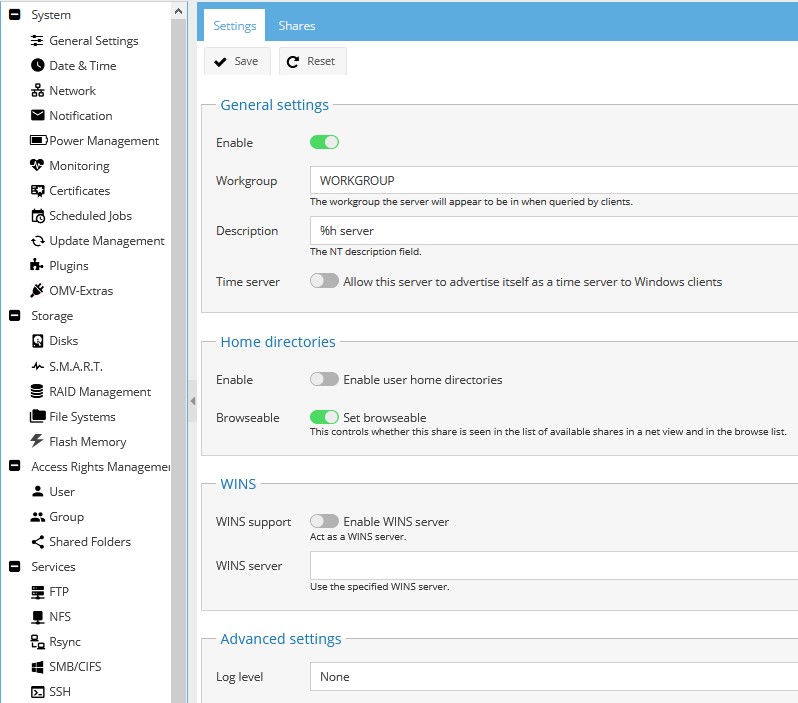
1. Select SMB/CIFS.
2. Enable the option in the General Settings and save. SMB/CIFS will now be enabled!
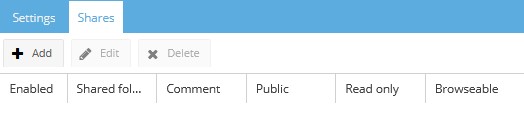
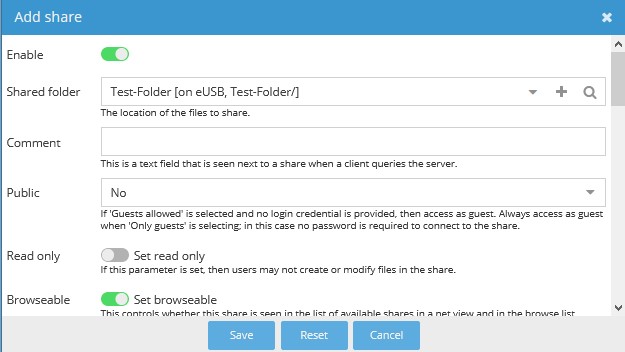
3. Now that SMB has been enabled, we need to add our shared folder to the list of SMB accessible folders. Select Shares and then Add.
4. Select the shared folder and change any settings that you’d like. Save and apply and the folder should be accessible through SMB!
We created our users and groups in an earlier step, but we are going to quickly look at how to change permissions on shared folders.
1. Select Shared Folders under Access Rights Management.
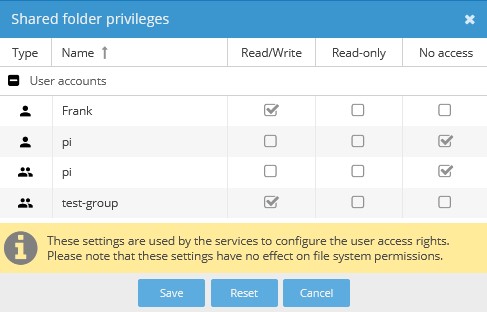
2. Select the shared folders and select privileges.
3. You will now see your users and groups listed. If you’d like to change the permissions for individuals or groups, you can do so here!
Conclusion – How to Install OpenMediaVault on a Raspberry Pi
This tutorial showed how to install OpenMediaVault on a Raspberry Pi! A helpful viewer pointed out OpenMediaVault to me and I’ve been playing around with it and I am very happy with it. This will most likely be my new off-site backup software. If you are interested in seeing more OpenMediaVault tutorials, stay tuned!
As always, thank you for checking out the tutorial on how to install OpenMediaVault on a Raspberry Pi. If you have any questions on how to install OpenMediaVault on a Raspberry Pi, please leave them in the comments!