Today we are going to look at how to how to install Nginx Proxy Manager on a Raspberry Pi!
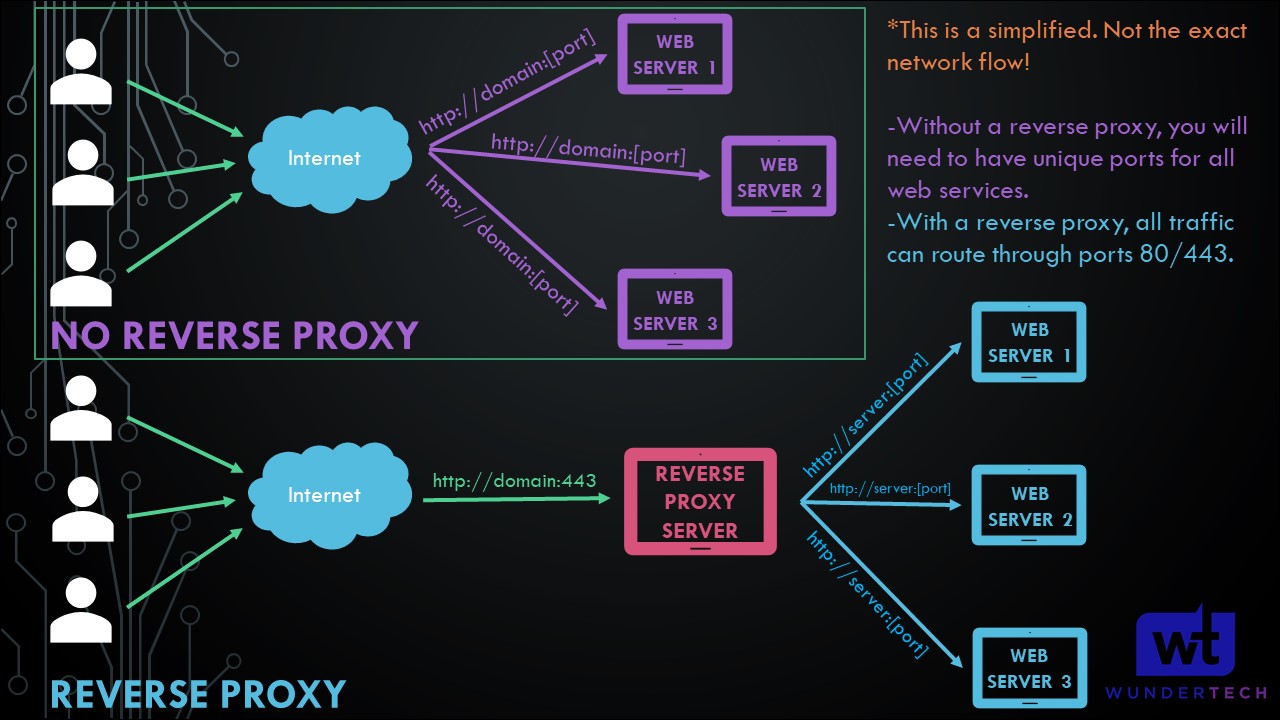
If you’re exposing any services on your network, using a reverse proxy is a great way to increase security and performance. A reverse proxy is a server that sits in front of your web servers and forwards client requests to the web servers. In layman’s terms, you only have to expose one server (using ports 80/443) and will be able to expose as many web services as you want.
This is an example of the network flow of a reverse proxy (simplified):
This tutorial will utilize a Raspberry Pi, which is great for home use, but if you’re hosting anything with a lot of traffic, you’re probably better off using a more capable server. We will check the status of the application after it’s finished installing by using Portainer, but this isn’t required.
Instructions – Nginx Proxy Manager Raspberry Pi
Ensure that Docker is installed. If it’s not installed, you can learn how to install it here.
1. We need to use docker compose to create the Nginx Proxy Manager container. This requires us to install a few dependencies – run the install commands below in order.
sudo apt-get install -y libffi-dev libssl-dev
sudo apt-get install -y python3 python3-pip
sudo pip3 -v install docker-compose
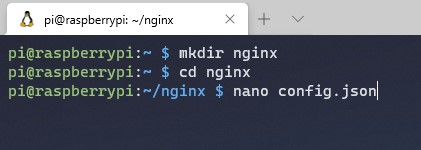
2. After the commands finish installing, we need to create a folder where our config and docker-compose files will exist. We will then navigate to that folder and create a file named config.json.
mkdir nginx
cd nginx
nano config.json
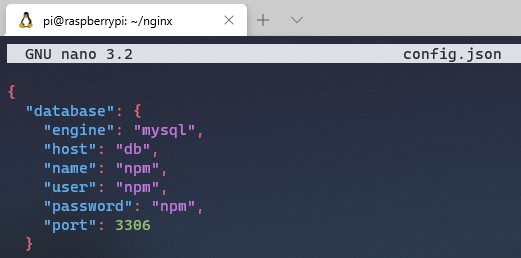
3. Paste these contents into the config file.
{
  "database": {
    "engine": "mysql",
    "host": "db",
    "name": "npm",
    "user": "npm",
    "password": "npm",
    "port": 3306
  }
}
4. Save the file and exit it. Create a new file named docker-compose.yml
nano docker-compose.yml

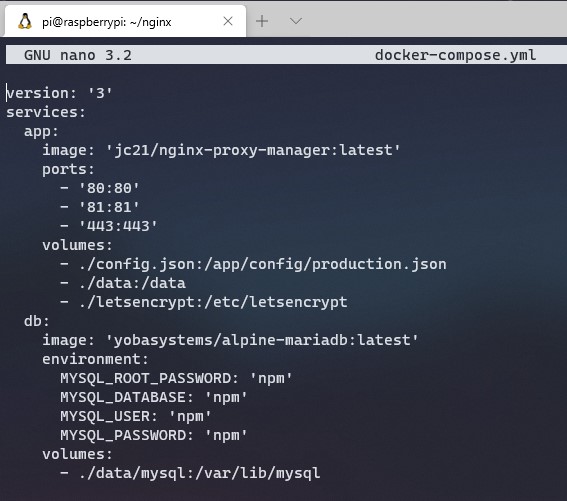
5. Paste the contents below into the docker-compose file.
version: '3'
services:
  app:
    image: 'jc21/nginx-proxy-manager:latest'
    ports:
      - '80:80'
      - '81:81'
      - '443:443'
    volumes:
      - ./config.json:/app/config/production.json
      - ./data:/data
      - ./letsencrypt:/etc/letsencrypt
  db:
    image: 'yobasystems/alpine-mariadb:latest'
    environment:
      MYSQL_ROOT_PASSWORD: 'npm'
      MYSQL_DATABASE: 'npm'
      MYSQL_USER: 'npm'
      MYSQL_PASSWORD: 'npm'
    volumes:
      - ./data/mysql:/var/lib/mysql
If you receive an error and the container will not start and is running as “unhealthy”, please follow the instructions below:
Special thanks to Plan945 for commenting with the solution.
Replace this in the docker-compose.yml:
image: 'yobasystems/alpine-mariadb:latest'
With this:
image: 'yobasystems/alpine-mariadb:10.4.17-arm32v7'
6. Save the file and exit. You should have two files that exist in the nginx folder. Run the command below to start the docker container.
sudo docker-compose up -d

7. The container will download and install all the necessary files.
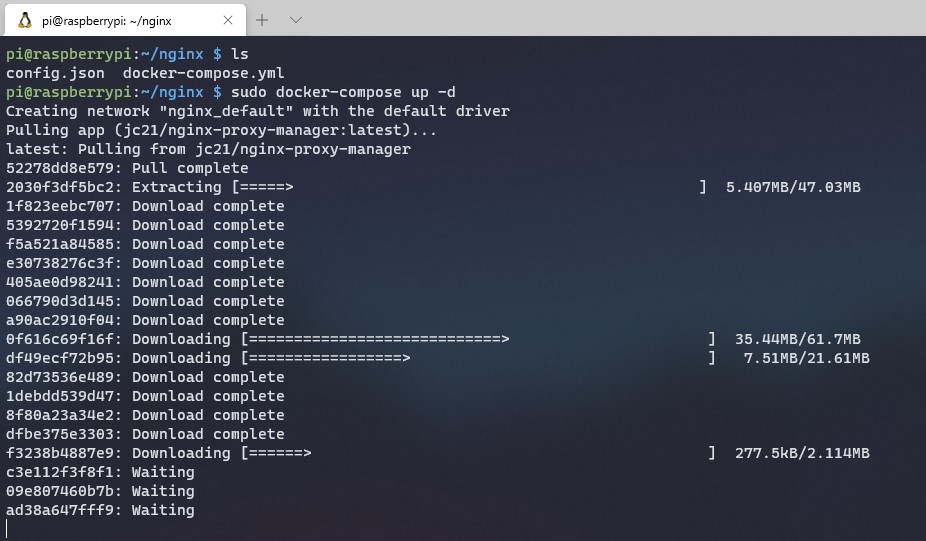
8. We will now adjust both of the containers that Nginx Proxy Manager uses to automatically start when your Raspberry Pi is rebooted.
sudo docker update --restart always nginx_app_1
sudo docker update --restart always nginx_db_1
9. Restart your Raspberry Pi – very important!
sudo reboot now
10. After the reboot is complete, the container will take a few minutes to fully install. You can run the command below to check on the status of the container. When it reports “healthy”, you will be able to navigate to the Nginx Proxy Manager website. Alternatively, if you setup Portainer, you can open Portainer and check on the status of the container there.
sudo docker ps

11. Wait for the status to change to healthy.

12. Navigate to the IP address of your Raspberry Pi and port 81.
http://[RASPBERRY_PI_IP]:81
13. The default email address is admin@example.com and the password is changeme. When you log in, you will be asked to change this information.
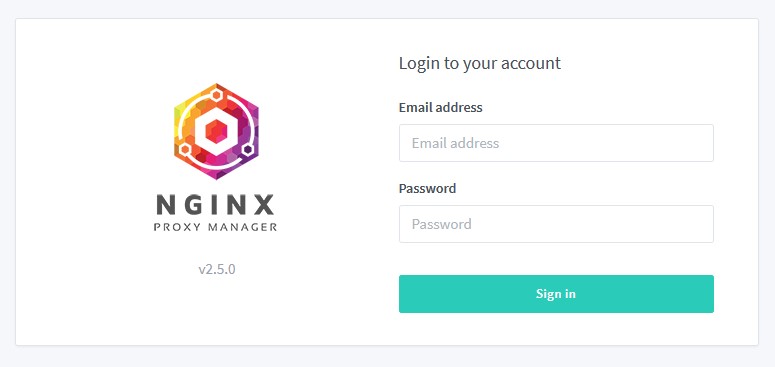
14. At this point, Nginx Proxy Manager is fully installed. You will need to open ports 80/443 on your router to point to your Raspberry Pi. From there, you will have to configure Nginx Proxy Manager. The majority of people will use Nginx Proxy Manager as nothing more than a proxy manager. I’m not going to go through the process of configuring a service as this will be different for everyone, but check out the video if you’re interested in seeing how it can be used as I went through an example there!
Conclusion
If you’re exposing services on your network, using a reverse proxy is a great idea. A lot of people don’t have a need for a full server running Nginx Proxy Manager, so a Raspberry Pi is a great option in that case. It runs well and is somewhat simple to setup.
Thanks for reading the tutorial. If you have any questions, leave them in the comments!


