Today we are going to look at how to install Portainer on a Raspberry Pi.
How to install Portainer on a Raspberry Pi is very simple, but we will be using Portainer in future tutorials to set up different docker containers, so this will be the first thing we are going to look at.
The Raspberry Pi 4 is pretty powerful for being as small as it is. Combine that with the fact that there are a ton of great docker containers that don’t require powerful CPUs, and running certain Docker containers on a Raspberry Pi becomes a great option for a lot of people.
The steps below will utilize a fresh install of the Raspberry Pi OS. If you aren’t sure how to do that, I have instructions here.
The links below are Amazon affiliate links which means that I earn a percentage of each sale at no cost to you. Thank you for your support.
Required Hardware
Raspbery Pi 4: Docker and Portainer can be installed on older Raspberry Pi devices, but the Raspberry Pi 4 has more processing power than older devices which will lead to better performance.
Micro SD Card: Don’t need anything crazy here, just a good Micro SD card with enough storage space.
Raspberry Pi 4 Case: This is one of my favorite cases for the Raspberry Pi 4, but any case will do.
Power Supply: Needed to power your Raspberry Pi.
HDMI Cable: I generally SSH into my Raspberry Pi devices, so this is only required if you intend on connecting your Raspberry Pi to a display.
How to Install Portainer on a Raspberry Pi
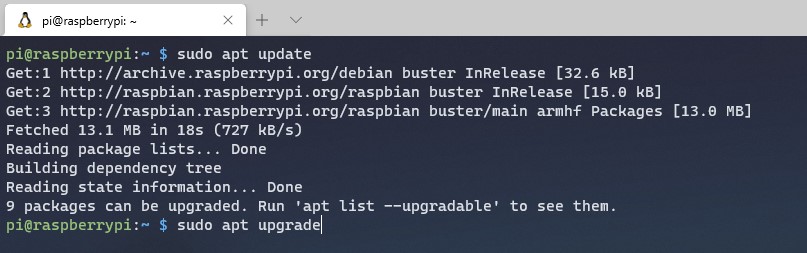
1. Ensure that your Raspberry Pi is up to date by running the commands below.
sudo apt update
sudo apt upgrade
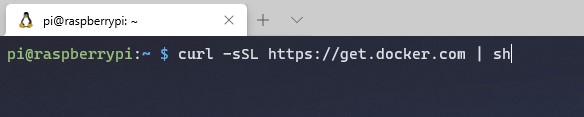
2. The next thing we are going to run is the script to install Docker on our Raspberry Pi. Portainer is a GUI that manages Docker containers, so we need to ensure Docker is installed.
curl -sSL https://get.docker.com | sh
3. After the script completes, we need to give our Pi user account access to Docker.
sudo usermod -aG docker pi

4. After the user has been added, we are going to run a command to download the latest Portainer image for the ARM processor (which is what the Raspberry Pi uses).
sudo docker pull portainer/portainer-ce:linux-arm

5. Our final step is to create a new container that will run Portainer. If you are already using port 9000 on your Raspberry Pi for something else (this is unlikely), you will need to change the ports below.
sudo docker run --restart always -d -p 9000:9000 -v /var/run/docker.sock:/var/run/docker.sock -v portainer_data:/data portainer/portainer-ce:linux-arm

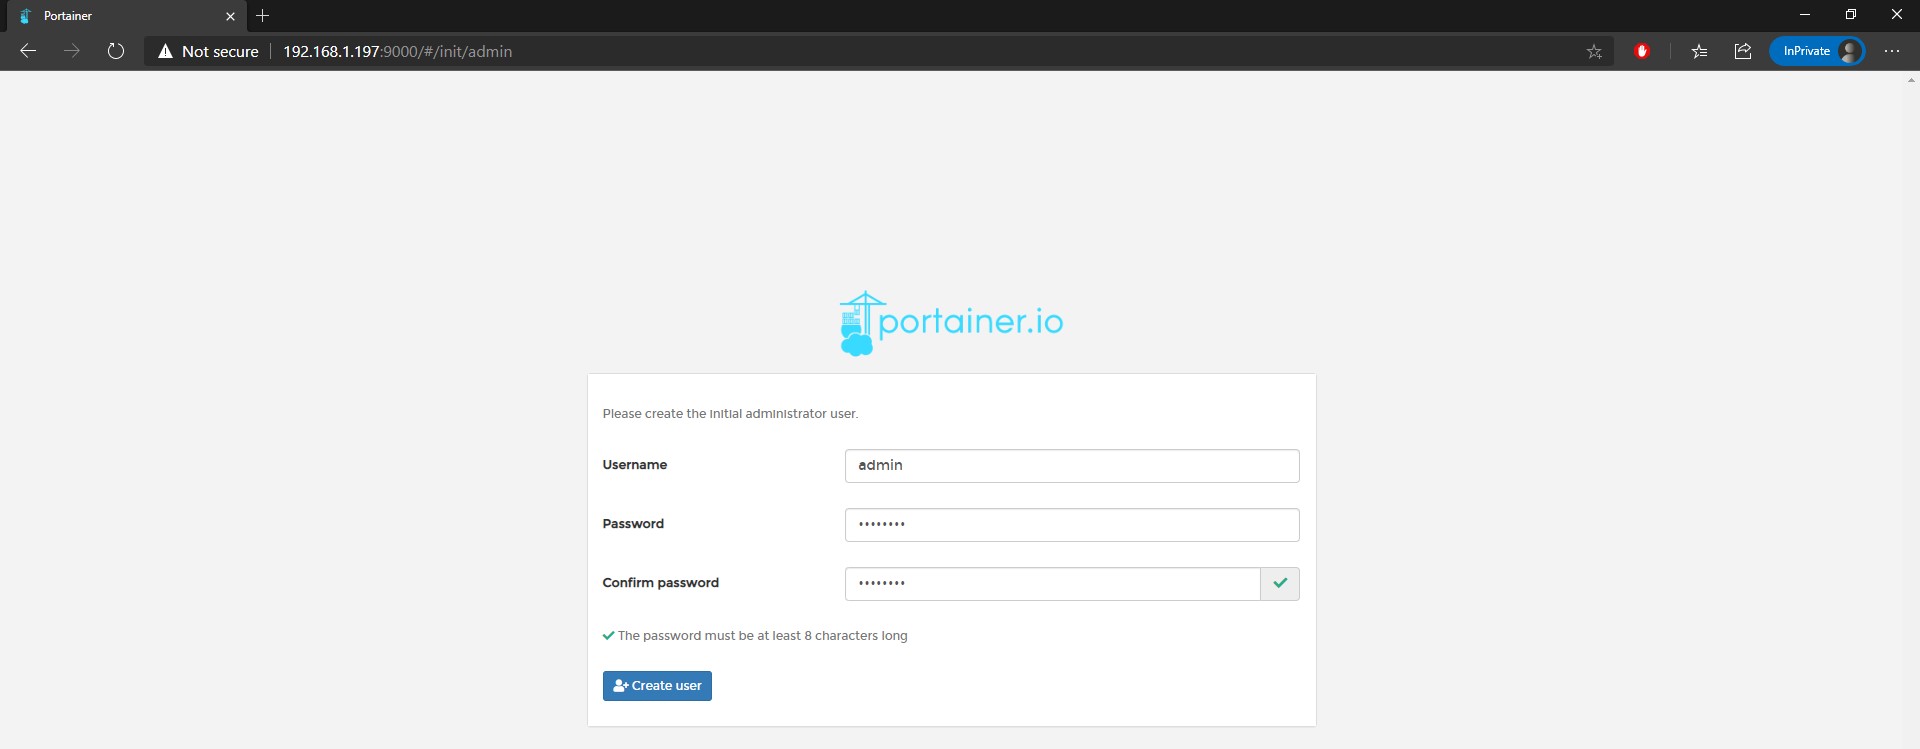
6. You should now be able to navigate to the IP address of your Raspberry Pi and port 9000 to access Portainer. When you get there, create a username and password.
http://[RASPBERRY_PI_IP_ADDRESS]:9000
7. Select Local and Connect.
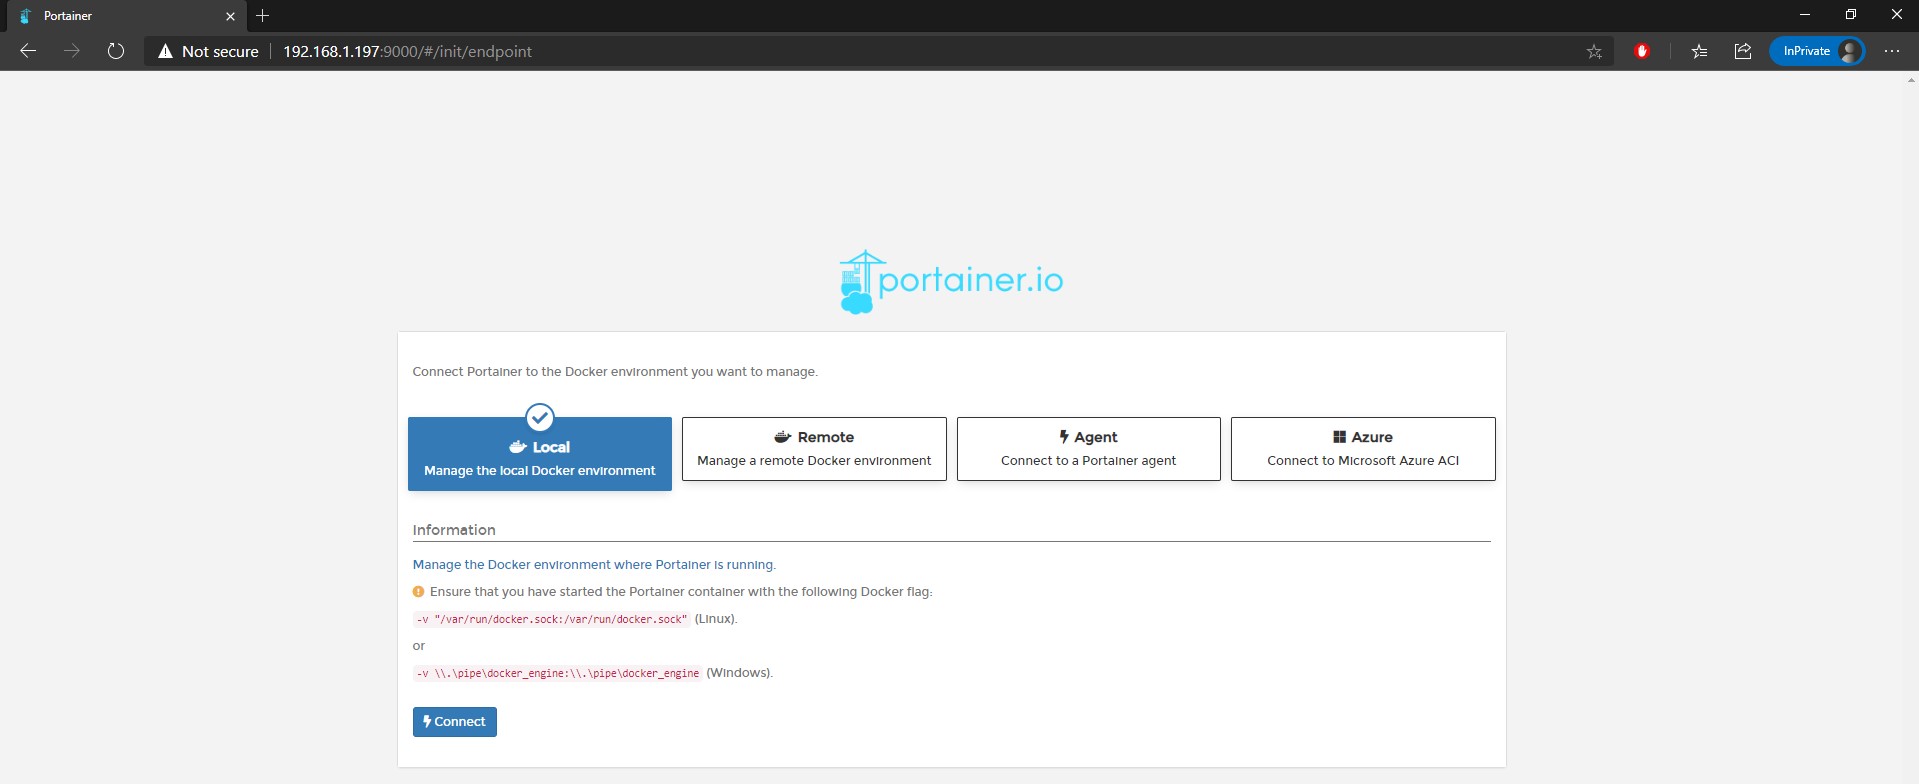
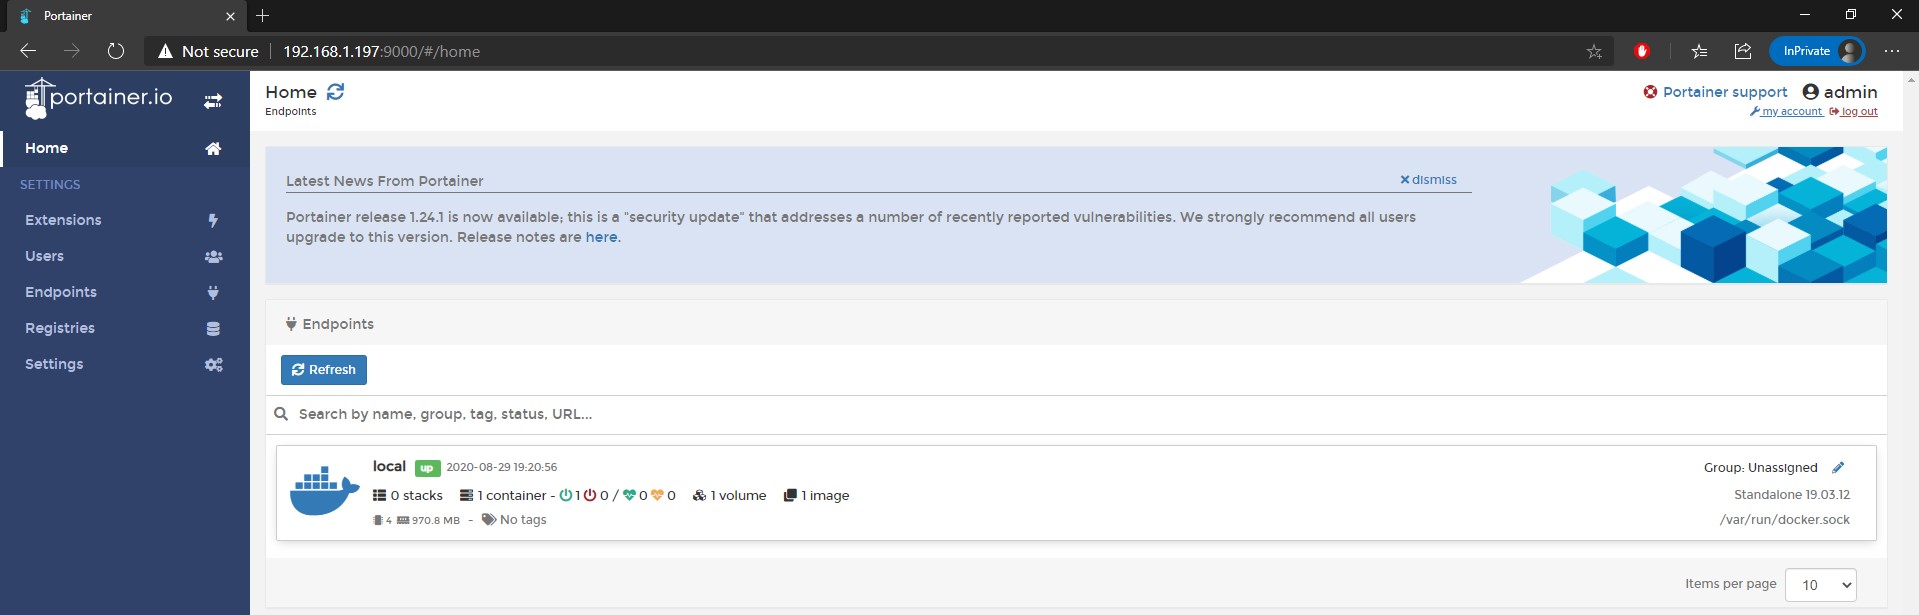
8. You should now be connected to Portainer!
Conclusion – How to Install Portainer on a Raspberry Pi
This tutorial showed how to install Portainer on a Raspberry Pi. This is a pretty straightforward process, but we will be utilizing it in future tutorials. I decided it was best to create a specific tutorial for this rather than installing Docker and Portainer on a Raspberry Pi in all future tutorials.
There are so many Docker containers that you can run, and a Raspberry Pi is a perfect little, low powered home server. You’ll be amazed at how much it can handle and in a future video, I’ll be showing how adding multiple containers to your Raspberry Pi is easy and straightforward way.