In this tutorial, we’re going to look at how to install Home Assistant on Portainer (using Docker). I really like using Docker for Home Assistant when possible as it’ll allow you to migrate the configuration at a later date.
The natural progression is to either move Home Assistant from a powerful device like a hypervisor to a lower-powered device like a Raspberry Pi, or the opposite. Portainer and Docker make this process incredibly easy, as you can simply move the configuration to a separate device whenever you’d like.
How to Install Home Assistant on Portainer
1. If you don’t have Docker and Portainer set up, do it before proceeding as we’ll be utilizing Portainer for the installation.
While you can also use a simple Docker run command for Home Assistant, I find it easier to utilize Portainer for the maintenance/upkeep of containers (especially updating Docker containers) which is why I’ll be utilizing this approach in this tutorial.
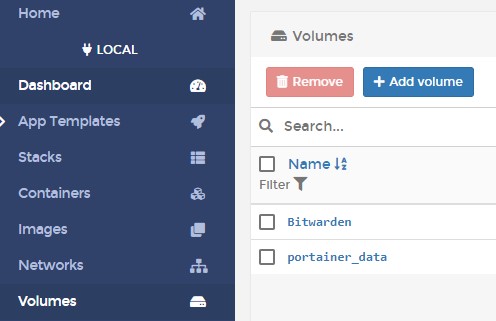
2. Launch and log in to Portainer. Select Volumes then Add Volume.
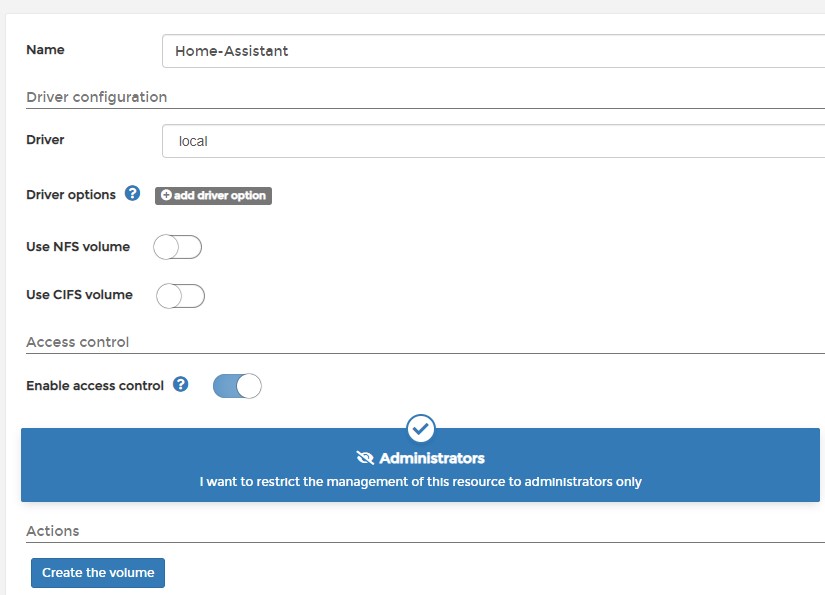
3. Give the volume the name Home-Assistant, then select Create the volume.
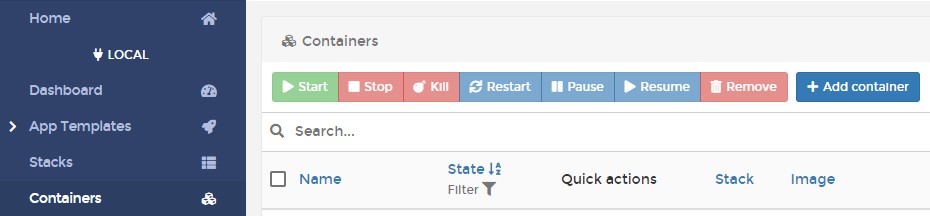
4. Select Containers, then Add Container.
5. Give the container a Name, then enter the image below. Make sure you select the correct image. For most, the option below will be the default, but you might need to use a different version based on the CPU architecture (ARM, x86, etc) you’re currently using.
homeassistant/home-assistant:stable
6. Select publish a new network port and map the host port 8123 to the container port 8123. If you’re using this port for something else (unlikely), please select a different host port number.

7. Select Volumes, then map additional volume. Select the volume we created earlier and map it to the /config location.

8. Change the restart policy to Always.

9. In the Runtime & Resources section, enable Privileged Mode.

10. In the Environment Variables section, create an environment variable named TZ for your time zone.

11. You can now Deploy the container.
Configuring Home Assistant
1. Give the container a few minutes to create, then navigate to the IP address of Portainer and port 8123.
http://IP_ADDRESS:8123
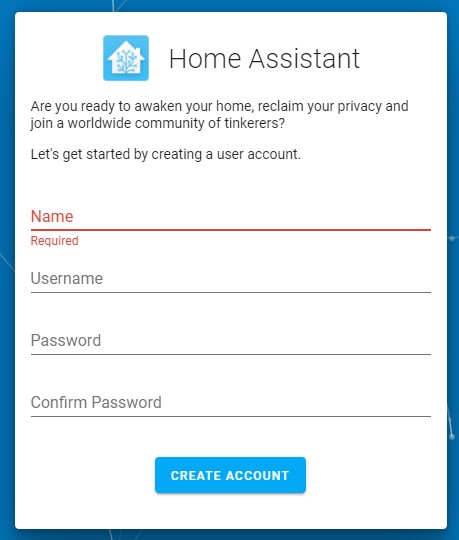
2 Create an account for Home Assistant.
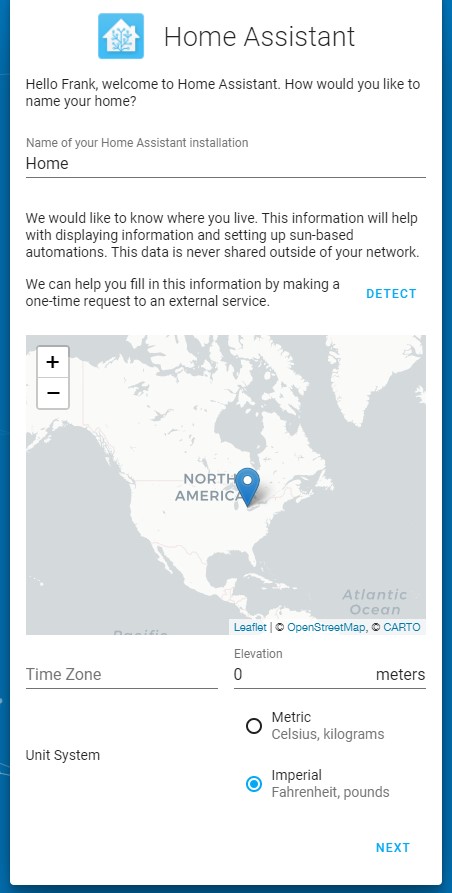
3. Select your location and the unit type you’d like to use, then select Next. If you’d like to share anonymous information, you can at the next step.
4. Home Assistant will automatically find devices on your local network. You can now set up any other integrations that you’d like! Home Assistant will now be set up and configured, so you can modify it however you’d like!
Conclusion & Final Thoughts
This tutorial showed how to install Home Assistant on Portainer using Docker. Home Assistant can be set up in various ways, but I find that installing it on Portainer is a great option if you already have Docker and Poratiner set up. It’s just so easy to manage your containers using Portainer, that it makes sense to utilize it.