When you’re looking to build a DIY NAS, many factors must be considered. Not only is the hardware important, but the software is equally important because oftentimes, the software can determine the type of hardware you should purchase.
We’ll look at everything important below, from why you should build a DIY NAS, to the operating system you should use in your DIY NAS, and finally some important hardware options.
The links below are Amazon affiliate links which means that I earn a percentage of each sale at no cost to you. Thank you for your support.
Why Should You Build a DIY NAS?
Building a NAS (Network Attached Storage) can provide many different benefits. One of the key advantages of going the DIY route is the customization it offers. Unlike off-the-shelf NAS solutions (my favorite being Synology), a DIY NAS can be tailored to your needs.
Since you’re choosing the components and the software, you can tailor the setup to your requirements, which lets you customize everything from the case, to the power, or even the overall power efficiency.
This also allows you to customize the NAS device based on your overall budget, and while it may be expensive upfront, saving on cloud storage fees can be a significant saving in the long run. It also provides complete privacy, which cloud-hosted providers can’t guarantee.
To be clear, there isn’t a “one size fits all” approach that can be used here. I will give an example setup in the article later, but I urge you to read and understand the components you’ll need and tailor this article to exactly what you’re trying to accomplish.
This is the DIY NAS build that I ended up using. A lot of the parts you’ll see below are pulled directly from this build as it’s been rock solid, with some minor differences (case, motherboard, etc).
Which NAS Operating System Should You Use?
The operating system you select is the most important step in this process before looking at hardware for your DIY NAS. While many people will buy hardware, then determine the software they’d like to use, I strongly urge you to do the opposite. We’ll look at why below, but here are a few of the operating systems I recommend:
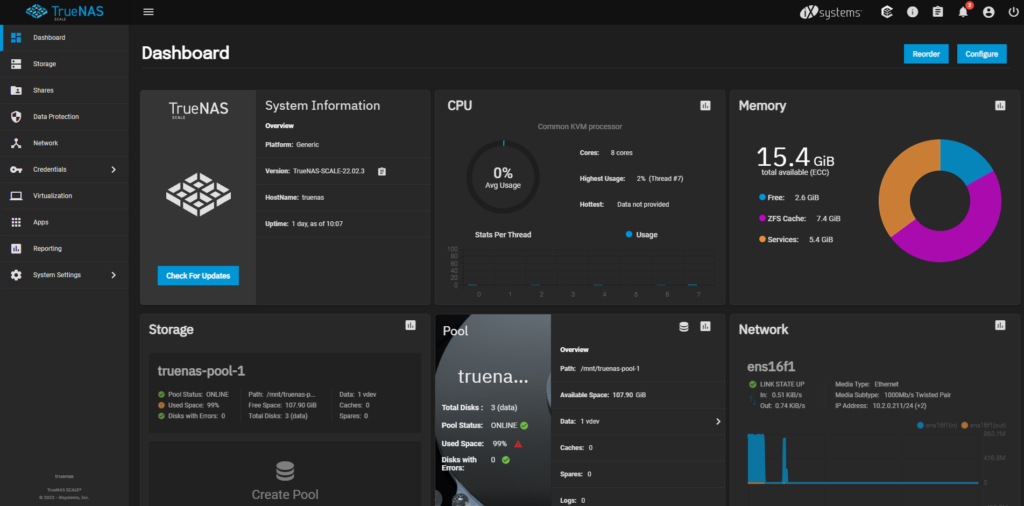
TrueNAS Core or TrueNAS Scale
In 2025, the best option to use is TrueNAS Scale if you’re comparing TrueNAS Core and Scale. TrueNAS Core is heading towards the end of life, and white it still technically works, it’s only being maintained from a security perspective, while TrueNAS Scale is continuing to get updates. You can compare both options, but our recommendation is to use TrueNAS Scale.
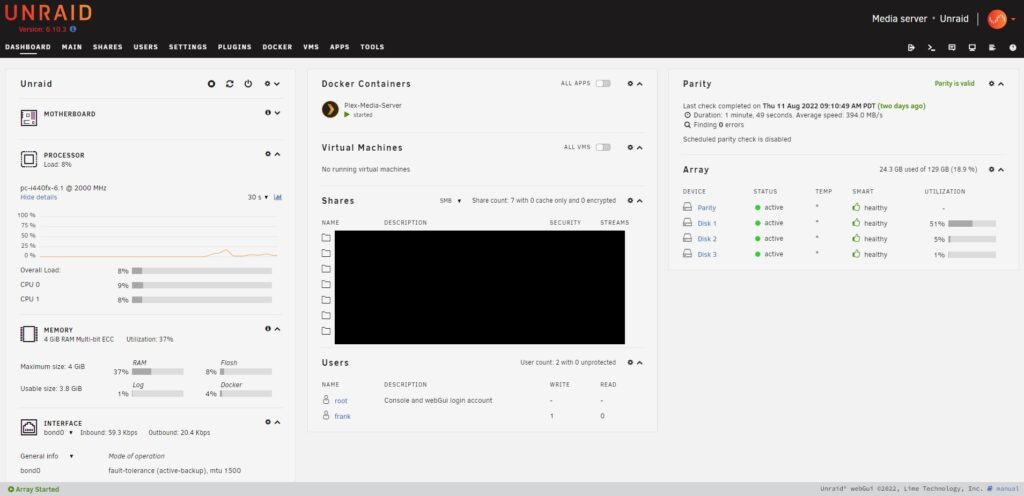
Unraid
Unraid is a proprietary network-attached storage operating system. Unraid allows you to create and manage shared folders, run different applications, and even create and run Docker containers if you’d like. Unraid gives you the ability to create virtual machines as well, though it’s not a traditional hypervisor.
The biggest benefit of Unraid is that it’s incredibly user-friendly. From my experience, most NAS operating systems are fairly confusing when you first set them up, however, Unraid makes sense, meaning that you’ll get accustomed to it quickly.
Please keep in mind that Unraid is not free, so you’ll have to purchase a license based on the number of hard drives you intend to use (and if you don’t buy a lifetime license, it will be recurring).
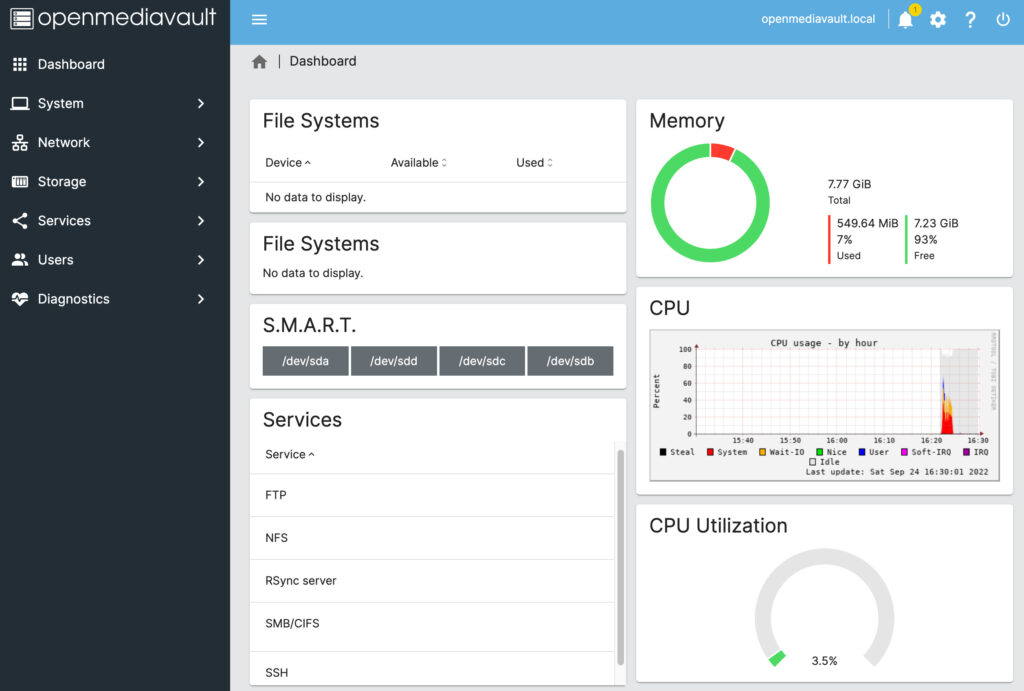
OpenMediaVault
OpenMediaVault is an open-source network-attached storage (NAS) operating system based on Debian Linux. OpenMediaVault has all of the features you’d expect from a NAS operating system, but my favorite feature of OpenMediaVault is how user-friendly it is and its compatibility with different types of hardware. Due to how easy it is to use OpenMediaVault, it’s a great NAS operating system to learn on.
To expand on OpenMediaVault’s compatibility, it can be installed on bare metal, as a virtual machine, or even on a Raspberry Pi (which means that you can technically turn a Raspberry Pi into a NAS). It’s also extremely resource-friendly. Overall, that hits most systems out there and makes OpenMediaVault a consideration for most people as their hardware will almost certainly work with the OS.
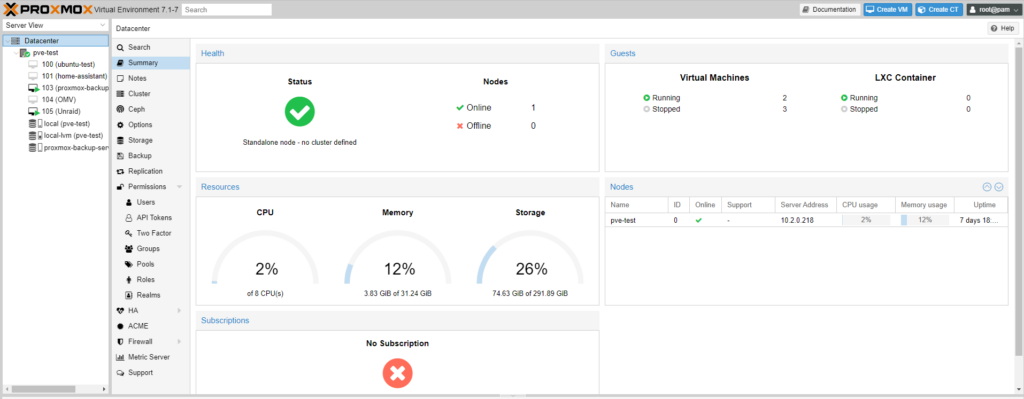
Proxmox?
So right off the bat, Proxmox is not a NAS operating system. Proxmox is a virtual environment (VE) that is a type-1 hypervisor that is based on Debian GNU/Linux. Proxmox allows you to create virtual machines (VMs) and LXC containers.
From a pure usability standpoint, Proxmox is a hypervisor and is not a NAS operating system. However, while Proxmox isn’t a traditional NAS, you can virtualize a NAS operating system like TrueNAS, Unraid, OpenMediaVault, or basically anything else that you want to run. You also have the benefit of creating other VMs or Containers to run.
Other
The best part of building a DIY NAS is using anything you’d like as the software. While the options above are my personal favorites, if you’re simply looking to run a basic Linux server and set up shared folders, there’s nothing wrong with using that approach.
You have complete control over picking whatever operating system you’d like on a DIY NAS.
What is ECC Memory and Do You Need It?
Without going too far into detail, ECC memory will detect and correct memory errors, while non-ECC memory will not. This is a huge benefit as ECC memory should not write any errors to the disk.
Many feel that for ZFS, this is a requirement, and thus view ECC memory as a requirement for TrueNAS Core or TrueNAS Scale.
While many view ECC memory as a requirement for TrueNAS, the counterpoint to that argument is that ECC memory will help all filesystems. The question you have to ask yourself (and most likely spend hours researching), is if you need ECC memory for NAS devices.
To summarize my thoughts (and this is purely on a personal level), I build my NAS servers with ECC memory and will be recommending it below.
The hardware options are more minimal, and you should certainly confirm you’re actually using ECC memory if you decide to purchase it, but the benefits it provides for data integrity are worth it. One downside is that a dedicated GPU is sometimes needed.
Selecting Hardware For a DIY NAS Build
When you’re configuring a DIY NAS, please remember that you’re responsible for ensuring that the hardware is compatible. Everything listed below is compatible together, but if you decide to alter anything, ensure hardware compatibility before purchasing.
Case
There are many different NAS cases you can use (and you should check out each of these before making a decision). Also, remember that the overall decision should be dependent on the total number of hard drives you intend on using, but there are two cases I generally recommend that will fit the requirements of most users.
Fractal Design Node 804
The Fractal Design Node 804 is one of the most suggested cases you can purchase and is the best Micro-ATX NAS case. It has a cube case form factor that has a ton of great functionality.
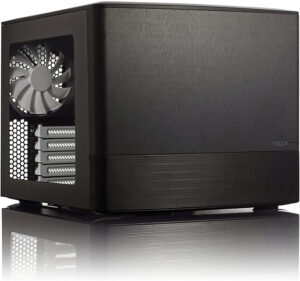
Features:
- 3 x 120MM Fractal Design Silent Series R2 Fans Included
- Two Hard Drive Mounting Options:
- 8 x 3.5″ HDD & 4 x 2.5″ SSD
- 10 x 3.5″ HDD & 2 x 2.5″ SSD
- Micro-ATX (mATX) or Mini-ITX (mITX) Motherboard Compatability
Fractal Design Define 7 XL
The Fractal Design Define 7 XL is the best E-ATX/ATX case that you can purchase. Unlike the Node 804, it’s a full-tower case, but it comes with 18 x 3.5″ HDD mounting locations. If the form factor isn’t a concern and you need more than ten total 3.5″ HDD slots, the Define 7 XL is an awesome case.
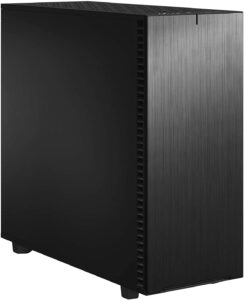
Features:
- 3 x 140MM Dynamic X2 GP-14 Case Fans Included
- 18 x 3.5″/2.5″ HDD Mounting Options
- 2 x 2.5″ Dedicated Drive Brackets
- E-ATX/ATX/mATX/mITX/EE-ATX Motherboard Compatability
CPU/Motherboard/Memory
The CPU, Motherboard, and Memory that you purchase must be compatible with one another. This is the section where the ECC memory question above becomes important. I am listing out a DIY NAS build that utilizes ECC Memory below, but the ECC memory is not required if you don’t want to use it.
Please keep in mind that ECC memory options are fairly limited. Fortunately, a lot of Ryzen CPUs support ECC memory, but the Motherboard selected must as well.
AMD Ryzen 7 5700X
The AMD Ryzen 7 5700X is an 8-core, 16-thread processor that supports ECC memory. While this processor will be overkill for small NAS builds, you’re really purchasing the ECC memory support. A GPU will also be required!
This processor requires a CPU Cooler, which can be purchased here (though this is my favorite, you can pick any CPU cooler you’d like to use, as long as it will fit in the case).
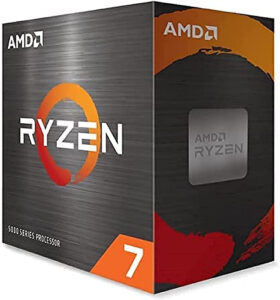
Click here to purchase the AMD Ryzen 7 5700X on Amazon
ASRock B550M Steel Legend
The ASRock B550M is a Micro ATX Motherboard that supports ECC Memory up to 3200MHz. This motherboard comes with six total SATA ports, so if you’d like additional ports, you can purchase an optional PCI-E SAS/SATA Card.
As mentioned above, the CPU doesn’t support integrated graphics, so a GPU is required. This is a reasonably priced GPU for this motherboard. Please remember that GPU performance isn’t particularly important for this build.
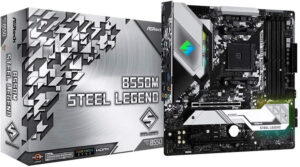
Click here to purchase the ASRock B550M on Amazon
Selecting a Motherboard for a DIY NAS is the most challenging step, as the PCIe lanes you need will ultimately determine what makes the most sense. This article on server builds is designed to help you select a Motherboard, so check this article out if you’d like to compare options.
A-Tech DDR4 3200Mhz ECC Unbuffered Memory
The A-Tech PC4-25600 is 3200MHz DDR4 ECC Unbuffered Memory. You must use a compatible Processor and Motherboard (shown above) in order to receive the benefits of ECC memory. If you do not plan on using ECC RAM for your DIY NAS, just get regular, highly rated memory.
You must also ensure that ECC support is enabled in the BIOS of the Motherboard!
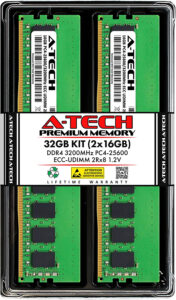
Click here to purchase A-Tech PC4-25600 ECC Memory on Amazon
Power Supply Unit (PSU)
The Corsair RM750x I am recommending below might be overkill for some. I am making it clear upfront that you do not need to buy this. The only reason I am recommending it is because it’s in stock and it is a GREAT PSU.
NAS devices are online 24/7, and the PSU is responsible for powering all (expensive) hardware, with a lot of hard drives. Do not skimp out on the power supply. Every component you’re purchasing is powered by this device, so look at this as an important part of the NAS build.
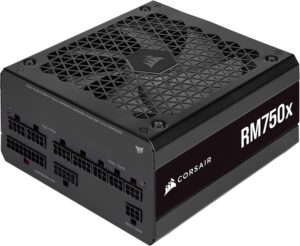
Click here to purchase the Corsair RM650x on Amazon
Hard Drives (Boot + NAS)
The boot drive should be separate from the NAS hard drives. If you haven’t been able to tell, I prefer quality parts. It’s very easy to put together a budget build to keep costs down, but spending 20-30% more can provide a more reliable system, which for NAS devices is the most important overall requirement.
The Samsung 980 Pro is an excellent NVMe drive that’s fast and has great endurance (300 TBW for the 500GB NVMe).
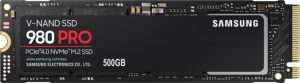
Click here to purchase the Samsung 980 Pro
While the Samsung 980 Pro will be used for the boot drive, you’ll need to purchase NAS Hard Drives. I’ve always used Seagate IronWolf NAS drives and I’ve had great reliability with them.
The IronWolf Pro drives below are slightly superior (better workload rates and warranty, plus Seagate Rescue Data Recovery), so you’ll have to determine if you can justify the price difference.
Seagate IronWolf Hard Drive
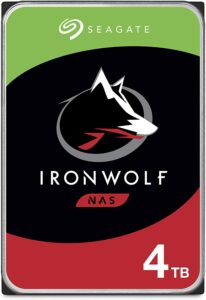
Warranty: 3-year
Seagate IronWolf Pro Hard Drive
Warranty: 5-year
- 4TB IronWolf Pro
- 6TB IronWolf Pro
- 8TB IronWolf Pro
- 10TB IronWolf Pro
- 12TB IronWolf Pro
- 14TB IronWolf Pro
- 16TB IronWolf Pro
- 18TB IronWolf Pro
Conclusion & Final Thoughts: Should You Build Your NAS?
In general, building a NAS provides you with a ton of flexibility and really allows you to select every single component based on your ultimate goal.
I want to be extremely clear that if you’re not interested in using ECC memory, you probably shouldn’t use the build listed above. It’s really only there for reference on what you can build from a DIY NAS perspective, and if you’re comfortable with non-ECC memory, you can buy an Intel CPU with integrated graphics, avoid the GPU purchase, and save money on the Memory.
With that said, the DIY NAS build above will give you incredible performance for almost any operating system that you select. There are some changes that can be made if you’d like to install the NAS operating system in a VM (like TrueNAS on Proxmox), but from a general perspective, it’s a great option.