If you’re interested in building a home server, whether it’s a NAS, hypervisor, or just something to use as a simple file server, using a custom build gives you the most overall control. The reality is that desktop components have come a long way, with tons of cores and threads, great power efficiency, support for ECC memory, and are great options for home servers.
Of course you can buy a prebuilt device, Mini PC, or rackmount server, but again, none will give you the control that a custom build will. So in this article, we’re going to look at a complete home server build guide to help you pick the hardware that makes the most sense for your home server.
Disclosure: Some links below are Amazon affiliate links which means that I earn a percentage of each sale at no cost to you. Thank you for your support.
Complete Home Server Build Guide
Each component in a DIY home server build should be carefully selected, but certain items (specifically, the Motherboard) are harder to choose than others…for reasons we’ll look at below. If you’re simply looking for sample builds, please skip down to that section.
Selecting a Processor (CPU) for your Home Server
The first option when building a home server should be selecting a Processor. This isn’t the most difficult step, but it isn’t the easiest either. There are three important items that I feel should be used to pick the right processor for your build: total cores/threads, TDP, and integrated graphics.
The total cores and threads should be dependent on exactly what you plan on using this device for. If you want to build a hypervisor, more cores and threads are required than if you’re looking to build a basic Ubuntu server, or even a DIY NAS.
Processor age should also be taken into consideration. For home server builds, going with an “older” processor isn’t necessarily a bad thing. Clock speed is generally increased from generation to generation with cores/threads staying consistent. There may be differences in power consumption (which we’ll look at), but don’t rule out a prior generation to have the latest and greatest because it might be 90% as performant for 50% of the cost.
Processor Cores and Threads
To select a Processor for your build, you should consider what you’re running on the actual device, so a server running the Proxmox operating system with four VMs is drastically different than running ten VMs from a resource requirement perspective.

The sweet spot for most users will be somewhere in the 6-8 core, 12-16 thread range, but for advanced builds (especially hypervisors), something with 12 cores and 24 threads isn’t the worst idea. This will allow you to run more total VMs while maintaining good performance.
Thermal Design Power (TDP)
Next is TDP, which is the total power consumption that the CPU will use. This is important because a higher TDP leads to more heat, which requires better cooling. It’s also important from a power consumption perspective, because home servers generally run 24/7, so a CPU that idles 20-40 watts higher than a different CPU may cost significantly more over the years than spending a little extra today, for a more power efficient chip.

From a processor perspective, the best power consumption you’ll get for a home server build (ruling out ARM / integrated chipset builds that are designed around power consumption) is somewhere around a ~65W TDP.
This can be lowered even further with a Motherboard that has some sort of “ECO” mode that can lower the TDP even further by limiting the performance…which also means you can take higher TDP chips (120/170W) and lower them down to ~105W or even ~65W…but remember, at a cost to performance.
There are some incredible Processors which we’ll look at below with a ton of cores and threads with great power efficiency.
Integrated Graphics (iGPU)
Simply put, certain chipsets have integrated graphics and others don’t. If your chipset doesn’t have integrated graphics, you will need a GPU for the initial setup process. If you plan on running the server headless (without a monitor), you may be able to remove the GPU after the installation process, but it depends on the Motherboard. If you don’t buy one where it can be removed, plan for your home server build to have a dedicated GPU 24/7.

If you don’t want a GPU, or you want to do some sort of transcoding (without a dedicated GPU), you’ll need a processor with integrated graphics. Intel is king in this area (espeically for transcoding due to QuickSync), but all Zen 4/Zen 5 AMD processors have integrated graphics, but something like the Ryzen 9 5900X shown above doesn’t, since it’s Zen 3.

PCIe Lane Support for the CPU
Each Processor you look at will have a certain number of PCIe lanes it supports. PCIe lanes are ultimately how your components speak with one another, so your CPU, NVMe SSDs, GPUs, etc, all utilize PCI Express (PCIe) lanes.
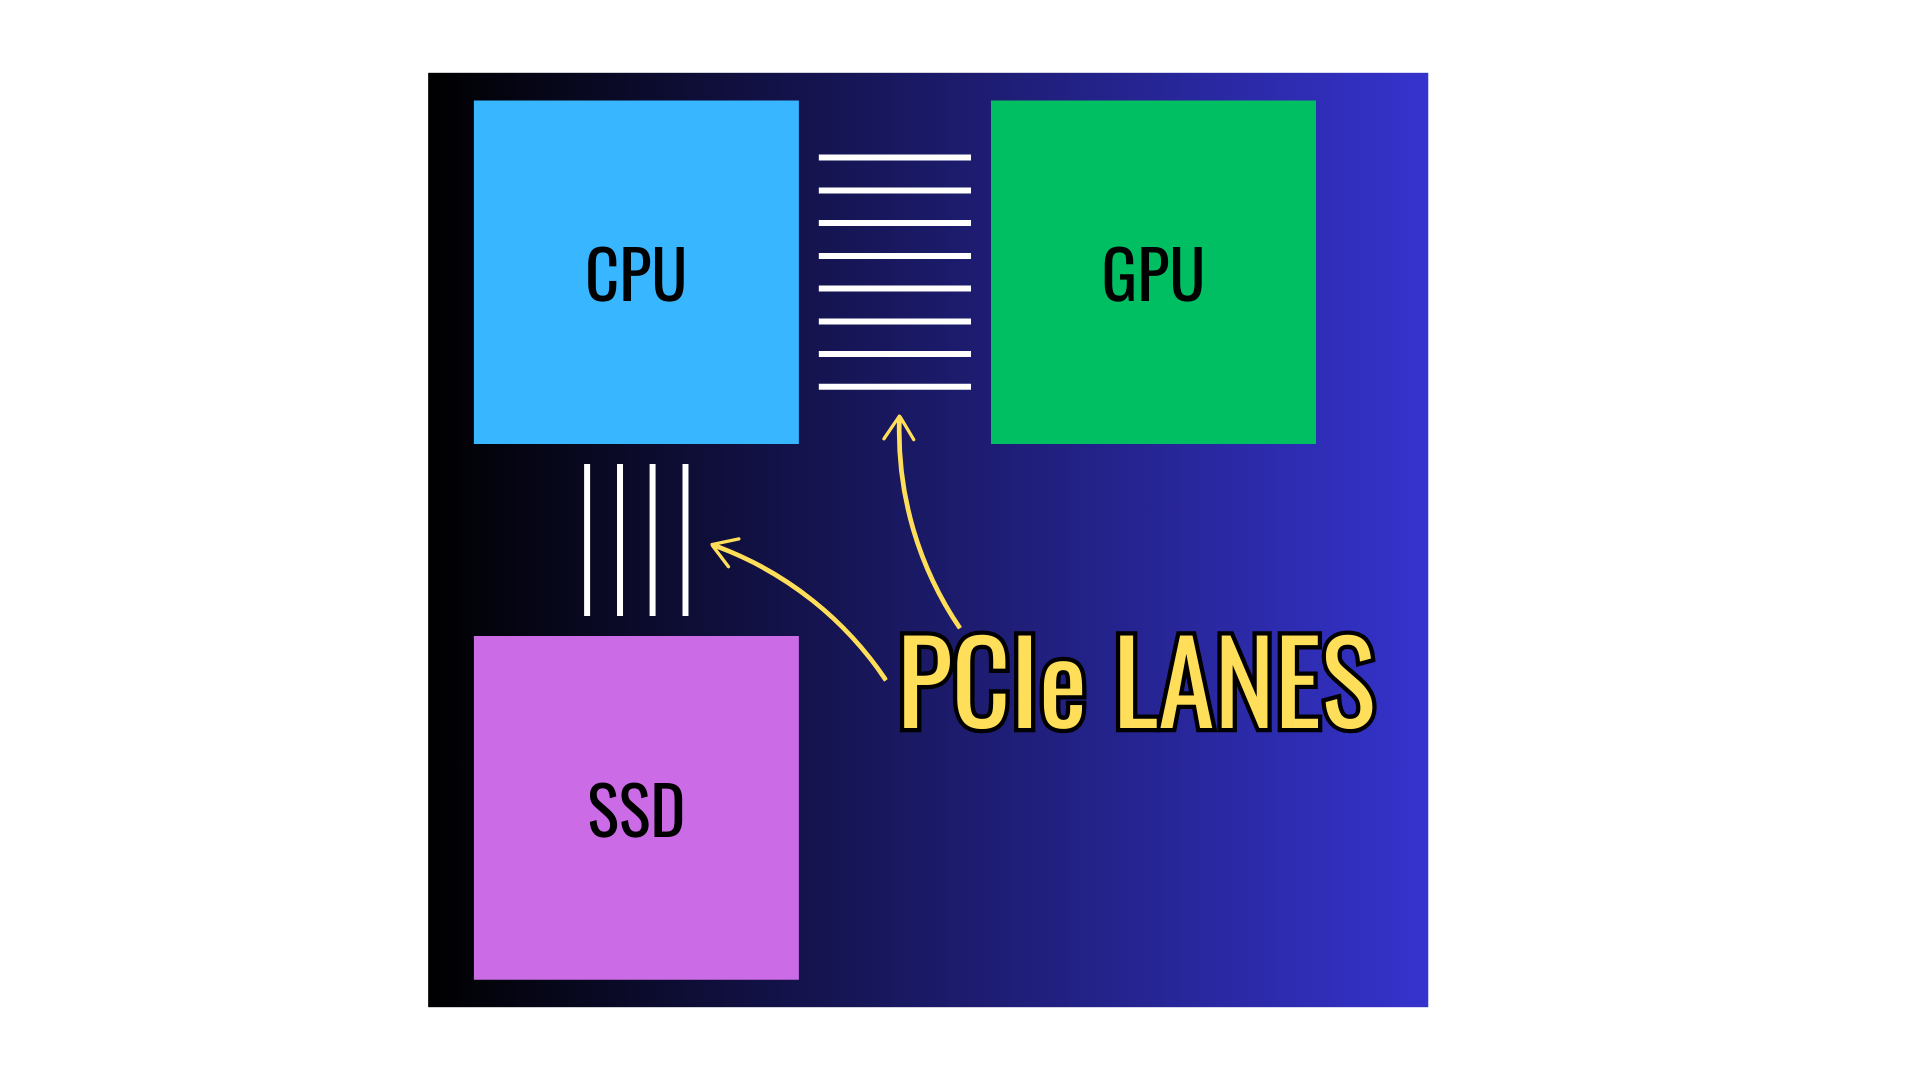
The more PCIe lanes your processor supports, the better, but it is totally dependent on the total number of devices you intend on using. If your home server build will have one NVMe SSD and memory, you don’t need a ton of PCIe lanes.
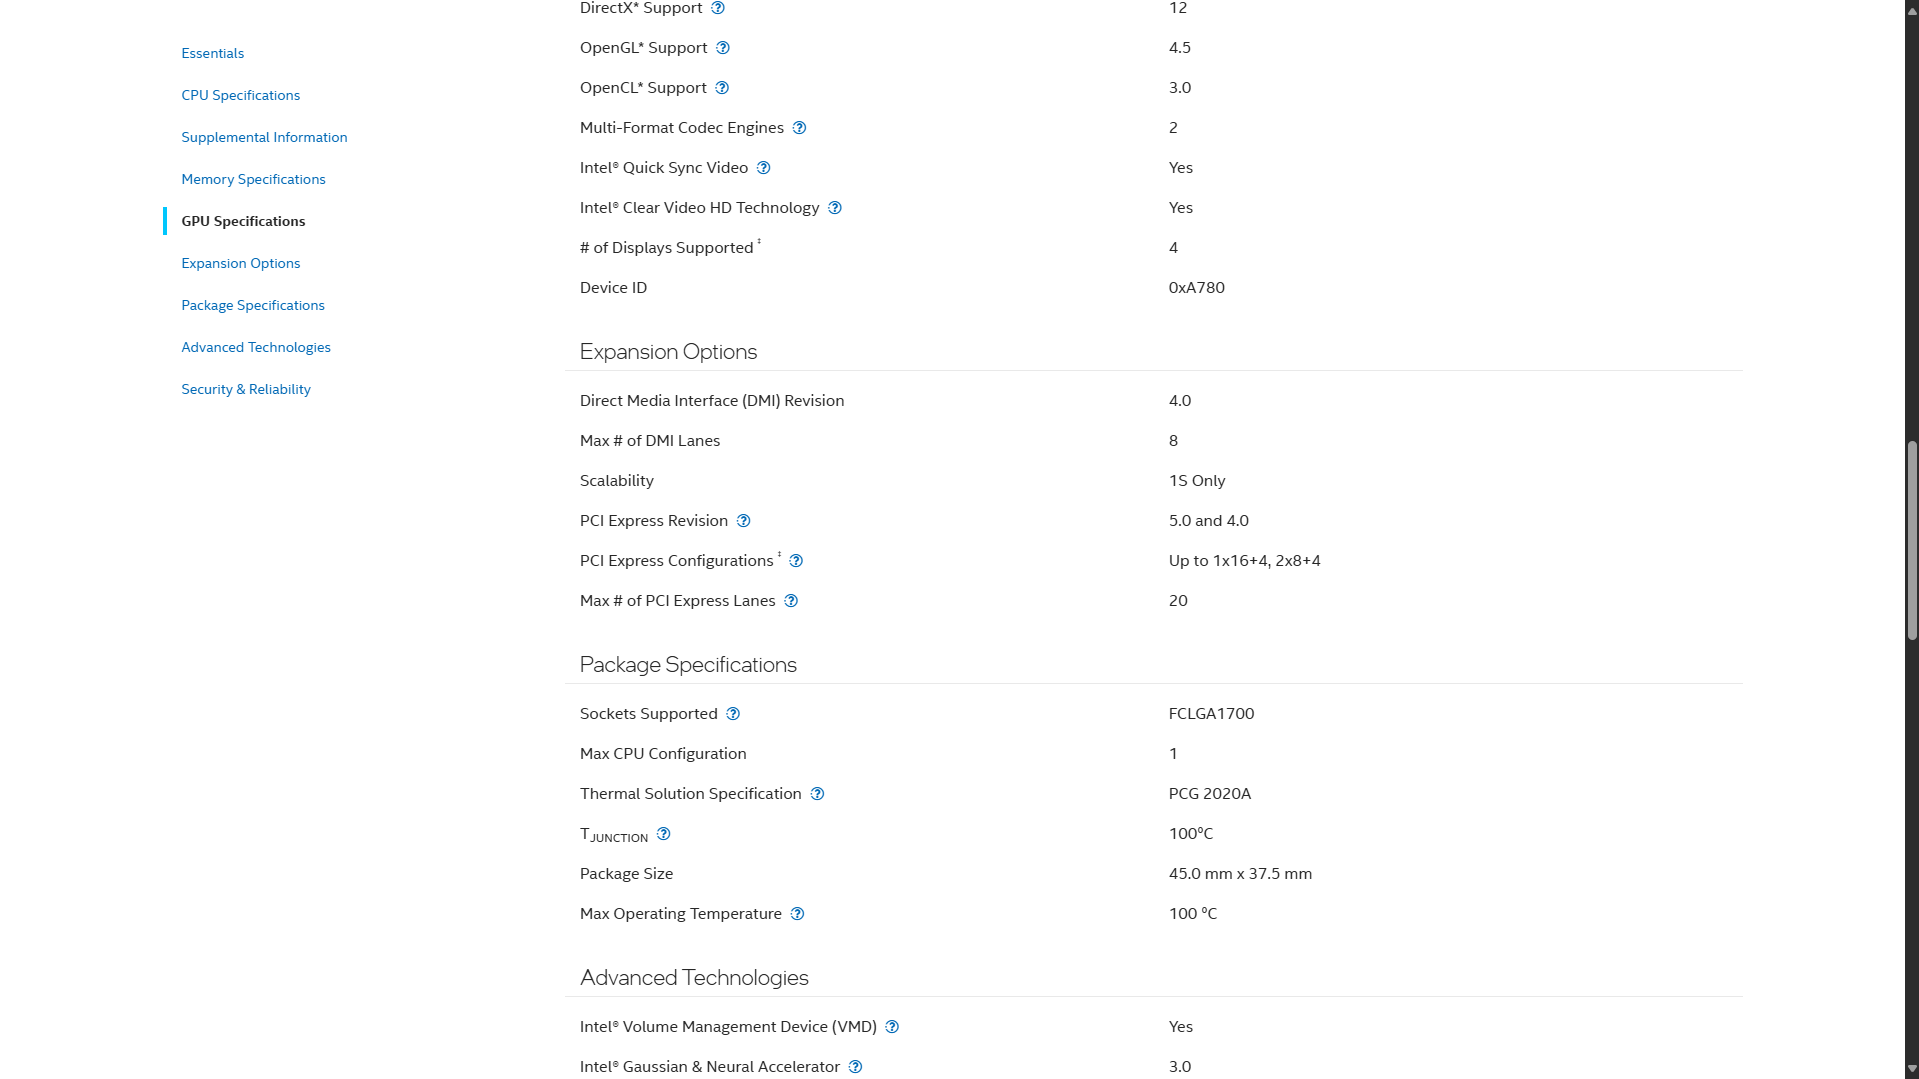
However, if you want to add a 10Gb network card, GPU, SAS card (if it’s a NAS), etc, purchasing a device that supports more total PCIe lanes could be beneficial. Again…it’s totally up to your requirements, and to make things even more complicated, certain Motherboard chipsets add PCIe lanes as well (at a slight hit to performance compared to CPU PCIe lanes), so you should look at the CPU and Motherboard to determine how many PCIe lanes your home server build will have available.
Selecting a Motherboard for your Home Server
This is the most frustrating part of the home server build…mainly because Motherboards really need to be assessed. Before you even start comparing Motherboards, look into ECC memory. Most modern CPUs support ECC memory, but not all Motherboards do, so if you do want ECC memory, start there, because you’ll narrow down your pool by a lot.
Understanding Motherboard PCIe Lane Allocation
To highlight some of the differences between Motherboards, I’m going to use two examples from the last home server that I built in 2021 and compare two ASRock Motherboards that look identical, but are totally different. This is the exact dilemma I was in when I built it.

The Motherboards above are B550 (left) and X570 (right) – both support AM4 socket CPUs, and are what I used for my Proxmox build with an AMD Ryzen 9 5900X. Right off the bat – there are a few minor differences: the B550 has a 2.5GbE networking and two M.2 NVMe SSD slots, while the X570 has 1GbE networking and three M.2 NVMe SSD slots.
However, they’re entirely different from a PCIe lane perspective, which explains why the B550 has better networking but less M.2 slots…the PCIe lanes are split differently. The X570 has three full-length PCIe Gen4 x16 slots, and two PCIe Gen4 x1 slots.
You can fill all slots, but the first, and third full-length PCIe slots will be downgraded to PCIe Gen4 x8, but since the fifth runs off the X570 chipset, it’ll maintain 16 PCIe lanes. If you only run one PCIe card in slot one or three, you’ll maintain 16 PCIe lanes.
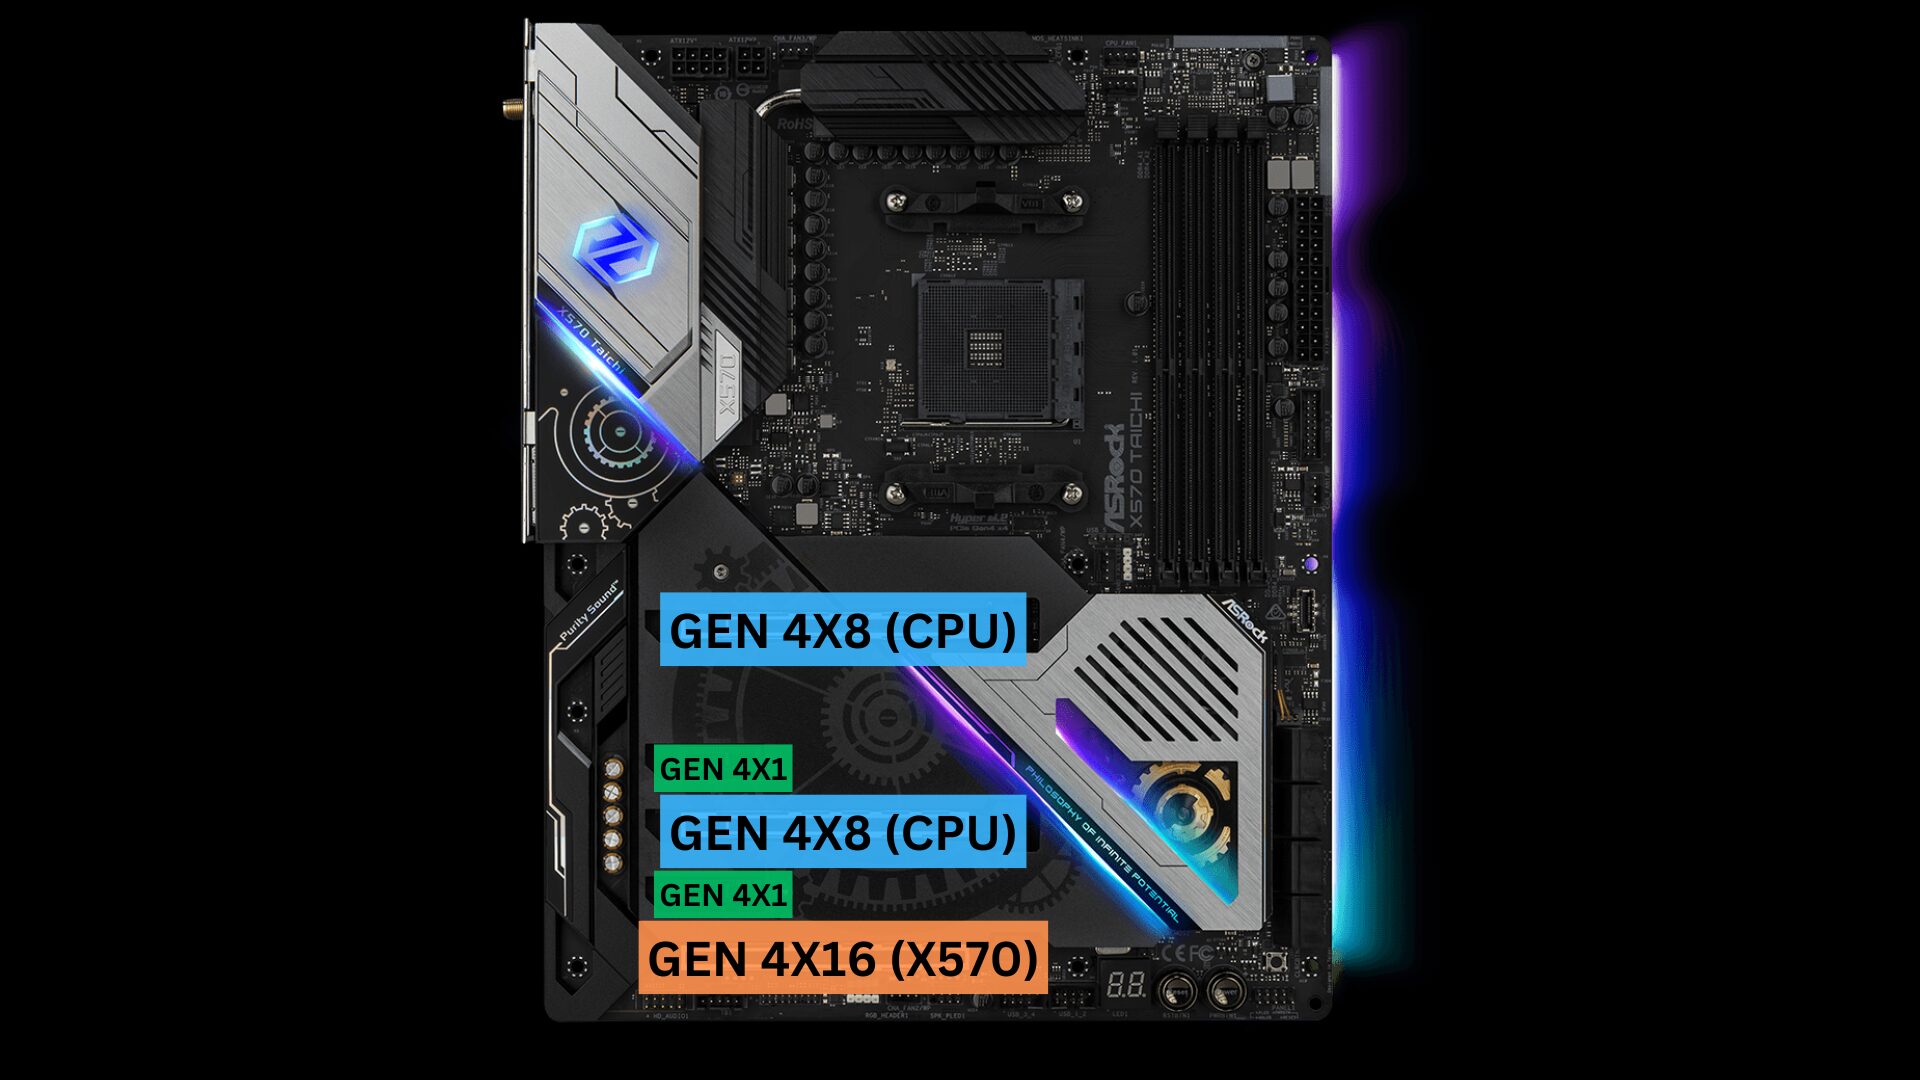
However, remember that third M.2 NVMe slot? If you fill that, the PCIe 5 slot (Gen4 x16 off the X570 chipset) will be disabled. So do you really have three M.2 NVMe slots? Kind of, but not if you want to use that fifth PCIe slot.

The B550 is totally different though, since it doesn’t have the X570 chipset to add more PCIe lanes. You get better networking by default, but have three full length PCIe slots that run at Gen4 x8, Gen4 x8, and Gen3 x4 if all slots are filled.
If only one (PCIe 1/3) is filled, you’ll get the full 16 lanes…however, fill one of those Gen3 x1 slots? Yeah, the fifth PCIe slot gets downgraded to Gen3 x2.

The reason I’m highlighting all of this is because you must work your way back with Motherboards. First, you have to select exactly what PCIe cards you’ll use, then look at the total number of PCIe lanes that each will need, then determine which Motherboard has the best support for that configuration.
PCIe lanes are limited, and each Motherboard utilizes them differently. Some will prioritize networking, or M.2 NVMe slots/speed, or even the PCIe slots themselves, so this is what ultimately must be compared.
PCIe Bifurcation
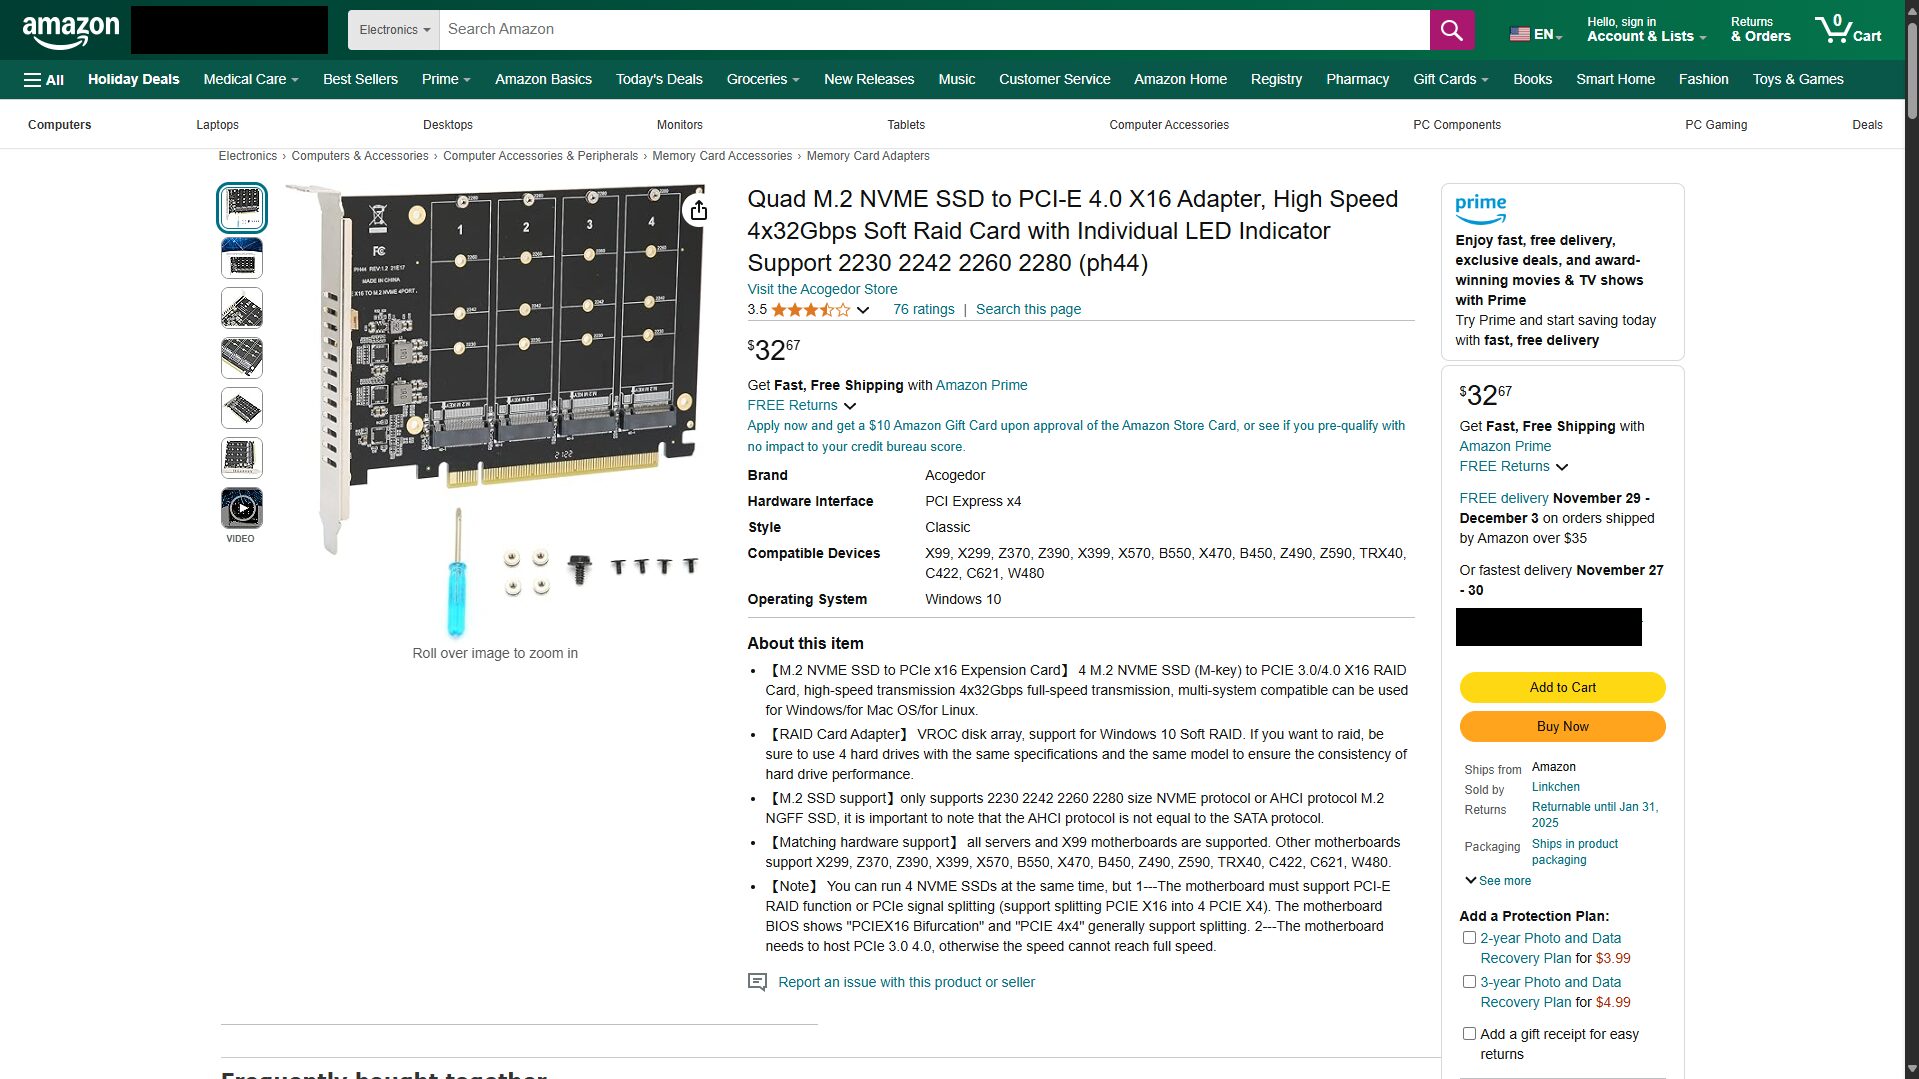
To complicate Motherboards even further, certain PCIe slots can be split…if the Motherboard supports it. This means that one of those Gen4 x16 slots can be modified to use PCIe Bifurcation in the BIOS. At that point, you can buy an adapter that’s designed to be used with PCIe Bifurcation, and split those PCIe lanes to multiple devices. This is generally used in three different combinations (x8x8, x8x4x4, x4x4x4x4).
This technically means that you can run four Gen4 NVMe SSDs off one PCIe Gen4 x16 slot by using the correct adapter. Just remember that the Motherboard must support PCIe Bifurcation to get this working.
Memory Performance (RAM)
The final “annoying” part of picking a Motherboard is knowing the speed at which you should purchase your memory. Depending on the total number of DIMMs you plan on using, the performance can change. For example, filling two DIMMs in the example below allows the memory to run at 3200 Mhz, but with all four? 2667 Mhz.

To make matters even more complicated, certain Motherboards overclock memory by default, so in my Ryzen 5900X Proxmox build, I have four DIMMs filled with ECC memory…all running at 3200Mhz.
Overall, just make sure that you purchase memory that fits your home server build (DDR4/DDR5), is the correct speed, as well as dual-rank or single-rank based on the Motherboard specs…and you should be fine.
If everything above, meaning the PCIe lanes and memory support/performance is not a factor for you, congrats! Your Motherboard selection will be extremely easy because generally, you’ll just have to select the Motherboard that is in your price range and fits in your case.
Keep in mind that there are…a lot more things that you can take into consideration, like IOMMU groups (for PCIe Passthrough), Motherboards that support IPMI (limited), and more, but quite honestly, if the Motherboard fits the PCIe lane limitation, you can be pretty certain that it’s the right fit.
Selecting a SSD, PSU, Case, and Miscellaneous Accessories
If you make it this far, you can relax, because your home server build is practically done. Almost everything at this point can be selected with less thought. You should still compare SSD performance, ensure that you select a good PSU, and find a good case and CPU cooler (if needed), but it’s not nearly as difficult as the CPU or Motherboard.
Solid-State Drive Selection
Whether you’re looking at M.2 NVMe SSDs or 2.5″ SSDs (or even 3.5″ HDDs), you can generally go with the drive you’re comfortable with. Of course there are better drives than others, but warranty and price are the two biggest considerations…with the exception being for things like SSD cache (if you’re using a NAS) where you really want to ensure you’re getting a good, quality…potentially even enterprise-grade drive.
If you’re looking for what I normally purchase, it’s Samsung drives. Whether 2.5″ or NVMe SSDs, I normally purchase Samsung 870 EVO’s, or 980 Pro/990 Pro SSDs.

Power Supply Unit (PSU)
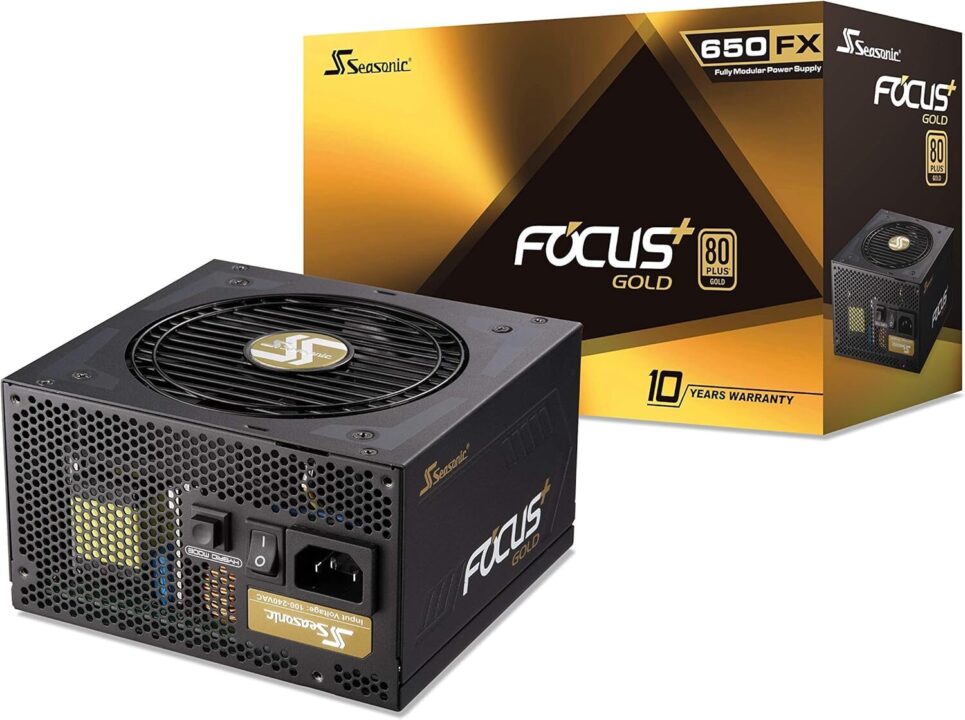
The power supply you purchase should not be a cheap, bronze-rated PSU. This is the device responsible for powering your entire home server build, and it will most likely be running 24/7 for years. I recommend purchasing a good, gold-rated (at minimum) PSU, and the wattage will be depended on your build. I’d suggest using a PSU calculator to assess how much power you’ll need, then bump it up 20-30%.
For most, a good 550w or 650W PSU will most likely be fine with newer hardware being more power efficient, but in unique cases, you might be in the 750W+ range. I prefer purchasing Corsair or Seasonic PSUs as I’ve had good luck with them in the past.
Case for your Home Server
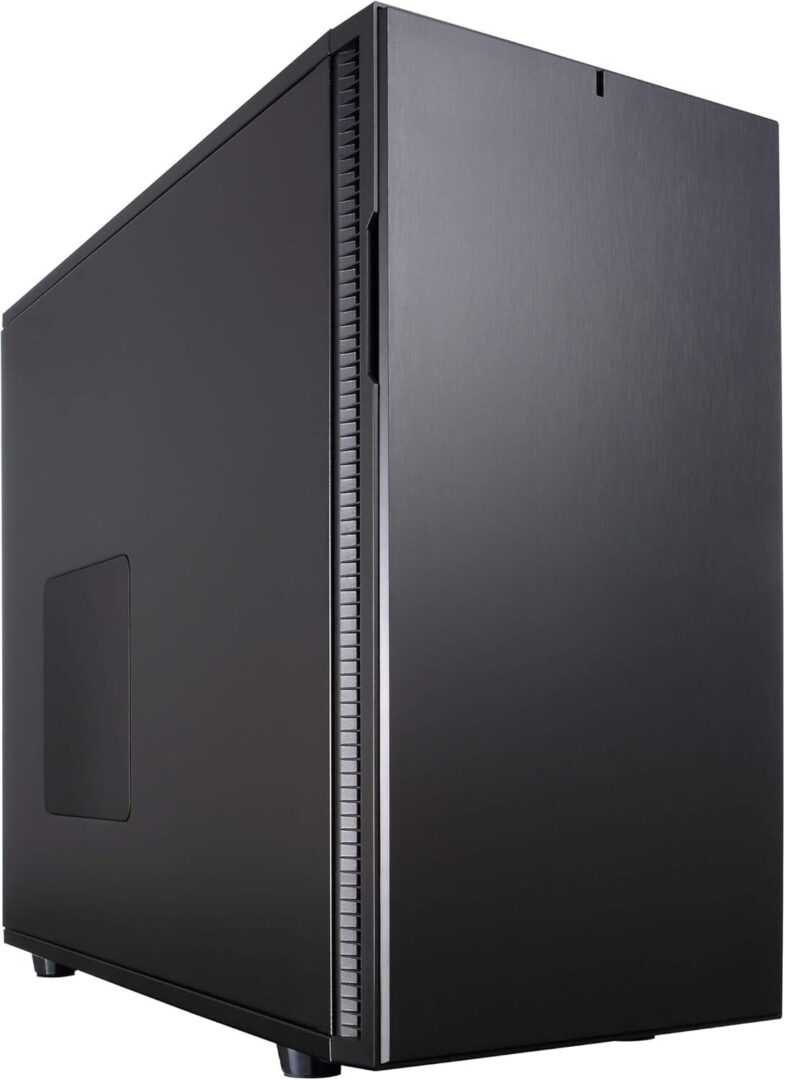
The case is the personal preference, based on your requirements. Of course, there are better cases from a performance perspective, but it’s generally dependent on cooling performance. The issue with suggesting a case is that you may want a rackmount case, need eight HDD bays, or just want the smallest case you can find, and those are all different.
This means there isn’t a “best” case that you can purchase, but I’ve always had good luck with Fractal Design desktop cases (this is a huge case that fits 18 HDDs).
If you’re looking for a rackmount option, your choices will be more limited, but make sure the case fits the Motherboard, drives you’d like to use, CPU cooler, and PSU, and you’re good to go. If you’re looking for a NAS case, these are my favorite options.
Miscellaneous Accessories
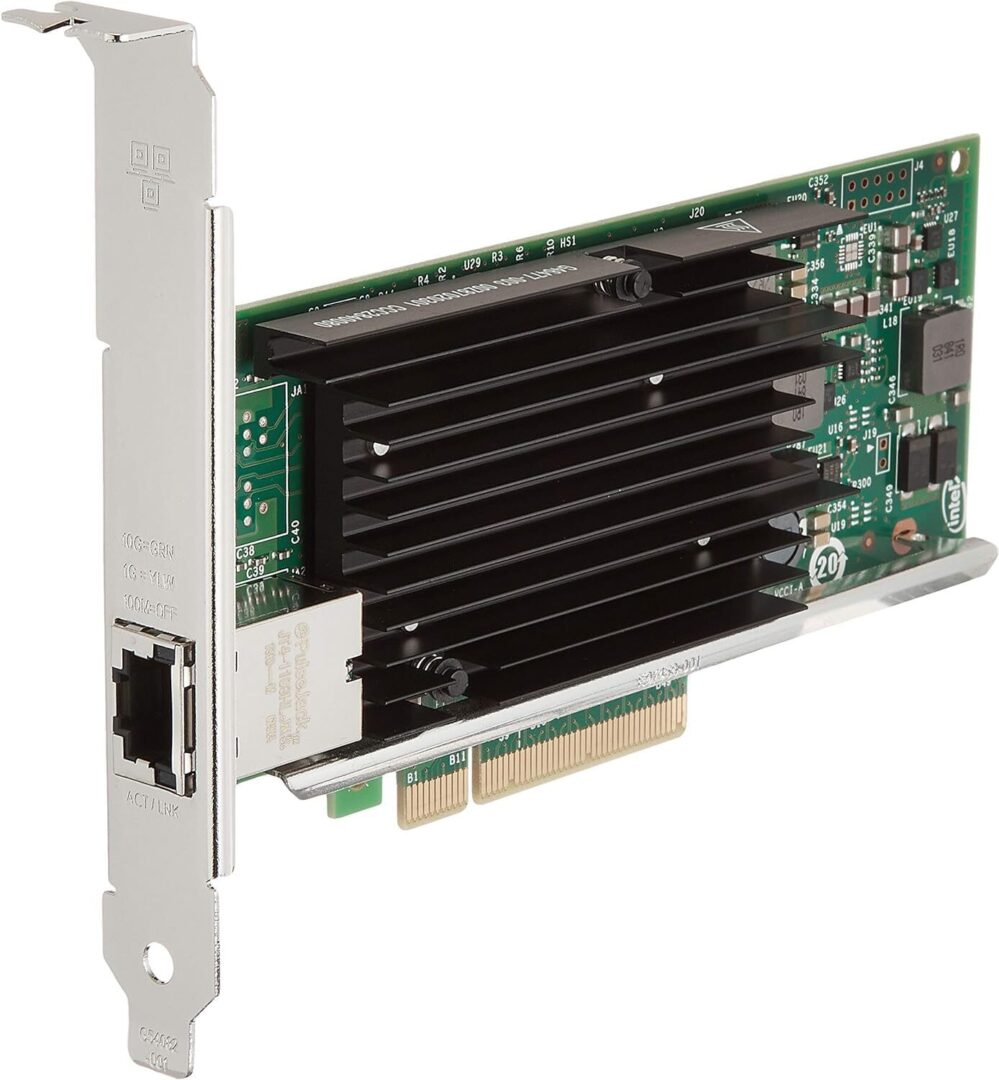
This, again, will be based on your requirements. You may want 10Gb networking, or a dedicated GPU for transcoding.
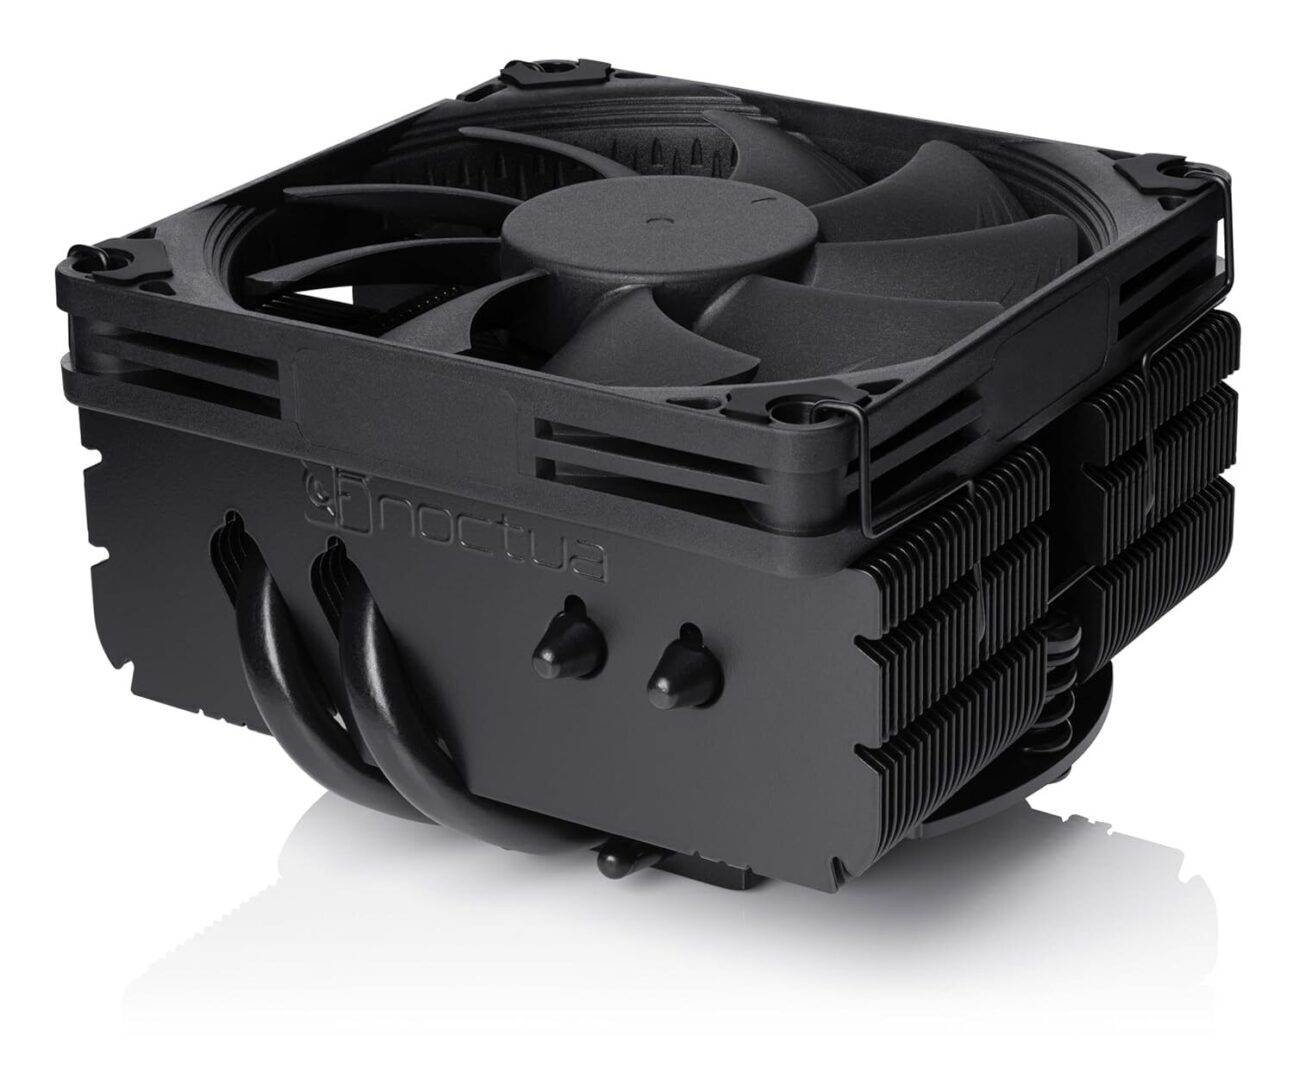
However, there might be one thing you definitely need. Depending on the Processor you purchase, it may not come with a dedicated CPU cooler. If it doesn’t, you’ll need to purchase one.
The main goal here is to find one that will fit in your case with good performance, as that will ultimately determine which option you should use, but this may be the one thing that you must purchase. Just make sure the CPU Cooler you purchase fits the Motherboard socket you’re using.
Home Server Build Suggestions (Full Hardware Guides)
The options below will be based on a suggested build, but please remember a few very important points:
- You will most likely have to modify certain components in these lists, but they’re good “baselines” to go off.
- Building a server should ultimately be decided based on your requirements. A hypervisor build will be different than a NAS build from a hardware perspective.
- I do not own all of the components below, but I have done a lot of research and feel comfortable suggesting these options.
Budget Home Server Build
This is a budget home server build, designed to run the Proxmox hypervisor. This will give you 6 cores and 12 threads where you can run a bunch of VMs and LXC containers, and you’ll have 64GB of DDR5 memory for them (which can be upgraded to 128GB at a later date if you’d like).
Disclaimer: The prices may be wildly different than when this build was first created!
- CPU: AMD Ryzen 5 7600
- Motherboard: ASRock B650M Pro RS
- Memory: G.SKILL Ripjaws S5 DDR5 Memory
- PSU: Seasonic Focus GX-650W
- Storage (OS): Crucial MX500 (you can also get a Samsung 870 EVO, but costs slightly more)
- Storage (VMs/LXC): Samsung 980 Pro 2TB
- Case: Get whatever you want that fits a Micro-ATX Motherboard
Review of this Budget Home Server
This budget home server build, in my opinion, is a great build for a great price. At that time of this writing, for under $750 USD, you’ll get a processor with a 65W TDP that will be incredibly power efficient but also performant, with 6 cores and 12 threads for our Proxmox hypervisor.
You’ll also have 64GB of DDR5 memory that can be upgraded to 128GB, a boot drive for the Proxmox OS, 2TB of Gen4 NVMe storage for your VMs and LXC containers, and a great power supply. You can easily change certain components (less memory or smaller drives) to cut costs, but the build, as-is, is extremely performant, for a great price.
Powerful Home Server Build
This won’t be the best from a budget perspective, but if you want a great build for Proxmox, this is it. You’ll have more than enough storage, memory, and processing power to run far more VMs and LXC containers than the budget build above.
- CPU: AMD Ryzen 9 7900X
- CPU Cooler: Pick one that fits AM5 Processors and your case.
- Motherboard: ASRock X870 Pro RS
- Memory: 2 x G.SKILL Ripjaws S5 DDR5 Memory (this Motherboard technically supports 256GB of Memory if you want to go crazy…)
- PSU: Seasonic Focus GX-750W
- Storage (OS): 2 x Samsung 870 EVO
- Storage (VMs/LXC): 2 x Samsung 980 Pro 2TB
- Case: Get whatever you want that fits an ATX Motherboard
Review of this Powerful Home Server
This will be an extremely performant build, for a…somewhat reasonable price. The ASRock X870 Pro RS has one PCIe 5 x16 slot, and one PCIe 4 x16 slot. It supports (up to) 256GB of RAM, supports PCIe Bifurcation (x8x8, x8x4x4, x4x4x4x4), and the CPU has 12 cores and 24 threads which all adds up to a ton of VMs and Containers.
This home server build has mirrored OS drives (which are configured with the OS) so that if one dies, your build will continue operating, and you can do the same with the VM/LXC storage, or you can use all 4TB for your virtual machines and containers.
This is extremely close to the build that I’m putting together, but there’s one thing I’ll say – check the price of the Ryzen 9 9900X and see if it’s close to the 7900X. If it is, just go with the 9900X. It’s a 120W TDP instead of a 170W TDP, is newer, and will work with the same components. The pricing is just bouncing all over the place with the 7900X so it’s hard to say as of the writing of this article which is a better buy.
Home Server NAS Build
I have a complete DIY NAS Guide that I’d follow as overall, NAS builds require less computing power than a hypervisor. You can get older, power efficient hardware that runs DDR4 memory (to save money), and will be more than enough for a NAS. Of course, you can use the latest hardware and that will work too, but you’ll spend significantly more, and from a day-to-day usage perspective, notice almost nothing from a performance perspective.
Conclusion on Building your own Home Server
After going through all of this, yes, of course you can buy a prebuilt home server. A lot of them, especially Mini PCs, are pretty darn great home servers, but it’s going to be hard to beat the performance of any of the home server builds above with a Mini PC. Even more important than that, read the first section of this article and understand what makes a good Motherboard, if you should or should not use ECC memory…etc.
Understanding what makes a good home server build is more important than blindly following a build guide…that’s the main point I want you to take away from this. If you made it this far, thanks for checking out the article. If you have any questions, leave them in the comments!

