In this article, we’re going to look at how to update Pi-hole using the default Pi-hole installation script (Raspberry Pi / Ubuntu / Proxmox) and the command-line interface (CLI), or Docker.
Before we look at exactly how to update Pi-hole, we’ll look at why you should consider updating Pi-hole. I want to be clear that for DNS servers, it’s important to maintain a level of stability and for that reason, it’s best to ensure you have redundant DNS servers. You can use a public service like Google or Cloudflare, or a secondary Pi-hole instance that isn’t being updated at the same time.
Should you Upgrade Pi-hole to the Latest Version?
There are a few reasons why you might, or might not want to update.
Why You Might Want to Update Pi-hole
There are a few reasons why you should consider updating Pi-hole:
- Security Enhancements: Updating Pi-hole can include security patches for vulnerabilities discovered.
- Performance Boosts: Pi-hole updates can include optimizations that make the software run more efficiently, improving the overall performance of Pi-hole.
- New Features: New versions of Pi-hole might introduce additional features or improvements, enhancing user experience and expanding the software’s capabilities.
- Bug Fixes: Updates fix bugs that were identified in previous versions, ensuring they don’t interfere with your ad-blocking functionality.
- Maintaining Compatibility: To keep Pi-hole working seamlessly with different devices, browsers, and operating systems, updates often include patches for compatibility.
Why You Might Not Want to Update Pi-hole
- Stability Concerns: Sometimes, updates can introduce new bugs or compatibility issues, particularly if they are major updates or if your network has a specific configuration.
- Downtime: Depending on the size of the update, there may be some downtime while the update is installed, which could interrupt your network.
- Learning Curve: New updates, particularly those with new features, might require a learning period to understand and leverage the new functionality.
If you have multiple Pi-hole instances, I suggest updating one of them and ensuring that everything works as expected before updating your other instances.
It’s important to remember that whether you should update depends on your specific circumstances. The general consensus in the home lab community is that regular updates are beneficial to maintain software performance and security.
Confirming an Update is Available
If you aren’t sure if Pi-hole must be updated, the easiest thing to do is confirm that an update is available by logging into the admin interface and scrolling all the way to the bottom. If an update is available, it’ll display in red text.

How to Update Pi-hole Using the Pi-hole Install Script
If you’ve installed Pi-hole using the default install script shown below, the process of updating Pi-hole is extremely easy. I’ve used this script to install Pi-hole on a Raspberry Pi, Ubuntu, and Proxmox.
Install Script: curl -sSL https://install.pi-hole.net | bashTo update Pi-hole with this method, you have to access the console of the server. For a Raspberry Pi, you might have to SSH into it, but for Ubuntu or Proxmox, you should have access to the console directly.
1. Even though we checked the version in the admin interface, we’ll confirm that an update is available by running the command below. If you have updates available, they’ll report as a newer version directly next to your current version.
pihole -v
2. Now that we’ve confirmed that updates are available, run the command below to update Pi-hole. As mentioned above, ensure you have redundant DNS servers or you’ll lose DNS resolution temporarily.
pihole -up
3. After the script finishes running, you’ll see that the update is complete!

You’ll also see that the admin interface is displaying the new update!

How to Update Pi-hole Using Docker
If you are using Docker to run your Pi-hole install, the process of updating Pi-hole is entirely different. In summary, you’re really trying to update the Docker container which will then update the Pi-hole instance.
The process of updating Docker containers can be done in many different ways, but my favorite is by using Portainer.
Portainer allows you to maintain the existing configuration and simply pull and update the existing container. To be clear, this isn’t the only way to update Docker containers, but I find it to be the easiest.
Before proceeding, ensure that your Pi-hole data is on persistent volumes or your configuration will be lost!
Installing Portainer
1. Download and run the Portainer Container by running the commands below.
sudo docker run -d -p 8000:8000 -p 9000:9000 -p 9443:9443 --name=portainer --restart=always -v /var/run/docker.sock:/var/run/docker.sock -v portainer_data:/data portainer/portainer-ce:latest

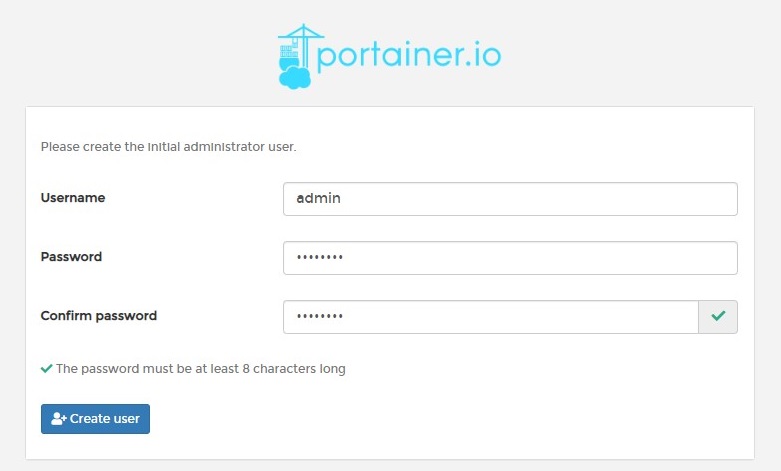
2. This will install Portainer and it will be accessible by the workstation’s IP address and port 9000. When you get there, create a username and password.
http://[WORKSTATION_IP_ADDRESS]:9000

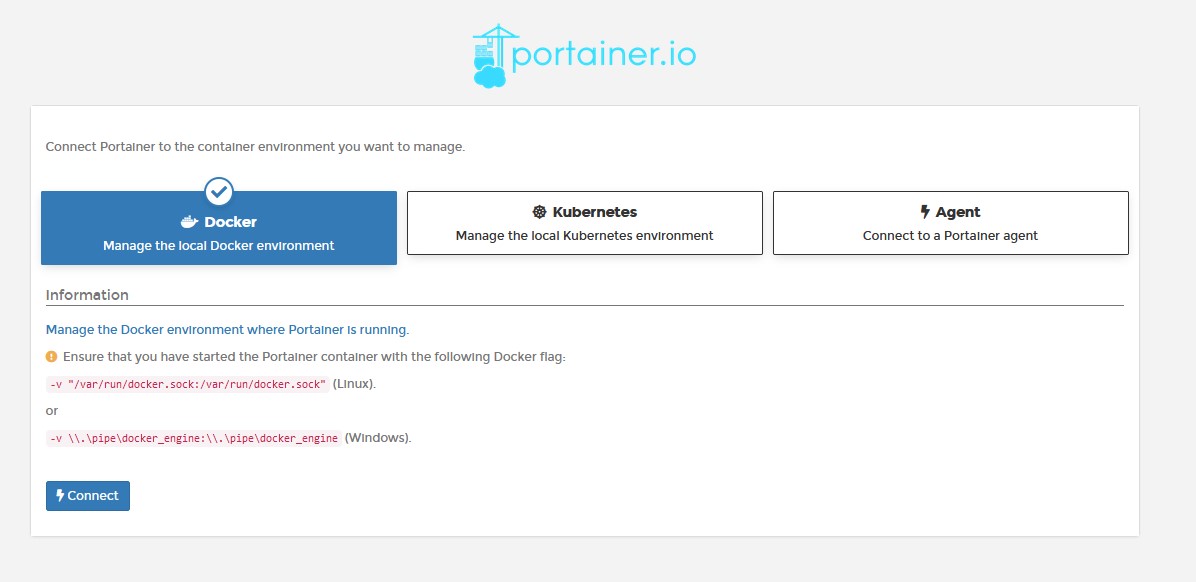
3. Select Docker and Connect.
4. Select Local.

5. You are now in Portainer!
Updating Pi-hole Using Portainer
Now that Portainer is installed, you can run the steps below to update Pi-hole.
1. Select Containers, then stop Pi-hole.

2. Select the Pi-hole container, and you’ll see a button named Recreate. By selecting this button, the container will take the persistent data and recreate the container.
Keep in mind that the only data that will stay on the container is data that was mapped to a volume!

3. Select Re-pull image, then Recreate.

4. When this process is finished, the Pi-hole container will be recreated with the latest image. Select the container and Start it. The status will change to running.

5. Pi-hole will now be created with the newest released version and if you log in to the web interface, you should see the latest updates!

Conclusion & Final Thoughts on Updating Pi-hole
This tutorial looked at how to update Pi-hole. In general, if you’re interested in updating Pi-hole, you should confirm you have backups (if possible) and at minimum, a secondary DNS server so that your network doesn’t lose DNS resolution. If possible, check online to see if there are any issues with the update that you should be aware of, and overall, just proceed cautiously.
DNS server updates are scary sometimes because losing DNS on a network isn’t fun, but if you follow the precautions above, you should be good!


