Pi-hole runs on almost anything, which is good news and bad news. The good news is that you can install it on a Raspberry Pi, an Ubuntu server, a Proxmox LXC, in Docker, or on a NAS. The bad news is that the variety of installation methods makes it hard to know which one is right for your setup.
I’ve run Pi-hole on most of these platforms over the years, and at this point, I have strong opinions about which method makes sense for which use case. This guide walks through every install method I’d actually recommend, and starts with a decision section to help you pick the right one before you spend time on a setup that doesn’t fit your environment.
Which Pi-hole Install Method Should You Use?
The decision really comes down to two things: what hardware you already have running, and whether you want to run Pi-hole as a dedicated service or alongside other containers.
Use the native install (Raspberry Pi, Ubuntu, or Proxmox LXC) if:
- You want a dedicated Pi-hole instance with minimal other services running on it
- You’re running Pi-hole on a Raspberry Pi or any Debian-based Linux distribution
- You’re running it in a Proxmox LXC and don’t need Docker on top
- You want the simplest, most-supported setup with the least amount of moving parts
Use the Docker install if:
- You already use Docker for other containers and want Pi-hole in the same place
- You’re running it on a Synology NAS, OpenMediaVault, Unraid, or any system that uses Docker as its primary application platform
- You want a clean, version-controlled deployment using Docker Compose
- You plan to add Unbound for recursive DNS
If you’re not sure, the native install is the right call for most people. It’s the path the Pi-hole developers themselves recommend; the script handles almost everything, and updates are simple. The Docker path is for people who already have a Docker workflow and want Pi-hole to fit into it.
Both methods produce a Pi-hole instance that works exactly the same way, meaning the same admin interface, same blocklists, same performance. The difference is just how it’s installed and managed.
Method 1: Native Install (Raspberry Pi, Ubuntu, Proxmox LXC)
The native install uses the official Pi-hole installation script. The script is platform-aware, so the same command works on a Raspberry Pi running Raspberry Pi OS, an Ubuntu server, or a Debian LXC running on Proxmox. The setup process is identical regardless of where it’s running.
Prerequisites for the Native Install
Whichever platform you’re using, you need a few things in place before you start:
- A device that’s online 24/7. Pi-hole is your DNS server, so if it goes down, your network’s DNS resolution goes down with it.
- A static IP address. Either set it on your router (preferred) or set it locally on the device. Pi-hole will not work reliably if it changes IPs.
- Root or sudo access on the host.
- A modern Debian-based OS. Raspberry Pi OS, Ubuntu 24.04+, Debian 13, or any compatible distribution.
If you’re running this in a Proxmox LXC, you’ll need to create the container first. The container should be Debian or Ubuntu-based with at least 1 CPU core, 512MB of RAM (1GB is better), and 8GB of disk space.
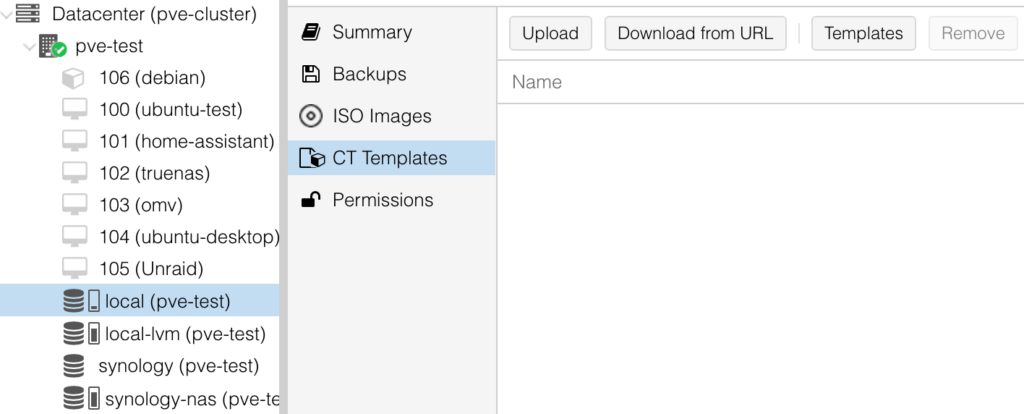
For the LXC, log into Proxmox, navigate to your storage location, select CT Templates, search for Debian or Ubuntu, and download the latest standard template. Then select Create CT to create the container with the resources above. After the container starts, log in as root and run an update before installing Pi-hole:
apt update && apt upgrade -y
apt install curl -y
Running the Pi-hole Install Script
1. Run the official Pi-hole install command. Always review the script before running it. That’s a good general practice for any install script you find online.
curl -sSL https://install.pi-hole.net | bash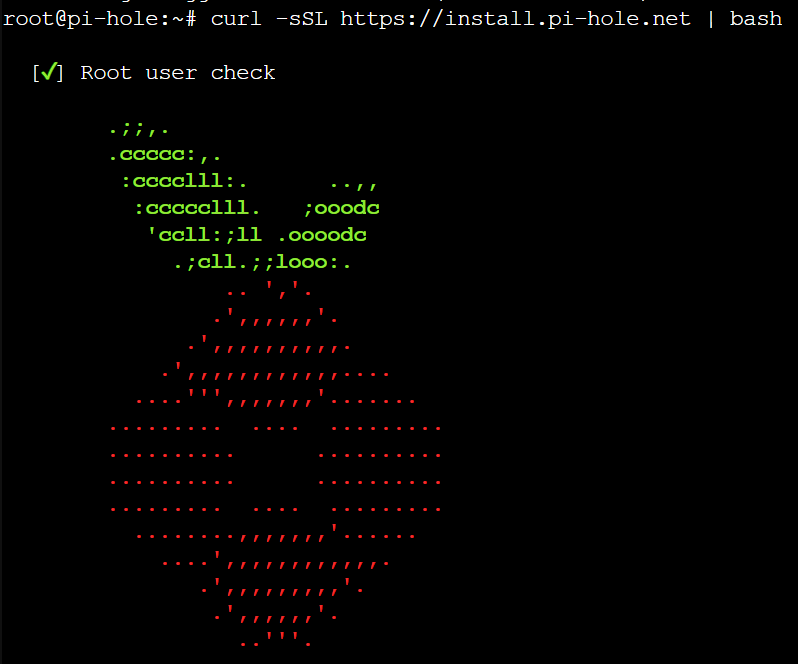
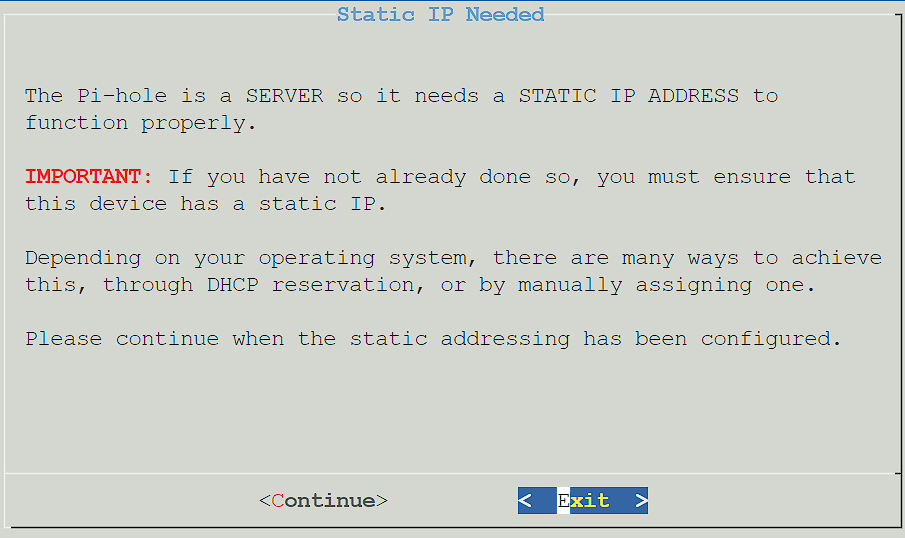
2. Press Enter through the initial screens until you reach the static IP confirmation. This is the part where Pi-hole confirms the IP it’ll bind to. Make sure this IP is static, either through your router’s DHCP reservation or set on the device itself. If the IP changes later, Pi-hole will stop resolving DNS for your network.
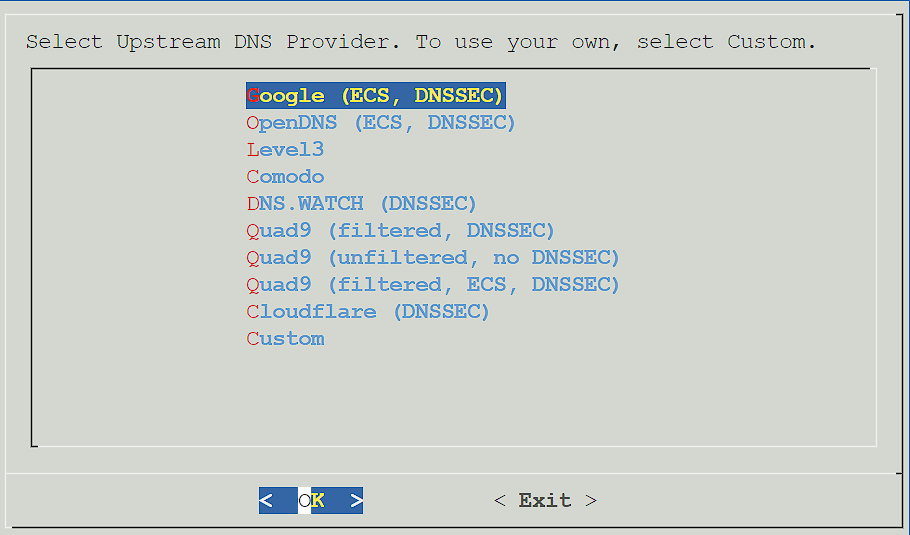
3. Select an Upstream DNS Provider. This is where Pi-hole forwards DNS queries that aren’t found locally. Cloudflare (1.1.1.1) and Quad9 are both reasonable defaults. If you plan to add Unbound later, you can change this in a few minutes, so pick anything for now.
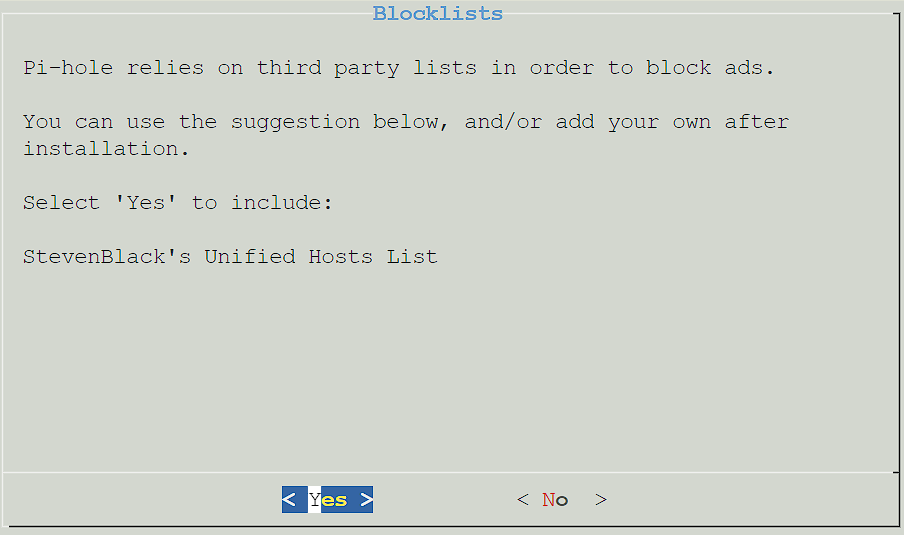
4. Select Yes to use the default block list. You can configure additional lists later from the admin interface, so this isn’t a permanent choice.
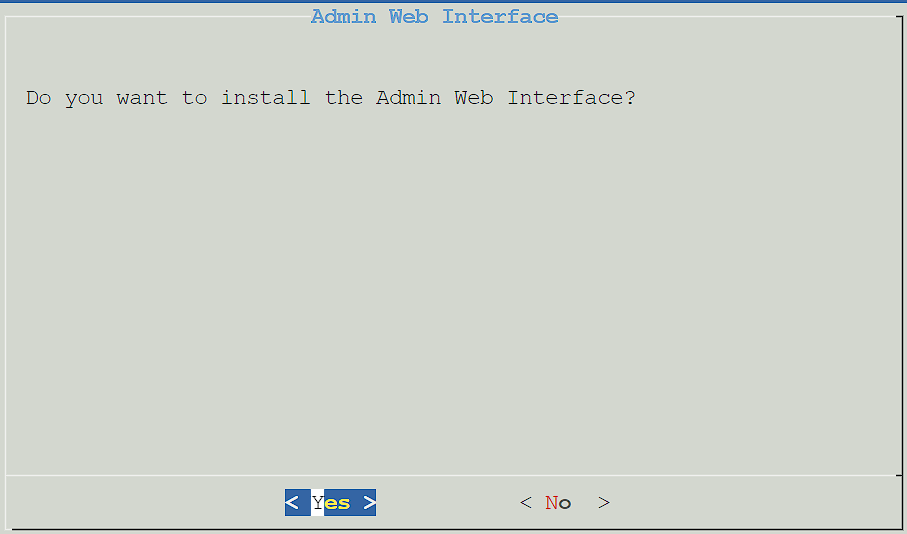
5. Select Yes to install the admin interface. Without it, you can still run Pi-hole, but you’d lose the ability to manage it through a web UI.
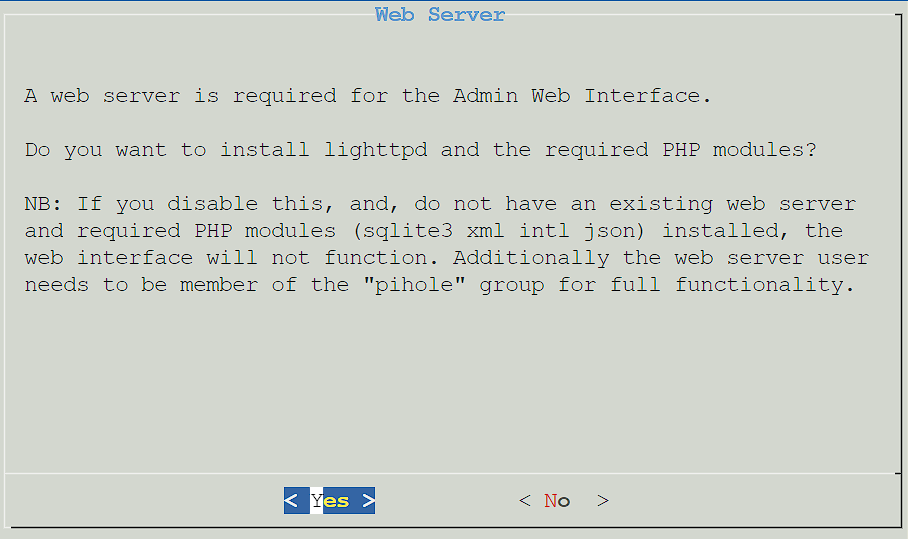
6. Select Yes to install the Admin Web Interface (lighttpd).
7. Query logging is a personal preference. If you want to see what’s being blocked and resolved, enable it. If you have privacy concerns about logging your own DNS queries, disable it.

8. If you enabled logging, choose the privacy level for the logs. The default (Show everything and record everything) is fine for most home labs.

9. The install will complete and show a confirmation page. Write down the admin password displayed on this screen — you’ll need it to log into the web interface.
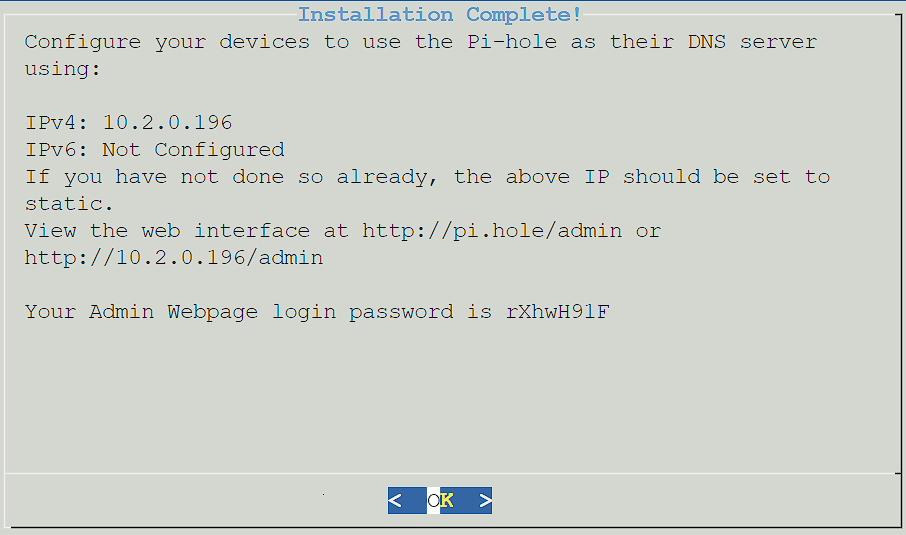
Accessing the Pi-hole Admin Interface
Pi-hole’s admin interface is available at:
http://[YOUR_PI_HOLE_IP]/admin
From there, you can manage blocklists, view statistics, configure DNS settings, and check logs. Skip ahead to the Configuring Your Router section below. Without that, devices on your network won’t actually use Pi-hole.
Method 2: Docker Install
Running Pi-hole in Docker is the right choice if you already have a Docker host running other containers, or if you’re on a platform like Synology, OpenMediaVault, or Unraid where Docker is the primary application layer.
The advantage of Docker is that the entire Pi-hole config lives in a Docker Compose file you can version-control, back up, or move between hosts. The disadvantage is that you have to deal with Docker networking, which can get complicated when Pi-hole needs to bind to port 53.
Pi-hole Docker Compose File
This is the Docker Compose I recommend.
services:
  pihole:
    image: pihole/pihole:latest
    container_name: pihole
    hostname: pihole
    environment:
      TZ: "America/New_York"
      FTLCONF_webserver_api_password: "change-this-password"
      FTLCONF_dns_listeningMode: "all"
    volumes:
      - ./etc-pihole:/etc/pihole
      - ./etc-dnsmasq.d:/etc/dnsmasq.d
    ports:
      - "53:53/tcp"
      - "53:53/udp"
      - "8080:80/tcp"
    cap_add:
      - NET_ADMIN
      - SYS_TIME
      - SYS_NICE
    restart: unless-stopped
Save this as docker-compose.yml in a directory like /opt/pihole or /volume1/docker/pihole (depending on your platform), then run:
docker compose up -dThe container will pull and start. After about 30 seconds, you can access the admin interface at http://[HOST_IP]/admin using the password you set in the WEBPASSWORD variable.
Using Portainer Instead of Docker Compose
If you prefer managing containers through Portainer’s GUI rather than Docker Compose, the same configuration translates directly. In Portainer, navigate to Containers → Add Container and configure the container with these settings:

- Image:
pihole/pihole:latest - Name:
pihole - Network: macvlan if running on a NAS, host network otherwise
- Volumes: map
/etc/piholeand/etc/dnsmasq.dto persistent host folders - Environment variables:
TZ,WEBPASSWORD,DNSMASQ_LISTENING - Restart policy:
unless-stopped - Capabilities: add
NET_ADMIN

Honestly, even if you start with Portainer, I’d recommend learning the Docker Compose approach (you can use it in “Stacks” in Portainer). It’s faster to deploy, easier to back up, and easier to recreate on a different host if you ever migrate. But Portainer works fine if that’s your preferred workflow.
Adding Unbound for Recursive DNS
Once Pi-hole is working, the most common next step is adding Unbound as a recursive DNS resolver. Without Unbound, Pi-hole forwards your DNS queries to an upstream provider (Cloudflare, Google, Quad9, etc.), which means that the provider you pick sees every DNS query you make. Unbound resolves queries directly against the authoritative servers, removing your reliance on a third-party resolver.
The trade-off is that recursive DNS is slightly slower than forwarding to a fast upstream resolver, especially for the first lookup of a domain (subsequent lookups are cached). For most home users, the difference is not noticable.
Pi-hole + Unbound on Docker
If you’re already running Pi-hole in Docker, adding Unbound is just adding another service to your Docker Compose file. Here’s the combined Pi-hole + Unbound Docker Compose using host networking:
services:
  pihole:
    container_name: pihole
    image: pihole/pihole:latest
    network_mode: host
    environment:
      TZ: "America/New_York"
      FTLCONF_webserver_api_password: "your_password_here"
      FTLCONF_dns_listeningMode: "all"
      FTLCONF_dns_upstreams: "127.0.0.1#5053"
    volumes:
      - "./pihole/pihole:/etc/pihole"
      - "./pihole/dnsmasq.d:/etc/dnsmasq.d"
    cap_add:
      - NET_ADMIN
    restart: unless-stopped
  unbound:
    container_name: unbound
    image: mvance/unbound:latest
    network_mode: host
    volumes:
      - "./unbound:/opt/unbound/etc/unbound/"
    restart: unless-stopped
The key change here is the PIHOLE_DNS_ variable, which tells Pi-hole to use Unbound (running on the same host at port 5053) as its upstream DNS server.
Configuring the Unbound Settings
After the container starts, you’ll need to modify the unbound.conf file in the unbound volume directory. Open it and delete everything in the LOCAL ZONE and FORWARD ZONE sections — these would conflict with the recursive resolution we want Unbound to do.
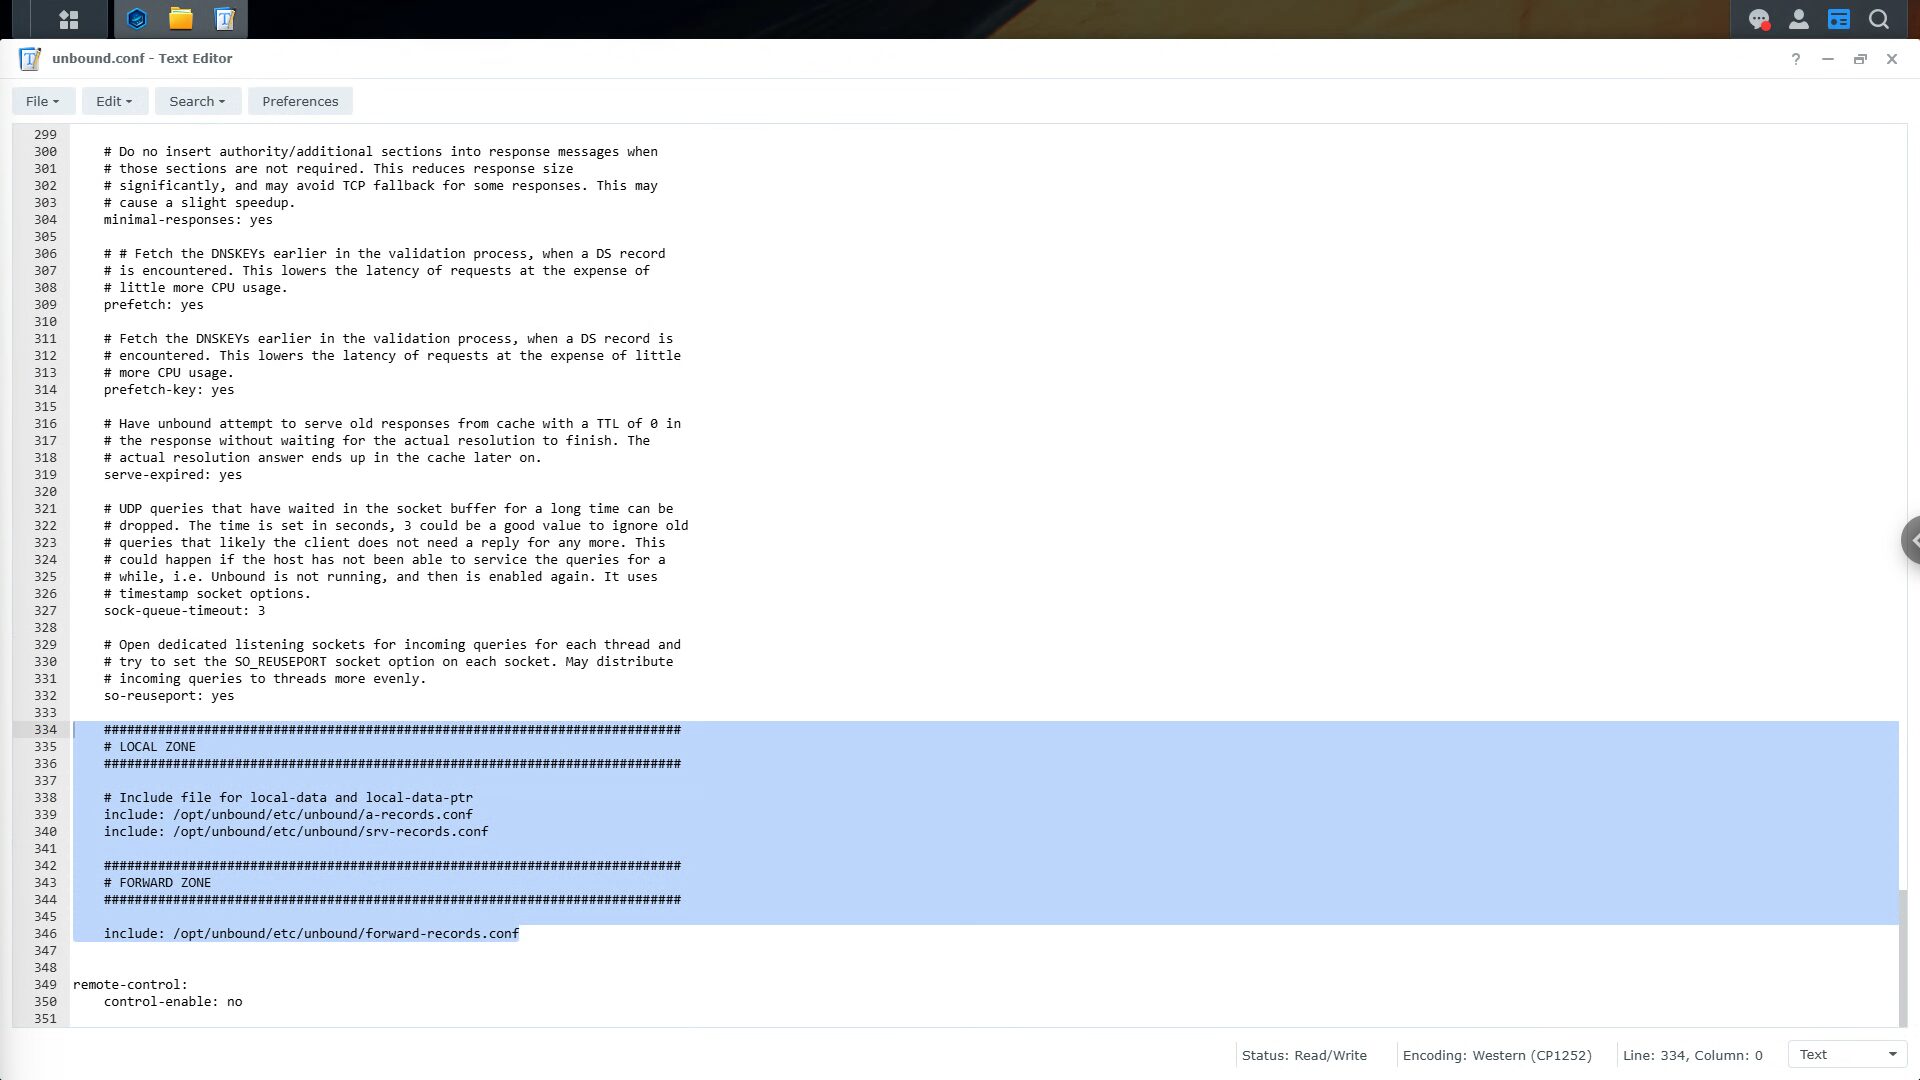
You also need to modify the listening port from 0.0.0.0@53 to 0.0.0.0@5053 to match the port mapping in the Docker Compose. This avoids a conflict with Pi-hole’s port 53.
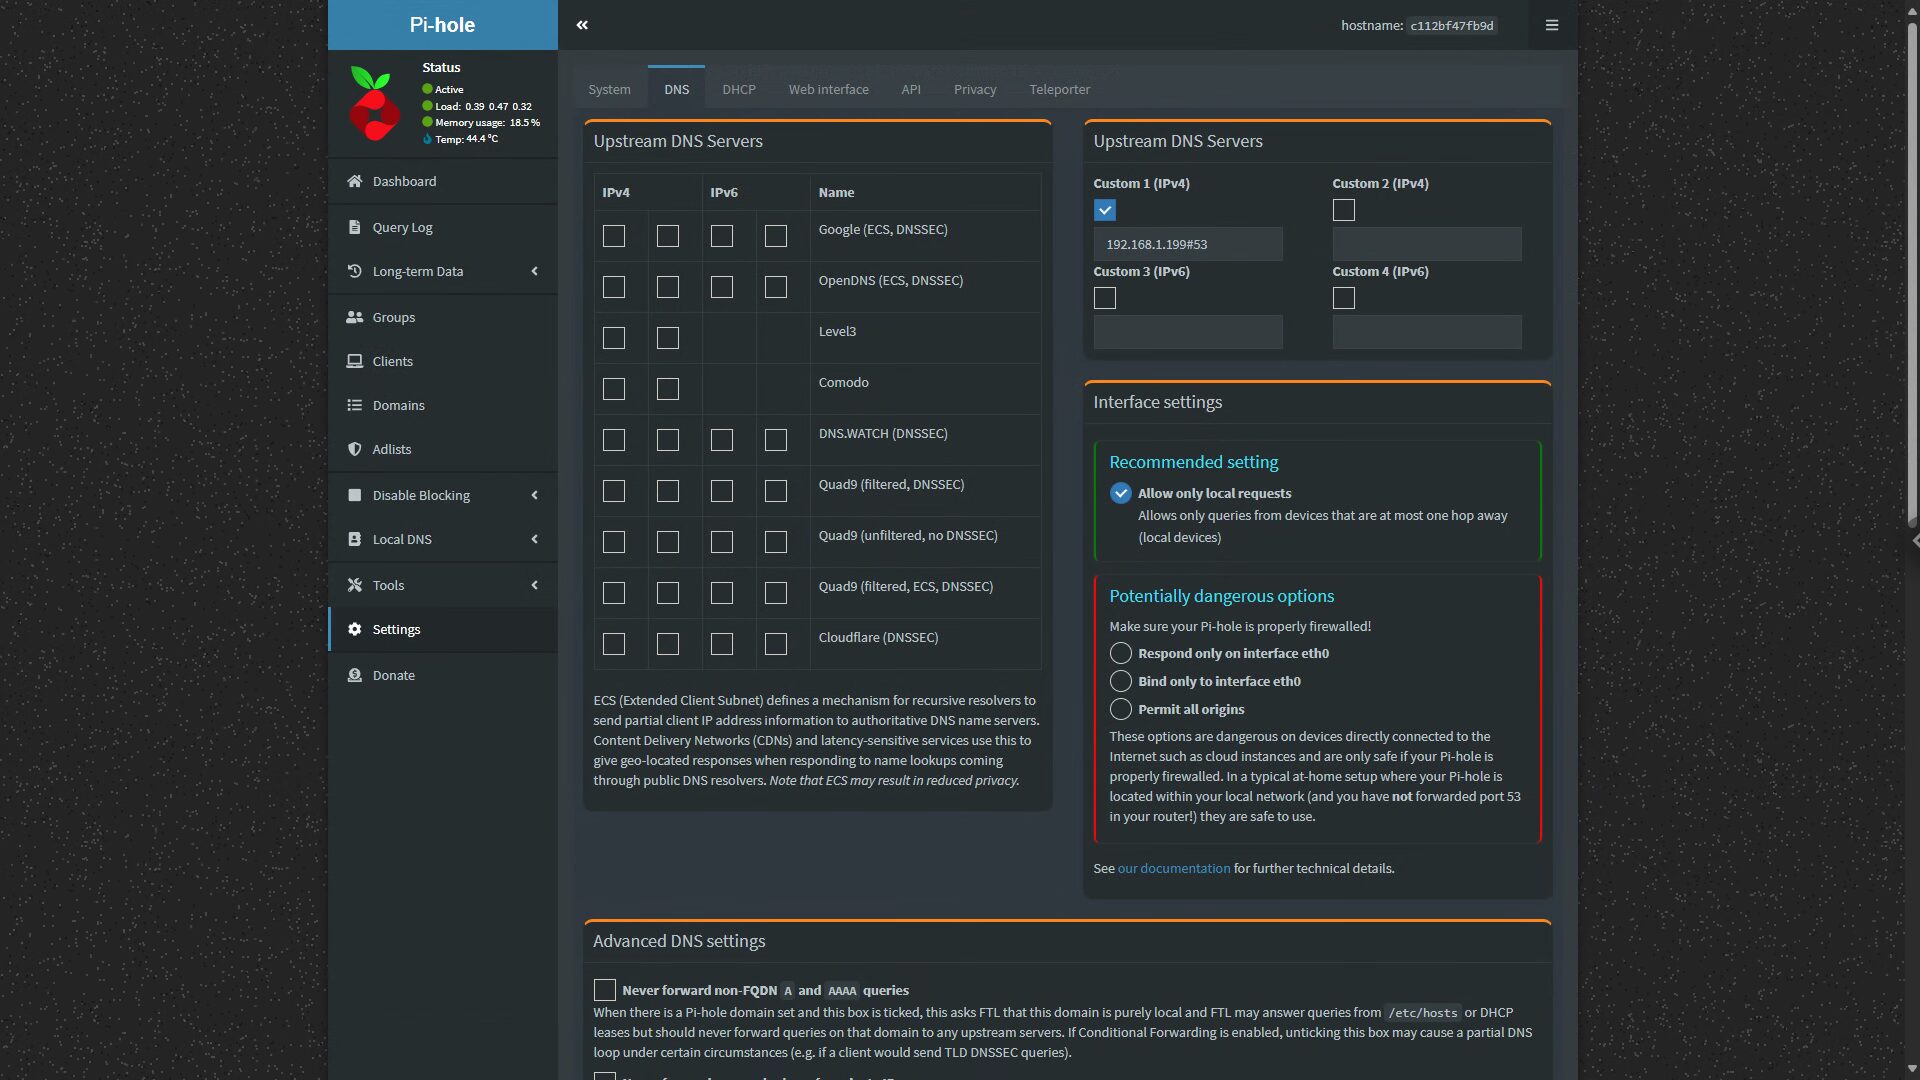
Save the file and restart both containers. Pi-hole will now use Unbound as its upstream resolver, which you can verify by opening the Pi-hole admin interface and checking the upstream DNS server in Settings, then DNS.
Adding Unbound to a Native Pi-hole Install
If you used the native install (Method 1) and want to add Unbound, the official Pi-hole documentation has a thorough Unbound integration guide. The general process is to install Unbound via apt, configure it as a recursive resolver, and point Pi-hole’s upstream DNS to 127.0.0.1#5335.
The Pi-hole docs are kept up to date, and the install steps are accurate. I won’t duplicate them here because the steps are direct.
Configuring Your Router to Use Pi-hole
Installing Pi-hole is only half the job. To actually use it, your network’s DNS settings need to point to the Pi-hole’s IP address. There are two ways to do this.
Option 1: Configure each device individually. Set each device’s DNS server to your Pi-hole’s IP. This works but doesn’t scale, and any device using its default DNS bypasses Pi-hole entirely.
Option 2: Configure your router to use Pi-hole as its DNS server. This is the right approach. Once you do this, every device on your network, including IoT devices that don’t expose DNS settings, gets routed through Pi-hole automatically.
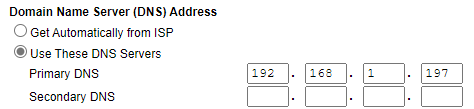
The exact location of this setting varies by router. On most consumer routers, you’ll find it under Network Settings, LAN Settings, or DHCP Settings. On UniFi systems, it’s under the network’s settings → DHCP DNS. The setting is typically called DNS Server or Primary DNS.
Set the primary DNS to your Pi-hole’s IP. If you have a second Pi-hole for redundancy (highly recommended for any setup that’s not strictly experimental), set that as the secondary DNS.
One thing to be careful about: don’t set a public DNS server (like 8.8.8.8 or 1.1.1.1) as your secondary if you only have one Pi-hole. If your devices fall back to the public DNS when Pi-hole has any issue, ads will get through and you won’t always notice. Either run two Pi-hole instances, or accept that DNS will be down briefly during Pi-hole maintenance.
How to Update Pi-hole
Pi-hole updates depend on which install method you used. Both are simple, but the commands differ.
Updating a Native Install
SSH into the host (or open a terminal in the LXC) and run:
pihole -upThis updates the Pi-hole core, the web interface, and FTL (the underlying DNS resolver). The whole process takes a minute or two and doesn’t require a reboot.
Updating a Docker Install
Pull the latest image and recreate the container:
docker compose pull
docker compose up -d
Your settings, blocklists, and statistics are stored in the volume mappings, so they persist across container recreations. Don’t manually update the Pi-hole admin interface from inside the container — it’ll get overwritten on the next image pull anyway.
Should You Update Pi-hole?
Most people should keep Pi-hole reasonably current. Security patches matter for anything that handles network traffic, and the Pi-hole team is good about not breaking things in updates.
That said, “update immediately when a new version drops” isn’t always the right call either. If everything is working, there’s no specific feature you need, and you don’t have time to deal with potential issues, waiting a few weeks to let any release issues surface in the community is reasonable. The Pi-hole subreddit and forums usually surface bugs quickly.
My Take on Running Pi-hole
Pi-hole is one of the highest-impact things you can run in a home lab. Once it’s set up, you stop noticing it, but it’s quietly blocking thousands of ad and tracker requests across every device on your network.
If you’re new to it, start with the native install on a Raspberry Pi or in a Proxmox LXC. Get it working, configure your router to use it, and run it for a few weeks before adding complexity like Unbound or a second instance for redundancy. Most people overcomplicate the initial setup and end up debugging multiple things at once.
If you’re running multiple Pi-hole instances and want them synced (so a blocklist change on one applies to both), I have a separate guide on the Ultimate Pi-hole Setup that covers Nebula Sync and Keepalived for high availability.
And if you’re trying to decide between Pi-hole and AdGuard Home, I’ve also put together a side-by-side comparison. Both work well, and they’re more similar than different, but they have meaningful differences in the admin UI and DNS-over-HTTPS support that might matter to your setup.