Today we are going to look at how to set up Bitwarden on a Synology NAS! Bitwarden is a password manager that can be self-hosted if desired. The benefit of self-hosting is that you are in control of your data and don’t need to rely on a third party to manage it.
This doesn’t necessarily mean that there is an inherent security risk with using Bitwarden’s hosting. We are just looking at an alternate option on how to set up Bitwarden on a Synology NAS!
Please keep in mind that this utilizes Vaultwarden, a low-resourced, Docker container version of Bitwarden. You can learn more about Vaultwarden vs. Bitwarden here.
1. How to Set Up Bitwarden on a Synology NAS
The instructions below will show how to set up Bitwarden on a Synology NAS. This tutorial utilizes the latest version of DSM (v7.2) and Container Manager.
1. Download and install Container Manager from the Synology Package Center.
2. Before we get started, we need a directory where Bitwarden can add all of its files. Open File Station, navigate to the docker folder, and create a subfolder named bitwarden.

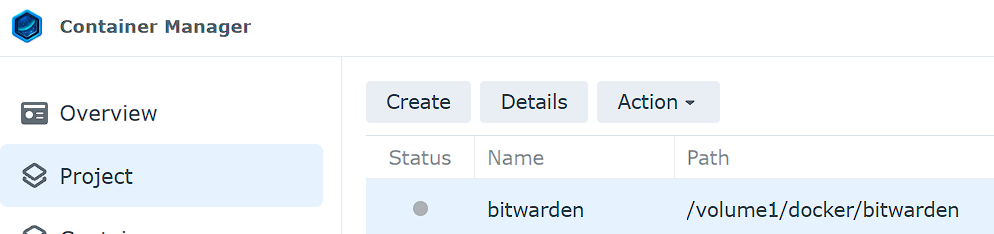
3. Open Container Manager and select Project, then Create.
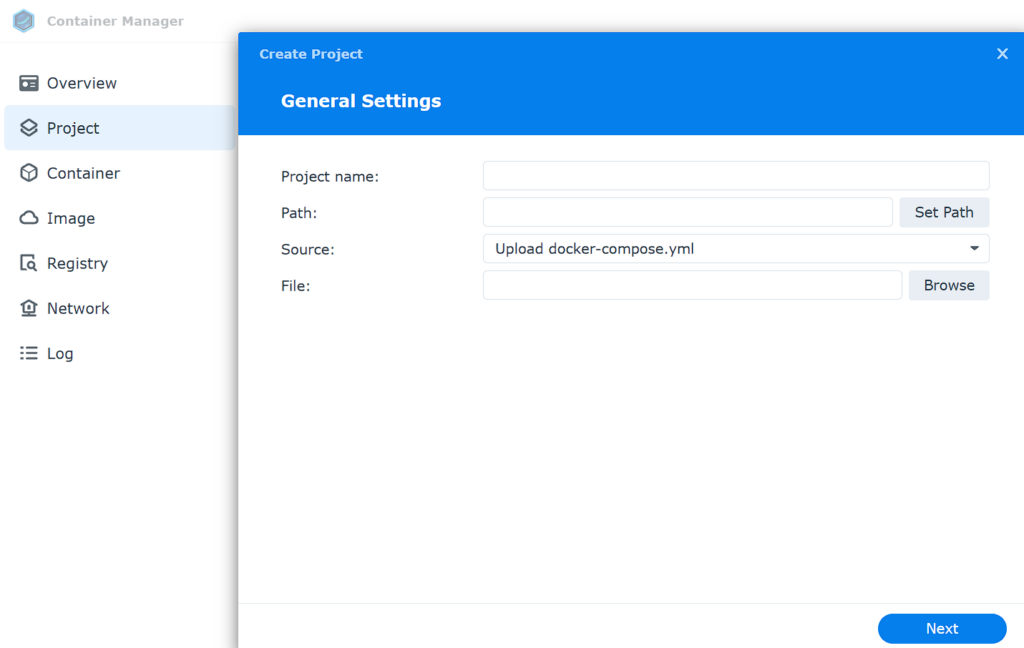
4. Enter the Name, then select the bitwarden path, and then select Create docker-compose.yml. From there, paste in the Docker Compose file listed below. You can then continue to create the container!
NOTE: This will use the host port 5555 (if you’d like to alter it, you can here). You can also change the timezone and volume number if you’re using something other than Volume 1.
version: "3"

# Instructions: https://www.wundertech.net/how-to-self-host-the-password-manager-bitwarden-on-a-synology-nas/

services:
  bitwarden:
    container_name: bitwarden
    image: vaultwarden/server:latest
    ports:
      - "5555:80/tcp"
    network_mode: bridg
    environment:
      TZ: 'America/Chicago'
    volumes:
      - '/volume1/docker/bitwarden:/data'
    restart: unless-stopped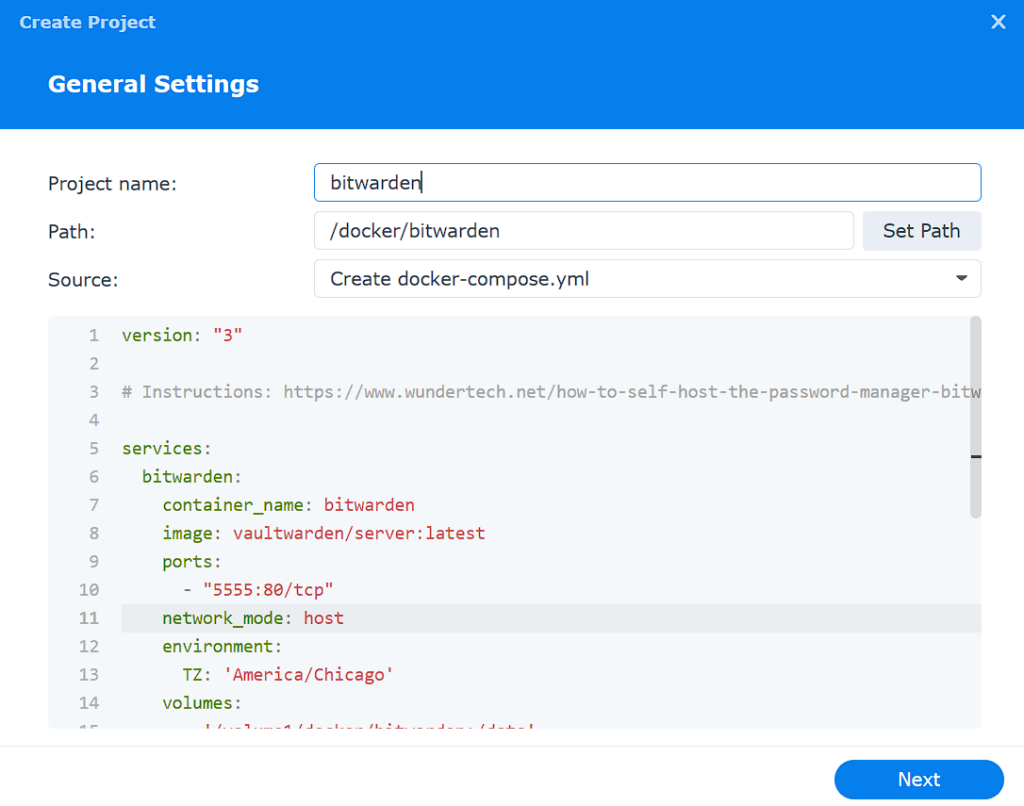
5. Proceed through the steps and create the project!
1.1 Reverse Proxy Setup
At this stage, you need to determine if you will be using a domain name. I will not be using a purchased domain name, but I will be using a free DuckDNS DDNS hostname. If you’d like to configure this, please check out our tutorial on how to configure this.
1. After you have your domain name configured, open the Synology “Control Panel”, select “Application Portal” and then “Reverse Proxy”.
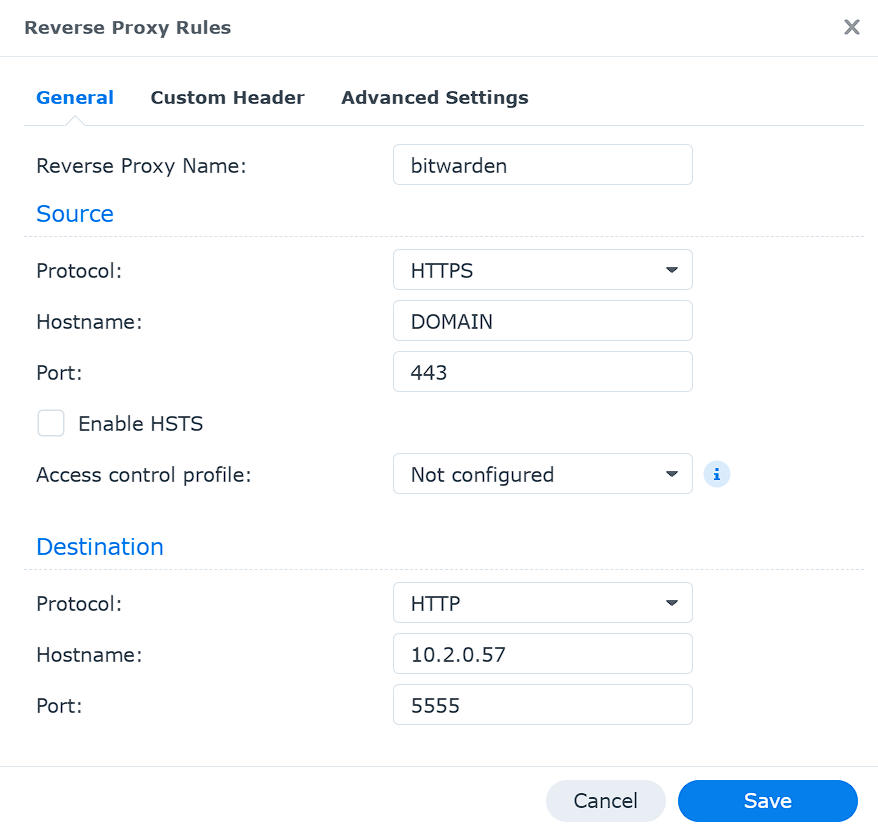
2. Select “Create” to create a reverse proxy. At this stage, we will need to configure a few settings:
- Description: bitwarden
- Source:
- Protocol: HTTPS
- Hostname: This is where you will enter your domain name or DDNS hostname
- Port: The default port is 443 and if you’re using your NAS as a reverse proxy server, you can use that port. I have an article on the reverse proxy function if you’re interested in learning more about it. If you are using that port, you will have to use something that’s not currently in use.
- Check off “Enable HSTS”
- Check off “Enable HTTP/2”
- Destination:
- Protocol: HTTP
- Hostname: IP Address of your Synology NAS (or localhost if it’s the local device)
- Port: 5555 (this is the port that we configured in step 8 of the bitwarden setup instructions).
The reverse proxy has now been configured. When you navigate to the hostname and port configured in the “Source” section of the reverse proxy, your NAS will forward the request to the “Destination”.
The settings below are from DSM 6, but the settings are the exact same.
1.2 Let’s Encrypt Setup
Now that the reverse proxy is set up and Bitwarden is configured, we will need to create an SSL certificate using Let’s Encrypt. NOTE: If you are having trouble creating this certificate, create a port forwarding rule in your router settings to open port 80 traffic on your NAS. You can remove this when complete.
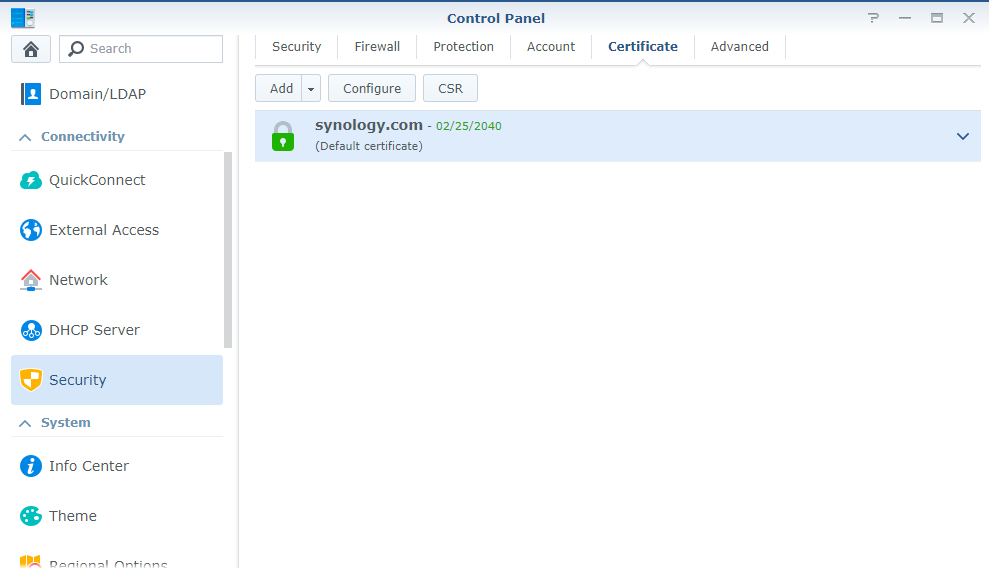
1. Navigate to the “Control Panel”, then “Security”, then “Certificate”. Select “Add”.
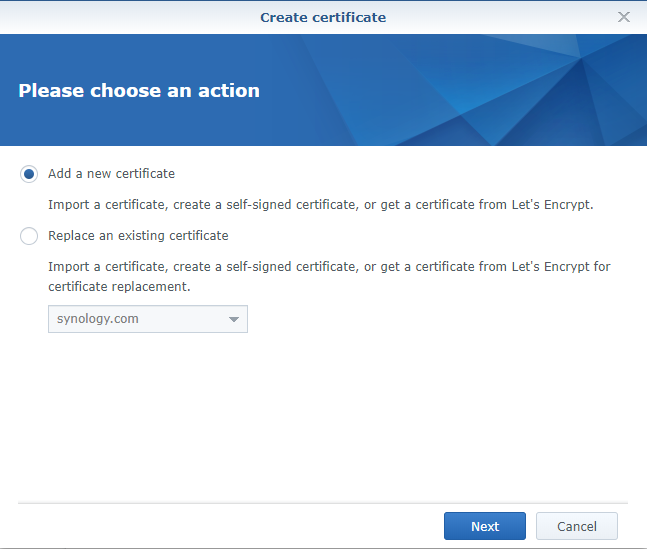
2. Select “Add a new certificate” and select “Next”.
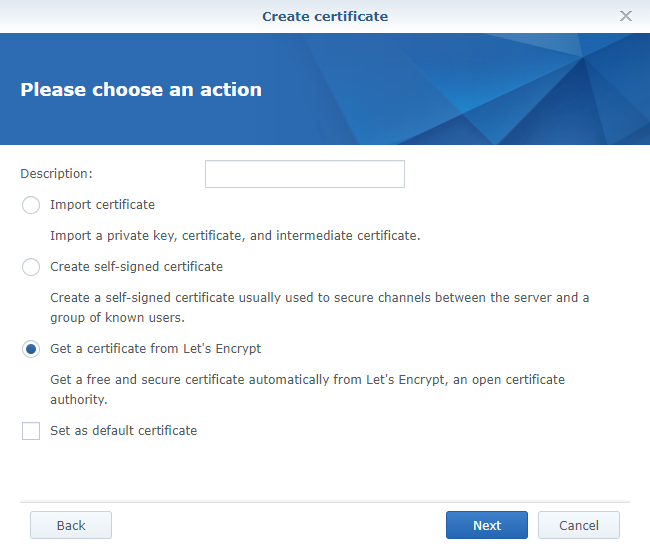
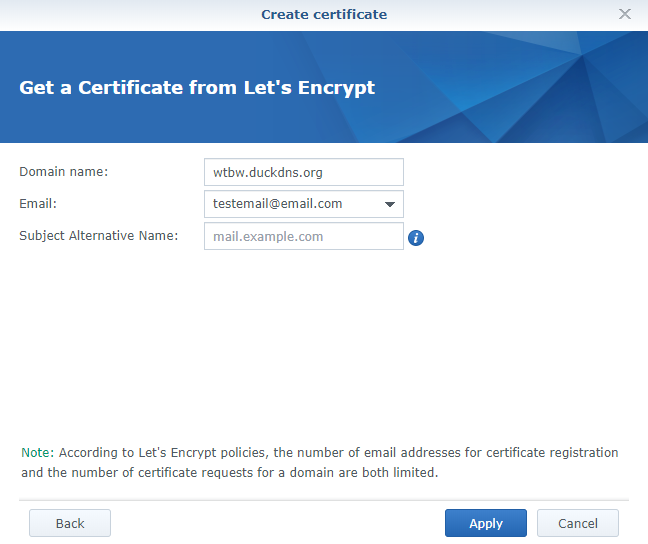
3. Select “Get a certificate from Let’s Encrypt” and select “Next”.
4. Under the domain name, enter the hostname you used in the “Source” section of the reverse proxy setup. Enter your email and select “Apply” to create the certificate.
5. After the certificate has been created, select “Configure”. Ensure that the “hostname:[port]” is listed with the certificate that you just created.
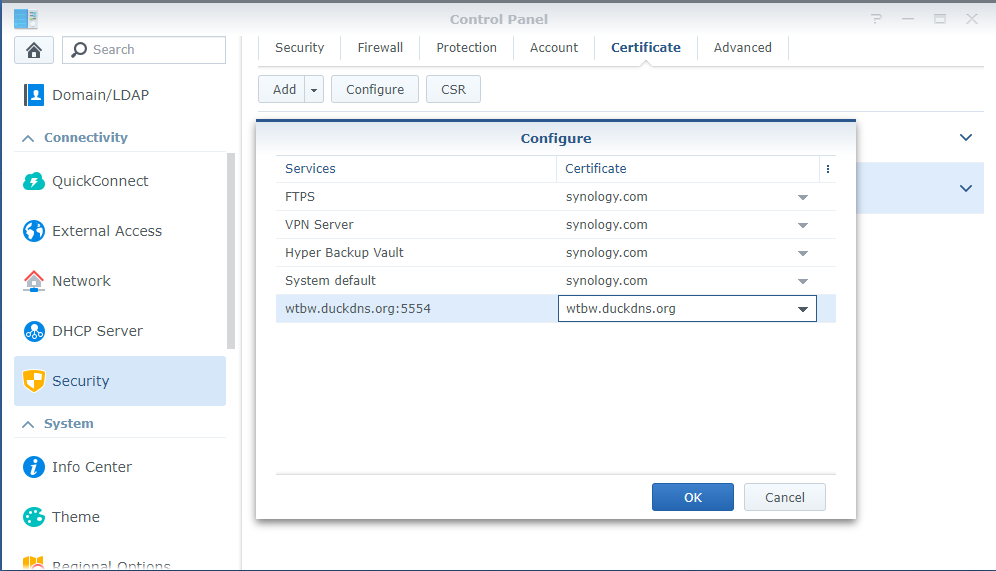
The certificate has now been created and will auto-renew moving forward!
1.2 Firewall Setup Instructions
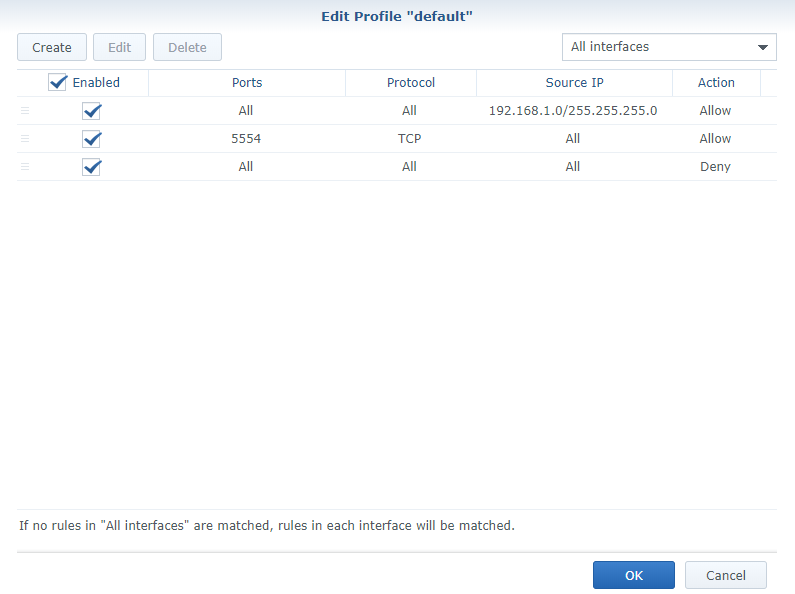
It’s very important to configure your Synology Firewall, especially if you intend on exposing your Bitwarden instance to the internet. The way that I manage my Synology firewall is that I allow all LAN traffic (192.168.1.0/24) access to my NAS, but all other traffic gets blocked. I then allow all traffic on port 5554. This ensures that I can access my NAS using my DDNS hostname + port.
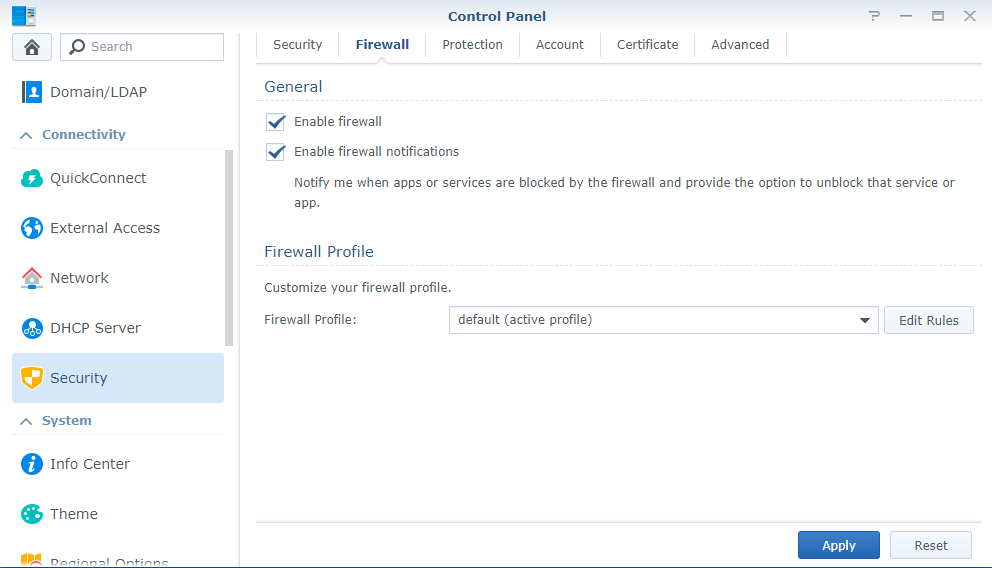
1. Navigate to the “Control Panel”, “Security” and then “Firewall”. Enable the firewall if it isn’t currently enabled, and then select “Edit Rules”.
2. You will need to tweak the settings based on the applications running on your NAS and the ports selected, but the screenshot below has my settings.
NOTE: It is important to note that firewall rules are processed from top to bottom, so you want to have all “Allow” rules at the top with the “deny all” rule at the bottom. Ensure that you set this up right before proceeding, as incorrect configuration can lock you out of your NAS.
3. The final step is to configure a port forwarding rule on your router. You will need to forward port 443 (if you are using the same ports as I am) to your reverse proxy server so that you can access it from outside of your network.
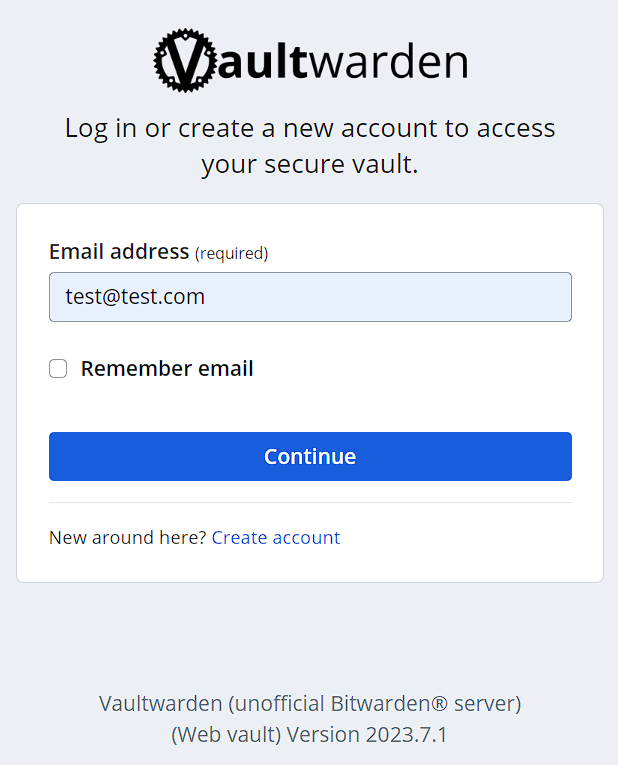
You will now be able to access Bitwarden with a properly installed SSL certificate! You can now create an account.
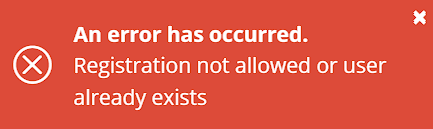
1.3 Deny Account Creations
After you’ve successfully created your account, it’s a good idea to deny future registrations. This will stop anyone from creating a new account moving forward.
1. Open Container Manager and stop the Project. Then select Details on the Project.
2. Edit the YAML Configuration File and add an environment variable. The name should be “SIGNUPS_ALLOWED” and the value should be “false”.
SIGNUPS_ALLOWED: false
3. Save the Project and recreate the container. You won’t be able to create new accounts now!
2. Conclusion & Final Thoughts on the Bitwarden Implementation
This tutorial looked at how to set up Bitwarden on a Synology NAS. Self-hosting your Bitwarden instance on a Synology NAS ensures that you control your data. Keep in mind that this utilizes Vaultwarden, which is a great, lightweight option for setting up Bitwarden on a Synology NAS.
There are many reasons why someone would want to self-host Bitwarden on a Synology NAS, and the tutorial above shows you exactly how!