Today we are going to take a look at how to set up snapshot replication on a Synology NAS!
First, you’re going to need to make sure that you already configured Snapshots. You can learn how to do that here if you haven’t set that up already. Snapshots are something that everyone should be using, regardless of the situation.
However, there is a limitation in that you must be using the BTRFS file system to use snapshots. Snapshot replication takes things a step further and allows you to replicate a folder with snapshots to a different Synology NAS (or locally).
You must confirm that the source and destination NAS are both using the BTRFS file system to proceed.
How to Set Up Snapshot Replication on a Synology NAS
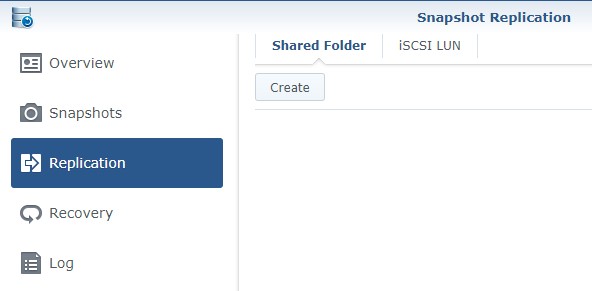
1. Open Snapshot Replication and select Replication, then select Create.
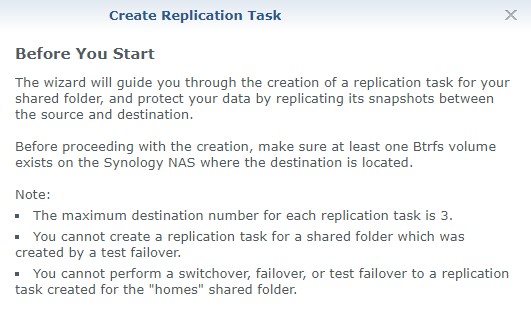
2. You will be shown a screen with a few disclaimers. Select Next to proceed.
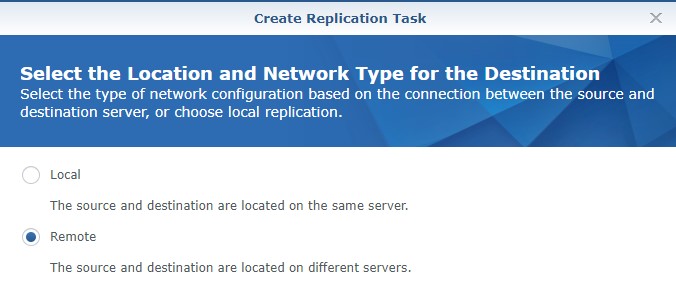
3. At this screen, you will have the option to create this replication task locally or remotely. There are benefits to doing it locally, though ideally it will be done on a separate Synology NAS. In this tutorial, we will focus on using a second NAS, so I will be selecting Remote.
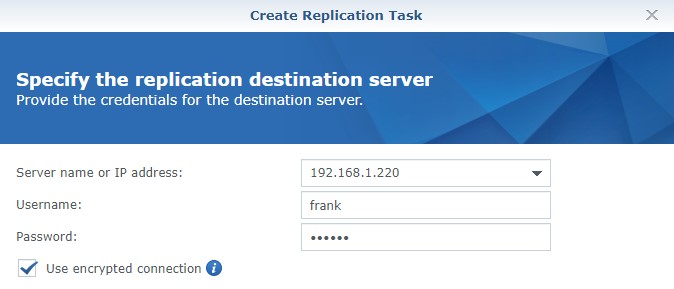
4. Enter in the IP Address, Username, and Password. Select Use encrypted connection, and then select Advanced Settings.
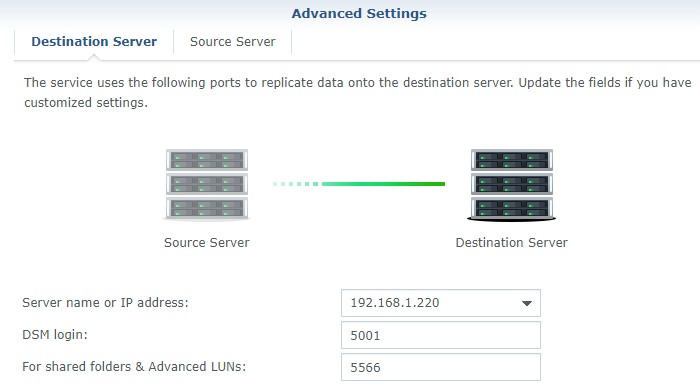
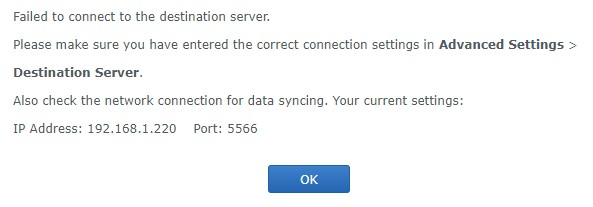
5. Ensure that you select the correct HTTPS port for DSM on the destination server. You will also have to ensure that the DSM port and shared folder port (5566) are allowed if you’re using Synology’s Firewall. This will have to be done on both, the source and destination servers.
6. When you select Next, the connection will be tested. If it’s not successful, you will be informed that the connection cannot be established, and you’ll be told why. Ensure that your firewall rules are properly created and the destination server can be reached!
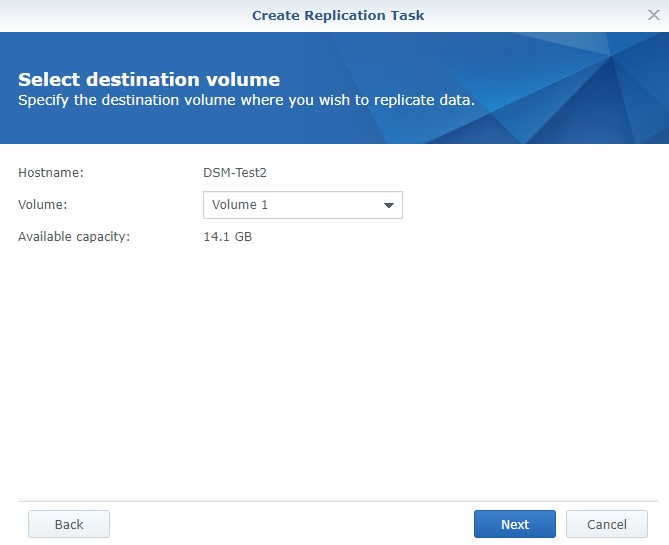
7. Select the volume you’d like to use on the destination server and select Next.
8. Select the folders that you’d like to replicate and select Next.
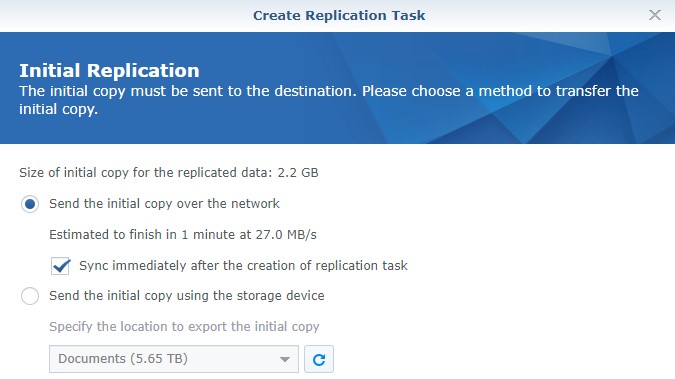
9. Select Send the initial copy over the network and select Next. This will send the data directly to the destination NAS and will sync as soon as the task is finished (as long as you keep the checkbox enabled).
10. The replication schedule can now be configured. This will be dependent on when you want the task running and can even specify transfer windows if you’d like.

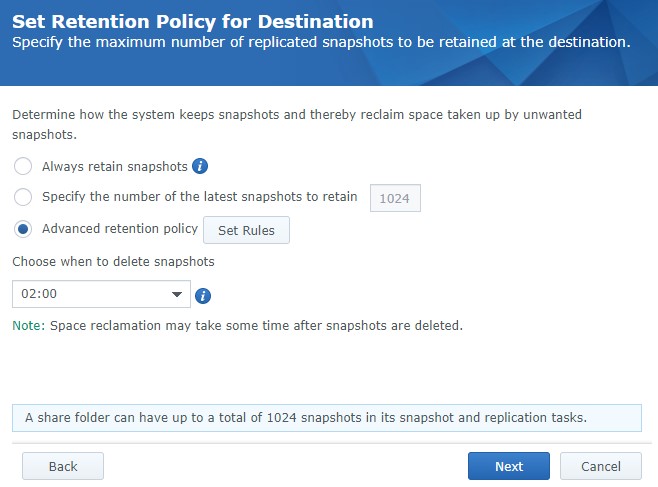
11. The retention policy will determine how many snapshots will be retained. This is another option that’s going to be user-specific, but the advanced retention policy will allow you to define multiple policies.
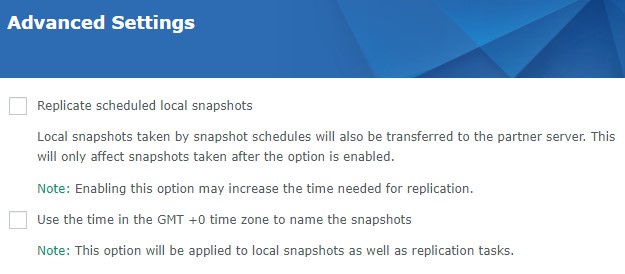
12. Modify the advanced settings to how you’d like. If you’d like all snapshots taken to be sent to the destination server, you can enable the first checkbox. If not, you can proceed.
13. Select Apply and the snapshots will start to sync! You will see on the destination server that a folder has been created which contains the files of the source folder.
Switchover/Failover with Snapshot Replication
The destination server will now contain a folder with the exact same files that are on the local NAS device, along with any snapshots that were sent. However, the files will be read-only
Please keep in mind that you can simply download the files on the destination NAS at any time if you don’t want to conduct a switchover/failover. The situation will determine if the steps below are necessary.
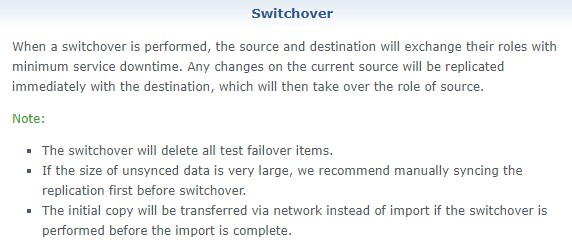
Switchover
A switchover will simply switch the source and destination Synology NAS’s, but will sync the data from source to destination before the switch finishes. To conduct a switchover (on the source NAS), select Recovery, find the folder, select Action then Switchover, and finally select Switchover.
If the data on the source Synology NAS has been compromised, you most likely want to use the failover option below. If you indirectly complete a switchover when a failover should have been used, you can navigate to the destination NAS (now source), restore a snapshot, then sync the replication task.
The data on your initial source NAS will now be restored! This process will sync the data from the source NAS to the destination NAS before switching over. If the data on your source NAS has been compromised, look at the failover option below.
Failover
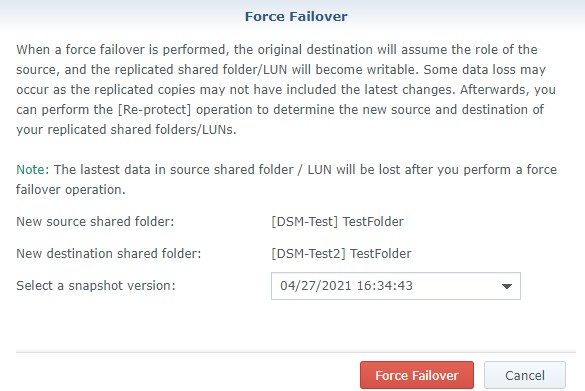
Generally, you’re only going to be implementing this in a catastrophic event. Meaning the data on your local NAS has been compromised, all snapshots are unrecoverable, and you need to sync the data from your destination NAS to your source NAS. This process will failover to the replication destination where your data (should) be secure.
You can conduct a failover from the destination NAS if the source data is compromised. To conduct this, login to the destination NAS, select the Recovery tab in the Snapshot Replication tool, then select Action -> Force Failover. This will change the source and destination, but will not sync the data from the source to the destination.
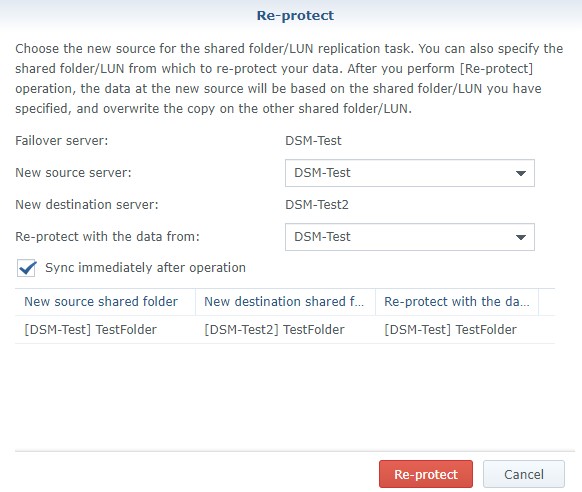
After the failover has been completed, you can conduct a Re-protect, which will sync the correct data from one NAS to the other.
The switchover/failover steps are a little confusing, so if you’ve made it this far (and actually need to perform this), I highly suggest watching the video above as it’s explained, and both recovery options are demonstrated.
Conclusion & Final Thoughts
This tutorial looked at how to set up Snapshot Replication on a Synology NAS. Snapshot recovery is a way to back up your NAS incrementally, that’s different than Hyper Backup.
Hyper Backup is significantly more portable (and can be encrypted). I just want to make clear that they’re both tools that can be used, but your needs might dictate which is better than the other.