Today we are going to look at how to setup a Synology DSM Virtual Machine using Virtual Machine Manager.
There are various reasons someone would want to create a Synology DSM virtual machine. For a long time, my virtual instance of DSM was my “testing grounds”, where I did things that I didn’t want to do to my production instance. I have a few reasons in this tutorial why you might want to run a Synology DSM virtual machine, but there are plenty more.
Before we get started, you need to ensure that you have a NAS that’s capable of running Virtual Machine Manager. You will find the models that support Virtual Machine Manager in this link.
Another thing to note is that Synology gives you one free vDSM license. If you would like to run more, you can, but you’ll have to purchase an additional license. If you’re interested in running multiple different instances, you can purchase a license pack from Synology. After completing this tutorial, you might notice that not all settings are available in vDSM. This is normal and expected.
1. Setup Instructions – Synology DSM Virtual Machine
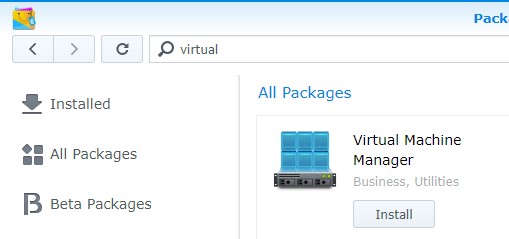
1. Open Synology’s Package Center and install Virtual Machine Manager.
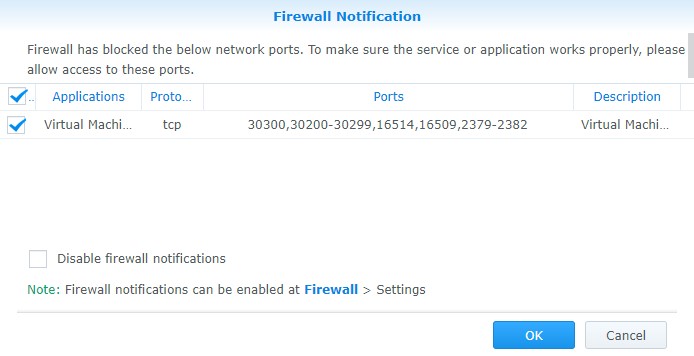
2. If you receive a pop-up asking you to accept that ports 30300,30200-30299,16514,16509,2379-2382 will be opened, you can select OK. If you don’t, you will have to manually open these ports in Synology’s Firewall (if you are using the Firewall).
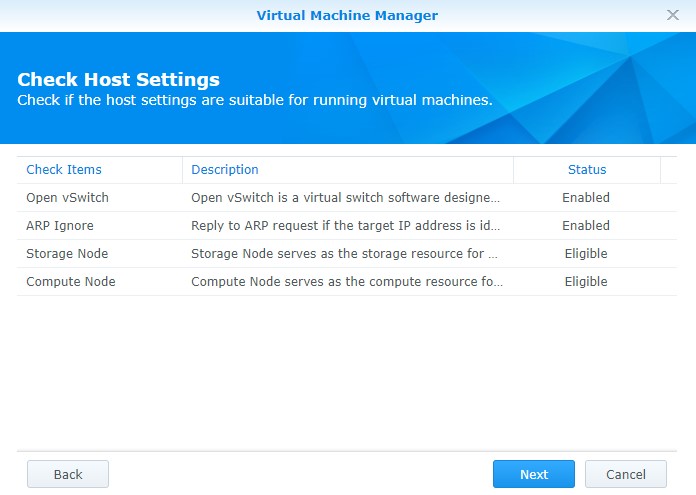
3. Open Virtual Machine Manager. You will be brought to a setup wizard – select Next and configure the Host Settings as you’d prefer. Generally, it’s fine to leave these as default.
4. Select the volume that you’d like Virtual Machine Manager to be installed on and select Next.

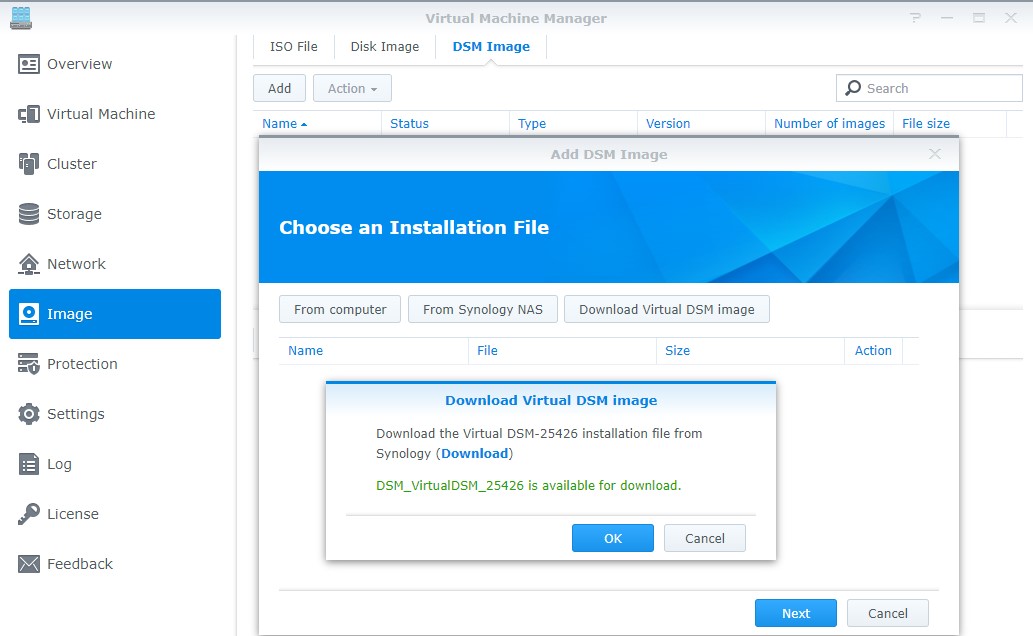
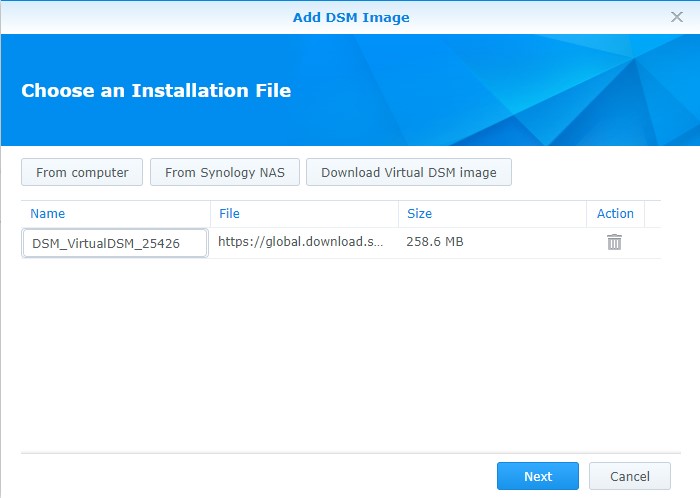
5. You will now be brought to the default landing page of Virtual Machine Manager. The first thing that we need to do to install vDSM is to download the latest DSM Image. Navigate to the Image section, then DSM Image. Select Add, Download Virtual DSM Image, and then OK.
6. Select Next after you’ve confirmed the settings look correct.
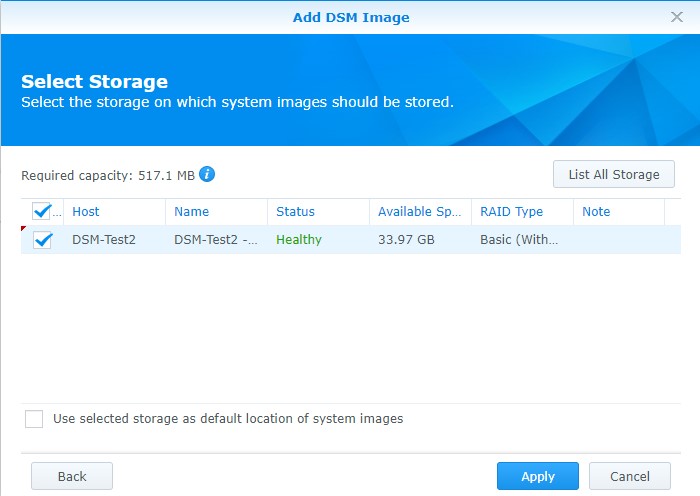
7. Select the host storage and select Apply. The image will now download, which will take a few minutes or longer depending on your internet download speeds.
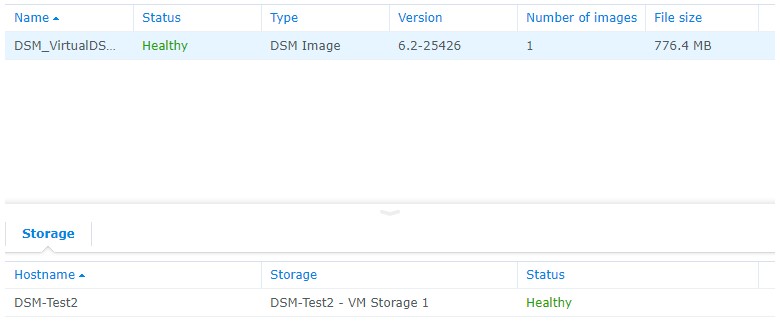
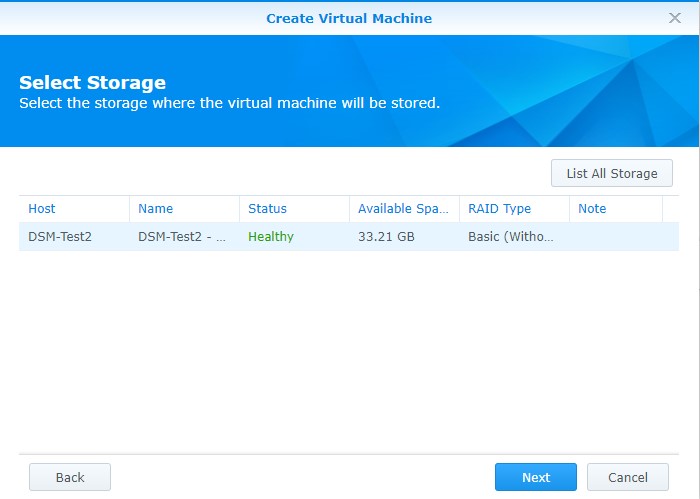
8. When it’s done, you will notice that the image reports Healthy.
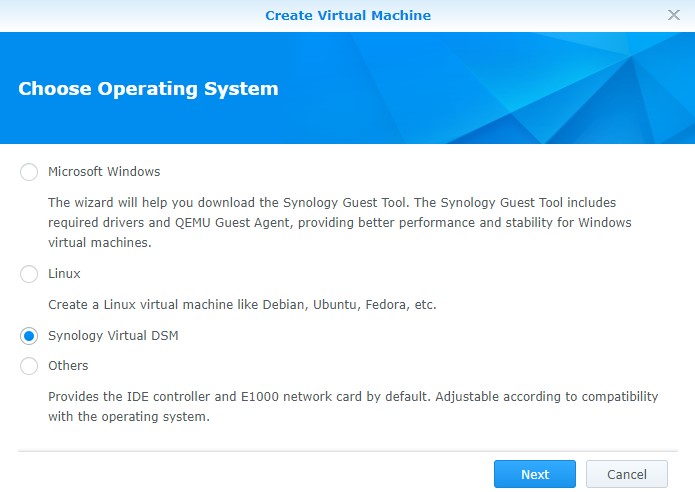
9. Go to the Virtual Machine section and select Create.

10. Select Synology Virtual DSM and Next.
11. Select the Host and select Next.
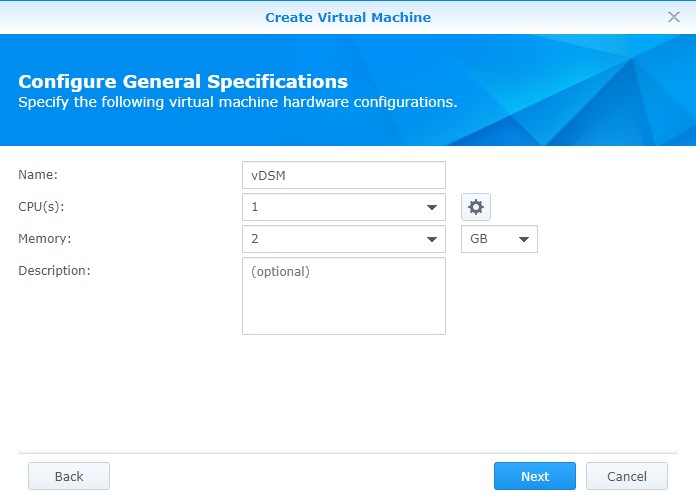
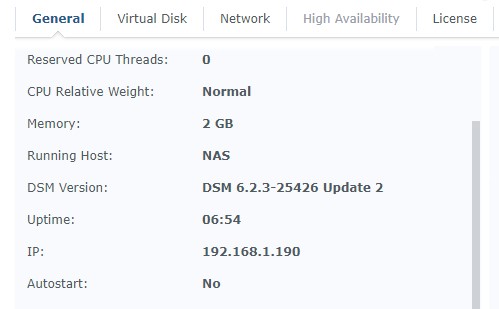
12. Enter a name for your Virtual Machine, select the CPU’s you’d like to use, and the total amount of memory and select Next.
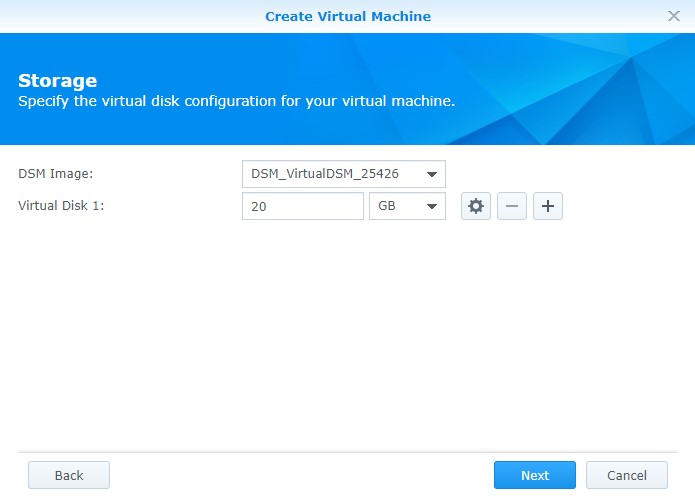
13. Select the DSM Image, enter the amount of storage you’d like to use on the Virtual Disk (this is what will be accessible from vDSM), and select Next.
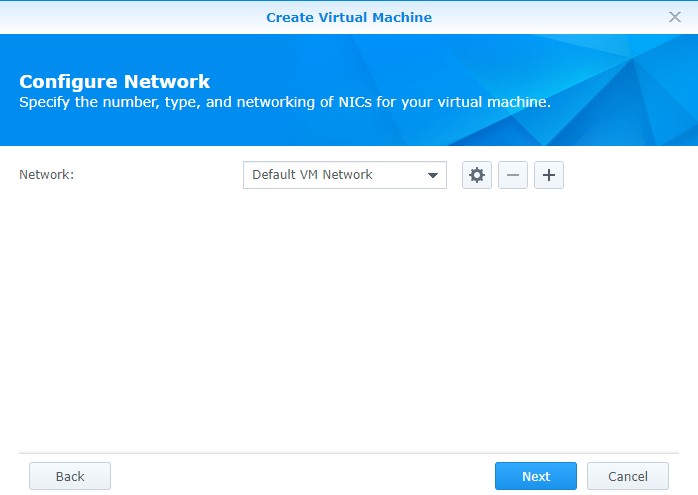
14. Select your Network (default for most).
15. Determine if you’d like this to automatically start and select Next.
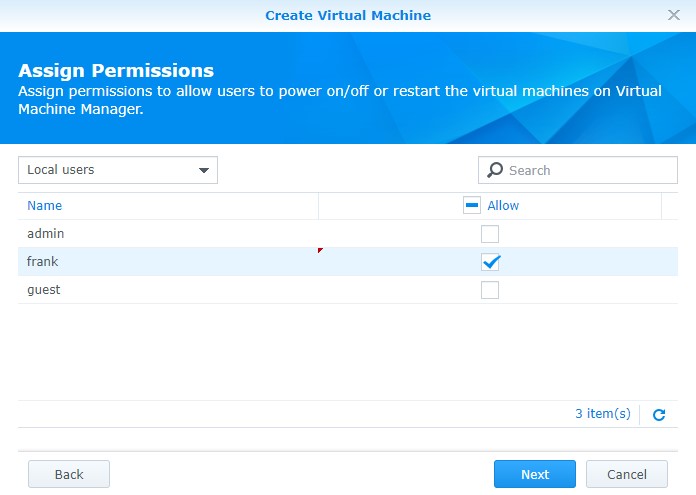
16. Grant any local users who you’d like to access the virtual machine permission.
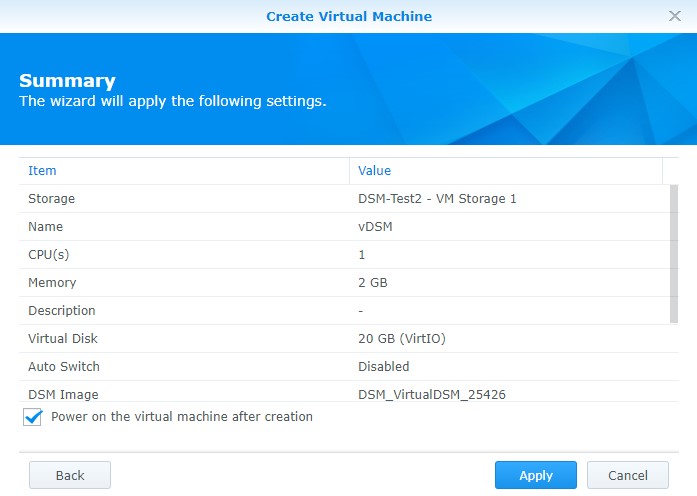
17. Select Power on the virtual machine after creation and select Apply. The virtual machine is now created!
2. License & Server Creation – Synology DSM Virtual Machine
Virtual Machine Manager will give you one vDSM license for free. If you need additional vDSM instances, you will need to purchase an additional license. After the virtual machine is created and powered on, you will need to assign the vDSM license.
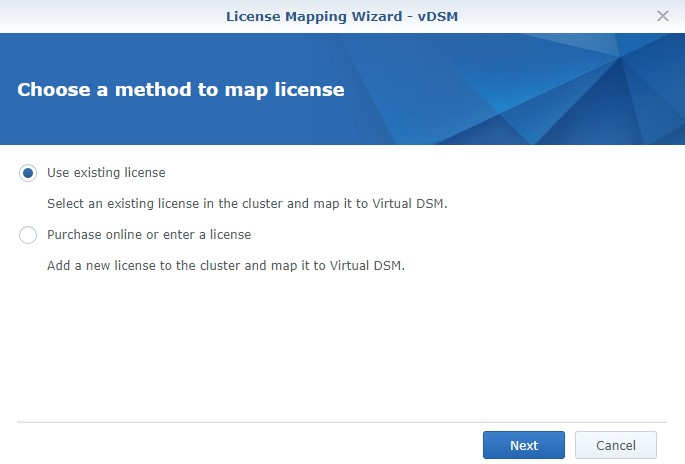
1. Select Use existing license.
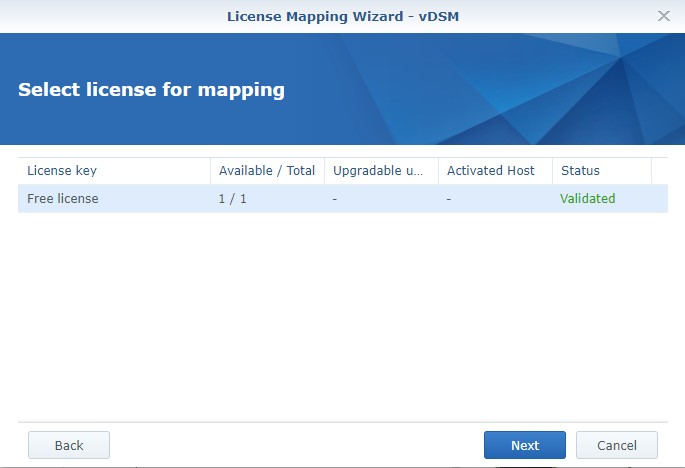
2. Select the free license and select Next.
3. Click Apply! Your virtual machine will now power on and be accessible after an IP address is assigned. This process (assigning of IP address) can take upwards of 5-10 minutes, so be patient.
4. Navigate to the IP address assigned and port 5000/5001 (http/https).
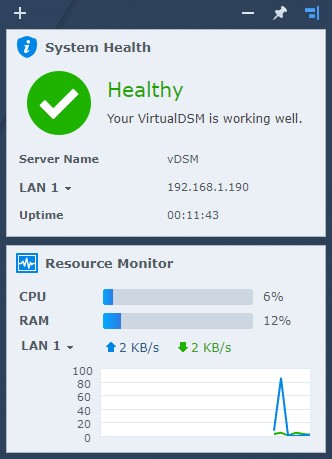
5. When you first connect to vDSM, you will need to create a server name and user account.

6. vDSM is now set up and configured!
3. Should you run a vDSM Instance?
There’s very little harm in setting up a vDSM instance. At the end of the day, anything you create can be deleted, and running a vDSM instance will give you the freedom to experiment as you’d like. The potential vDSM downsides are generally performance related, as Synology’s NAS devices aren’t designed to be hypervisors. While maxing out the memory and running a few virtual machines (VM) is possible, you will potentially notice performance degradation after you set up one or multiple VM’s.
Here are some reasons why you might consider setting up vDSM:
- Test Server: Synology’s DSM, while powerful, can be confusing when first starting. Their documentation is generally lacking and having a test environment where you can try new things is great.
- VPN Client/Server: By default, Synology only allows you to run a VPN Client or Server on DSM. Meaning that you need to pick between setting up a VPN server or connecting your NAS to a different network by utilizing the VPN client. vDSM allows you to host the VPN Server and connect to a VPN client at the same time. Granted, they are separate instances, but you’re able to do both if you need to.
- Test New DSM Versions: This ties into the first use-case, but the ability to test new DSM preview versions (most recently, 7.0) in a sandbox environment.
4. Conclusion
For the majority of people, setting up Synology’s DSM as a Virtual Machine might not be worth it. Synology devices are setup and sold as “turnkey” solutions that don’t require tons of configuration and testing. However, that’s not to say they aren’t powerful devices and having a sandbox environment that you can test things or an isolated instance to separately manage is beneficial to some. Ultimately, you’ll need to decide if it’s worth it for you!