In this article, we will look at a setup and review for Synology Surveillance Station.
If you own a Synology NAS, exploring Synology Surveillance Station as a potential NVR solution is a great option as you own the hardware that is used for it. Synology Surveillance Station is a package that can be installed in the Package Center which will allow you to utilize your Synology NAS as a functional NVR.
I do want to be clear upfront that while I have tested and set up Synology Surveillance Station, it’s not the NVR that I use on a regular basis. When we get to the review portion of this article, I’ll explain why.
Some links below are Amazon affiliate links which means that I earn a percentage of each sale at no cost to you. Thank you for your support.
Synology Surveillance Station Setup & Review
We will look at the Synology Surveillance Station setup process below, then look at an overall review of the product. Please keep in mind that as of the writing of this article, Synology Surveillance Station 9.1 is being used.
Synology Surveillance Station Setup
After you have configured your Synology NAS using best practices, Surveillance Station is a package that can be installed in the Package Center.
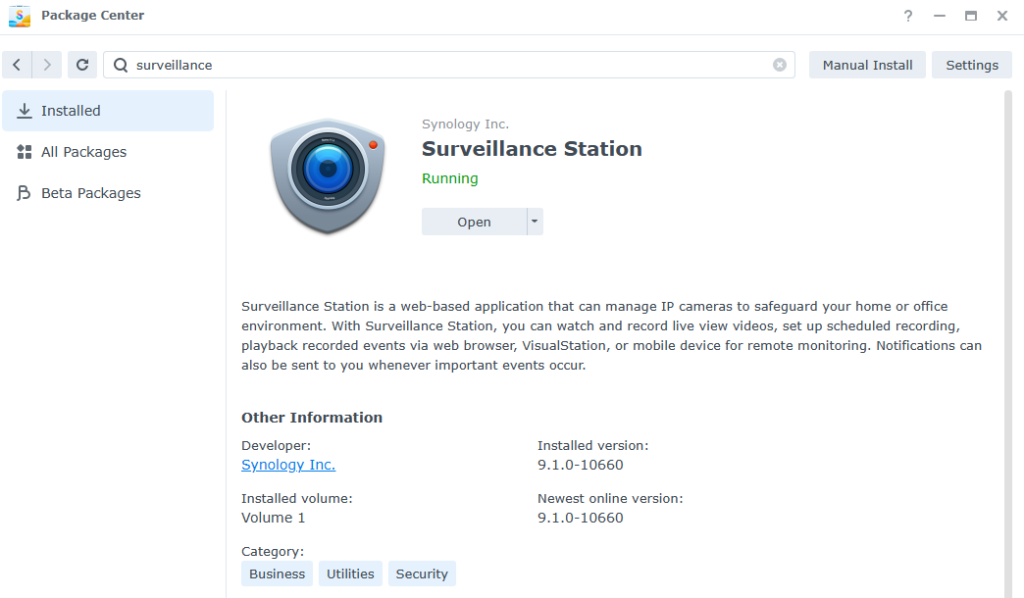
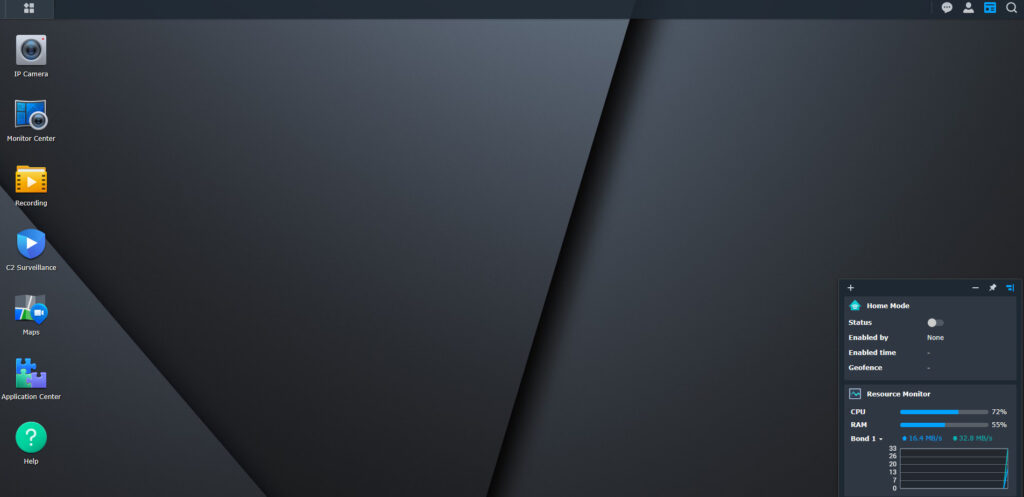
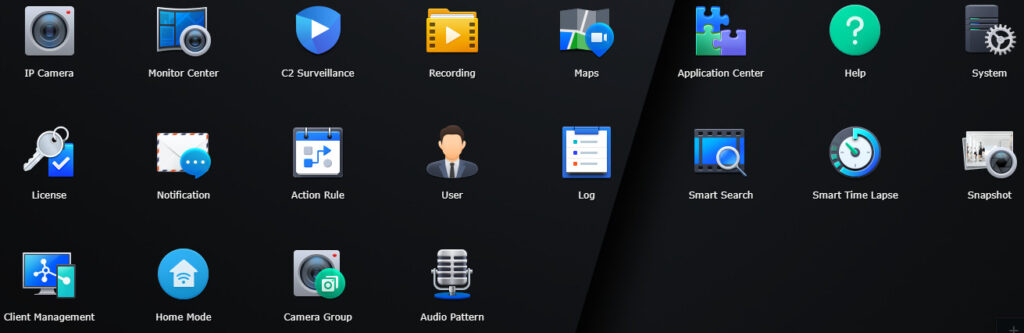
When the package is installed, you can open it to access the Surveillance Station web interface.
This interface is where you’ll access everything in Synology Surveillance Station and outside of the Surveillance shared folder being located in DSM, everything else will be configured here.
NOTE: After Synology Surveillance Station has been installed, a new shared folder named surveillance will be created.
Adding Security Cameras in Synology Surveillance Station
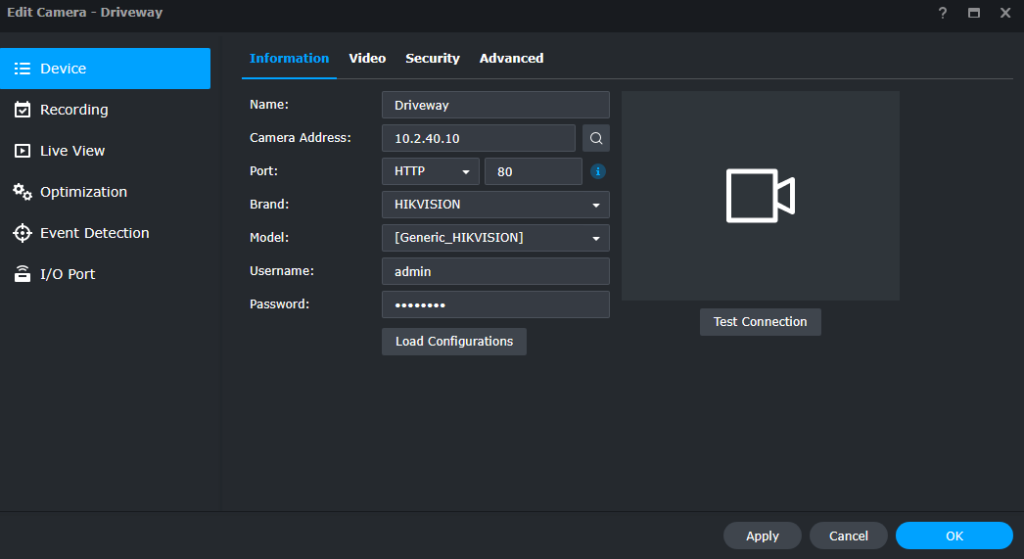
The first step is to add cameras to Synology Surveillance Station. To do so, select IP Camera, then Add. Inside this dialogue, you can enter the IP address of your security camera, as well as the Brand/Model, then the Username and Password.
This is also the location where you can modify any of the settings for the camera itself. You will have to add each security camera one by one.
It is in your best interest to go through each of these settings and confirm that your cameras are configured to your desired specification.
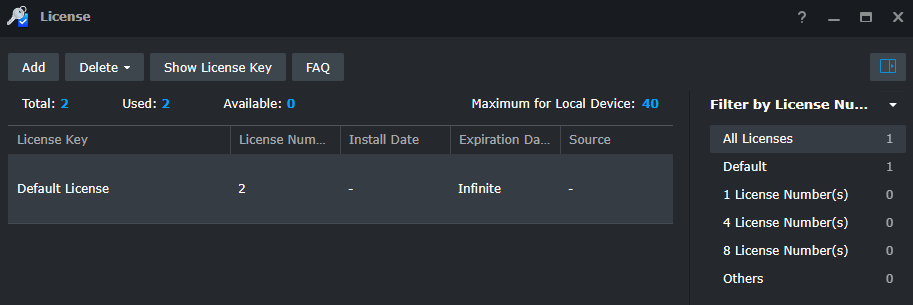
While you can add multiple cameras, you are only allotted two free security camera licenses by default. This means that you must purchase additional licenses to configure more than two cameras. This will be highlighted in the review, but it’s the biggest downside of Synology Surveillance Station.
For this reason, my absolute favorite camera for Synology Surveillance Station is the ANNKE NCD800. This device has two 4MP lenses that combine for a full 180-degree field of view. If you have a central location where you can mount this camera, you will be able to detect everything due to the 180-degree field of view. The reason I like it the most is that it only consumes one license in Synology Surveillance Station and it’s a great overall camera during the day and night.
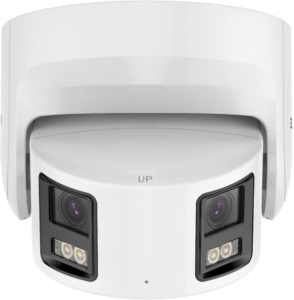
If you plan on using Synology Surveillance Station and have multiple areas where you can place an ANNKE NCD800, you’ll consume one license and get the output and performance of two cameras. This is a huge benefit and something that must be considered when designing your system.
From a functionality perspective, this is where most of the customizing is done in Synology Surveillance Station.
Monitor Center
The Monitor Center in Synology Surveillance Station is where you’ll view live cameras as well as recordings. For most people (after the initial setup), this is where you’ll spend most of your time as it’s the location where you’ll be interacting with live video and recordings.
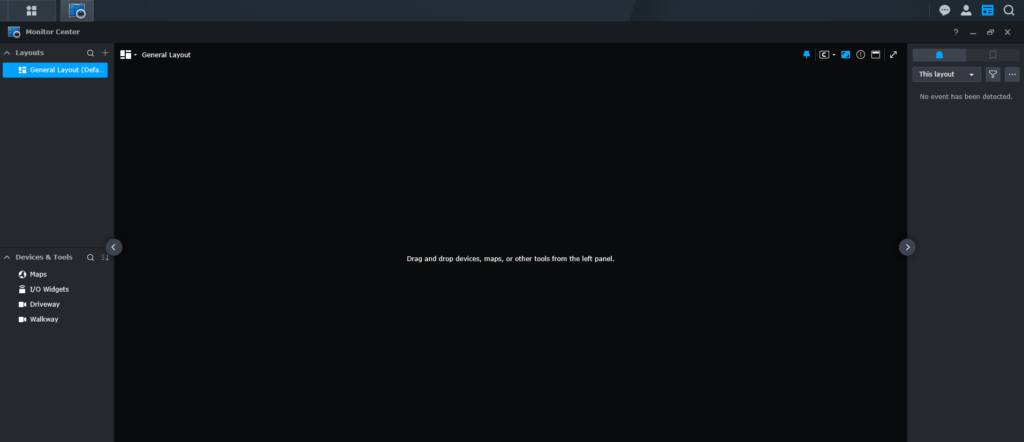
This section can be modified with different layouts (top left) and the video streams are based on the settings defined in the IP Camera section (main/substream). These settings can be altered for better performance or higher quality.
Additional Apps in Surveillance Station
The settings above (IP Camera/Monitor Center) are where most users will spend the majority of their time configuring and using Synology Surveillance Station. However, the sections below will allow you to change various settings.
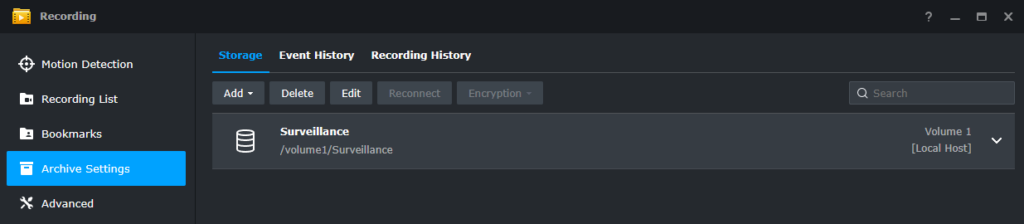
Recording in Surveillance Station
In the archive section, you can limit the total recording size, add encryption, and modify when recordings are rotated (deleted). To be clear, there are a ton of settings in this section that you should view, but how video files are archived is extremely important.
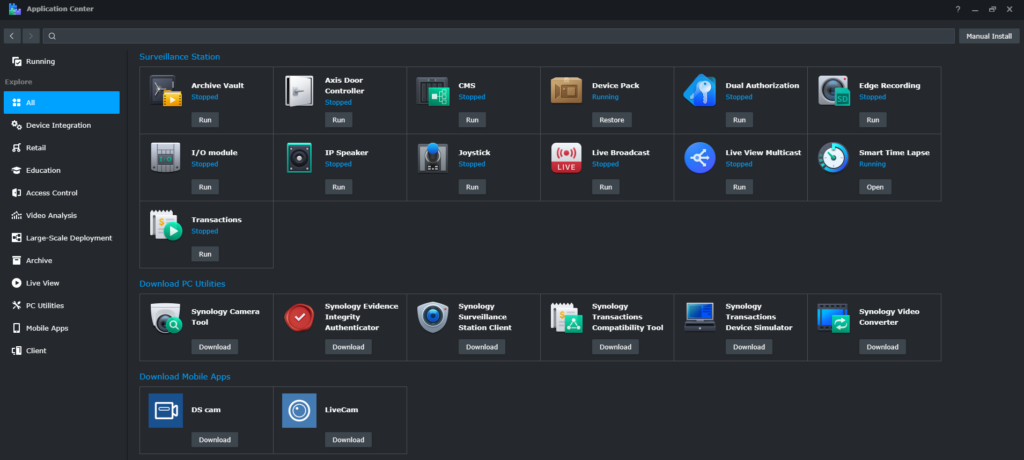
Application Center in Surveillance Station
In the Application Center, there are a ton of different tools that you can install to enhance the functionality of Synology Surveillance Station. There isn’t an individual tool that is best, though each of these can enhance the functionality of Synology Surveillance Station in one way or another.
Additional Applications in Surveillance Station
There are many additional packages in Synology Surveillance Station that come installed by default. These applications will modify how Synology Surveillance Station runs, though each package will function differently.
There isn’t anything in this list that everyone should use, though specific packages allow you to customize the functionality of Synology Surveillance Station. Here are some helpful things to look into:
- Home Mode will allow you to create Home/Away schedules that can allow you to customize how Synology Surveillance Station functions automatically.
- Notification will allow you to set up Email/SMS/Push Notifications based on specific events.
- Action Rule will allow you to automate specific functions to change camera presets, trigger recordings, etc. These rules must be manually configured.
Synology Surveillance Station Review
Synology Surveillance Station is a great tool, and if you own a Synology NAS as well as security cameras, it’s the first NVR you should probably try. With that said, there are really two different groups of people who might be considering Synology Surveillance Station. We will take a look at that when I provide my Final Thoughts, but I wanted to highlight two main points before getting there.
Recording
From a pure recording standpoint, Synology Surveillance Station is great. You can easily record the camera footage, archive the data, create snapshots, and more. Plus, storing the data locally on a NAS has a lot of benefits that other NVR solutions won’t generally provide (like RAID).
This is the most important part of any NVR, so it’s both beneficial and not surprising that Synology Surveillance Station excels in this area.
Security Camera Monitoring
The Monitor Center was updated in Surveillance Station v9.0 and it’s a really great tool. After recording, viewing live video and stored clips is probably the second most important section, and the Monitor center doesn’t disappoint.
One of the best features about it is Sync, which will allow you to monitor a specific clip and sync the other cameras with that time. This means that if a person walks from your driveway to your walkway, it will display the video clip of the driveway, then automatically switch to the walkway camera to continue tracking where the person went.

Final Thoughts
As mentioned above, there are two different groups of people who might be considering Synology Surveillance Station:
- People who own a Synology NAS.
- People who will have to purchase a Synology NAS.
If you own a Synology NAS and have available hard drive space, there is no reason why you shouldn’t try Surveillance Station, but only with two cameras so that additional licenses are not required.
If you will have to purchase a new Synology NAS, the decision becomes a lot tougher. We will break down some of the important points below which will help determine if this is a good product for you. To be clear, I have tested and used Synology Surveillance Station, though I always fall back to Blue Iris and I’ll highlight a few reasons below on why that happens.
1. Surveillance Station does not have any recurring costs, but you must purchase camera licenses. This is a huge issue, as the licenses are expensive and security systems generally evolve. For this reason, adding additional cameras is common, and having a license barrier is frustrating.
If you don’t own a Synology NAS, you must purchase a NAS, hard drives, and camera licenses to simply use Synology Surveillance Station. This goes from being a cost-effective solution (if you already own a NAS) to one of the most expensive NVR options available.
2. Synology Surveillance Station does have some nice functionality, but when compared to a product like Blue Iris, it’s incredibly underwhelming. With that said, Blue Iris is confusing at first as there are a lot of settings, but each setting makes sense and is powerful in its own right.
Plus, NVR systems are generally “set it and forget it”, so once the initial setup is complete, there’s not much that changes. This makes it more justifiable to get passed the initial Blue Iris setup.
3. When you start to compare the total ownership costs of products like Synology Surveillance Station and Blue Iris, Blue Iris is almost always going to be cheaper and it’s a lot more powerful. You can purchase standalone hardware to run Blue Iris and it’ll still be cheaper in certain cases than simply buying camera licenses.
Add on that there are no limitations to camera totals in Blue Iris, and if you have a security setup with 10+ cameras, Blue Iris may be a lot more affordable, while also being the better overall product.
4. You can build a system with Blue Iris that will use artificial intelligence to detect people, cars, trucks, animals, etc, and run automation based on what it finds.
When paired with Home Assitant, Blue Iris can turn into an AI-based powerhouse that notifies you only when something important occurs and ignores unimportant motion events.
Synology Surveillance Station requires camera AI, and none of the cameras being sold right now are as good at AI as DeepStack or CodeProject.AI in Blue Iris.
So who should use Synology Surveillance Station?
While it’s clear that I prefer Blue Iris over Synology Surveillance Station, there are certainly users who will benefit from running Synology Surveillance Station. In general, for small security builds where you already own a Synology NAS and are only looking to run a few cameras, Synology Surveillance Station will be affordable, energy-efficient, and accomplish the base requirements very efficiently.
It’s also a good overall NVR, it’s just outclassed by purposely built NVR applications like Blue Iris. With that said, Blue Iris also has a high learning curve and requires its own hardware, so if either of those points is concerning, Synology Surveillance Station turns into a great option.