In this tutorial, we’re going to look at how to import a VM of Home Assistant on Proxmox.
Quick Answer: The best and officially supported way to run Home Assistant on Proxmox is to use Home Assistant OS inside a virtual machine (VM). This provides full Supervisor support, add-ons, snapshots, and the least maintenance overhead. LXC and Supervised installs work, but they require more manual upkeep and are not officially recommended for most users.

How to Install Home Assistant on Proxmox
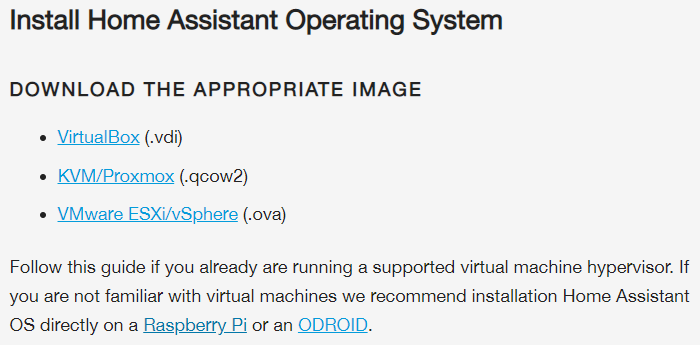
1. With Proxmox installed and configured, navigate to the Home Assistant downloads page and download the KVM/Proxmox (.qcow2) file.
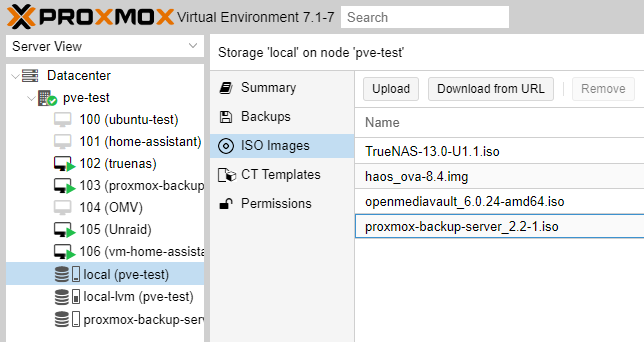
2. Extract the file, then rename it from .qcow2 to .img on your Mac/PC.

3. After you rename the file, upload it to your ISO Images location.
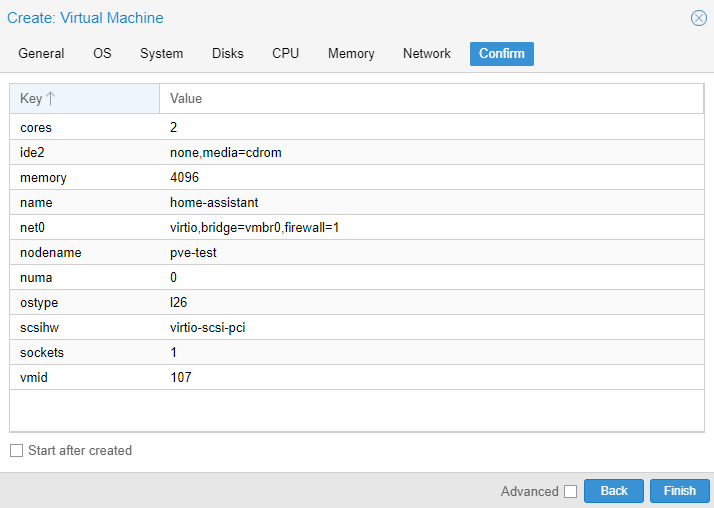
4. Select Create VM and then enter a name for the VM.
5. In the OS tab, select do not use any media.
6. In the System tab, check off QEMU Agent.
7. In the Disks tab, delete (red trash can) the scsi0 disk. You shouldn’t have any disks listed after doing this.
7. Set the CPU tab to use two cores.
8. Set the Memory to use 4 GB.
9. Navigate to the Confirm tab and ensure that Start After Created is NOT selected. Then select finish to create the virtual machine.
10. Run the command below, substituting the current version, VM ID, and Storage Location. This is how the Home Assistant OS is imported into the Proxmox VM.
NOTE: If you’re using a NAS for your ISOs, you must navigate to that storage location.
qm importdisk <VMID> /var/lib/vz/template/iso/haos_ova-8.4.img <STORAGE_LOCATION>
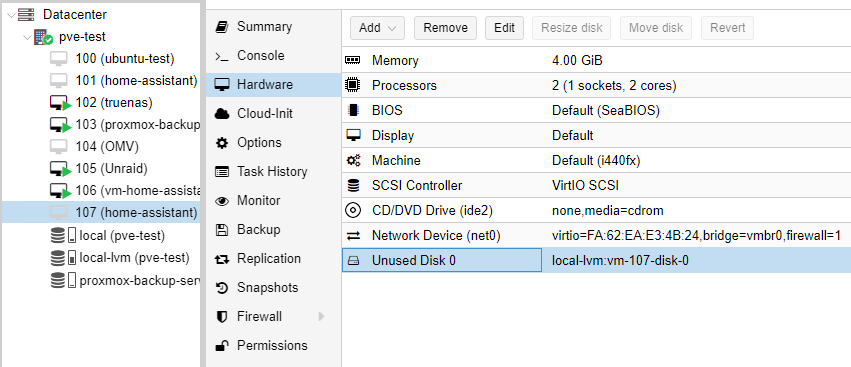
11. Select the virtual machine and edit the unused disk that we just imported.
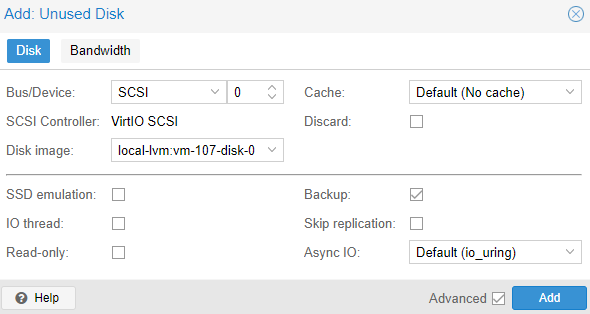
12. Select Add to add the disk to the VM.
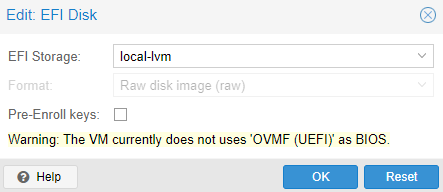
13. Select Add and then EFI Disk. Select your EFI Storage, uncheck pre-enroll keys, then select OK.
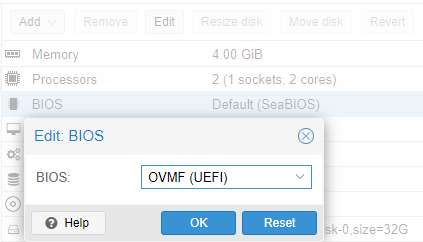
14. Select Edit on the BIOS and set it as OMVF (UEFI).
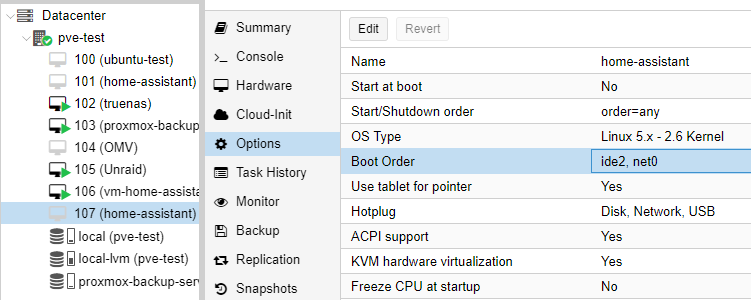
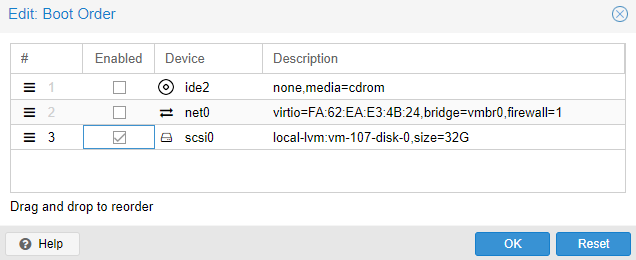
15. Select Options, then Edit the boot order.
16. Uncheck ide2 and net0 and then check scsi0. Select OK to save these settings.
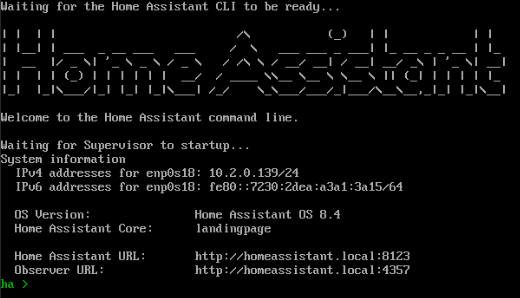
16. You can now start the virtual machine!
17. Once it finishes booting, you can open the console window for the VM and view the IP address that was assigned or access Home Assistant by the Home Assistant URL.