In this tutorial, we’re going to look at how to install Nextcloud on Proxmox.
Nextcloud is one of the most popular applications you can use to provide local functionality similar to cloud offerings like Dropbox, Office 365, or Google Cloud. Nextcloud runs really well on Docker, and if you’re using Proxmox, you can easily configure an LXC Container to run Docker, then install Nextcloud on top of it. From a resource usage perspective, this is my favorite way of running Nextcloud on Proxmox.
What is Nextcloud?
Nextcloud is an open-source software suite that provides online data storage and applications like calendars, contacts, and photo galleries. It’s a self-hosted solution, meaning that instead of relying on third-party cloud services, users install and run it on their own servers.
The primary function of Nextcloud is file hosting but with user-controlled privacy. It allows users to store files, sync them between devices, and share them with others. Users can extend its functionality through tons of applications available in its app store. We’ll look at how to install Nextcloud on Proxmox below.
Configure Docker on Proxmox
You can use any Linux distribution you’d like, but we’ll be utilizing Debian 11 below to install Docker.
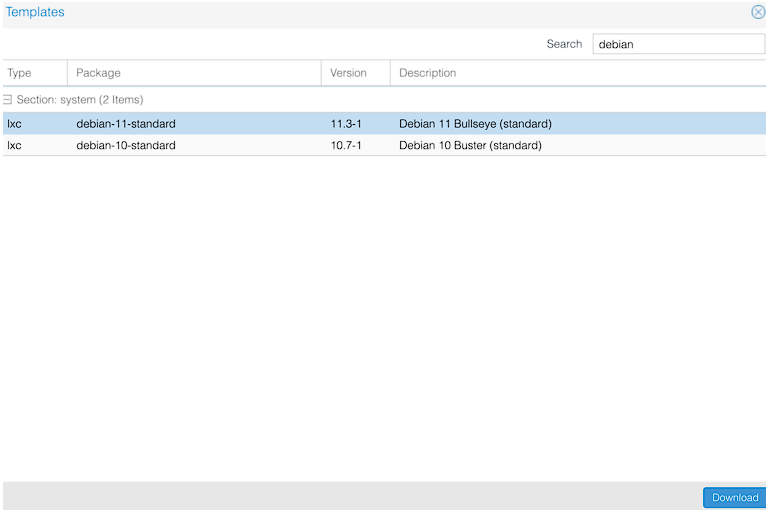
1. After logging into Proxmox, select the storage location you want to store the container template, select CT Templates, then select Templates.

2. Search for Debian, select debian-11-standard, and Download.
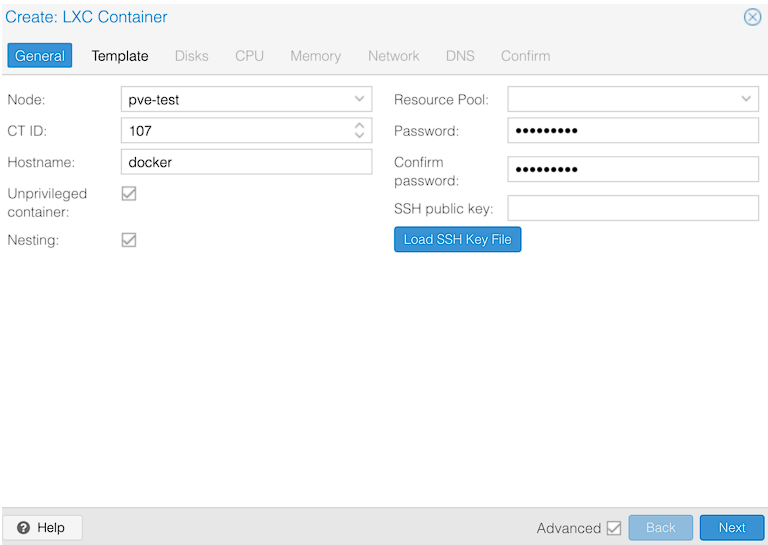
3. After the template downloads, select Create CT to create a new container.

4. Enter a hostname and enter the Password. This password is used to log in to the root user account. When you’re done configuring everything, select Next.
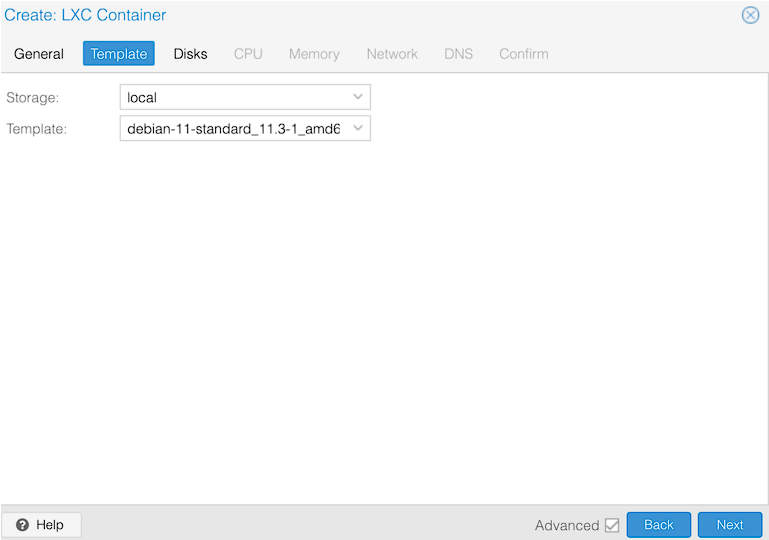
5. Select the Template, then select Next to proceed.
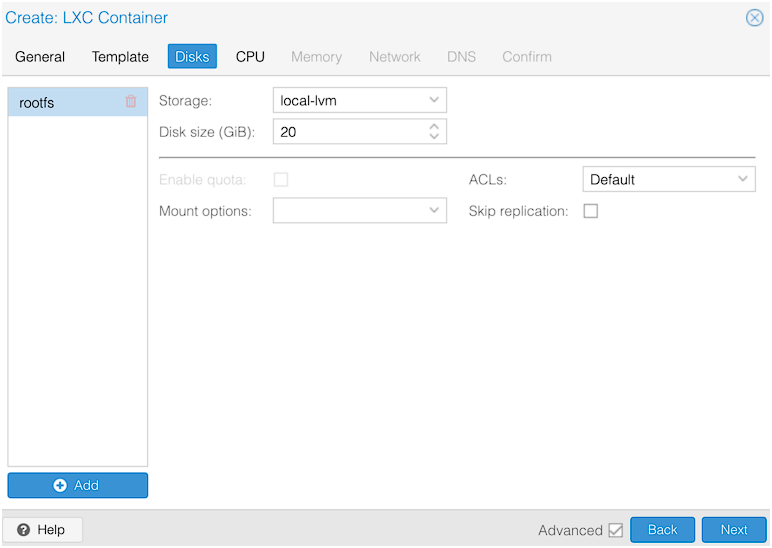
6. Enter a Disk Size for this LXC container, then select Next. Since this is for Nextcloud, you might want to set it for a bigger total size than I have below!
7. Enter the Cores for the CPU, then select Next.

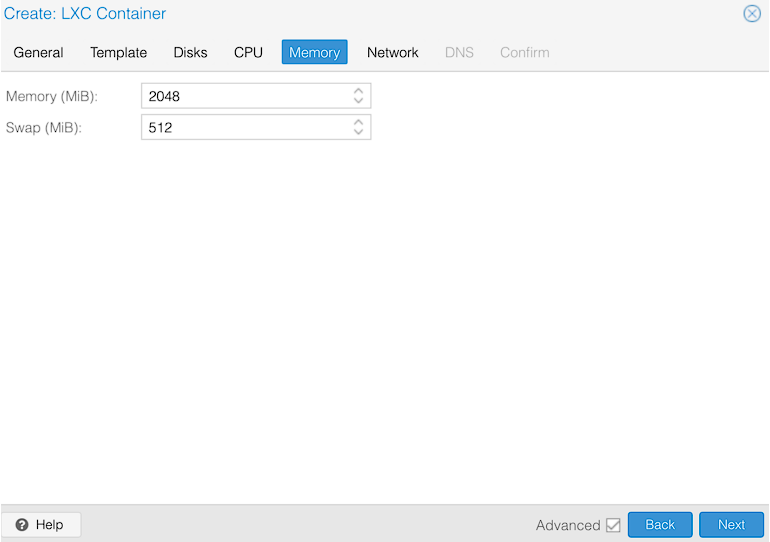
8. Set the total Memory you’d like to use for this container, then select Next.
NOTE: This is the limit that this container can use.
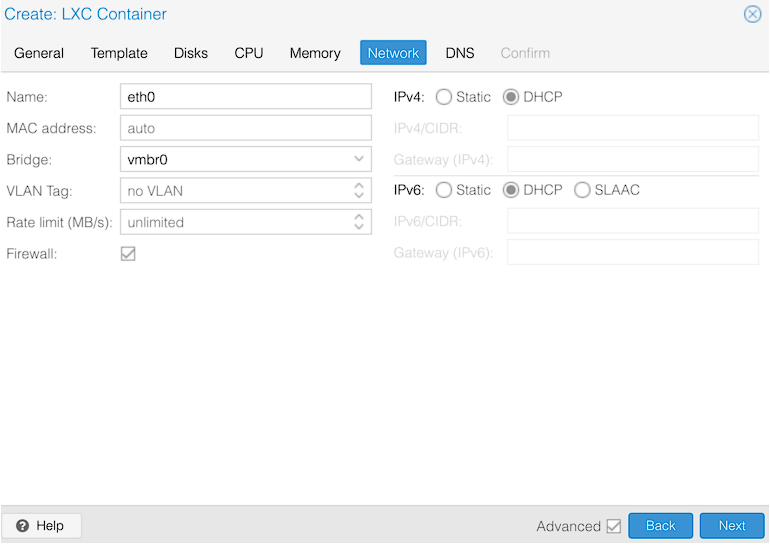
9. In the Network section, select DHCP for IPv4 and IPv6 (you can also set them manually if desired), then select Next until you get to Confirm.
NOTE: The DNS section can be configured as well if you’d like.
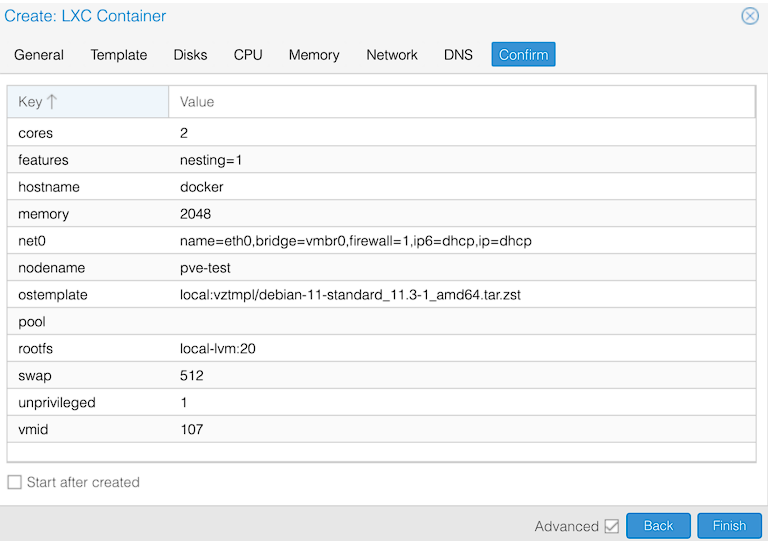
10. Confirm the settings, then create the container by selecting Finish!
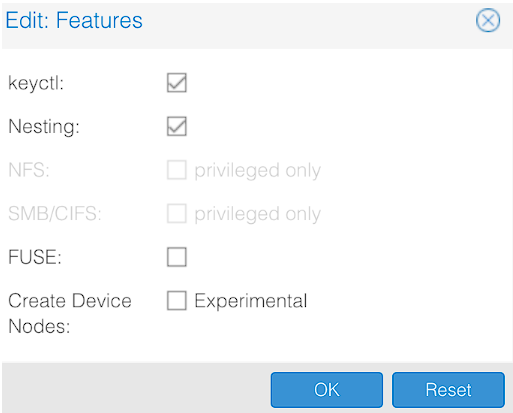
11. In the settings of the LXC Container that was just created, select Options, Edit, then Features.

12. Enable the keyctl setting, then select OK. You can now start the container!
13. After the container starts, log in with the username root and the password specified in step four. Then, run the commands below, in order, to install Docker, then Portainer (which we’ll be using to install Nextcloud).
apt update && apt upgrade -y
apt install curl -y
curl -sSL https://get.docker.com/ | sh
docker run --restart always -d -p 9000:9000 -v /var/run/docker.sock:/var/run/docker.sock -v portainer_data:/data portainer/portainer-ce
14. Access Portainer by navigating to the container IP address and port 9000. If you aren’t sure what the IP address of the container is, run the command below to get the IP address.
ip addrhttp://[CONTAINER_IP]:9000Docker Container Configuration: Nextcloud on Proxmox
Now that Docker and Portainer have been installed, we can install Nextcloud on Proxmox.
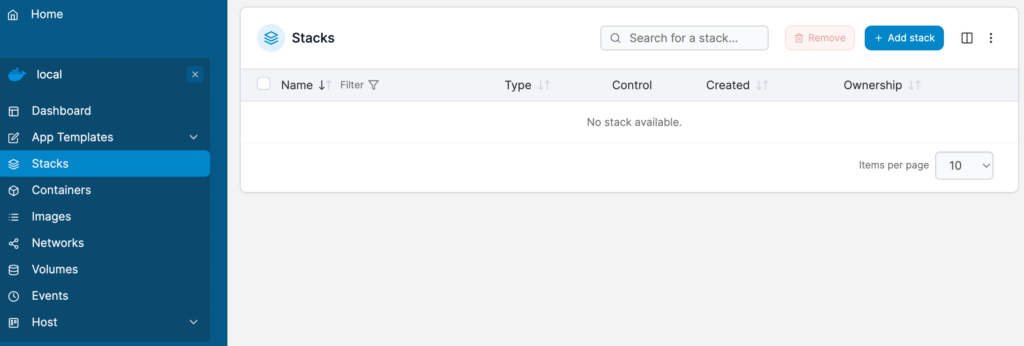
1. After Portainer has been opened, select Stacks, and Add Stack to create a new stack. We will use a Stack to create the Nextcloud container and database.
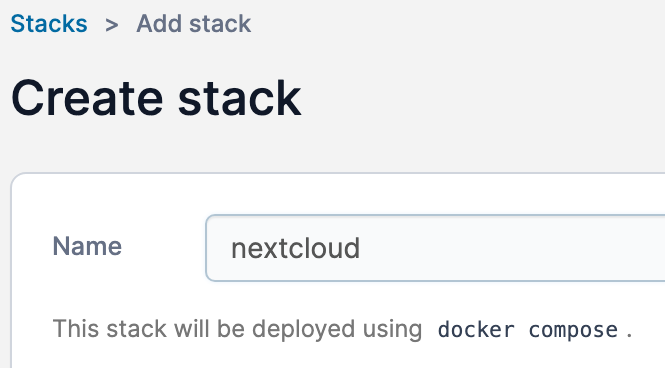
2. Create the stack and set the name as nextcloud.
3. Paste the contents below into the web editor. A few notes:
- You can adjust the volume details if you’d like. Keep in mind that these paths are the locations where all important Nextcloud data will be stored. If you want to back up or migrate this container, you must use these folders! For this reason, you might want to configure a different location!
- You should update the passwords below. Make sure the MYSQL_PASSWORD matches for the Database and Nextcloud container.
version: '2'

services:
  db:
    image: mariadb:10.5
    restart: always
    command: --transaction-isolation=READ-COMMITTED --binlog-format=ROW
    volumes:
      - /var/lib/docker/volumes/Nextcloud_Database:/var/lib/mysql
    environment:
      - MYSQL_ROOT_PASSWORD=password
      - MYSQL_PASSWORD=password
      - MYSQL_DATABASE=nextcloud
      - MYSQL_USER=nextcloud

  app:
    image: nextcloud
    restart: always
    ports:
      - 8080:80
    links:
      - db
    volumes:
      - /var/lib/docker/volumes/Nextcloud_Application:/var/www/html
    environment:
      - MYSQL_PASSWORD=password
      - MYSQL_DATABASE=nextcloud
      - MYSQL_USER=nextcloud
      - MYSQL_HOST=db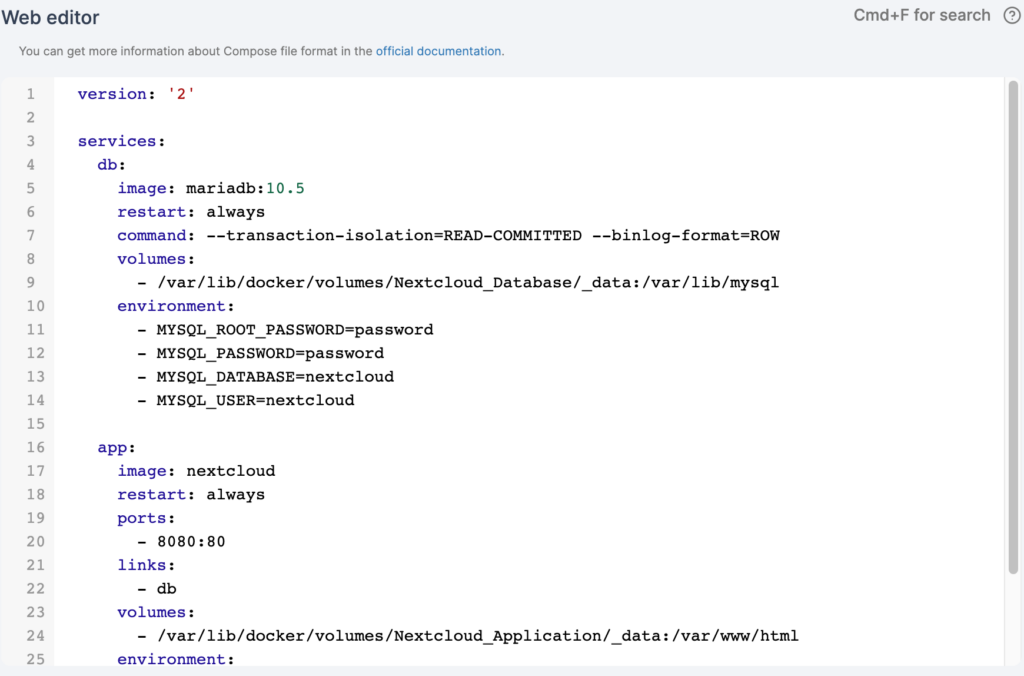
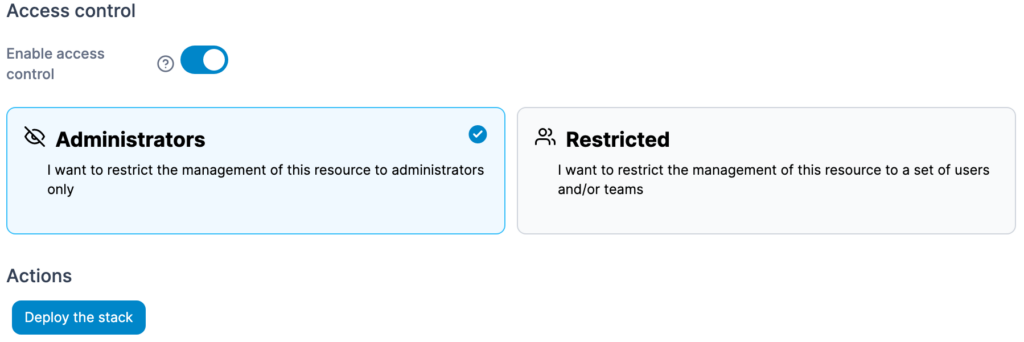
4. After all changes have been made, select Deploy the stack at the bottom to create the two containers.
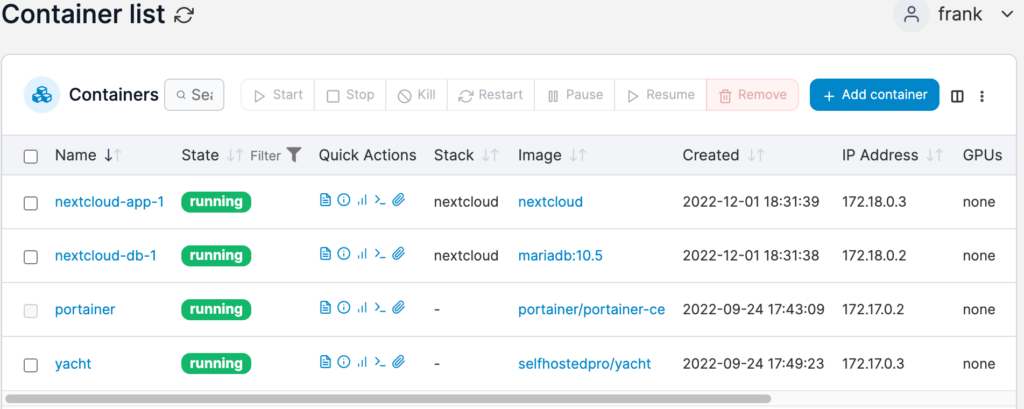
5. The container should now be created! You’ll have one for the Nextcloud container and one for the database.
Nextcloud Application Configuration
Now that the container has been created, we can configure Nextcloud.
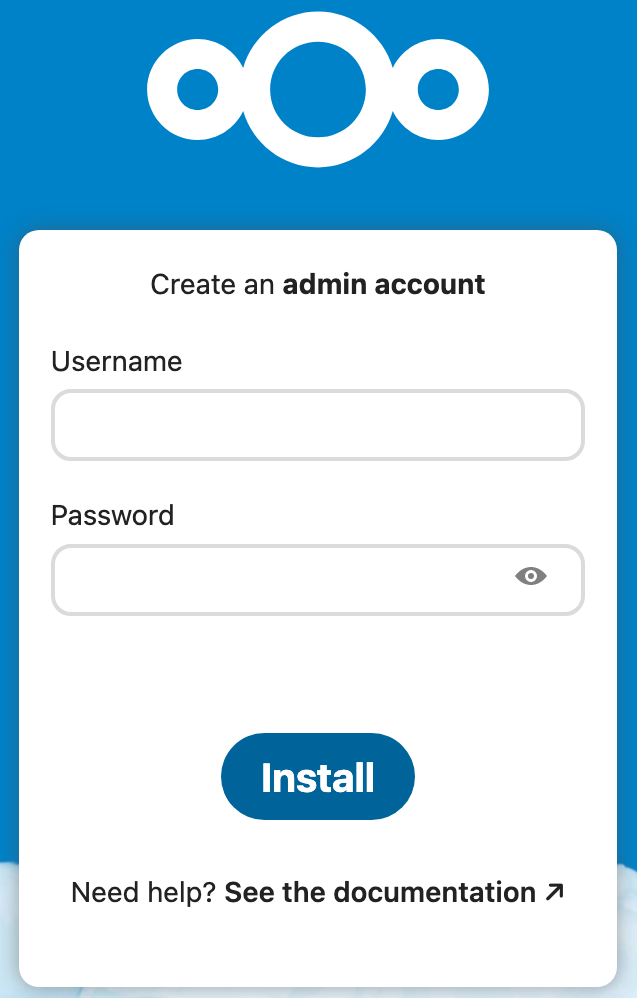
1. Navigate to your Unraid server’s IP address and port 8080. Set up a username and password at the first screen, then select Install.
http://[CONTAINER_IP]:8080
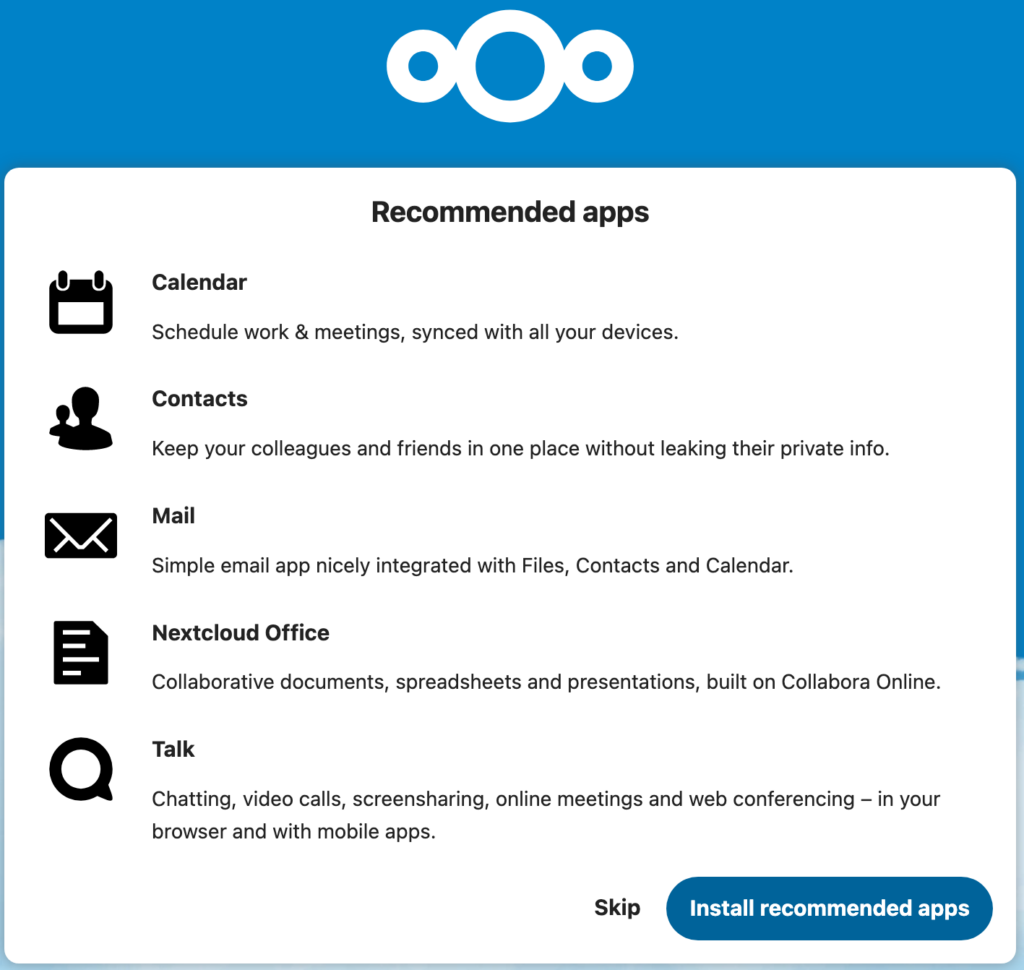
2. Install the recommended apps or skip this step. If you choose to install apps, this step will take a few minutes.
3. Nextcloud will now be ready to use!

Conclusion: How to Install Nextcloud on Proxmox
This tutorial looks at how to install Nextcloud on Proxmox. If you use Portainer and utilize Docker Compose, the process is pretty straightforward. However, it’s important to have Docker set up and configured already in Proxmox. There is also an individual, all-in-one Nextcloud container you can use (which won’t have a separate application/database), but since I’ve used this setup process for various other Nextcloud configurations, this is what I feel comfortable recommending.
Please ensure that the volumes configured are backed up properly as they will hold all Nextcloud data. As mentioned above, if you ever decide to move Nextcloud to a new server, the data that exists in these folders is what must be migrated.