In this tutorial, we will look at how to install Windows 11 on Proxmox. Since Windows 11 requires TPM, it’s slightly different to install Windows 11 than it is for other VMs.

How to Install Windows 11 on Proxmox
There are a few prerequisites that must be completed before configuring the VM.
Prerequisites to Installing Windows 11 as a VM
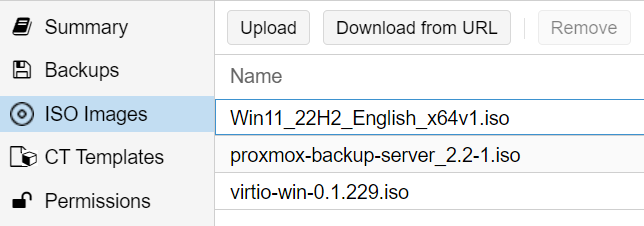
- Download the latest Windows 11 ISO and upload it to Proxmox.
- Download the latest VirtIO Drivers and upload them to Proxmox (under the installation section). This is how we’ll install our drivers.
Configuring the VM for Windows 11 on Proxmox
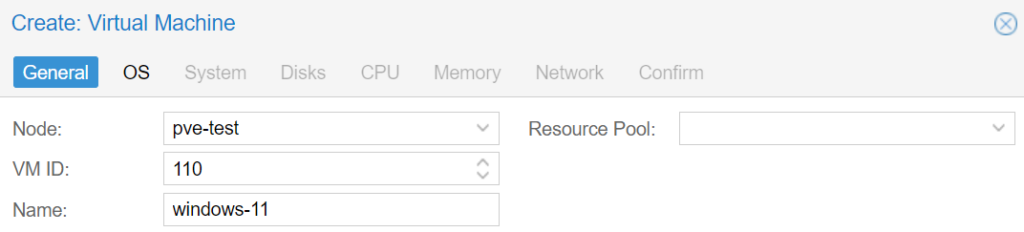
1. Select Create VM to create a new virtual machine.
2. Enter the VM ID and Name, then select Next.
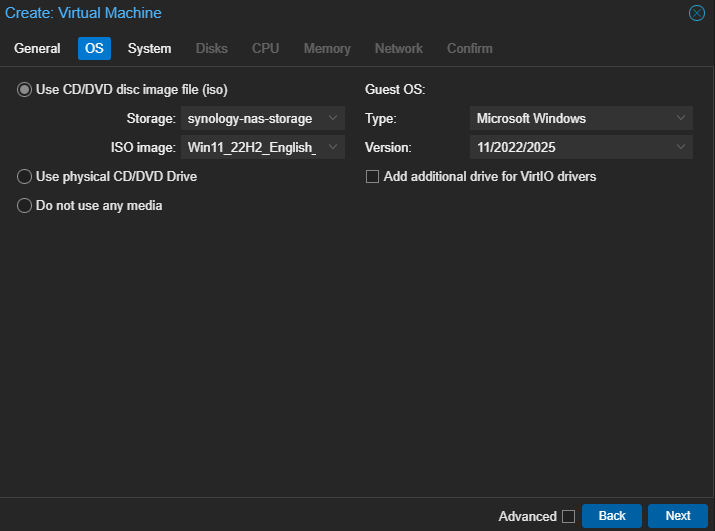
3. In the OS section, select the Windows 11 ISO image. Under Guest OS, select Microsoft Windows and 11/2022/2025. Then select Next.
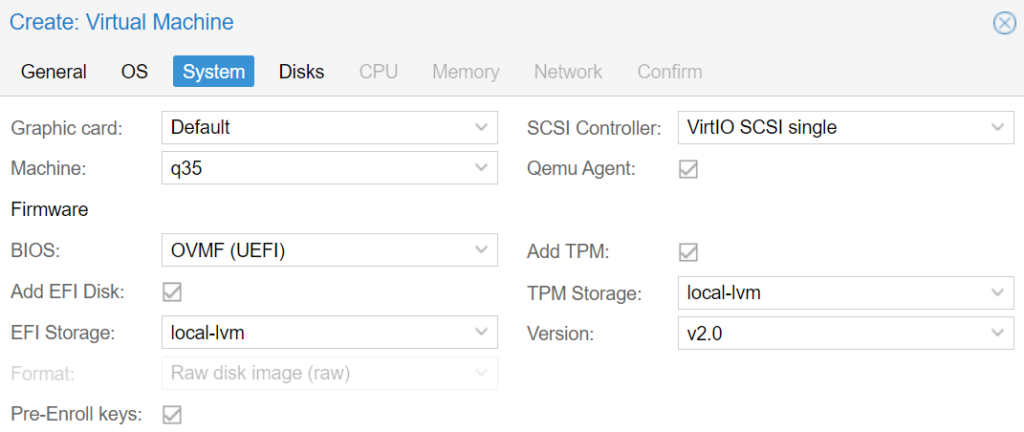
4. In the System section, select the same storage location for the TPM Storage and EFI Storage that you intend on using for the disk. Select QEMU Agent, then ensure that q35 and OVMF (UEFI) are selected. Defaults for everything else are fine.
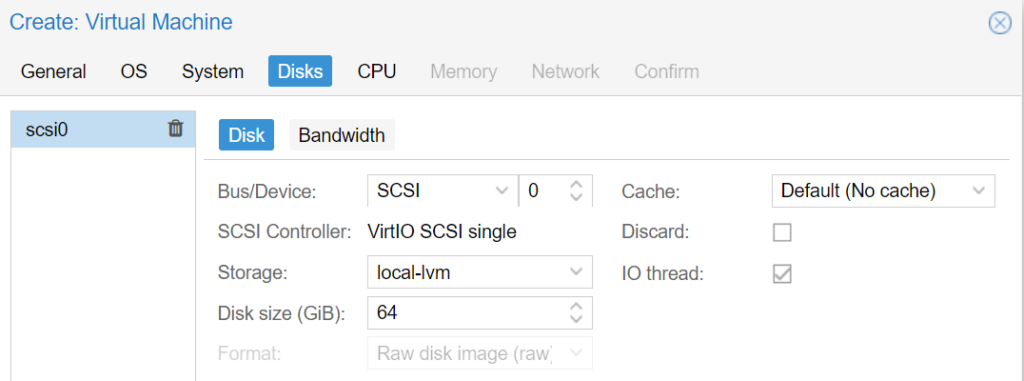
5. In the Disks section, select the storage type, then set the Disk Size to at least 64GB (this is the minimum Microsoft recommends for Windows 11, but you can always increase it later).
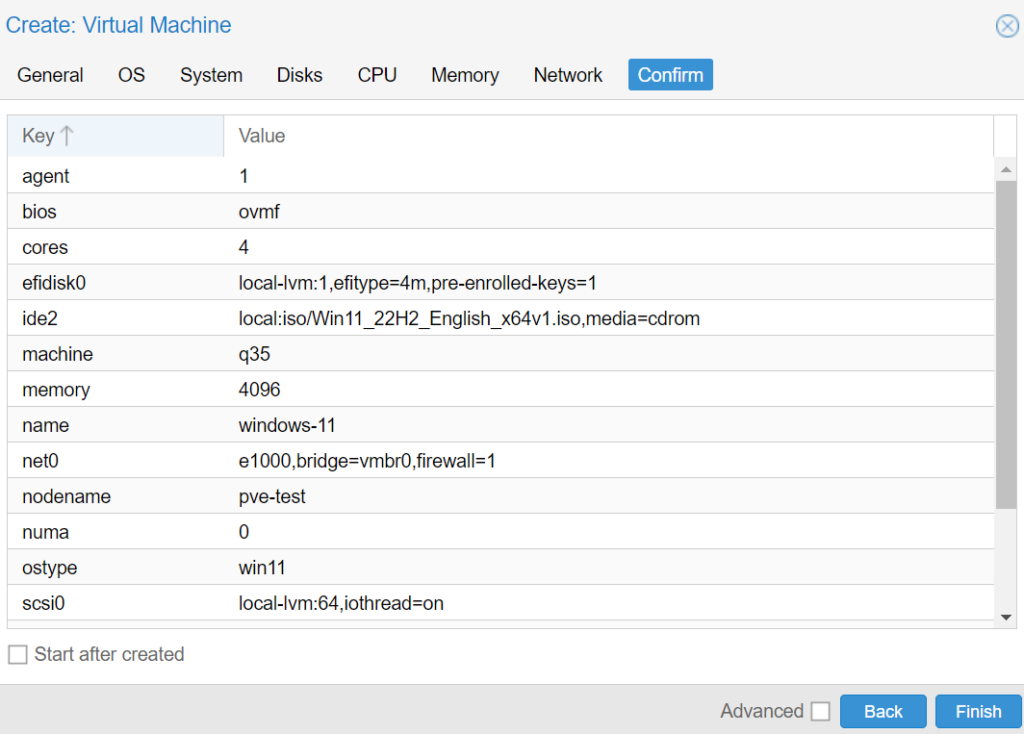
6. Set up the CPU, Memory, and Network settings (even using a VLAN if you’d like), then confirm the settings and select Finish. Make sure that the VM does not start after creation!
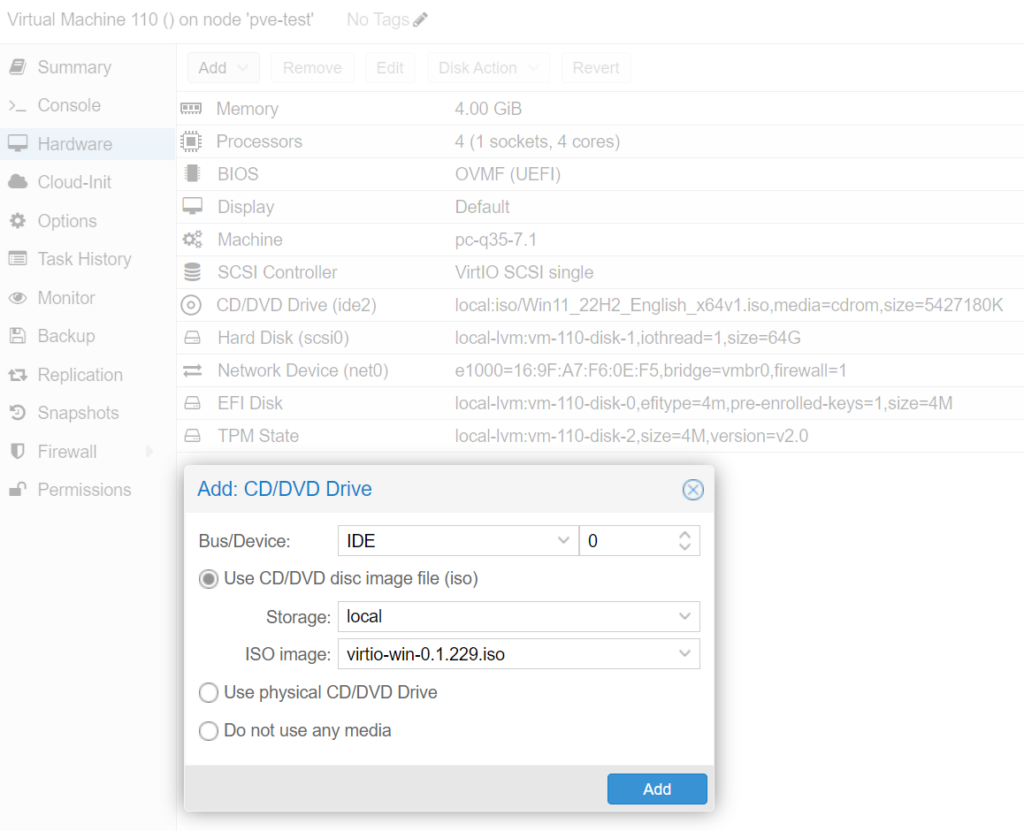
7. After the VM is created, select it, then select Hardware. Add a new CD/DVD Drive with the VirtIO Drivers downloaded earlier. After the drive has been added, Start the virtual machine!
This is required to install the drivers in Windows 11.
Installing the Windows 11 Operating System
The key to installing Windows 11 is ensuring the drivers are properly installed.
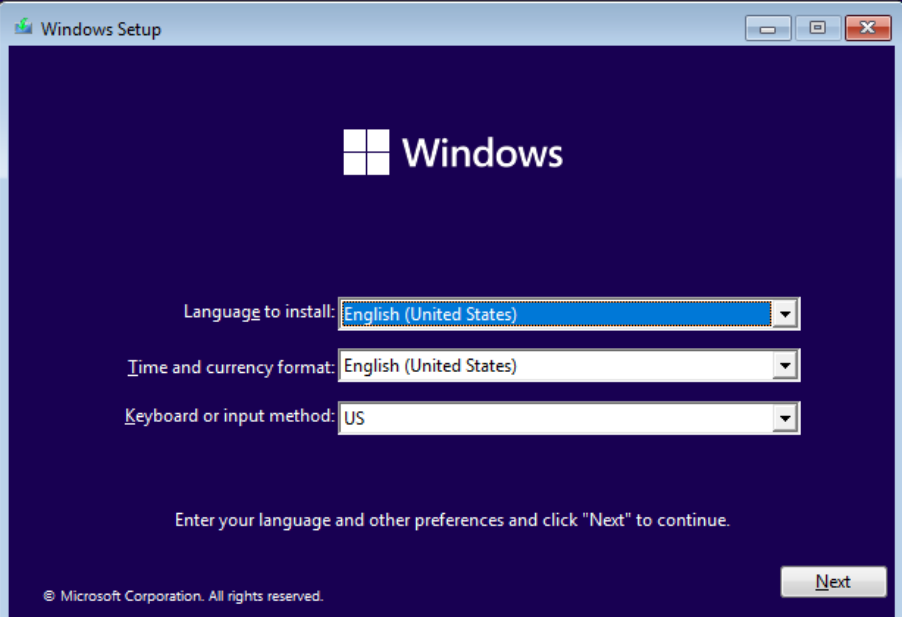
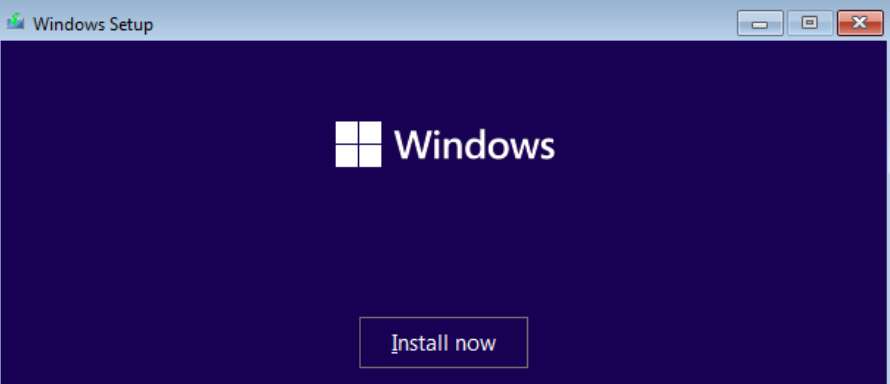
1. Boot up the VM and access the Windows Setup (you might have to press a key to boot into the Windows installation when first starting the virtual machine). Select the correct settings, then select Next.
2. Select Install Now, and the installation will begin.
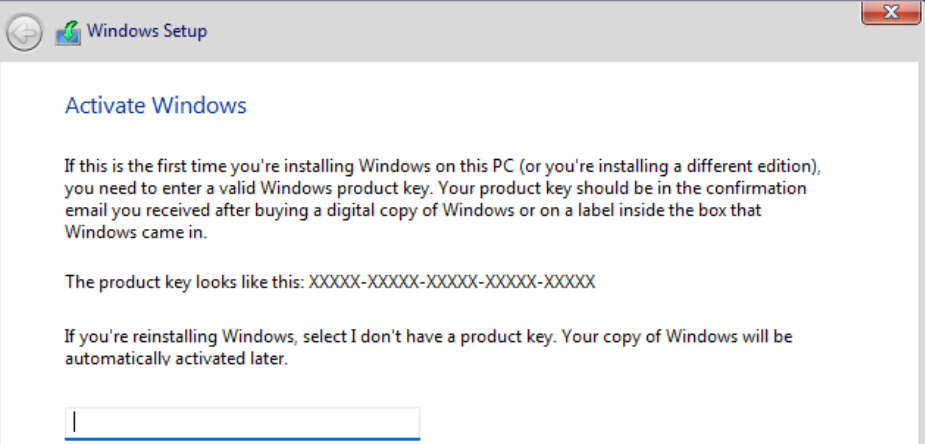
3. Add a Product Key if you have one, or select I don’t have a product key.
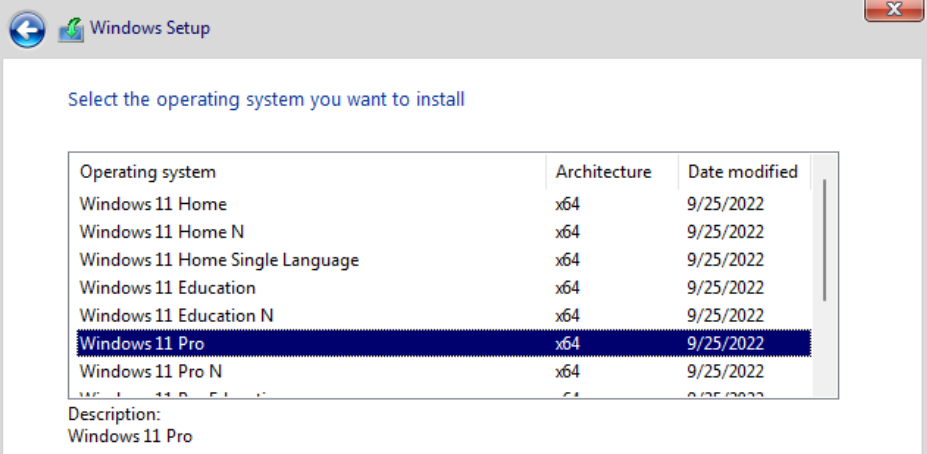
4. Select the version of Windows 11 you’d like to install, then select Next.
5. Accept the terms (if you agree with them), then select Next.

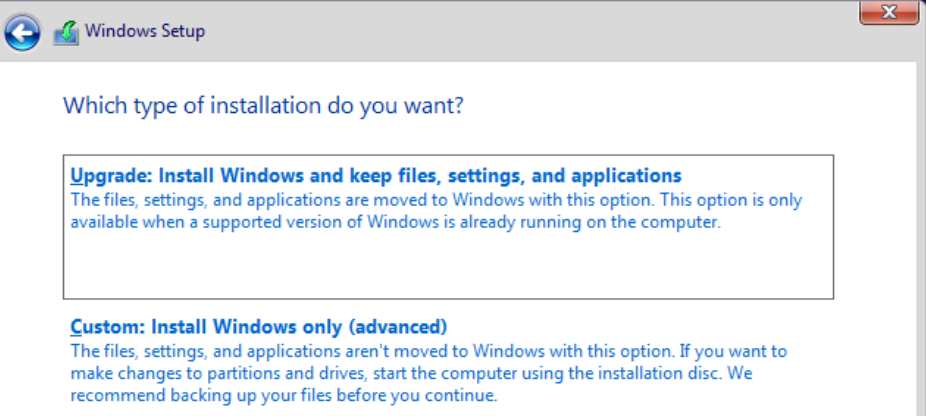
6. Select Custom as we will have to install the correct drivers before proceeding.
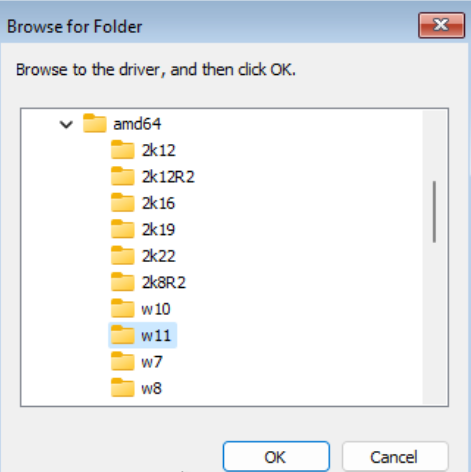
7. The drivers will not be installed by default, meaning that the Install Windows screen below will initially be blank. To install the drivers, select Load Driver, browse to the VirtIO disk, select amd64, then w11, and finally, OK.
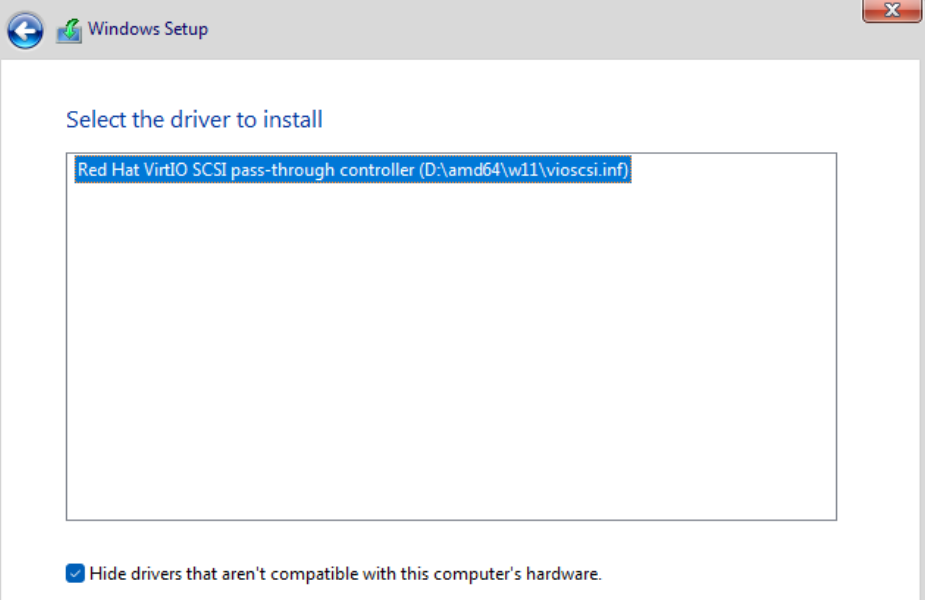
8. Windows should find the correct Driver. If it did, select Next to install it.
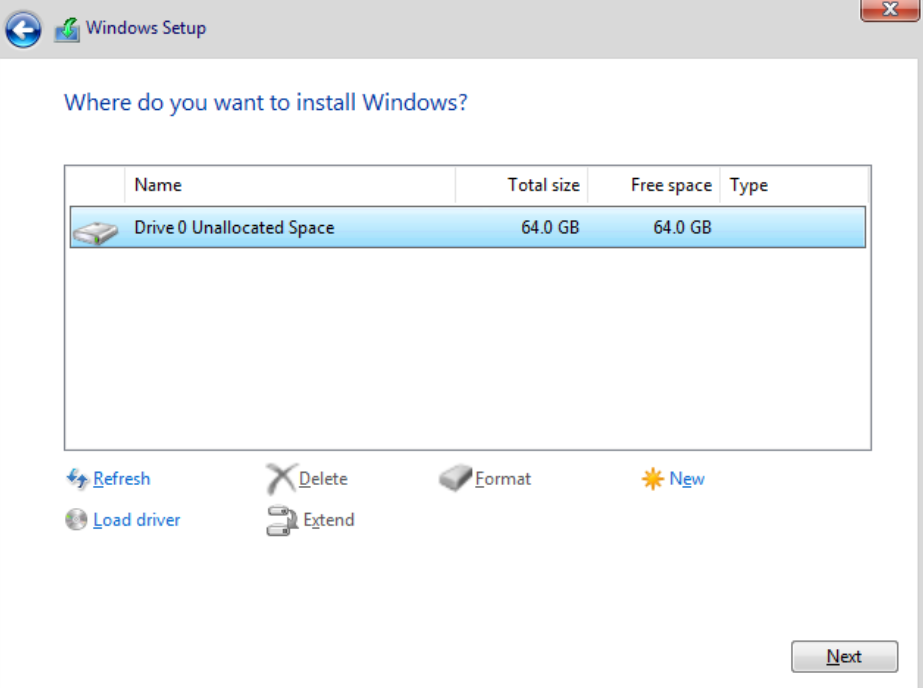
9. After it’s installed, you’ll see the hard drive selected. You can now proceed, and Windows will install! After the installation, the VM will reboot.
Windows 11 Setup Process
With Windows 11 installed, the final step is to configure it. If you run into an issue with the networking, skip to the network section below.
- Select the Country and Keyboard, then proceed. Windows 11 will start to check for updates.
- Add a PC name. After adding a PC name, the VM will restart.
- Set up the device for personal use or work/school.
- Sign in to your Microsoft Account.
- Set up a PIN.
- Choose your Privacy settings.
- Customize your experience, then determine if you’d like to configure Android access.
- Determine if you’d like to use a free trial of Microsoft 365 and Microsoft’s Game Pass.
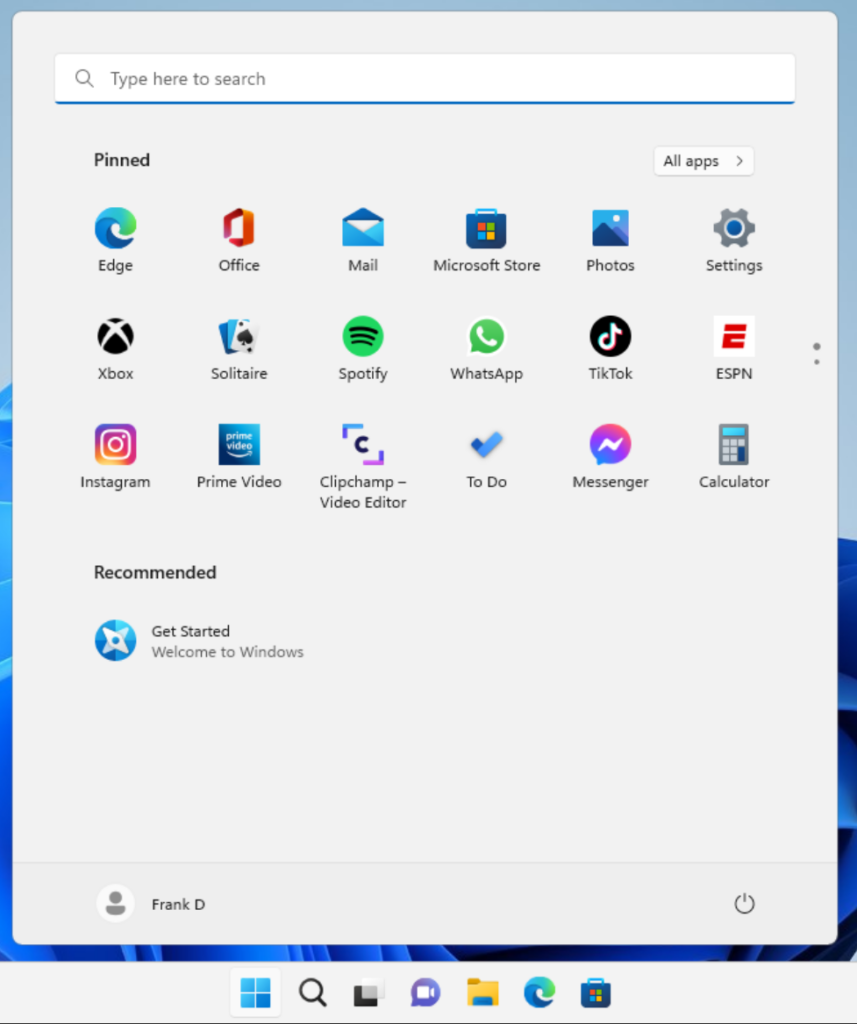
Finally, Windows will search for updates, then get the system ready. When complete, you’ll see the Windows 11 desktop!
If you open the Device Manager, you will notice that a few drivers must be installed.

Troubleshooting Networking Driver Issues
If you run into an issue where you do not have networking in the Windows 11 setup (which is required), run these steps below to pull up a command prompt and skip the online account steps.
1. In the Country selection, press shift + F10 to pull up a command prompt window.
2. Type in the command below, which will skip the online account requirement and proceed with the install.
start ms-cxh:localonlyInstalling All Required Drivers
The VirtIO CD is for drivers, and the easiest way to install them all is to run the automated installer.
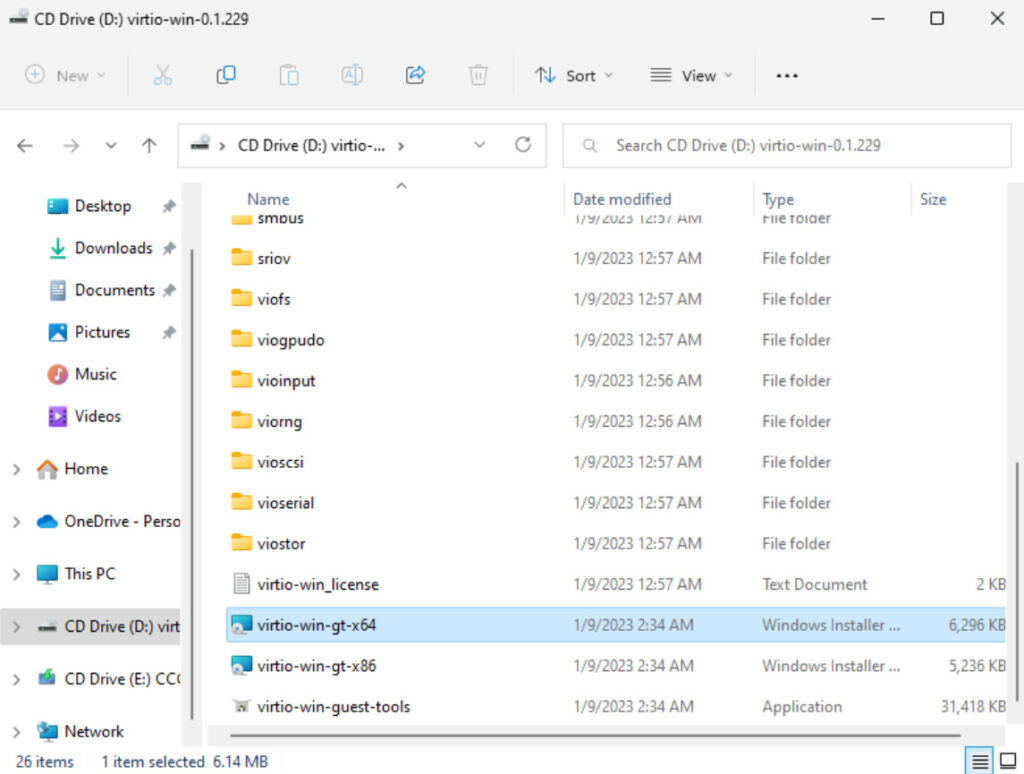
1. Open the VirtIO CD Drive and double-click the virtio-win-gt-x64.msi file to run the installer.
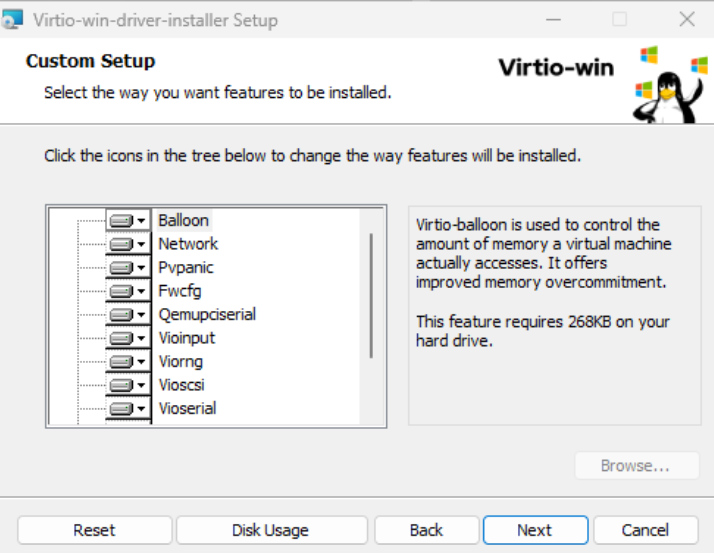
2. Run the installer, ensure that everything is selected, then select Next to install the drivers.
3. After the installation is complete, all drivers should be successfully installed, and Windows 11 should be fully functional!