If you’re interested in implementing high availability for Proxmox, one of the first things you’ll see is that you must use shared storage or replication for Proxmox VMs or Containers. This is required so that the data exists on the nodes in which you’d like high availability to work. Shared storage is the easiest and probably the best in terms of high availability, but a lot of times, the hardware required isn’t realistic for a lot of people.
This is where replication for Proxmox comes in. Replication allows you to configure the disk for a virtual machine or container to automatically write to the other node(s) in the cluster. This ensures that when a node goes offline (and high availability is configured), the disk will already exist on the node that is trying to start it.
Configuring Replication for Proxmox VMs & Containers
The act of configuring replication is extremely straightforward, but there are two extremely important requirements:
- For storage replication to work, you must be using ZFS. As of right now, this is the only supported filesystem.
- The storage must be named the exact same thing (in this example, local-zfs will be used). This will ensure that when the VM starts on the second or third node, it’ll reference the same storage name.
Follow the steps below to configure replication for Proxmox virtual machines or containers.
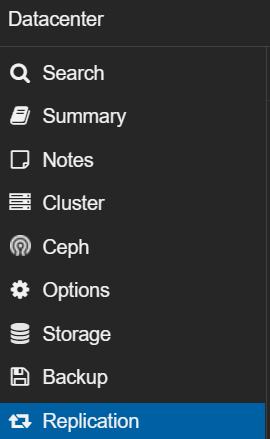
1. Select Datacenter and then Replication.
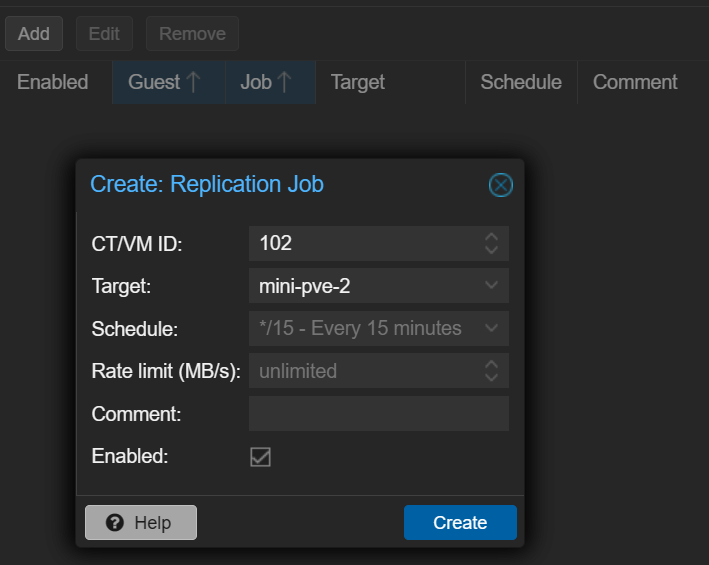
2. Select Add and then set the CT/VM ID of the virtual machine or container where you’d like high availability to exist. Keep in mind that only one target can be selected, so if you want multiple node(s) to have the replicated disk, you must create two different replication jobs.
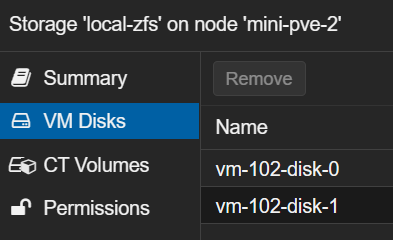
3. After the task runs, if you select the storage on the node(s) you created replication jobs for, you should see the disk exists. Now that the disk exists, you can continue configuring high availability and if one of the nodes goes down, it will automatically start the virtual machine or container on one of the active nodes!
Final Thoughts & Conclusion on Replication
If you’ve configured high availability, using replication for Proxmox VMs or Container disks will allow you to utilize it. Just keep in mind that it’s not going to actually keep the system up, but after a few minutes, you’ll see that the system will start up on a separate node, assuming the cluster is configured properly.
With this setup, I’d expect 2-5 minutes of downtime in total, so if your requirements need better overall uptime, you might want to look into using shared storage or Ceph rather than replication for Proxmox.