Today we are going to take a look at the Unbound Pi-hole setup process on a Raspberry Pi, so that it can be used with Pi-hole to increase your privacy.
The first question that needs to be answered is why you might want to set up Pi-hole and Unbound. Ultimately, the answer is somewhat simple, and it’s mostly privacy related. When you use Pi-hole, you generally configure an upstream DNS provider.
The first thing you need to realize is that all traffic is being sent from your external IP address, so depending on who you’re sending the data to, you’re trusting them with your internet traffic.
The other issue is that periodically, these services will go down. In that case, it might appear as if your internet “stopped” working, when the reality is that it simply cannot resolve DNS names. While this is infrequent, it does happen.
When you set up Pi-hole and Unbound, you become your DNS provider. This ensures that your privacy is maintained, and you will no longer be impacted by potential service outages.
Unbound Pi-hole Setup Process
We will look at how to set up Pi-hole and Unbound below.
1. Setting up Pi-hole
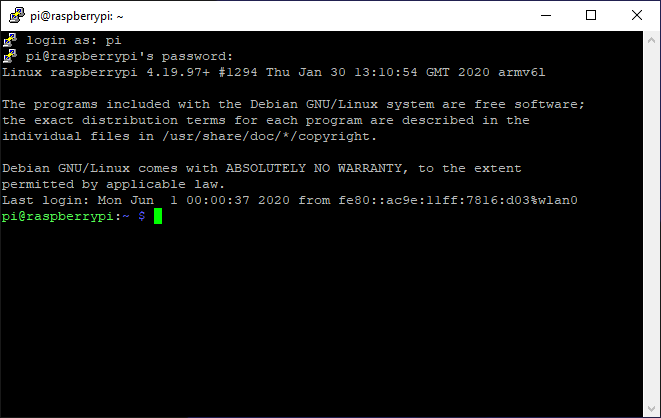
Before we look at how to install Pi-hole on a Raspberry Pi, ensure that you can SSH into your Raspberry Pi with a valid Raspberry Pi operating system.
If you aren’t sure how, please follow these instructions to install Raspbian (Raspberry Pi OS).
1. Run the command below to install Pi-hole. Please review the script to ensure you’re comfortable running it before proceeding (I am not the creator of this script).
curl -sSL https://install.pi-hole.net | bash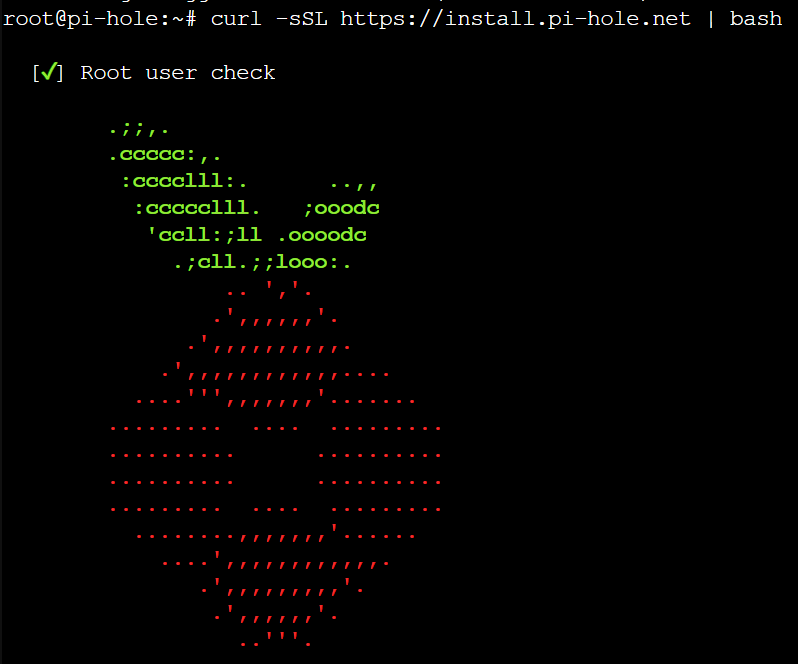
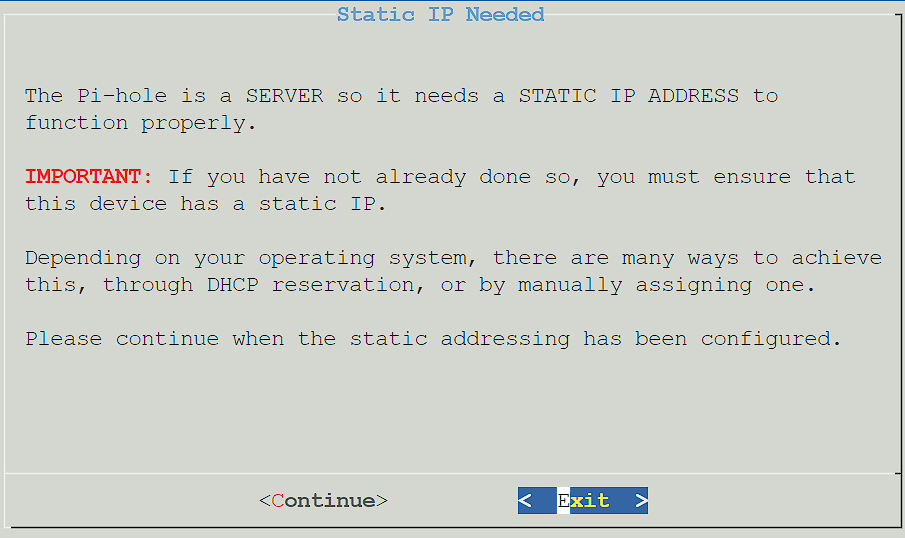
2. Press Enter until you get to the Static IP address setup. It is extremely important for Pi-hole to have a static IP address. It’s recommended to set up a static IP on your router, but you can do it inside of the Pi-hole setup process as well at a later step.
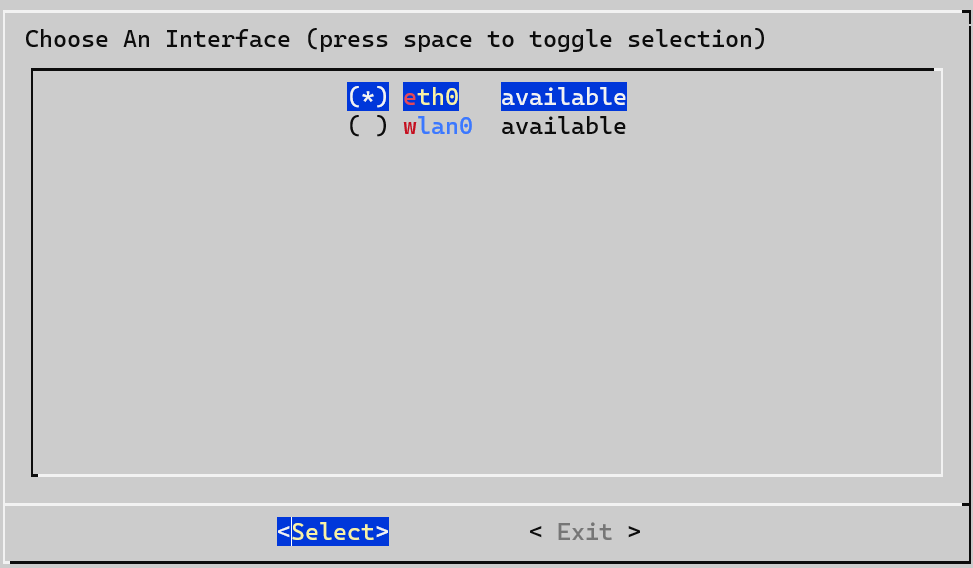
3. Select the correct interface for Pi-hole to use.
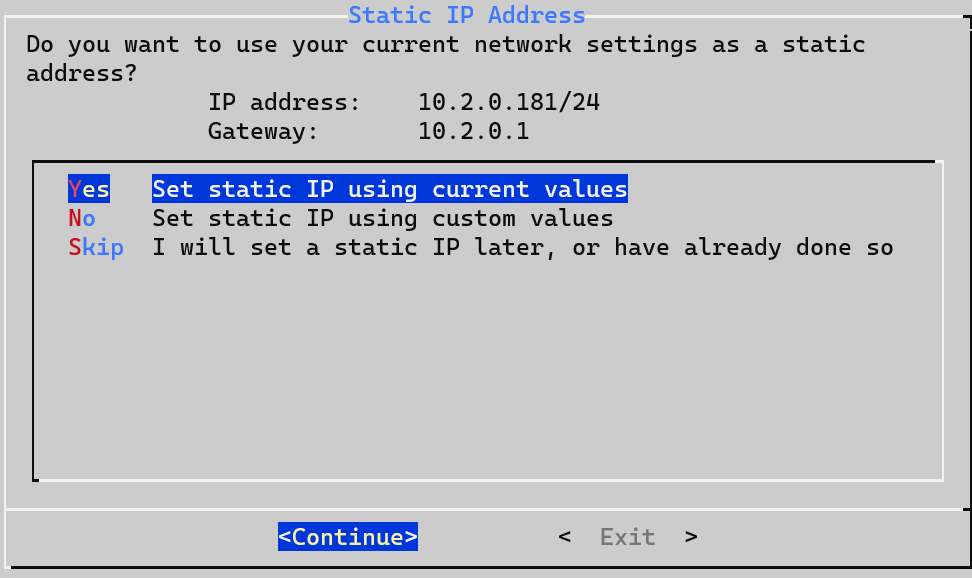
4. If you didn’t set a static IP address above, you can either use the existing settings, set your own, or skip this step.
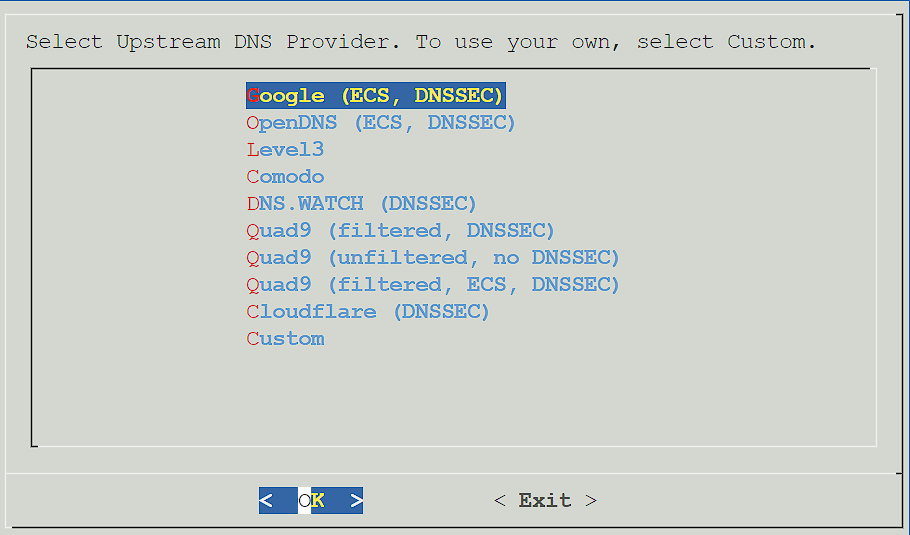
5. Select an Upstream DNS Provider. The Upstream DNS Provider is where DNS requests (which are not found locally) will be forwarded.
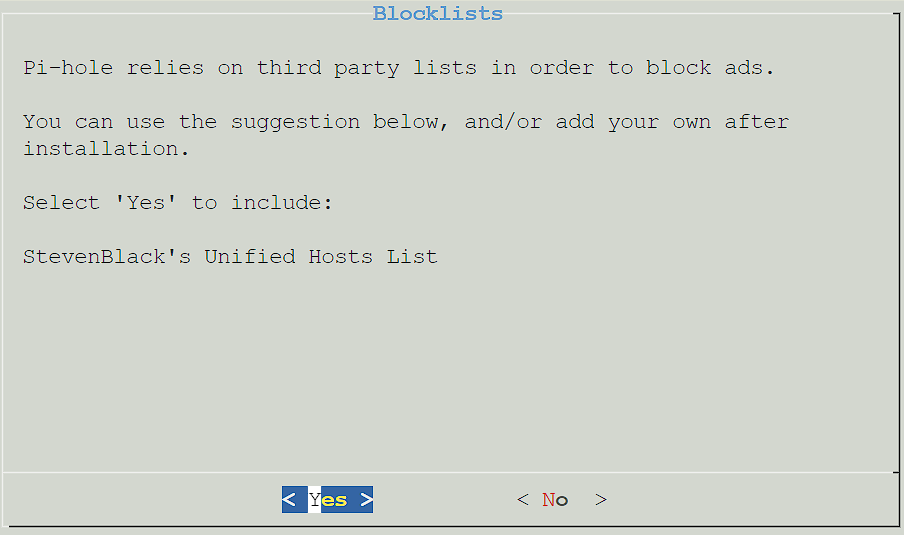
6. Select Yes to use the default block list. Please keep in mind that this can be configured later, and you do not have to use this list if you don’t want to.
7. Select Yes to install the admin interface. This is how you’ll manage Pi-hole.
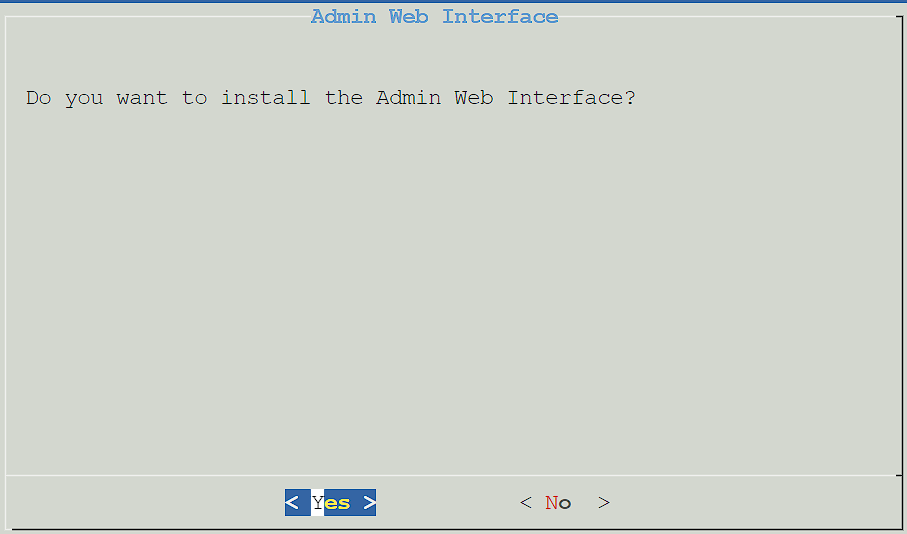
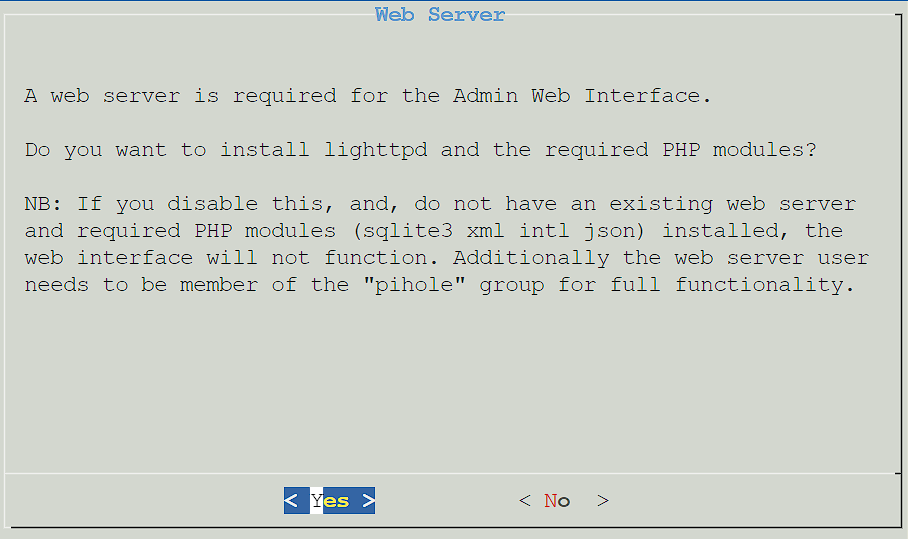
8. Select Yes to install the Admin Web Interface.
9. Query logging is a personal preference (this is what will determine if DNS requests are logged), so select Yes or No based on your preference.

10. If you selected yes above, you’ll be asked to determine the privacy of DNS requests. Select the option you’d like, then press Continue.

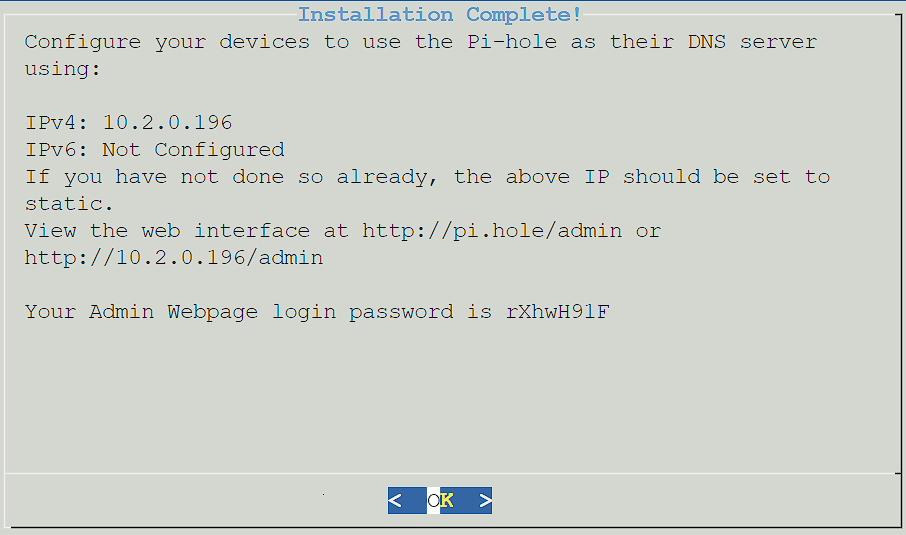
11. Pi-hole will now install! Give it a few minutes to ensure that it’s fully configured. When it’s complete, you’ll receive a confirmation page where you can select OK to proceed. Please note the password given so that you can log in to the web interface!
2. Setting up Unbound
The instructions that we will be following were taken straight from the Pi-hole website that shows how to configure Unbound. The goal of these instructions is to strip out some of the explanation (though I highly suggest that you read the official documentation if you can) and simply enter the instructions that need to be followed below.
1. Ensure that Pi-hole is installed on your Raspberry Pi. I have a tutorial here that you can quickly follow to get it up and running.
2. Connect to your Raspberry Pi, either via SSH or by plugging it into a monitor with a keyboard and mouse.
3. Run the commands below to install Unbound and attain the root.hints file needed.
sudo apt install unbound
wget https://www.internic.net/domain/named.root -qO- | sudo tee /var/lib/unbound/root.hints
4. Create a file that will force Unbound to only listen for queries from Pi-hole. There are a few other benefits that can be found on the official Unbound page.
sudo nano /etc/unbound/unbound.conf.d/pi-hole.conf
5. Paste the contents below into the file we just created and save.
server:
    # If no logfile is specified, syslog is used
    # logfile: "/var/log/unbound/unbound.log"
    verbosity: 0
    interface: 127.0.0.1
    port: 5335
    do-ip4: yes
    do-udp: yes
    do-tcp: yes
    # May be set to yes if you have IPv6 connectivity
    do-ip6: no
    # You want to leave this to no unless you have *native* IPv6. With 6to4 and
    # Terredo tunnels your web browser should favor IPv4 for the same reasons
    prefer-ip6: no
    # Use this only when you downloaded the list of primary root servers!
    # If you use the default dns-root-data package, unbound will find it automatically
    #root-hints: "/var/lib/unbound/root.hints"
    # Trust glue only if it is within the server's authority
    harden-glue: yes
    # Require DNSSEC data for trust-anchored zones, if such data is absent, the zone becomes BOGUS
    harden-dnssec-stripped: yes
    # Don't use Capitalization randomization as it known to cause DNSSEC issues sometimes
    # see https://discourse.pi-hole.net/t/unbound-stubby-or-dnscrypt-proxy/9378 for further details
    use-caps-for-id: no
    # Reduce EDNS reassembly buffer size.
    # Suggested by the unbound man page to reduce fragmentation reassembly problems
    edns-buffer-size: 1472
    # Perform prefetching of close to expired message cache entries
    # This only applies to domains that have been frequently queried
    prefetch: yes
    # One thread should be sufficient, can be increased on beefy machines. In reality for most users running on small networks or on a single machine, it should be unnecessary to seek performance enhancement by increasing num-threads above 1.
    num-threads: 1
    # Ensure kernel buffer is large enough to not lose messages in traffic spikes
    so-rcvbuf: 1m
    # Ensure privacy of local IP ranges
    private-address: 192.168.0.0/16
    private-address: 169.254.0.0/16
    private-address: 172.16.0.0/12
    private-address: 10.0.0.0/8
    private-address: fd00::/8
    private-address: fe80::/10
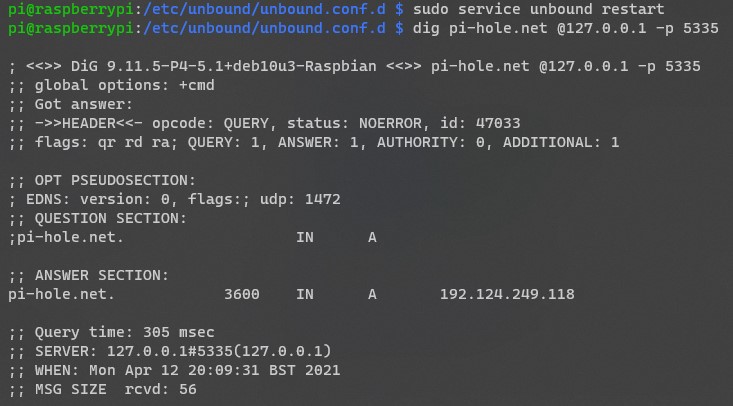
6. Restart the Unbound server and run the dig command to test DNS resolution. You should see the status as “NOERROR” with an IP address for the pi-hole.net server.
sudo service unbound restart
dig pi-hole.net @127.0.0.1 -p 5335
7. The final test is to ensure that DNSSEC is working properly. First, if you’re interested in learning what DNSSEC is, this is a great explanation. There are two commands that you can run to ensure that DNSSEC is working properly.
dig sigfail.verteiltesysteme.net @127.0.0.1 -p 5335
This command should return SERVFAIL with NO IP address.
dig sigok.verteiltesysteme.net @127.0.0.1 -p 5335
This command should return NOERROR WITH an IP address. If both are returned properly, DNSSEC is properly working.
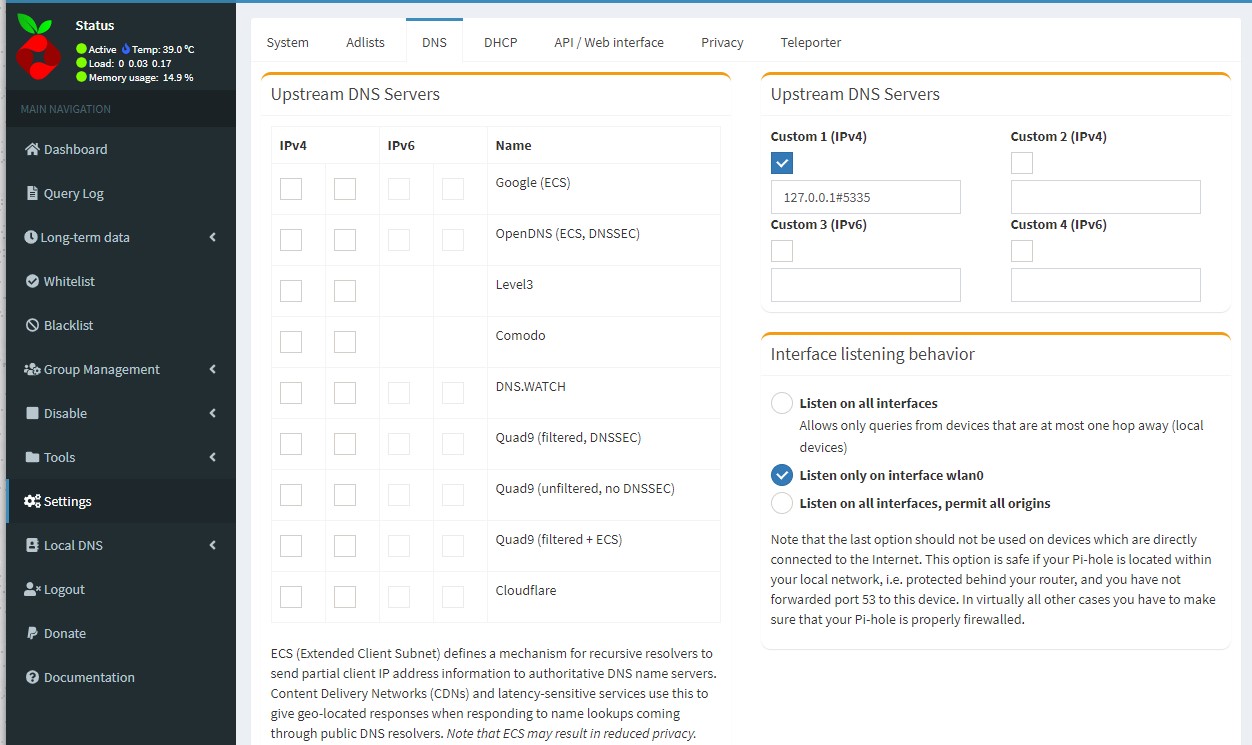
8. The final step is to configure Pi-hole to use our recursive DNS server. Open the Pi-hole admin page, select Settings then DNS. Uncheck all Upstream DNS Servers, check off Custom 1, and add 127.0.0.1#5335 in the textbox. Save the settings.
9. Test to ensure that everything is working as expected and you are fully set up!
Conclusion & Final Thoughts
This tutorial looked at the Unbound Pi-hole setup process. Privacy is something that everyone takes differently. Some people don’t care about it at all, and some want to ensure that their data is protected and not being sent to larger corporations.
If you don’t care about privacy, you probably don’t have a benefit in implementing this Unbound Pi-hole setup process. However, if you do, this is a very easy way to ensure you manage your own recursive DNS server!
Thanks for checking out the tutorial on an Unbound Pi-hole setup. If you have any questions on the Unbound Pi-hole setup process, please leave them in the comments!