I ran Synology Drive for years, and it was the application I leaned on most on my NAS. Files I saved on my PC synced up to the NAS in real time, which let me pull them off local storage and still have them everywhere, and it gave me the local copy the 3-2-1 backup rule asks for without me thinking about it. Below, we’ll set up Synology Drive Server on the NAS first, then install Synology Drive Client on your computer and create the sync task that does all of this, plus a backup task if you’d like one.
There are two halves to it, and mixing them up is where most setups stall. Synology Drive Server is the package that runs on the NAS. Synology Drive Client is the desktop app that runs on your Windows or macOS machine and does the actual syncing. You need both. If you already have the server side running and you’re only here for the desktop app, skip ahead to downloading the Synology Drive Client.
Install Synology Drive Server on the NAS
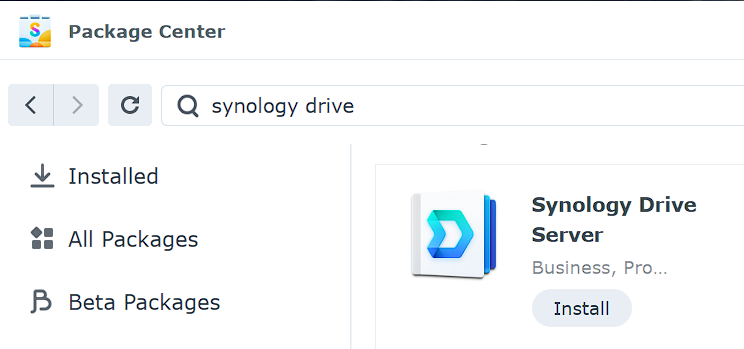
1. Open the Package Center and install the Synology Drive Server application.
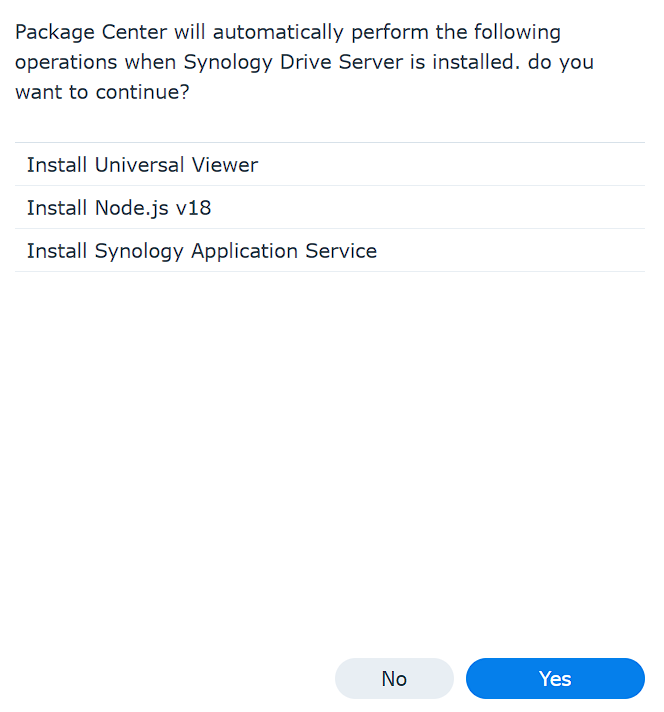
2. If it tells you dependencies have to be installed, select Yes.
3. After the package installs, select Open. You’ll be prompted to refresh the page. Select Yes.
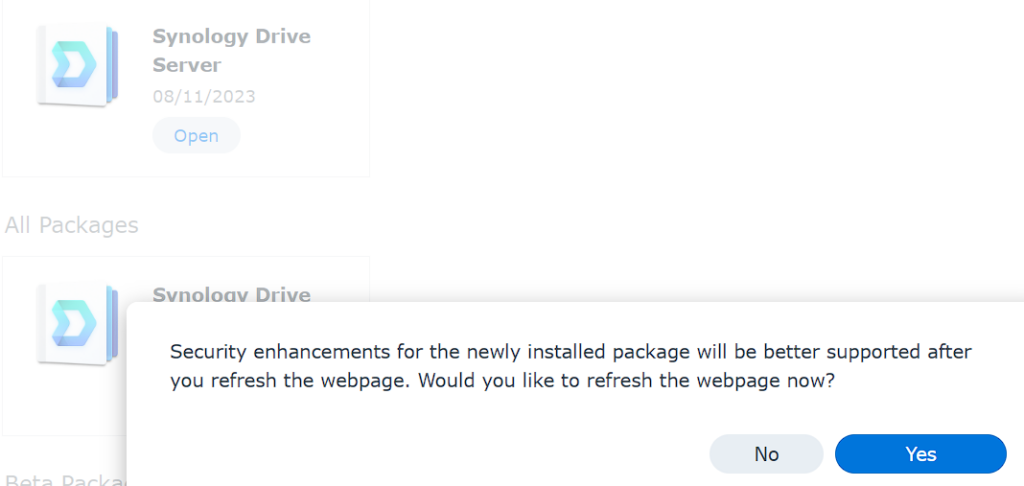
Synology Drive Server is installed. Nothing syncs yet, because the server side only decides what is available to sync. That’s the next part.
My Drive vs Team Folders: Which One You Want
Synology Drive gives you two ways to expose folders, and they solve different problems.
- My Drive syncs a user’s own folders to a private space on the NAS tied to their account. It needs User Home turned on. This is the personal documents case.
- Team Folder shares one folder across multiple users. Anyone with access can add, edit, or delete, and the change syncs to the NAS and back out to everyone else. This is the collaboration case.
You can run both. Set up whichever one matches what you’re doing, or do both in turn.
Setting up My Drive
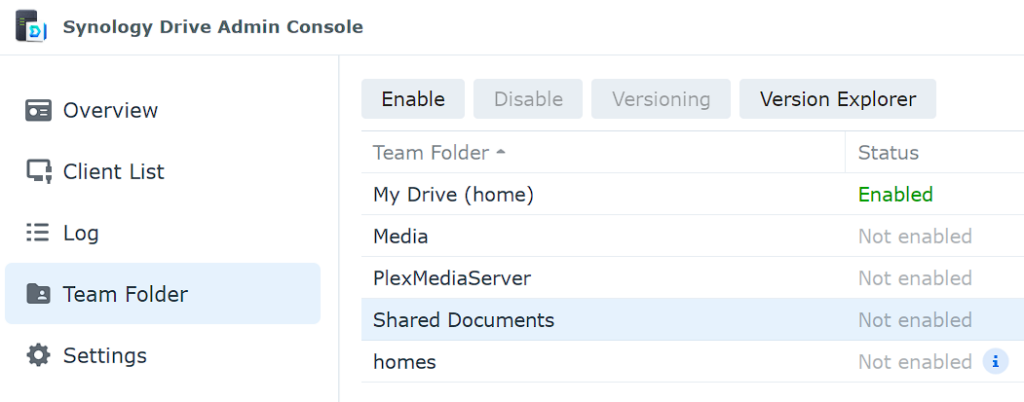
1. Open Synology Drive Admin Console on the NAS and select Team Folder. If User Home shows as disabled under Status, turn it on.
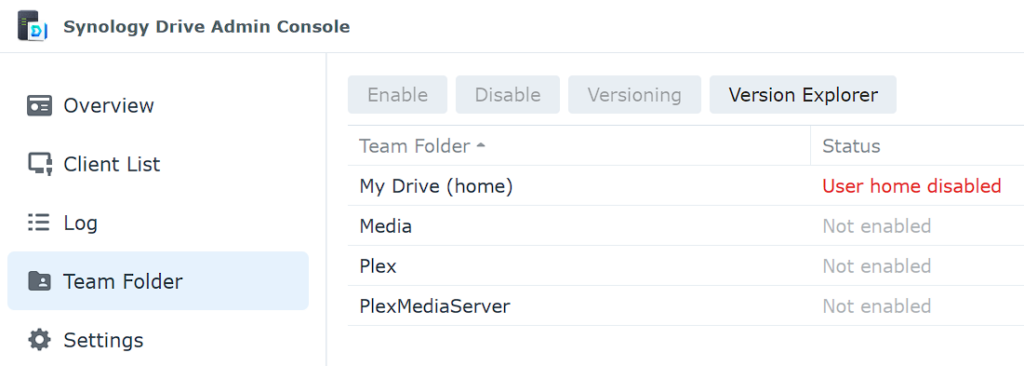
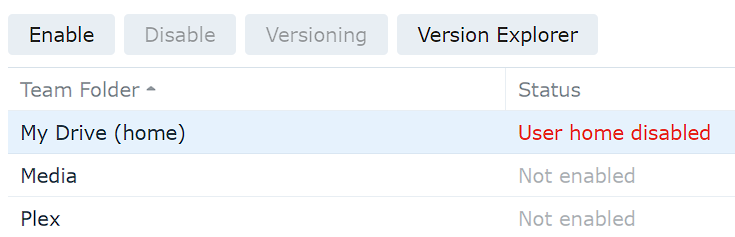
2. Highlight My Drive and select Enable.
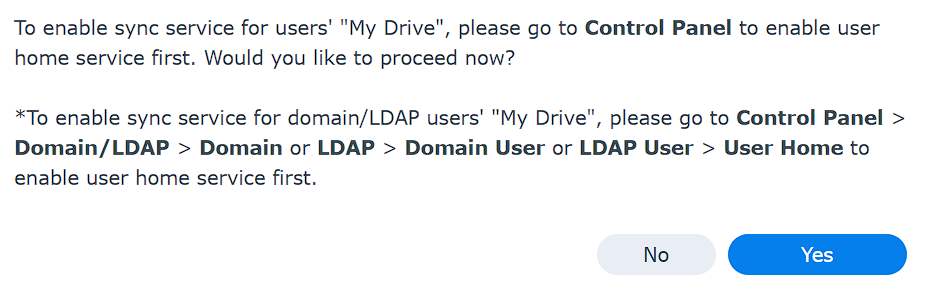
3. Select Yes to open the Control Panel.
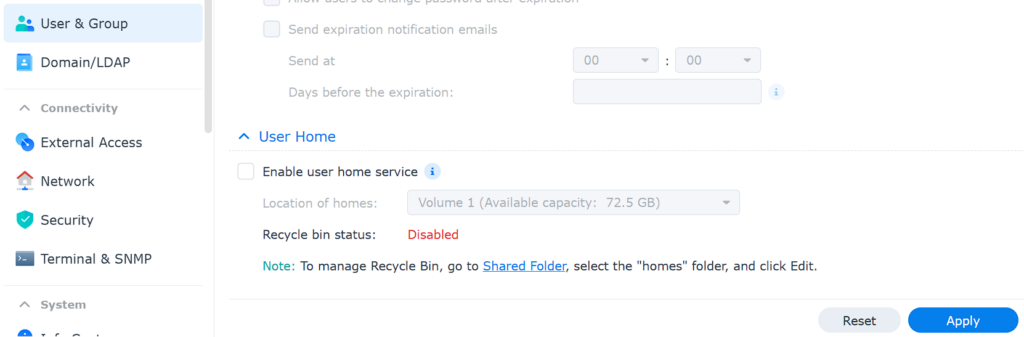
4. Scroll to the bottom and Enable user home service. Since this is holding documents, I’d turn on the recycle bin too (Control Panel > Shared Folder > homes > Edit > Enable Recycle Bin).
That creates a shared folder called homes with a folder inside it for every user account on the NAS. Each user sees their own folder as home in File Station, and only administrators can open homes.
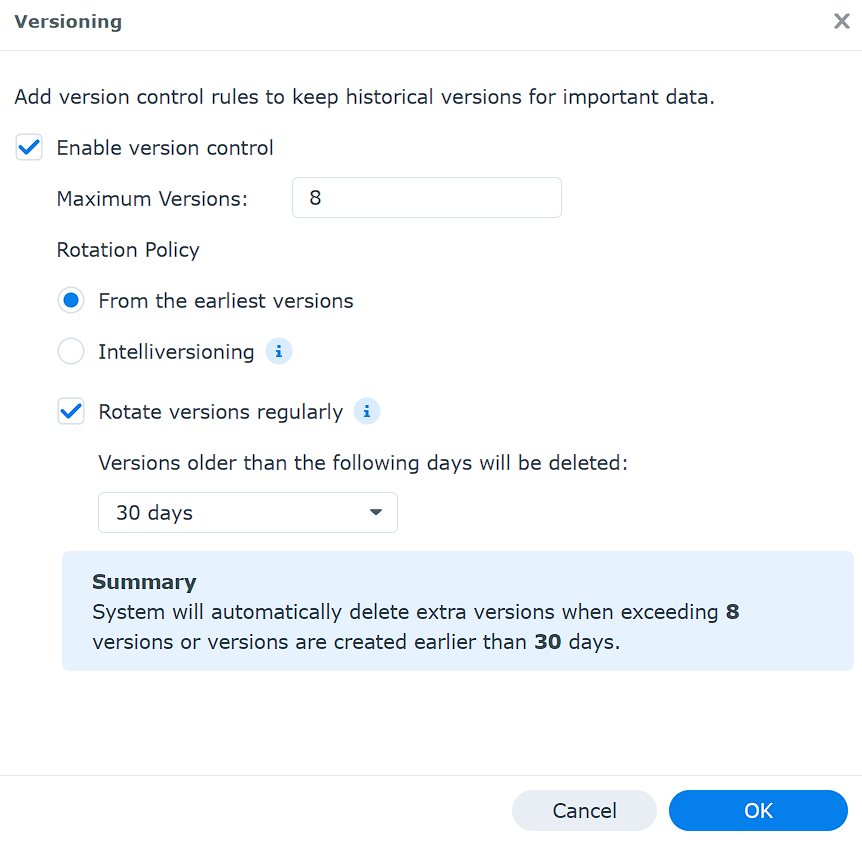
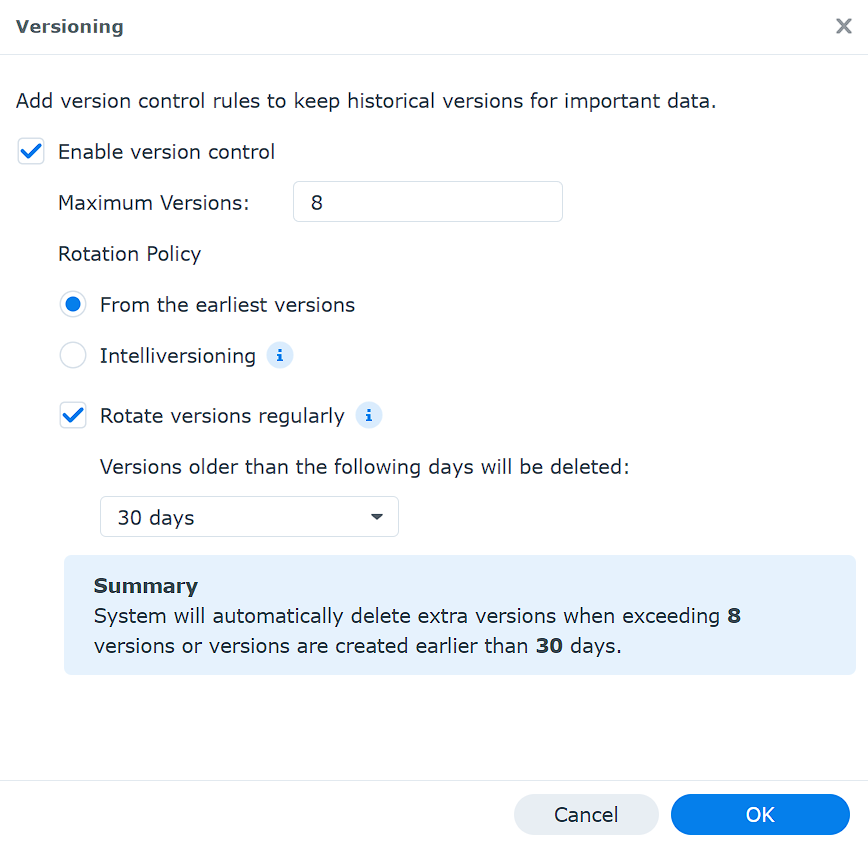
5. Back in the Synology Drive Admin Console, set up versions. These are personal preference, but I’d leave versioning on. It lets you pull back an earlier copy of a file up to the version count you set.
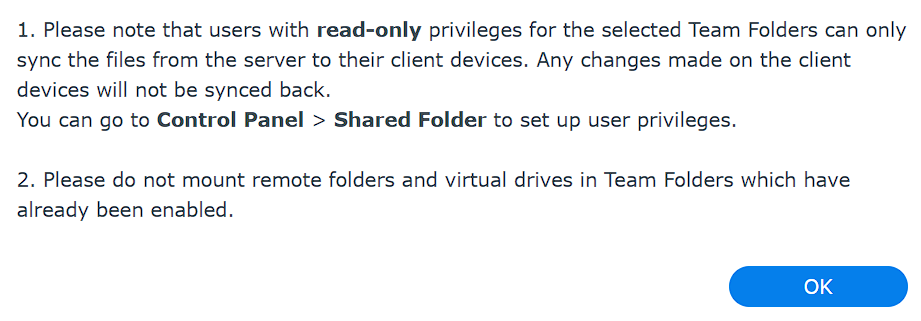
6. After saving, you’ll get a notice that users with read-only permission on Team Folders sync files from the NAS only, never back to it. That distinction matters once you start handing out access, so note it now.
My Drive is set up, and every user gets a private folder inside homes that other users can’t open, though administrators can.
Setting up a Team Folder
Team Folders are easier than My Drive, because the folder and its permissions already exist. You’re just switching it on for Drive.
1. Open Synology Drive Admin Console on the NAS and select Team Folder.
2. Pick a folder, then select Enable.
3. Set versioning how you want it. On a folder several people are editing, I’d strongly recommend leaving it on. Someone will overwrite something eventually.
Download the Synology Drive Client
The Synology Drive Client is the desktop application that does the syncing, and it’s available for Windows 10 (version 2004 or later) and Windows 11, macOS 12 or later, and Linux (Ubuntu), though not for Windows on ARM. Phones and tablets use the Synology Drive mobile app from the App Store and Google Play instead. You can pick your build manually from Synology’s download page (select your NAS model, then the Desktop Utilities tab > Synology Drive Client), but there’s a faster route that hands you the right one automatically.
1. Open the Synology Drive application on the NAS.
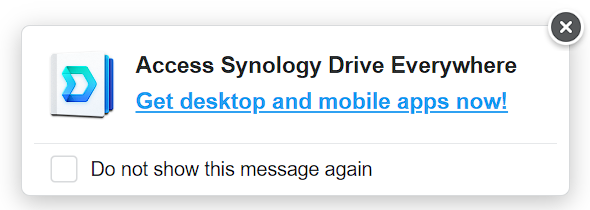
2. Click the profile icon in the lower-left corner and select Get desktop and mobile apps. If a pop-up offers Get desktop and mobile apps now! when Synology Drive opens, that link goes to the same place.
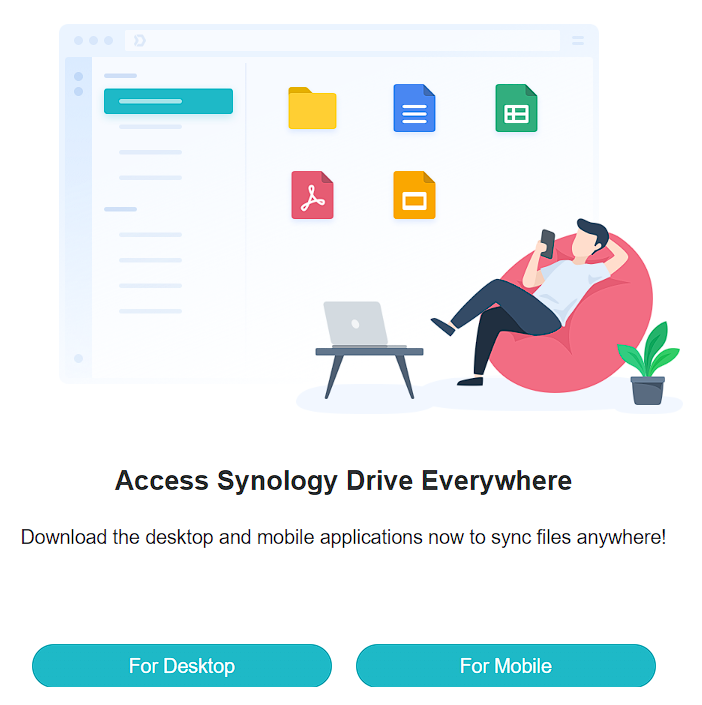
3. Select For Desktop. It detects your operating system and downloads the matching Synology Drive Client build. For Mobile does the same for phones and tablets.
Set Up a Sync Task in the Synology Drive Client
The screenshots in this section are from Windows. macOS and Linux look nearly identical, except for on-demand sync, which works differently on macOS and isn’t available on Linux.
1. Run the installer you just downloaded, then launch the Synology Drive Client.
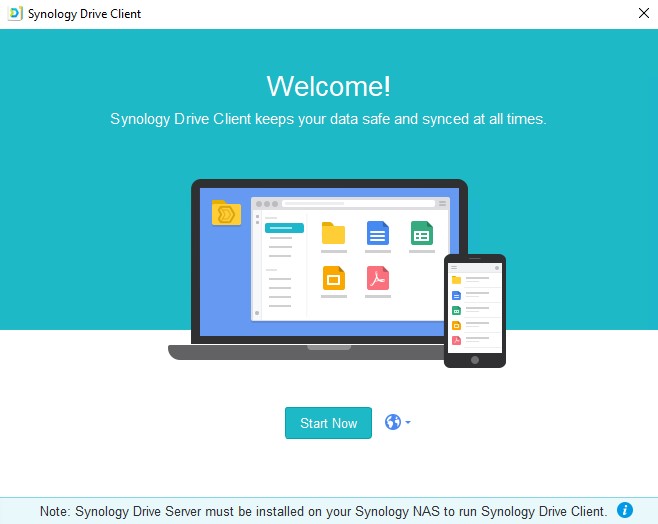
2. The client opens on a Welcome! screen. Older versions, like the one in the screenshot, have you select Start Now first, but current versions show the connection fields right there.
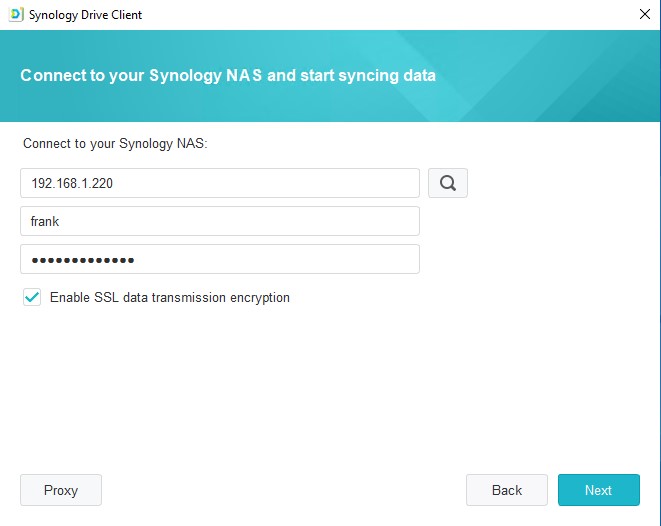
3. Enter the IP address of your NAS along with your username and password. Leave Enable SSL data transmission encryption checked, which encrypts the connection between the client and the NAS (you can change it later under Edit Connection). Sync runs over port 6690, which is the port to forward on your router if you connect from outside your network with your external IP address or DDNS. Select Next.
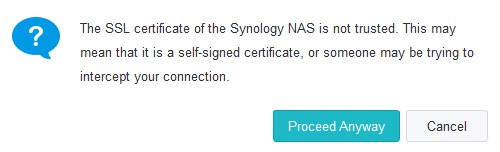
4. Because you’re connecting by IP address, you’ll get a warning that the SSL certificate isn’t trusted. Select Proceed Anyway.
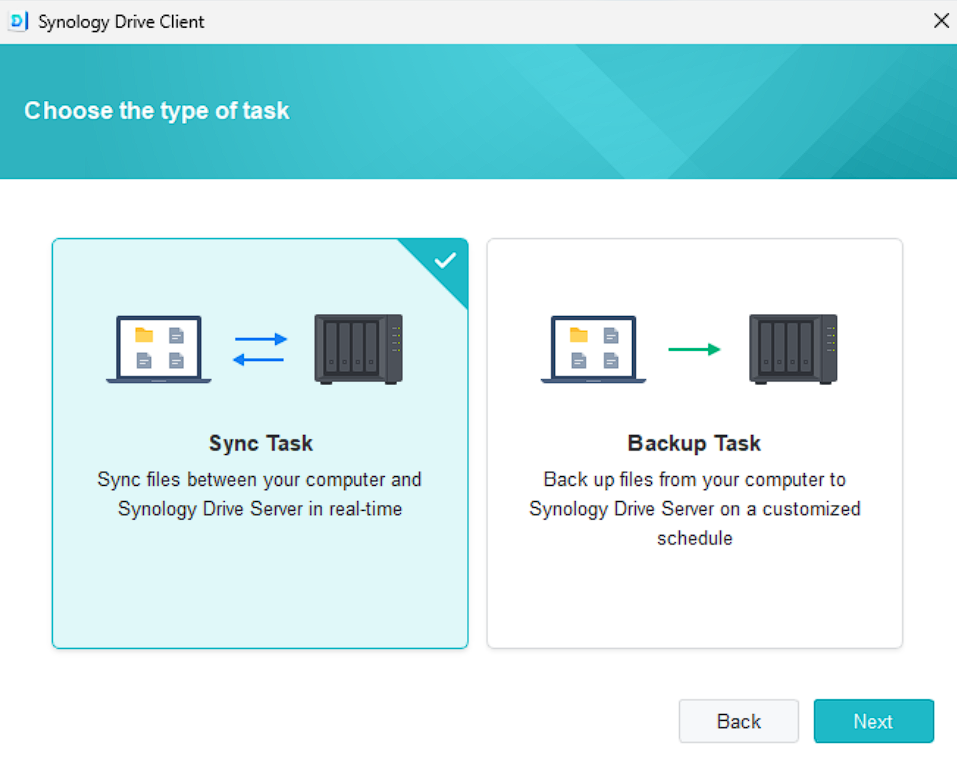
5. Select Sync Task. You can add a backup task later, and I cover that at the end.
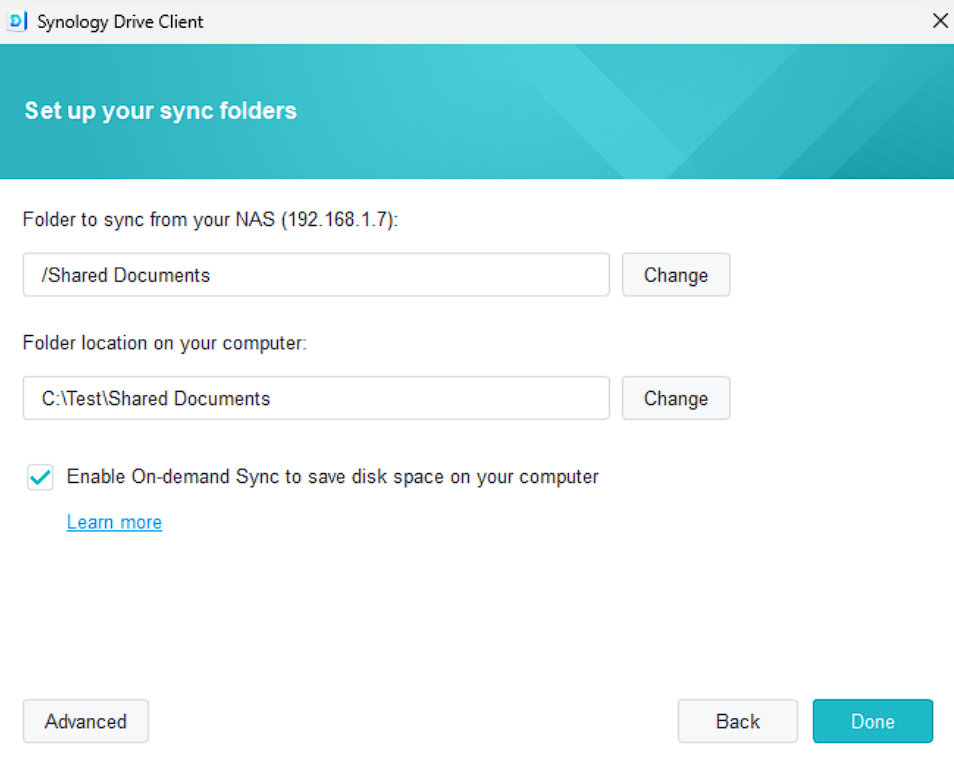
6. On the folder page, Synology NAS is the NAS-side folder, either a Team Folder or your own My Drive, and Your computer is where that data lands on this machine. The screenshot below is from an older version of the client, which calls the page Set up your sync folders and the fields Folder to sync from your NAS and Folder location on your computer.
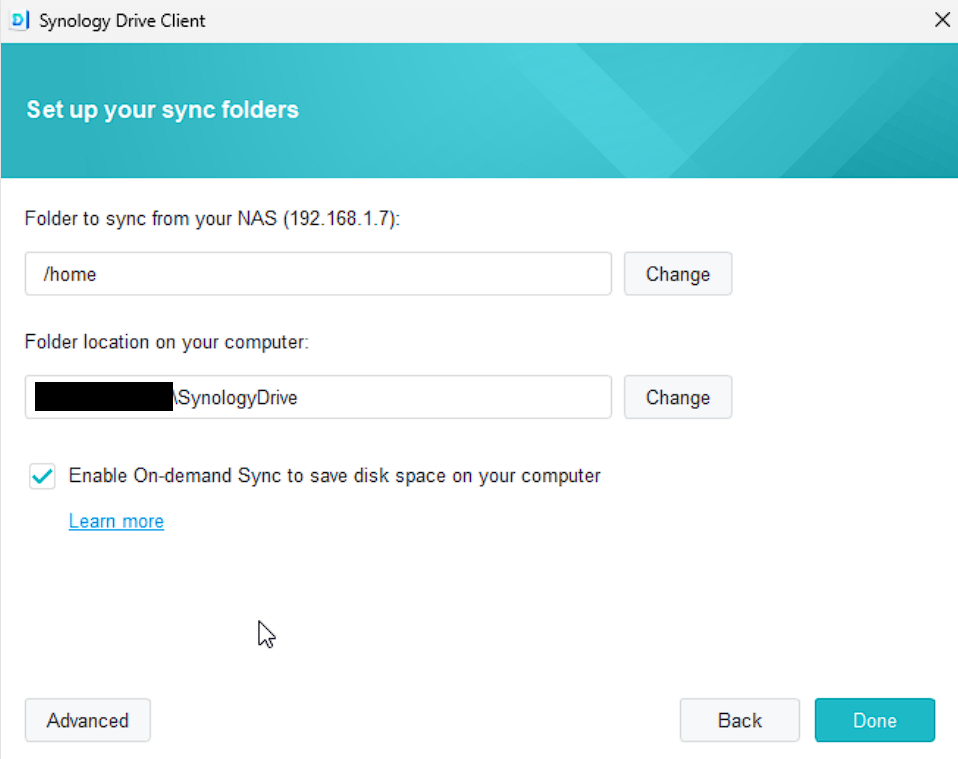
I synced mine to the Documents folder on my PC, though the choice is yours. If OneDrive is backing up your Documents folder, go with another one, since an on-demand sync task can’t use a folder that OneDrive Files On-Demand already manages. This is the folder you’ll actually be working out of day to day, so pick deliberately. Select Edit next to Your computer to pick a different one (the older version in the screenshot says Change).
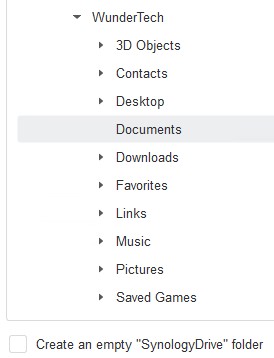
Leaving Create an empty “SynologyDrive” folder checked puts a folder named SynologyDrive inside the local folder you picked. Uncheck it to sync straight to the root of that folder instead. The initial setup only lets you configure one folder sync, and I show how to add more further down.

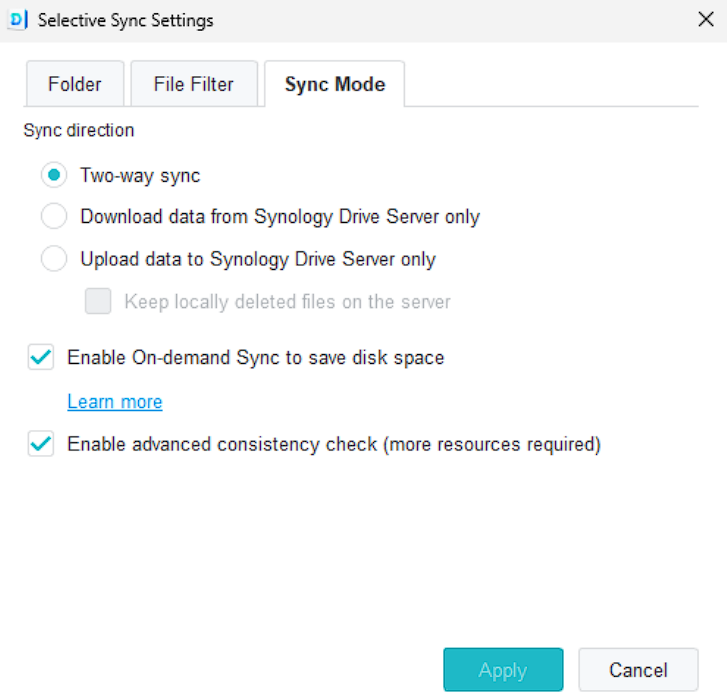
7. Select Advanced to change options. The one that matters is the Sync Mode tab. Two-way sync moves files in both directions. If you only want changes coming down from the NAS, pick Download data from Synology Drive Server only. Select Apply.
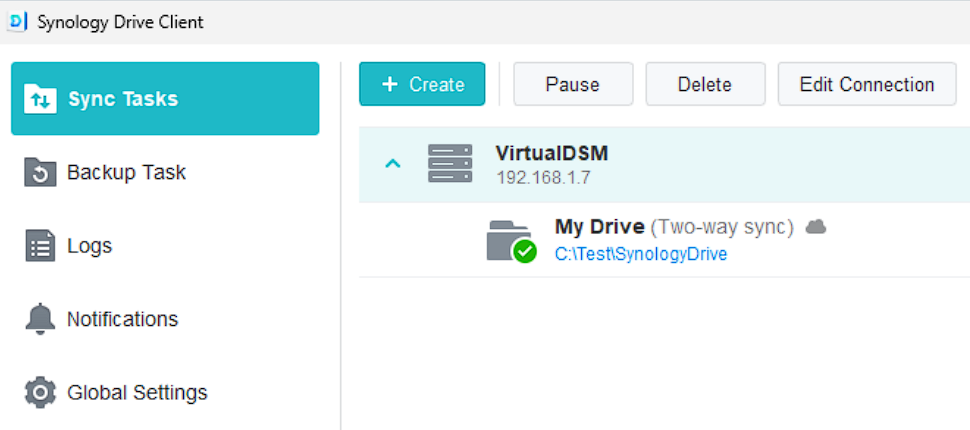
8. Select Done. The Synology Drive Client is configured. You’ll get a short tour of the tool, and your task shows up under Sync Tasks.
On-Demand Sync on Windows and macOS
On-demand sync keeps files on the NAS and pulls them down only when you open one. It’s how you get a 4TB library visible on a laptop with a 256GB SSD. On Windows you get it by leaving the checkbox enabled at the setup screen and using two-way sync.
macOS works differently. When you create the sync task you have to tick Enable On-demand Sync to save disk space on your computer, and the option to choose a folder on your Mac greys out. You enter a Task Name instead and carry on.
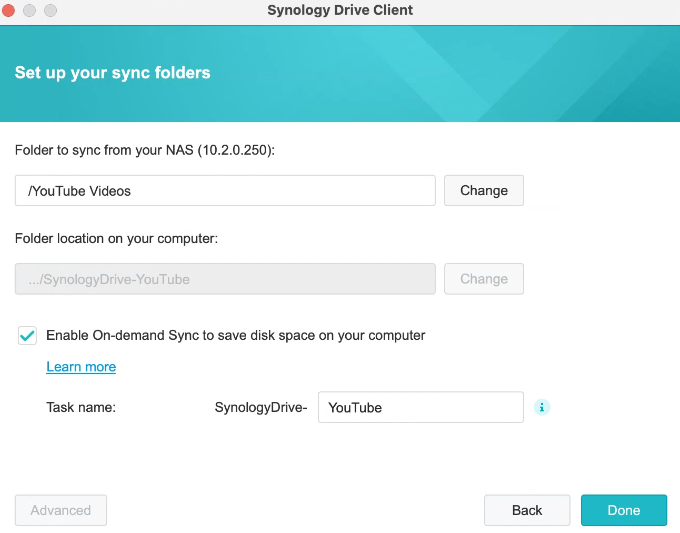
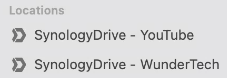
Once the task finishes, it appears under Locations in Finder.
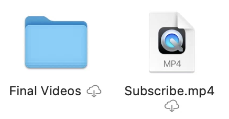
From there, macOS on-demand has its own limits. You can’t switch on-demand on or off once the task exists (you’d delete and recreate the task), it only runs as two-way sync, and Advanced is unavailable, so there are no file size, name, or extension filters, and the status icons look different too.
Sync More Than One Folder
The first-run setup only lets you sync a single folder, so you’re choosing between My Drive and one Team Folder. That’s a limit of the wizard, not of the client, so you can add more afterward.
1. Open the Synology Drive Client settings and select Create under Sync Tasks.
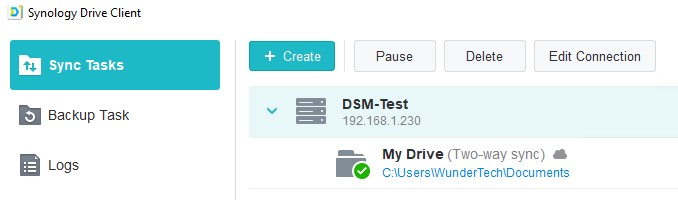
2. Use your connected NAS, or point it at a different one. Select Next.
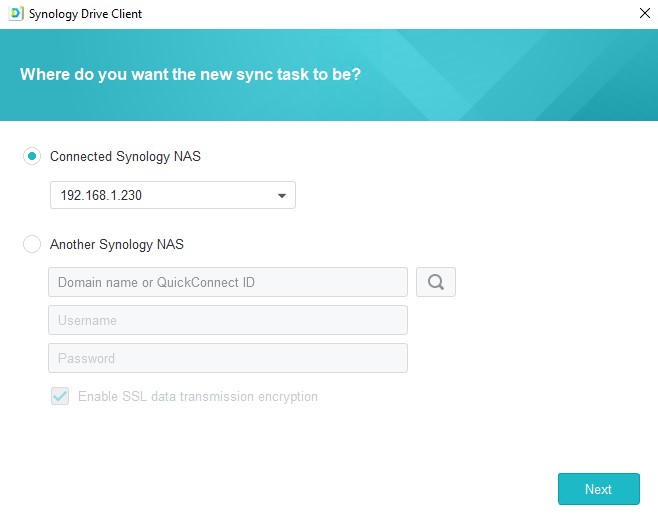
3. Synology NAS (Folder to sync from your NAS in the screenshot) is the folder syncing from the NAS, so pick My Drive or a Team Folder. Your computer is where it syncs to on this machine. Adjust anything under Advanced, then select Done. Repeat for as many folders as you need (Windows allows up to 64 sync tasks).
Back Up Local Files with the Drive Client
The Synology Drive Client can also back up local files to the NAS. Be clear about what this is: files only, not a bare-metal backup. You cannot restore a whole machine from it. For that, use Active Backup for Business instead.
Because of that, back up your documents and leave operating system files out of it. Back up whatever you want, but the point here is the files you’d actually miss.
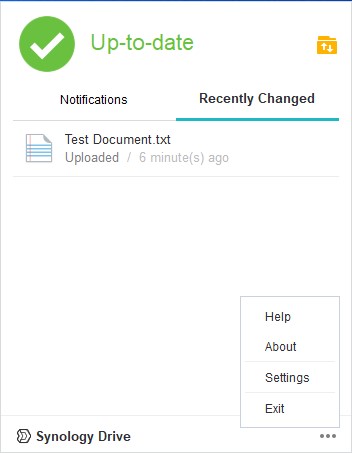
1. From the Synology Drive application, select Settings.
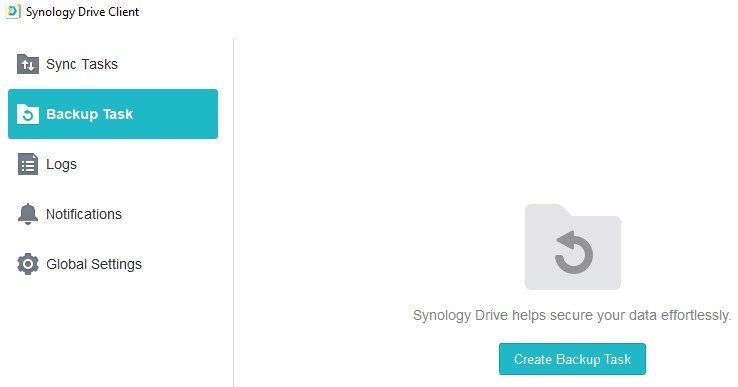
2. Select Backup Task, then Create Backup Task.
3. Select your connected NAS, or a different one.
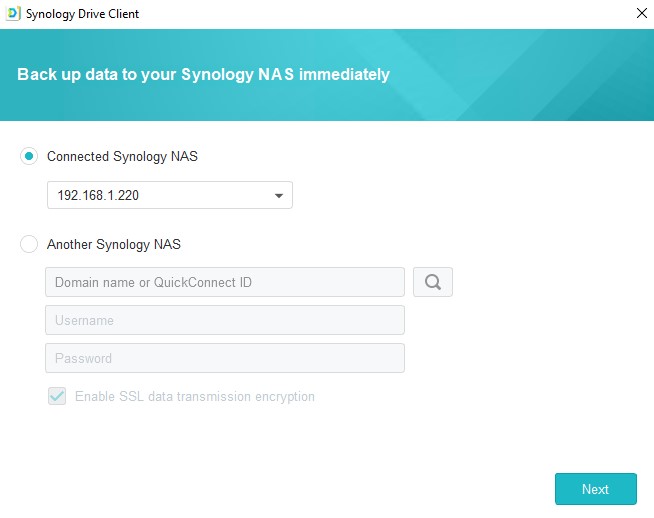
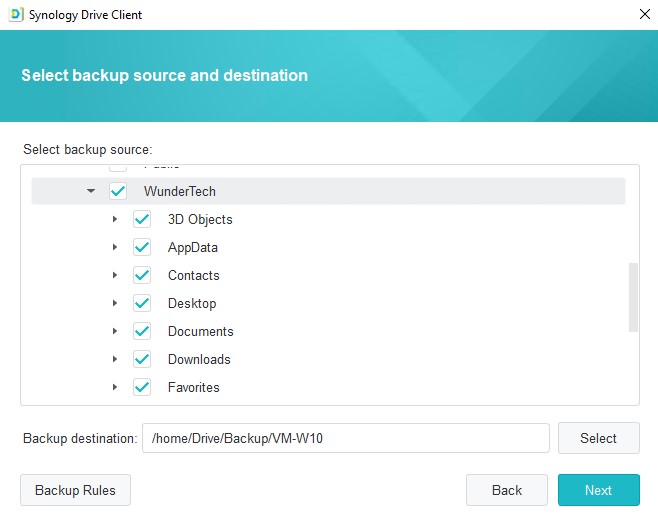
4. Pick the files to back up and the destination they get written to. Backup Rules can be adjusted here as well.
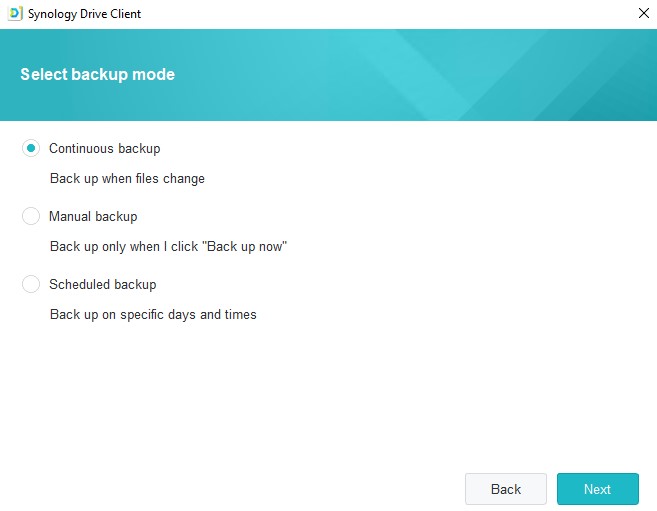
5. Pick one of the three backup modes. None of them is clearly better than the others, so go with what fits how you work and select Next. Choosing Scheduled backup means you’ll also set the schedule here.
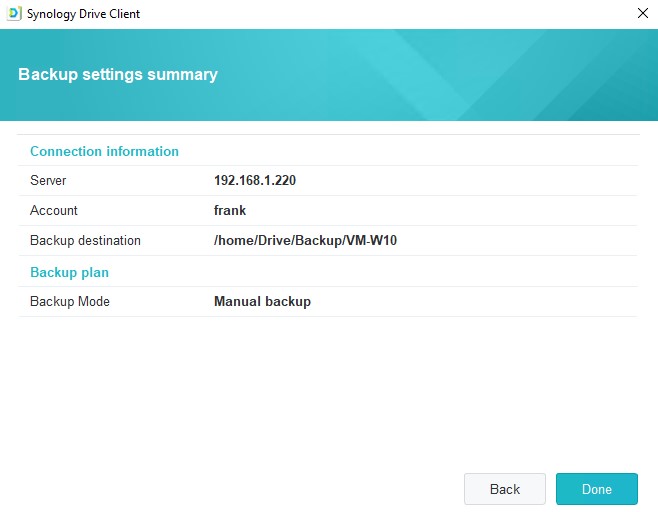
6. Select Done. The backup is configured.
With both halves running, a file you save on your PC is on the NAS seconds later, and if versioning is on and the NAS backs up to the cloud on a schedule, the 3-2-1 rule is covered without you doing anything. That’s the reason I ran Synology Drive on every machine I owned for years. If you want two NAS devices staying in step with each other as well, Synology Drive ShareSync handles that, and setting up a VPN on the NAS gets you at these files from anywhere, though as always, security changes over time and nothing is guaranteed.