I’ve used Synology NAS devices for over seven years, across models including the DS1019+, DS1821+, and DS923+. One of the most common places people get stuck early on is simply finding the device on their network. There are three ways to do it, and which one works depends on your setup. If you’re brand new to Synology, check out my full guide on the Synology NAS setup and configuration guide process.
Find the NAS Using a Web Browser
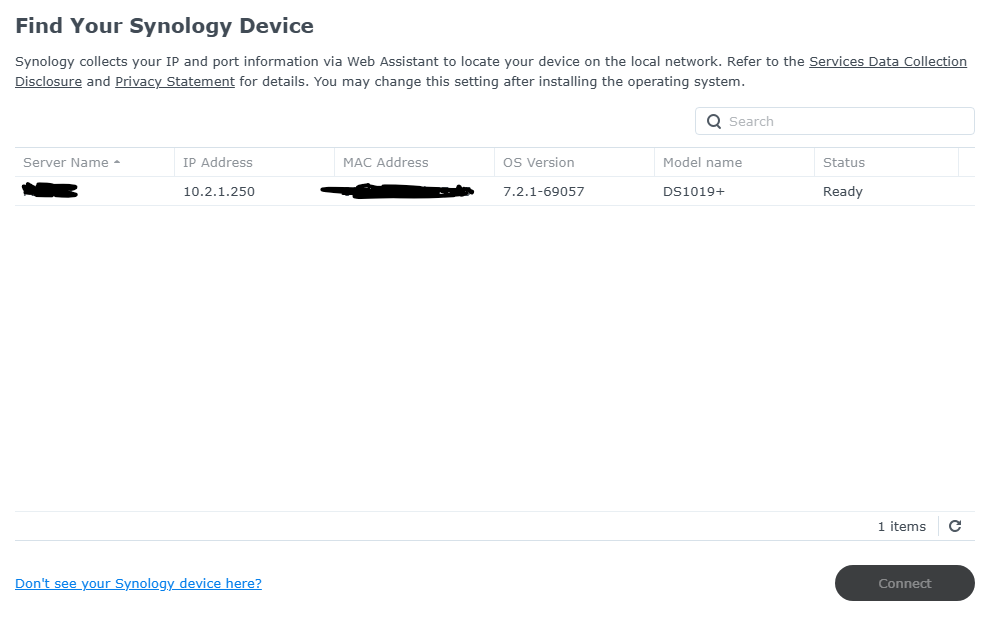
This is where I’d start. Open a browser on any device that’s on the same subnet as the NAS and go to https://finds.synology.com. It will scan your local network automatically and list any Synology devices it finds.
1. Navigate to https://finds.synology.com.
The page will begin scanning your network immediately.
2. If any devices appear, select Connect.
You’ll be taken directly to the NAS login or setup page.
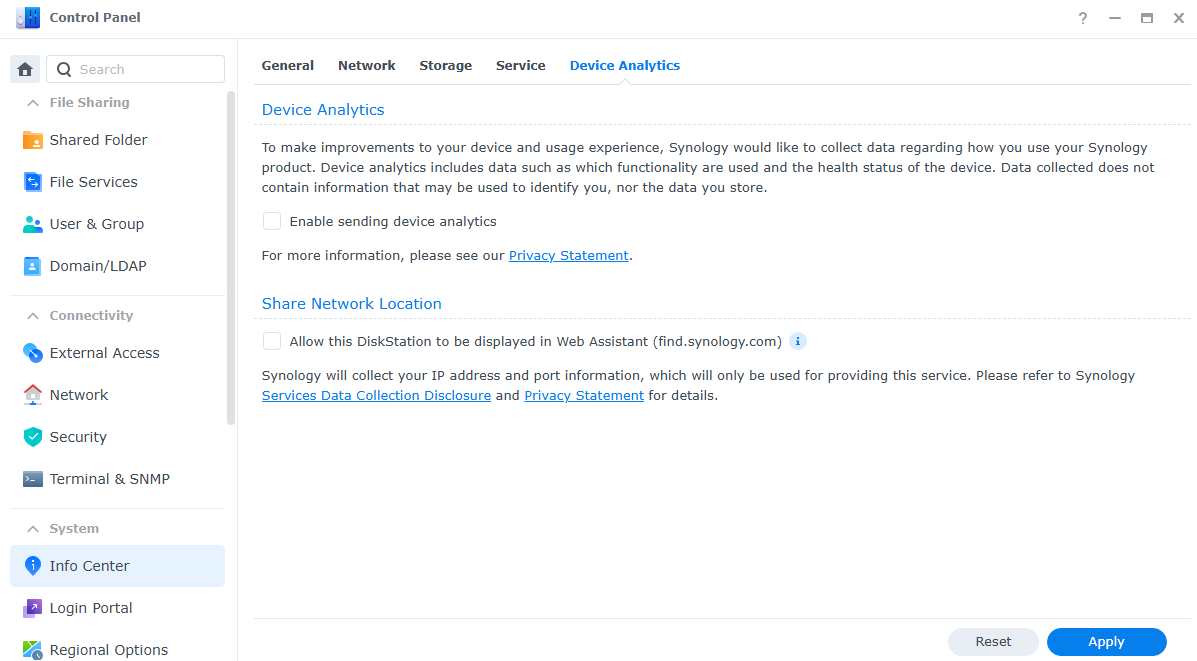
One thing to keep in mind: if this is an existing NAS that you’ve already configured, you may have blocked the Web Assistant feature. For a brand new device straight out of the box, it should find it right away. For an existing NAS, Synology Assistant (below) may work better.
Find the NAS Using Synology Assistant
Synology Assistant is a desktop application that scans your network for Synology devices. It’s useful when the browser method doesn’t work on a pre-configured NAS.
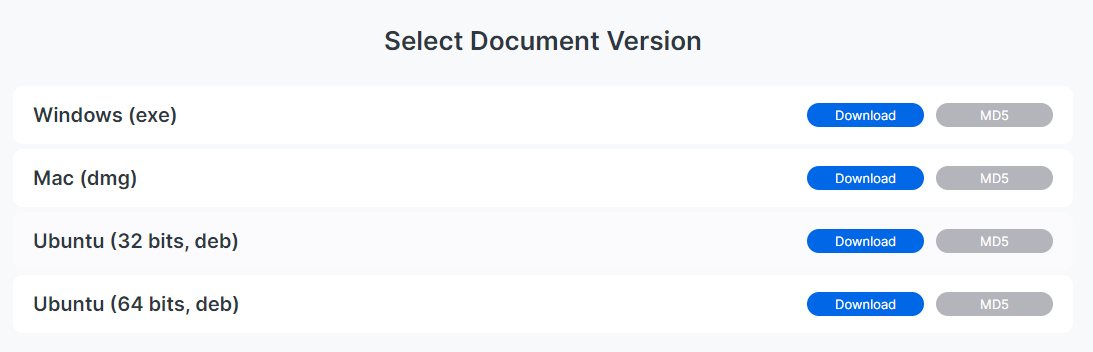
1. Go to the Download Center on Synology’s website and download Synology Assistant.

2. Download the version for your operating system (Windows, Mac, or Linux) and install it.
3. Launch Synology Assistant. It will scan your network automatically and return any Synology devices it finds.

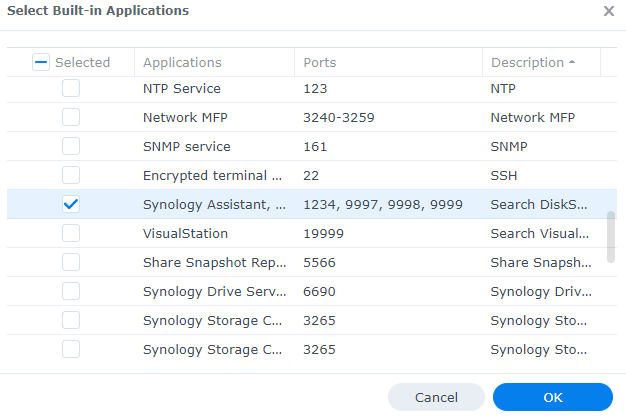
4. If Synology Assistant doesn’t find the NAS, check whether you’ve enabled Synology’s Firewall in DSM.
Synology Assistant relies on specific ports to communicate. If you’ve set up firewall rules on your Synology NAS, there’s a good chance those ports are blocked. Add a rule to allow the traffic, then try again.
Find the NAS Using an IP Scanner
If neither tool found the device, use a network-wide IP scanner. This approach doesn’t rely on Synology-specific protocols at all. If the NAS doesn’t show up here, the problem is either a network connection issue or a subnet mismatch.
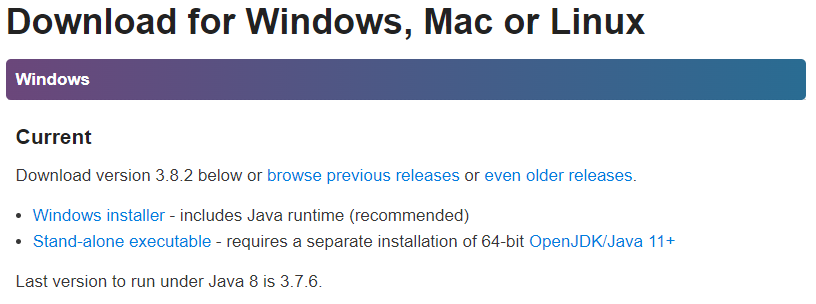
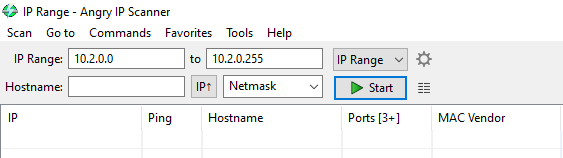
1. Download Angry IP Scanner and install it. Windows, Mac, and Linux versions are all available.
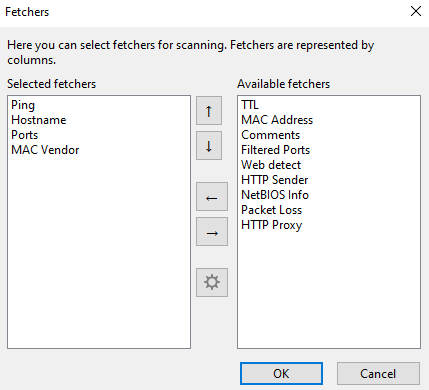
2. Open it, go to Tools, then Fetchers, and add MAC Vendor to the list.
This adds a column that shows the hardware manufacturer for each device, which makes it much easier to identify the NAS in the results.
3. Your current network range will be pre-filled. Select Start.
4. In the results, find the IP address with “Synology” in the MAC Vendor column.
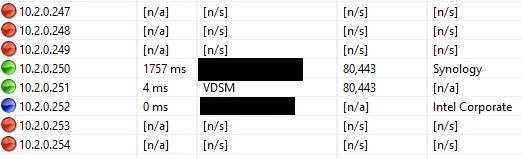
If Synology doesn’t appear anywhere in the list, the NAS either isn’t receiving a network connection or it’s on a different VLAN or subnet than the device running the scan. Make sure both devices are on the same network. If you’re running VLANs, this comes up more than you’d expect. I’ve run into this a few times when a device lands on the wrong VLAN after a network reconfiguration.
The NAS Still Won’t Show Up
If you’ve tried all three methods and the NAS still isn’t appearing, here are the most likely causes:
- The NAS is offline. Check the power and status LEDs.
- The NAS has a static IP address on a different subnet. If someone set a static IP at some point and the network has since changed, the NAS could be unreachable without physically resetting it.
- There’s a hardware problem. A failed NIC or bad cable can make the device invisible on the network even though it powers on fine.
If you have physical access to the NAS, a Mode 1 reset will reset the network settings back to DHCP without wiping your data. That’s usually the fastest path back to a working connection. Once you’re back in DSM, you can map a network drive on Windows or configure remote access so this doesn’t happen again.
Not sure which Synology model to get for your next device? The Synology NAS buying guide covers the current lineup.