Synology C2 is a full suite of cloud tools for password management, backup and recovery, securely sharing files, and even data storage. However, one of the most common uses for it is simply as storage, which allows users to back up a Synology NAS directly to C2 Storage.
There are many benefits to Synology C2 in terms of backups, but many of which you may or may not be aware of. We’ll break down everything from the pricing, to actually using Synology C2 for backups, as well as comparing it to a competitor like Backblaze B2.
What is Synology C2?
As mentioned above, Synology C2 is a full suite of tools that allows you to manage your entire digital life.
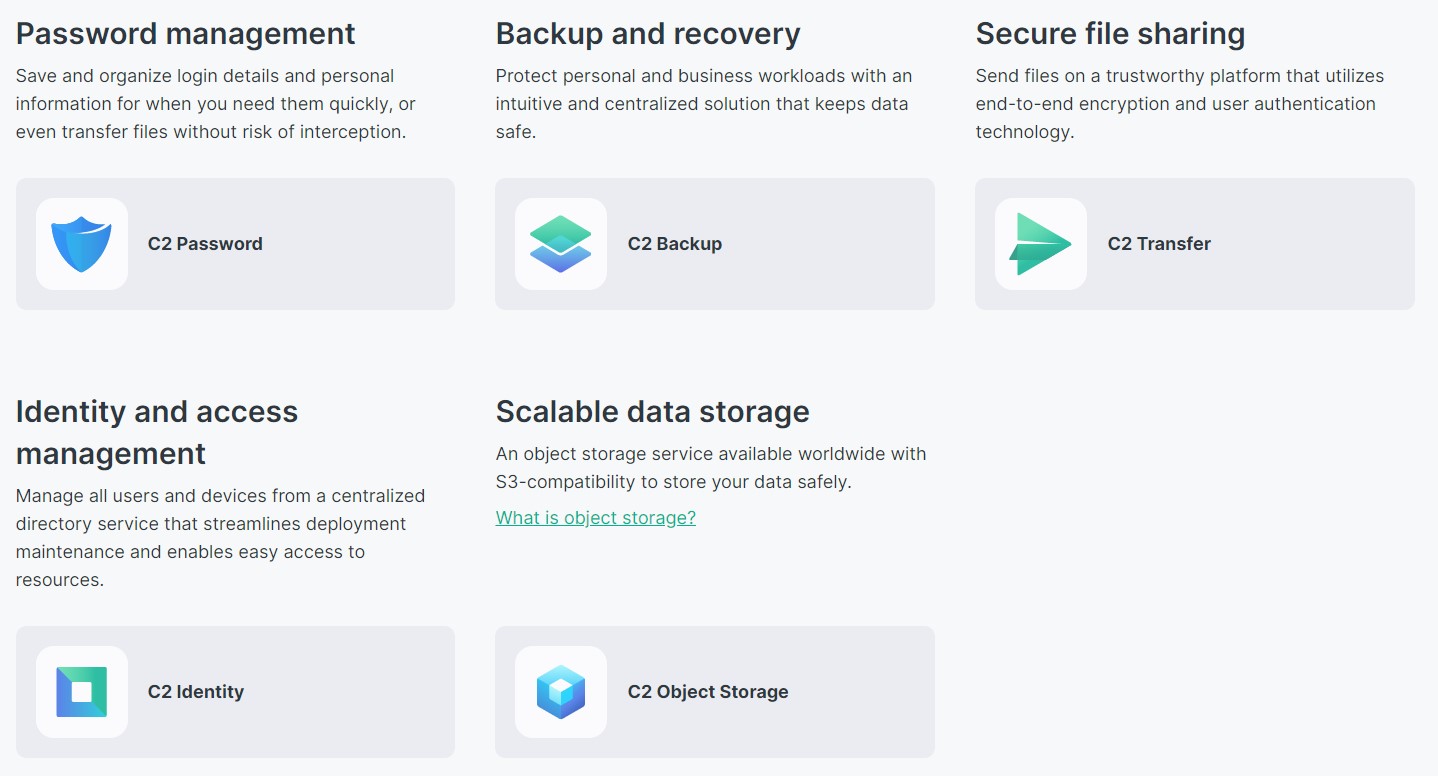
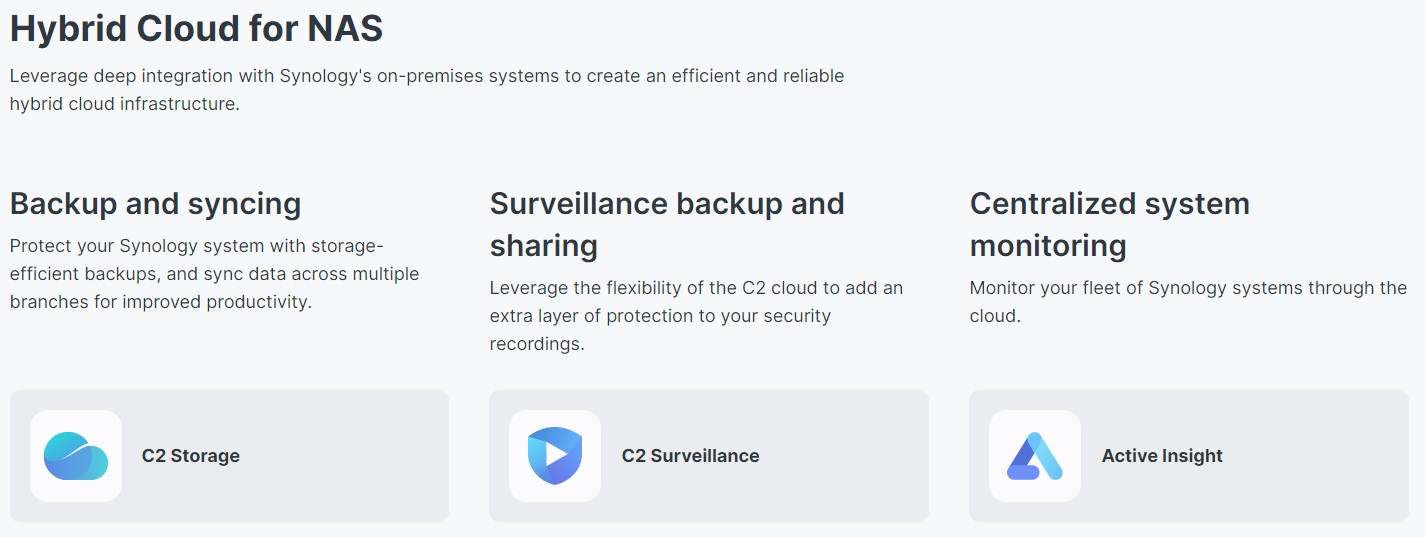
However, if you’re using a Synology NAS, C2 storage is one of the easiest ways to back up your Synology NAS. It allows you to ensure that your important data is securely backed up to the cloud and even has a Hyper Backup Explorer built-in, so you can actually navigate through your backups. Synology also offers a Surveillance suite and system monitoring with Active Insight.
All of these tools fall under the Synology C2 umbrella and are all separate products that have different purposes.
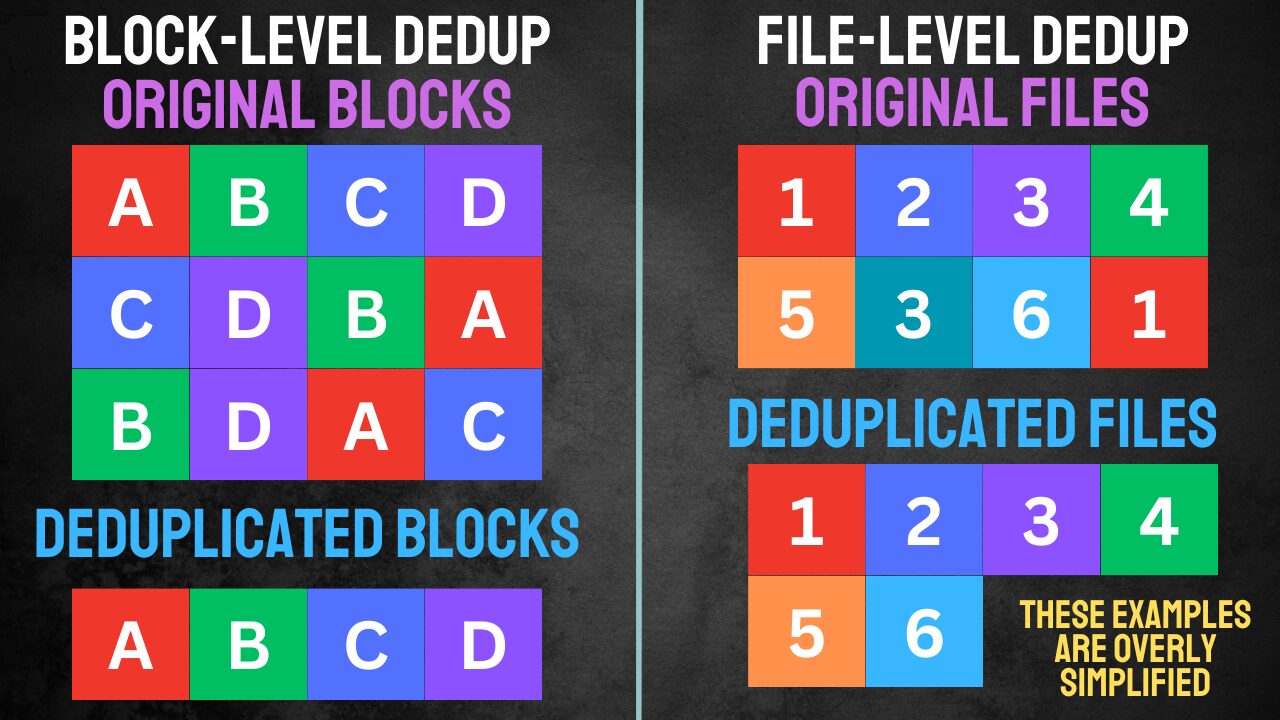
Block-Level Deduplication vs. FIle-Level Deduplication
If you plan on backing up most of your data, you might want to actually consider backing up the entire NAS. Using this option (and this option only) allows you to utilize block-level deduplication. Without going too deep into it, if blocks of data are identical, they’ll only be backed up once.

While the entire NAS backup option uses block-level deduplication, the other options only utilize file-level deduplication. To be clear, file-level deduplication is great as well, but it’s not as good from a compression standpoint (meaning the overall size of the backup).
Configuring a Backup with C2 Storage
One of the most popular ways to utilize C2 Storage is with Hyper Backup. Hyper Backup can be configured to back up individual shared folders, applications, and operating system data, or the entire NAS can be backed up. We’ll look at both options to help explain the key differences.
Backing up an Entire Synology NAS
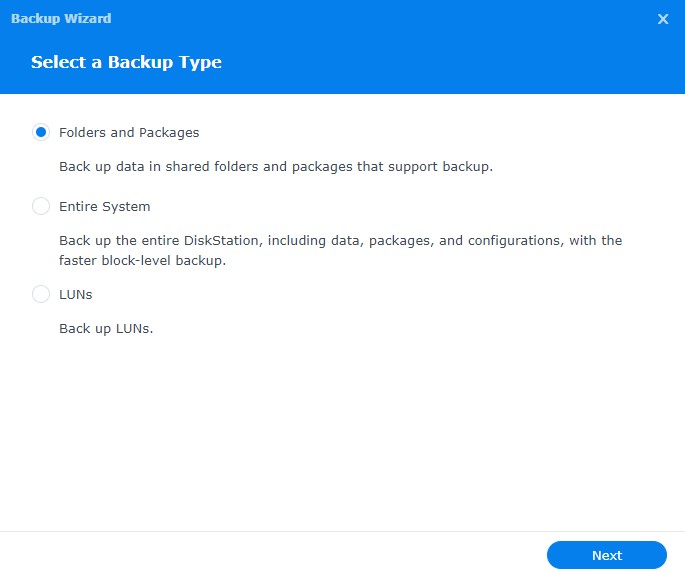
1. Select Entire System, then select Next.
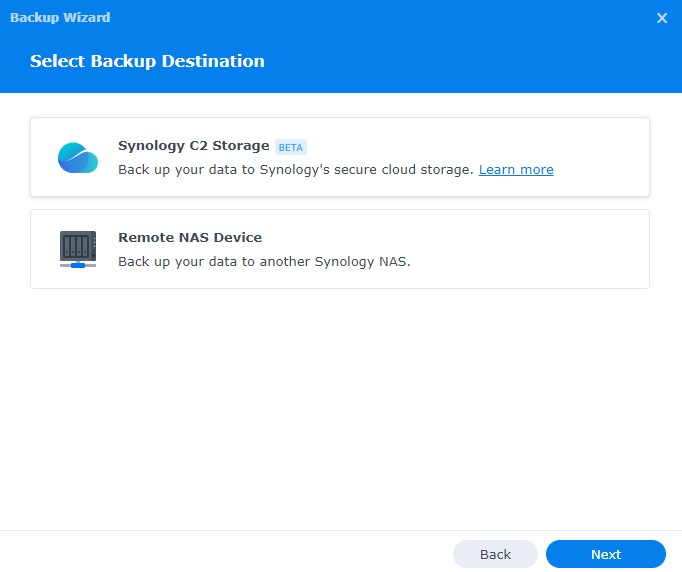
2. Select Synology C2 Storage, then select Next.
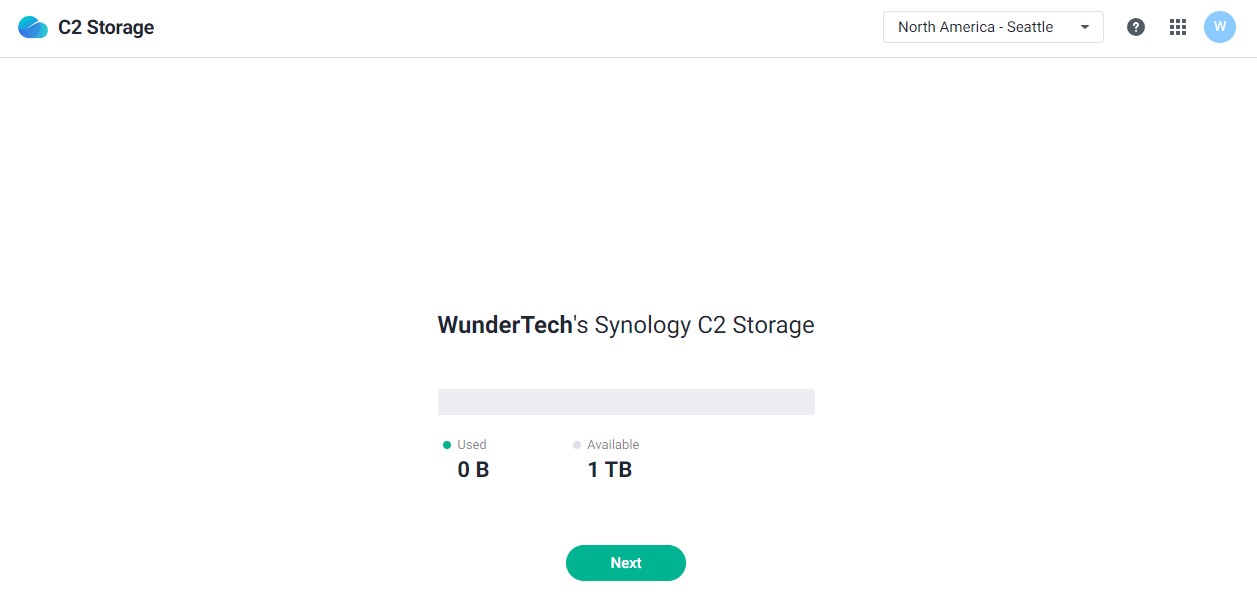
3. For the next step, you’ll have to sign in with your Synology account and then select the correct storage where the backup will be.
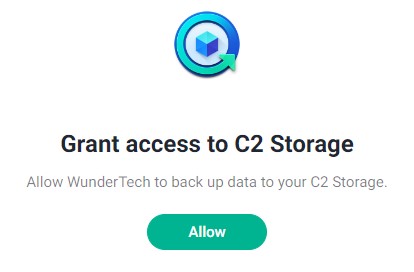
4. The second screen is the Grant Access page where you must allow access.
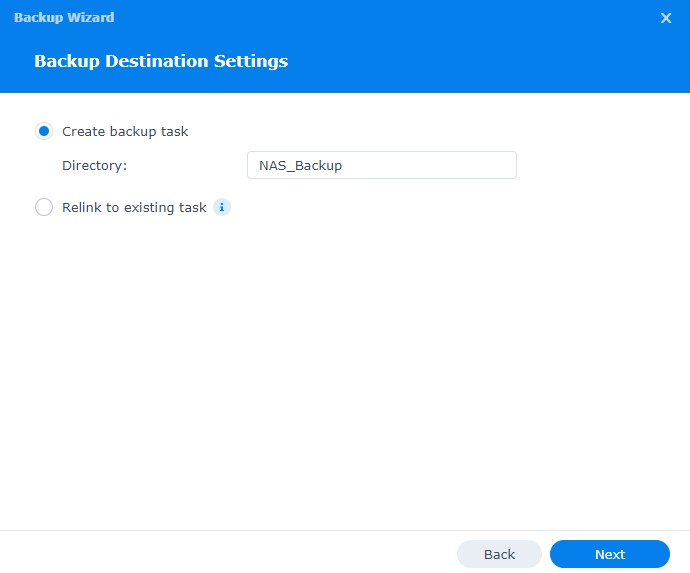
5. Finally, you’ll have to select a name for the backup
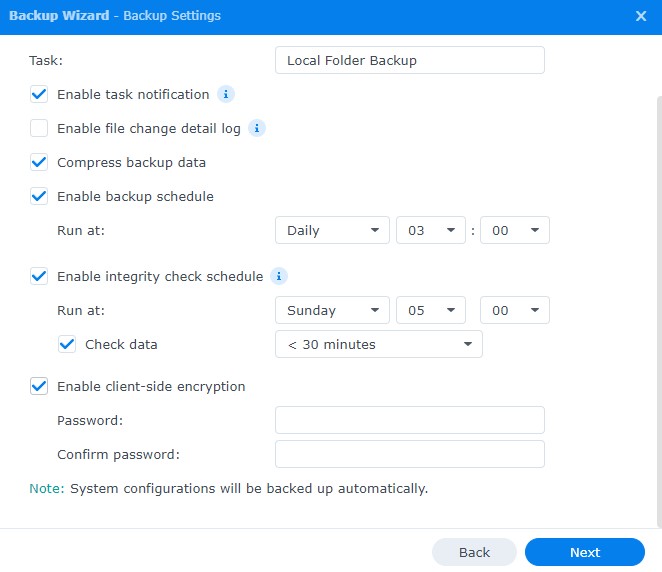
6. At this screen, you’re going to have to schedule this backup task and select a date/time when this task should be run.
Other than the enable backup schedule setting, you’ll need to give the task a name, ensure that Enable integrity check schedule is enabled, and then determine if you’d like to use client-side encryption.
Hyper Backup Client Side Encryption
Client-side encryption ensures that if a user obtains access to the Hyper Backup archive, they won’t be able to open it (unless they have the password or encryption key). Just remember that if you lose this password or encryption key, you won’t be able to decrypt your archive.
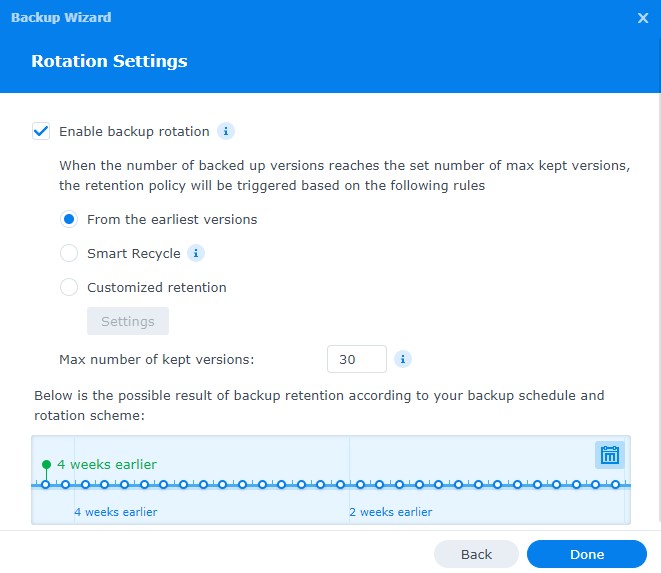
7. The next setting is in regards to the retention. The backup rotation settings will be specific for your individual needs and is dependent on how many versions you’d like to keep of the backup.
If you’d like to keep multiple versions spanning different timeframes (days, months, years), you can use Smart Recycle or Customized Retention.
The downside is that you’ll use more storage, as older versions will be maintained for longer periods of time. If you want to ensure that you save X number of versions, using From the earliest versions and setting a max number of versions is a good option.
8. At this point, the backup task is configured and will back up to Synology C2! It’s always a good idea to test and see if you can restore the data, but since Synology C2 has a backup explorer, you can back the data up and see if it’s accessible in the web browser.
The process for backing up individual shared folders is the same as the Entire NAS section above from a Synology C2 perspective, but the Hyper Backup piece will be slightly different.
1. Select Folders and Packages, then select Next.
2. Select Synology C2 Storage, then select Next.
3. For the next step, you’ll have to sign in with your Synology account and then select the correct storage where the backup will be.
4. The second screen is the Grant Access page where you must allow access.
5. Finally, you’ll have to select a name for the backup
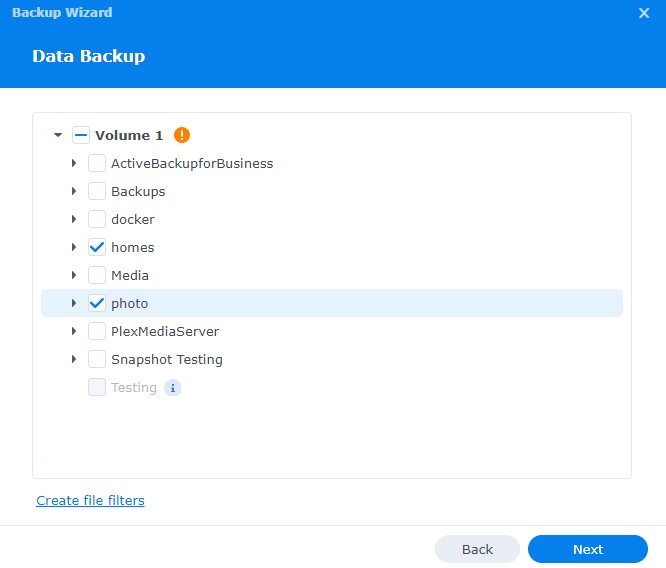
6. At the Data Backup section, select your data. If you want to back up all of your data, you can, but keep in mind that the Entire NAS option above will most likely be better.
Keep in mind that disaster recovery plans generally cover data that is irreplaceable, so it’s acceptable to only select the most important data on your NAS.
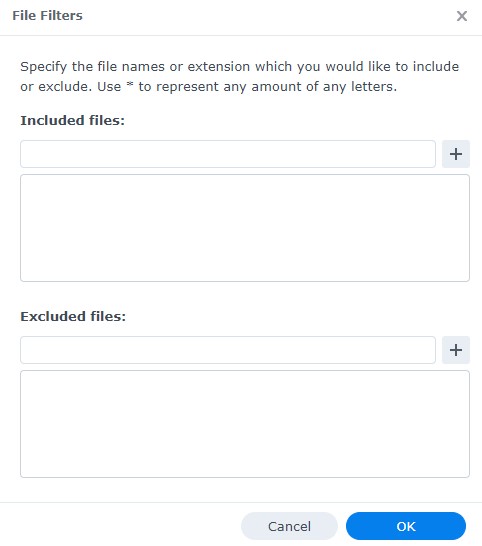
7. If you’d like to use file filters (to include or exclude certain file types), select Create file filters, then include or exclude file names or extensions.
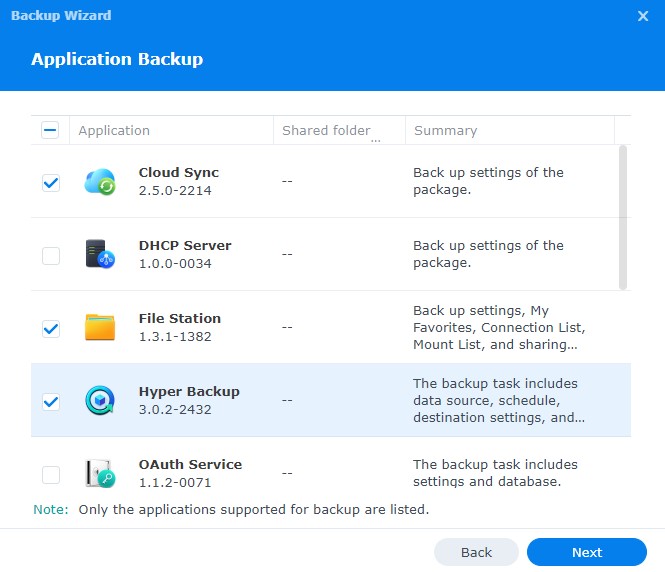
8. Select the applications that you’d like to back up. Not all applications are supported, but for the ones that are, the settings and configuration can be backed up and restored on another (or even the same) Synology NAS if needed.
Synology C2 Pricing
Synology C2 pricing is fairly straightforward. They offer different pricing plans for 100GB, 300GB, and 1TB of data (under a basic plan). However, most users interested in using Synology C2 Storage with Hyper Backup will fall under the Advanced plan, which is $6.99/TB (as of the writing of this article).
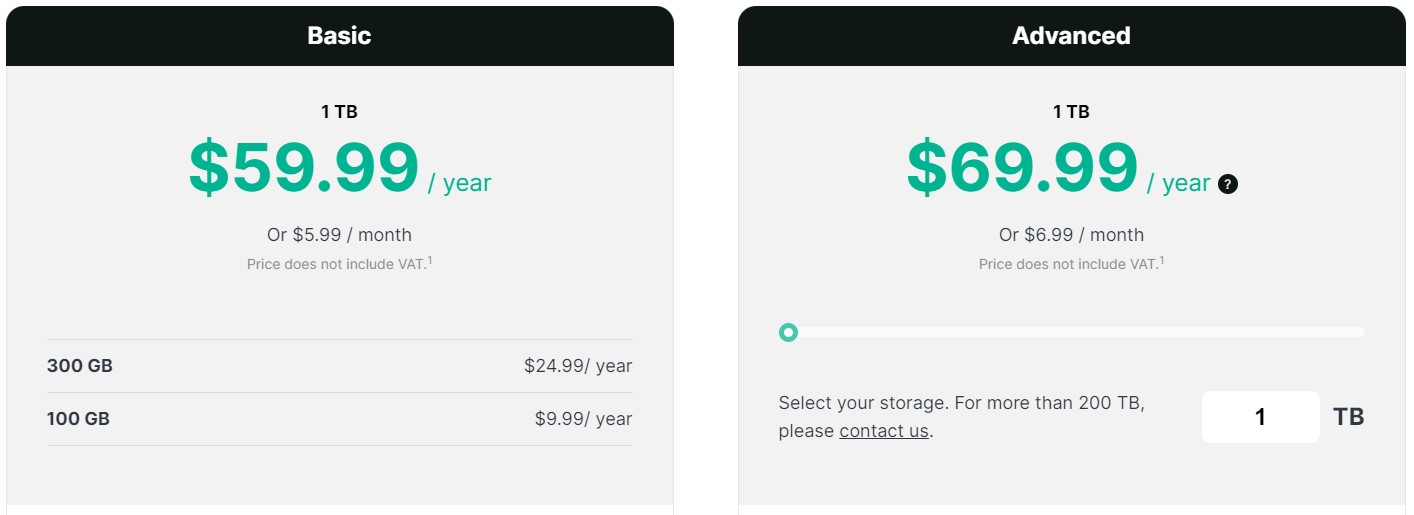
There are other benefits to the Advanced plan, like data deduplication, but we’ll take a look at that later.
Synology C2 vs. Backblaze B2
From a backup perspective, Synology C2 and Backblaze B2 will accomplish the same thing. The difference is that if you’re trying to back up the entire Synology NAS, you can only accomplish it with Synology C2. For this reason, Synology C2 offers block-level deduplication while Backblaze B2 will only work with file-level deduplication.
Another important note is that Backblaze B2 is cheaper, coming in at $6/TB per month, while Synology C2 is $6.99/TB per month (as of the writing of this article). However, the most important point is that Synology C2 has stepped up pricing, meaning that as soon as you go over 1TB, you’ll pay for 2TB. With Backblaze B2, you only pay for your usage, meaning if you’re using 1.25TB, you’ll only pay for 1.25TB.
The final note is that Synology C2 has a Hyper Backup Explorer built directly into it, meaning that you can navigate through your backups directly from the web browser. With Backblaze B2, you’ll have to use the Hyper Backup application (or Hyper Backup Explorer on a PC) to access the backup data. If you navigate through it in Backblaze B2 itself, you’ll only have access to the archive itself.
Final Thoughts on Synology C2
As a Backblaze B2 user, I found out quickly that Synology C2 is a lot more powerful than I initially thought. I recently did a YouTube video on the savings that block-level deduplication provided, and it was significant. Over 10% savings to be exact. Keep in mind that this is entirely dependent on your data and while I saw more than a 10% reduction in total backup size, you can see considerably less…or even more.
That’s the downside of this – without testing your individual data, you won’t really know how much you can save. What I can tell you though, is that Synology C2 is a much better backup destination than I originally thought due to the Hyper Backup Explorer it utilizes. Check it out if you’re interested in trying a new tool!