If you’re in a situation where you have multiple ISPs, using load balancing on pfSense is a great way to increase the overall speed of your network and provide redundancy. Load balancing allows you to utilize two separate WAN connections and utilize both connections equally.
What is Load Balancing?
Unlike utilizing a primary and secondary internet connection (which forces all traffic through one network unless it’s unavailable), load balancing will use both connections. This ensures that the traffic is equally split and both ISPs are used at all times.
If for some reason one of the connections goes down, you’ll still have redundancy, meaning that the traffic will automatically route through the other.
How to Configure Load Balancing on pfSense
1. The first thing that we need to do is activate the second WAN interface (assuming the first is already created).
Depending on the device you’re using, the interface name might be different, but you can navigate to Interface Assignments and add the WAN2 interface. When you’re done adding the interface, select the name to access it.

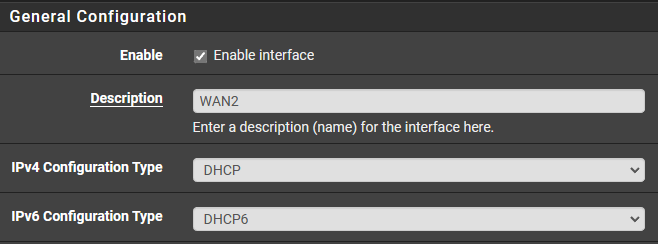
2. Enable the interface, change the name, and set the IPv4 & IPv6 Configuration Type as DHCP. If you are certain the ISP doesn’t use IPv6, you don’t have to enable it.
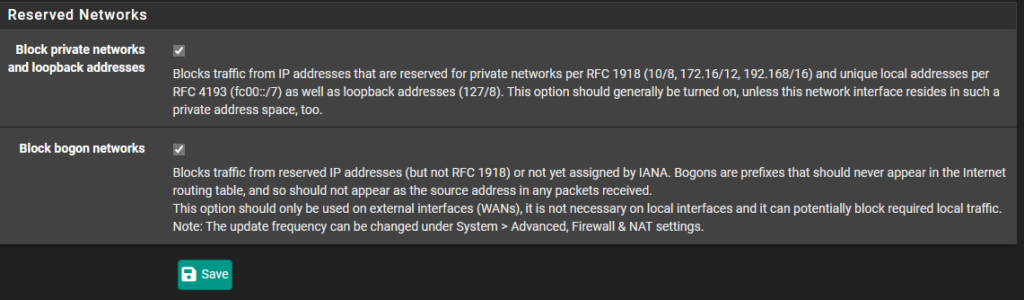
3. In the Reserved Networks section, enable both options and Save.
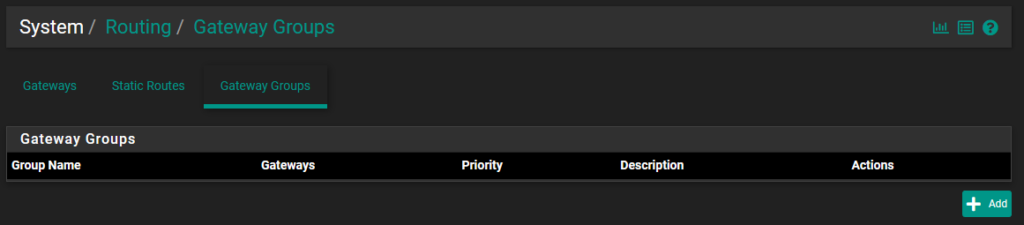
4. Now that both WAN connections have been configured, navigate to System, Routing, then Gateway Groups, then select Add.
5. Create a Group Name.

6. Set each to Tier 1 to configure load balancing. This will signify that both are active connections and should be used.

7. Now that the group has been created, we need to specify when it should be used. There are two main ways that you can do this – the first is by modifying the default gateway section in the System/Routing/Gateways menu.
NOTE: When you modify the default gateway in this manner, these preferences will apply to all traffic on all interfaces using the default value!

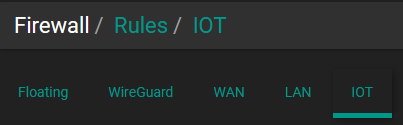
The second way to modify the gateway for the specific interfaces is by creating an Allow rule in the firewall. To do this, select Firewall, then Rules, and navigate to the interface that you’d like this gateway group to apply to.
Edit the Allow rule that exists, select Display Advanced, and then change the Gateway to the gateway group created above.
NOTE: If the gateway section isn’t accessible, ensure that the address family is not set as IPv4 + IPv6.

8. One final note is that in some rare circumstances, you can run into issues with load balancing. They aren’t going to be frequent, but it’s definitely something to keep in mind.
Conclusion & Final Thoughts on Load Balancing
Configuring load balancing on pfSense is extremely straightforward, assuming that you have two ISP connections. This is more common in small business and enterprise environments, but home users can configure it as well if they’d like.
At the end of the day, there’s no reason that you shouldn’t configure load balancing or automatic failover with pfSense if you have two ISPs!