In this article, we will look at how to set up WireGuard on UniFi Cloud Gateways.
WireGuard is a VPN tool that’s slowly gaining popularity and is now one of the most widely used VPN servers. It’s fast, has a small code base, and works well. I’ve been using it on various systems for years, but migrated it to my UniFi Dream Machine Pro Max a few months ago, and it’s been great!
Disclosure: Some links below are UniFi affiliate links which means that I earn a percentage of each sale at no cost to you. Thank you for your support.
How to Set Up WireGuard on UniFi Devices
We will look at how to set up WireGuard on UniFi Cloud Gateway devices below.
1. Open UniFi Network, select Settings, then VPN, and finally, VPN Server.
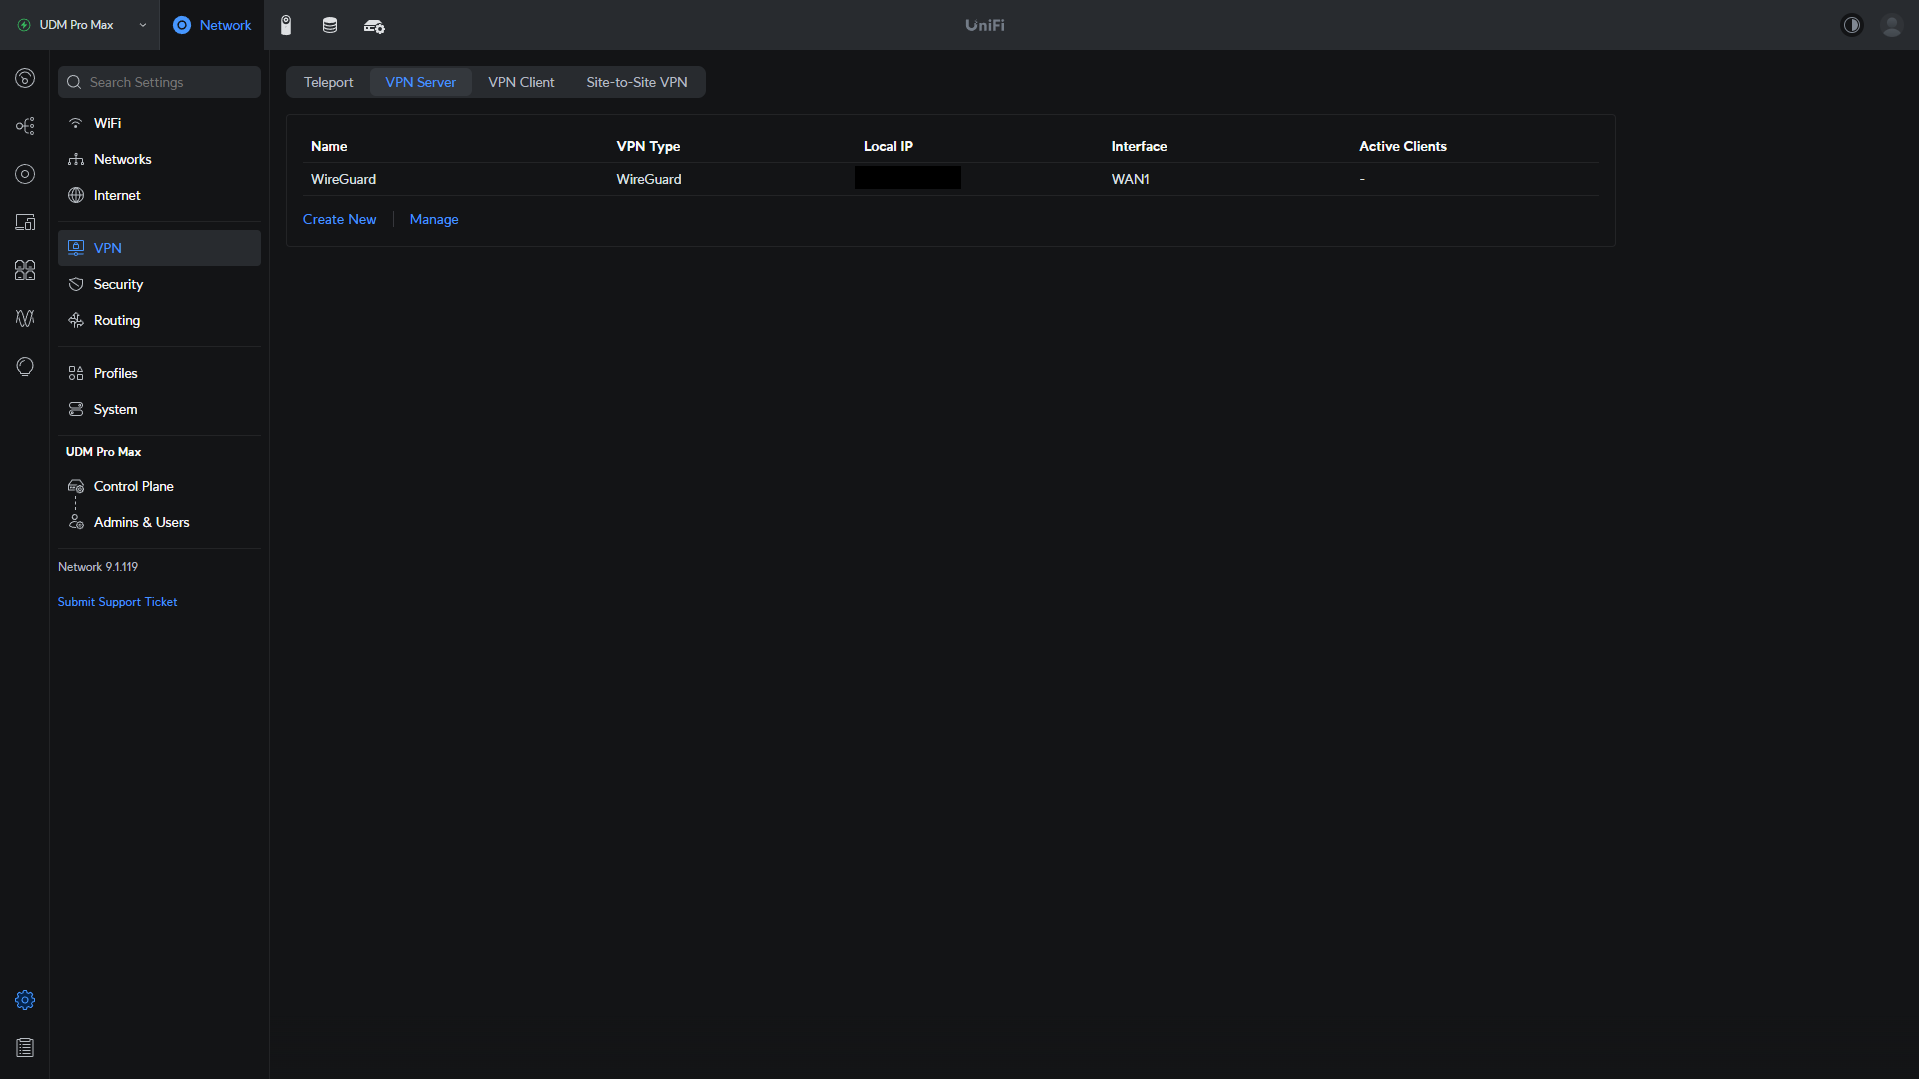
2. Select Create New, then select WireGuard and give your VPN Server a name.
3. In this section, there are a few things you can change:
- Set the Port as 51820 or modify this if you’d like to use something different.
- If you’d like to change the subnet address, you can in the Gateway/Subnet section (by selecting Manual).
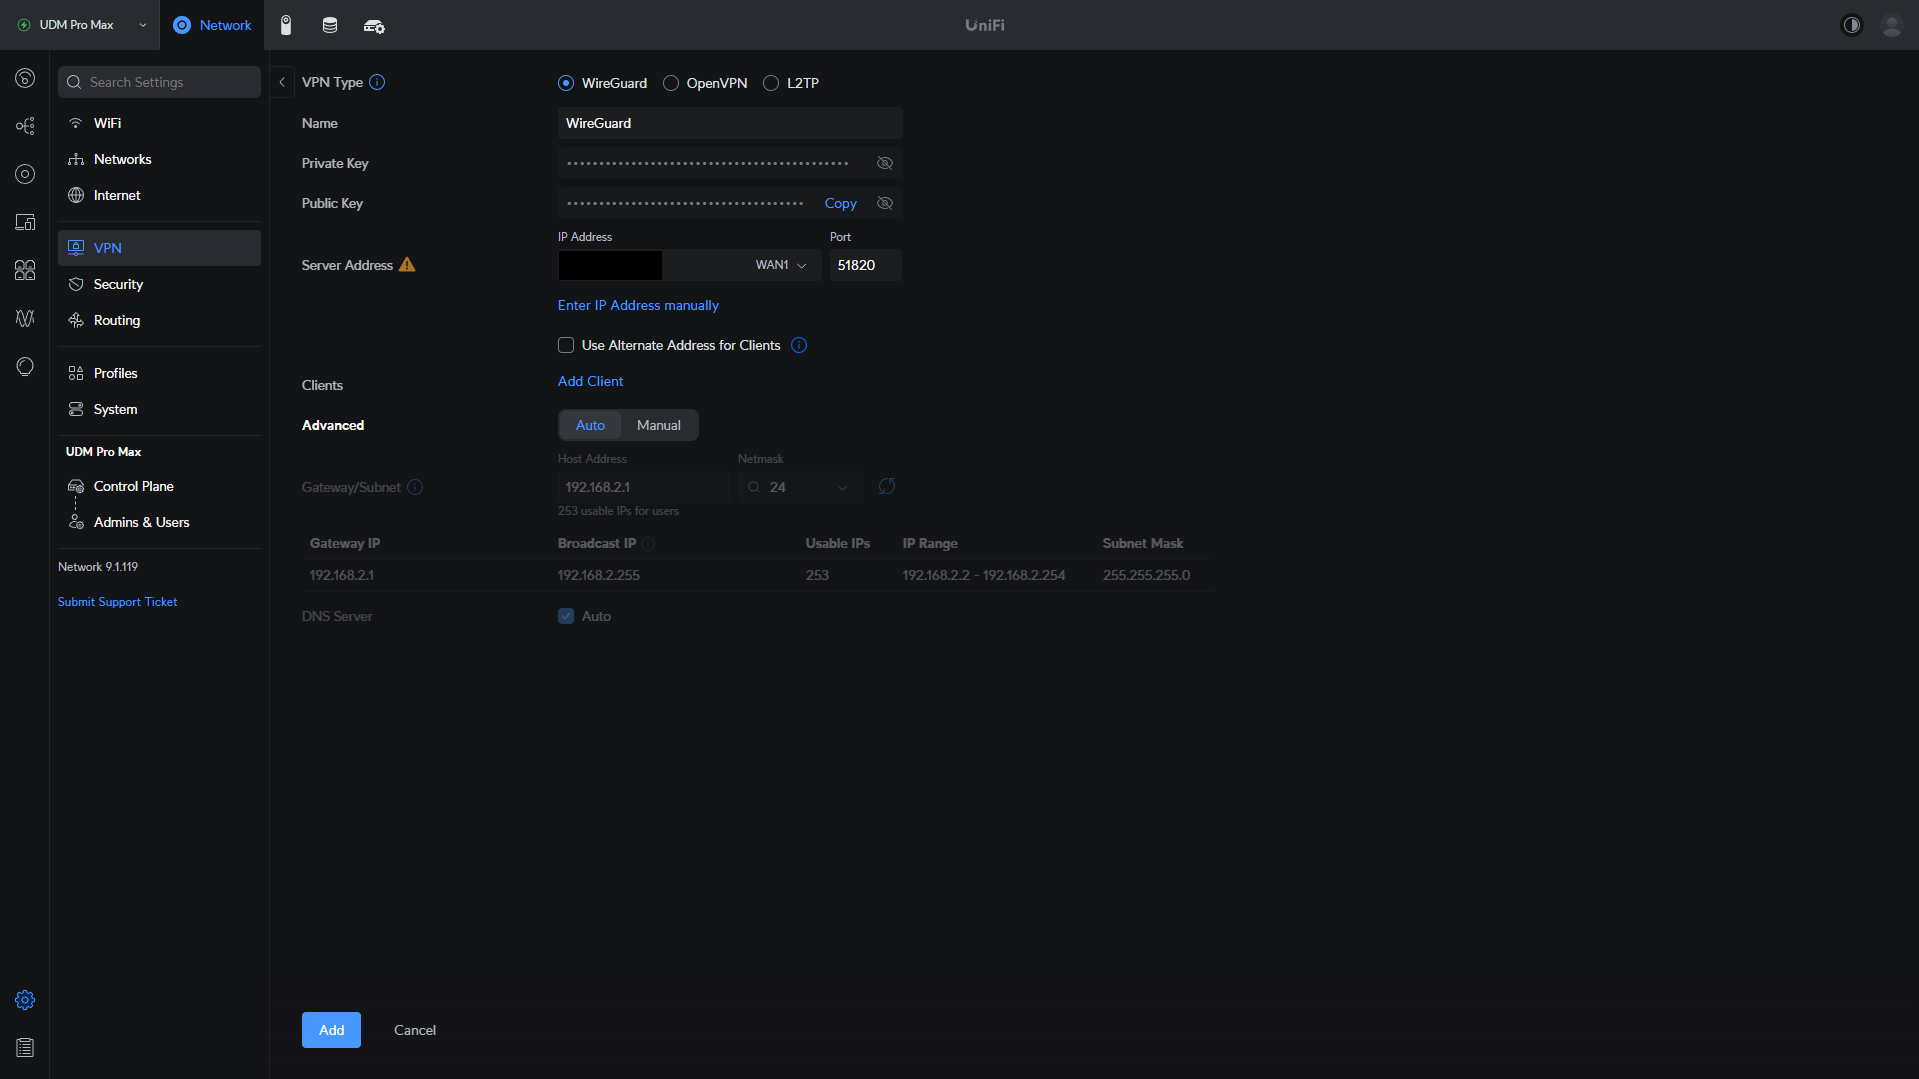
When the changes have been made, select Add to create the VPN server. This will automatically create the VPN server as well as all associated firewall rules required for remote access.
While the VPN server is created, we must create a VPN client for each device that will be connecting to our VPN server.
WireGuard Client Setup on UniFi Cloud Gateways
Follow the instructions below for each client that you’d like to be able to connect to your UniFi WireGuard VPN Server.
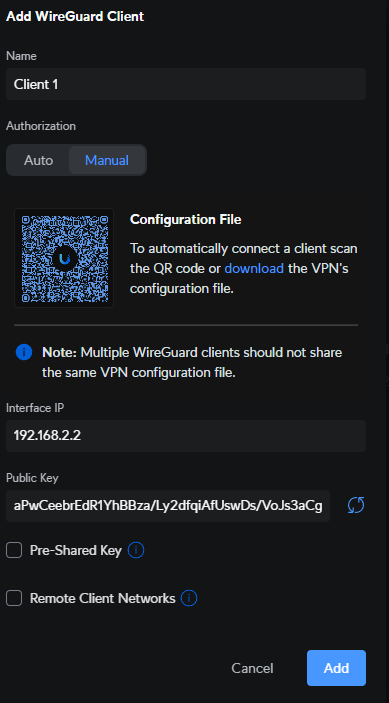
1. Access the WireGuard VPN Server settings by selecting it, then select Add Client.
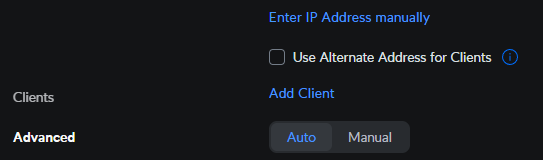
2. In the Add WireGuard Client section, enter a Name, IP address, and customize the pre-shared key and remote client networks.
The pre-shared key is used for additional security, and the remote client networks are what determine exactly which subnets are accessible through this VPN server. If you do not enable Remote Client Networks, the VPN will function as a full-tunnel VPN.
After the settings have been changed to your desired specs, select download to download the config file, and then add the client.
3. If you open the VPN Configuration file in a text editor, the contents will look similar to the information below. There are a few things that you can modify in this configuration file before using it:
- The DNS Server can be modified to whatever DNS server you’d like to use. Common public DNS servers are Google’s (8.8.8.8 or 8.8.4.4) or Cloudflare’s (1.1.1.1), but by default, it will use your UniFi Cloud Gateway.
- If you have a Dynamic IP Address, you should replace the IP address in the Endpoint section with a DDNS hostname to ensure you’re always accessing your updated external IP address.
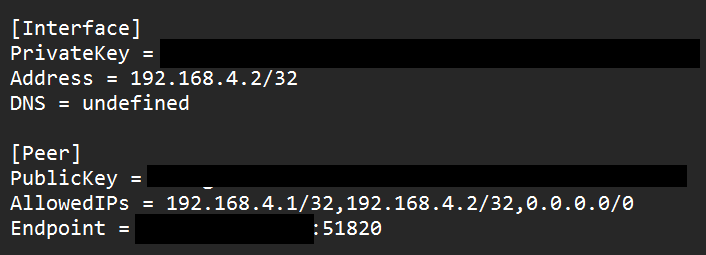
The final field that can be modified is AllowedIPs. This section will determine how the traffic is routed over the VPN tunnel. You can set up either a full-tunnel VPN or a split-tunnel VPN by modifying this field.
For a full tunnel configuration, you’ll use 0.0.0.0/0. For a split-tunnel configuration, add the subnets you’d like to access (any LAN subnets, as well as the WireGuard VPN Servers subnet) and separate each by a comma.
Depending on what you select, that will determine exactly how your VPN server functions when a client connects.
Final Thoughts: UniFi WireGuard
This tutorial looked at how to set up WireGuard on UniFi Cloud Gateways. I’ve used this for a while, initially testing it out years ago before moving to a full-time configuration a few months ago. It has been rock solid. Great overall performance with an easy setup process and management, and I couldn’t recommend it more.
Thanks for checking out the tutorial on how to set up WireGuard on UniFi Cloud Gateways!