In this tutorial, we will look at how to set up an iSCSI target on a Synology NAS.
Before we look at how to set up an iSCSI Target on a Synology NAS, it’s important to understand exactly what iSCSI is and how it works. When you configure iSCSI, it allows you to transport block-level data between an initiating server and a target server. In the case of this tutorial, the target server will be a Synology NAS. It’s important to remember that you’ll need to have another server on the other side as an initiator that uses the iSCSI storage.
A common device that can utilize iSCSI is a hypervisor like Proxmox or XCP-ng. Proxmox and XCP-ng allow you to add iSCSI storage which means you can create virtual machines on it and utilize the space. Please be aware that there are many devices you can connect with and the process will be slightly different for each.
How to Set Up an iSCSI Target on a Synology NAS
We will look at how to set up iSCSI on a Synology NAS below using DSM 7. The process for DSM 6 is slightly different.
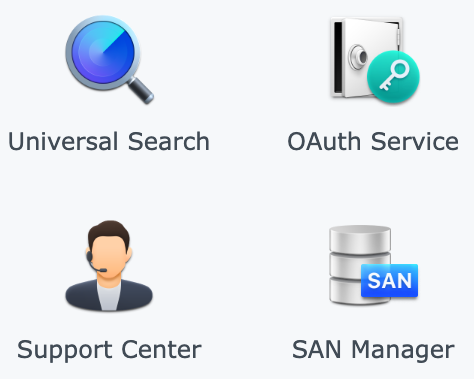
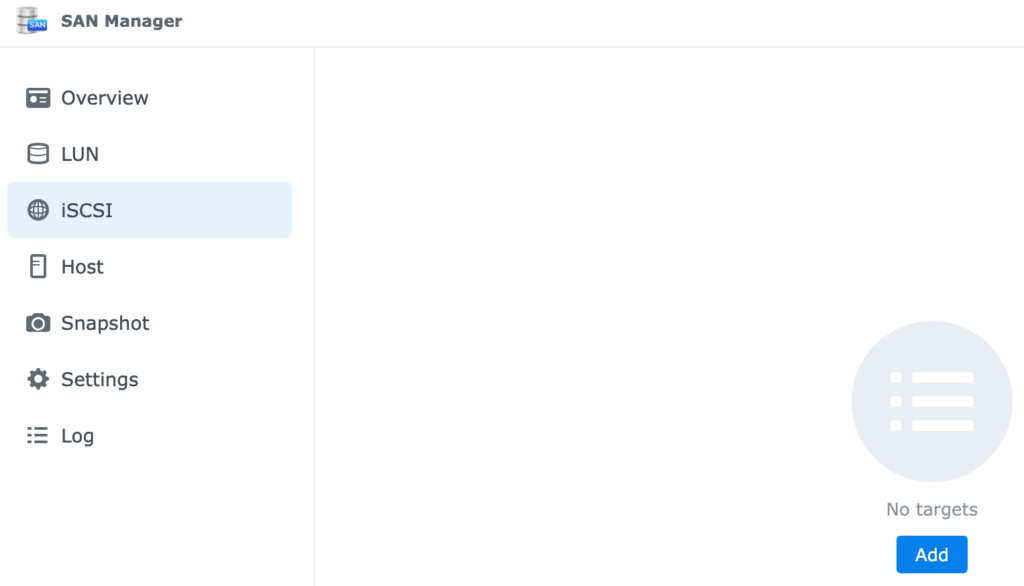
1. Log in to DSM and open the SAN Manager.
2. Select iSCSI, then select Add to create a new target.
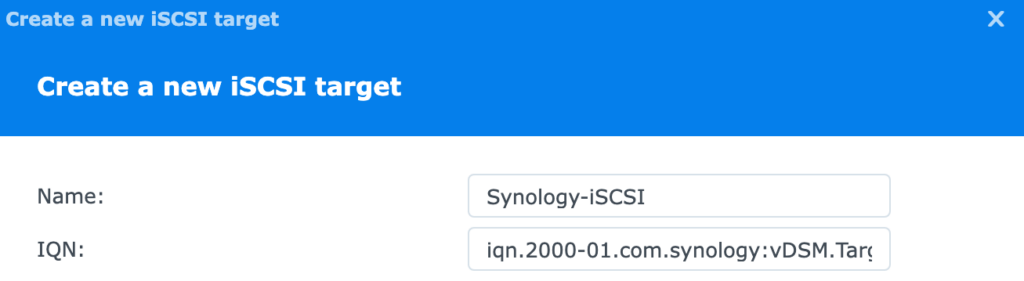
3. Give the iSCSI target a Name, then leave the IQN as default.
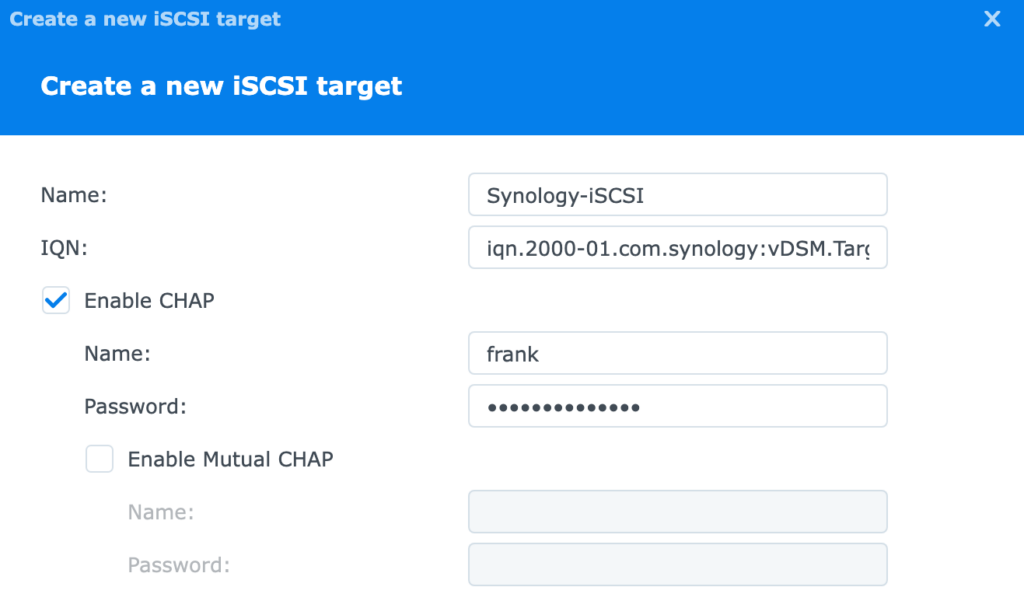
4. The next setting is optional, but CHAP allows you to configure authentication. If you want the initiator to authenticate with the target (Synology NAS in this tutorial), you only have to enter a username and password here. If you want both, the initiator and target to use authentication, you’ll need to enable mutual CHAP.
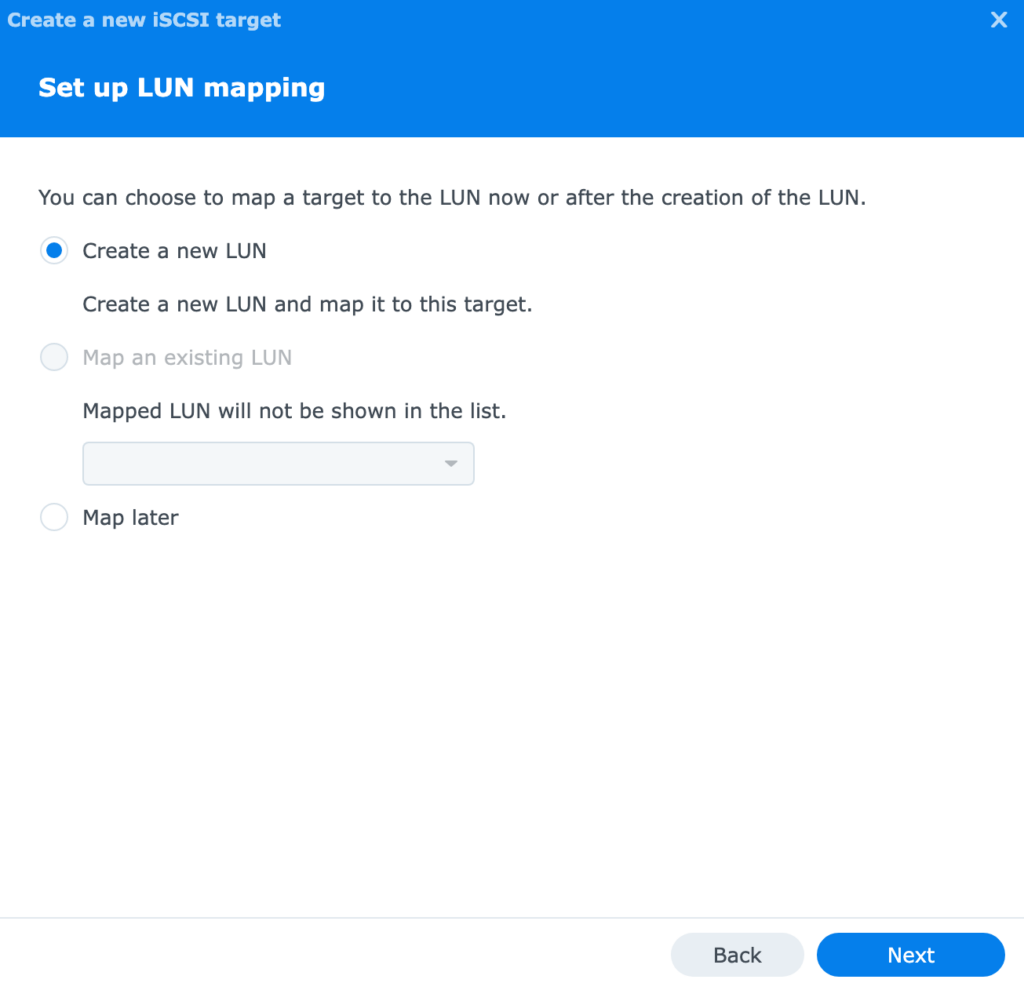
5. If you haven’t configured a LUN yet, you can do that at this step. Select Create a new LUN, then select Next.
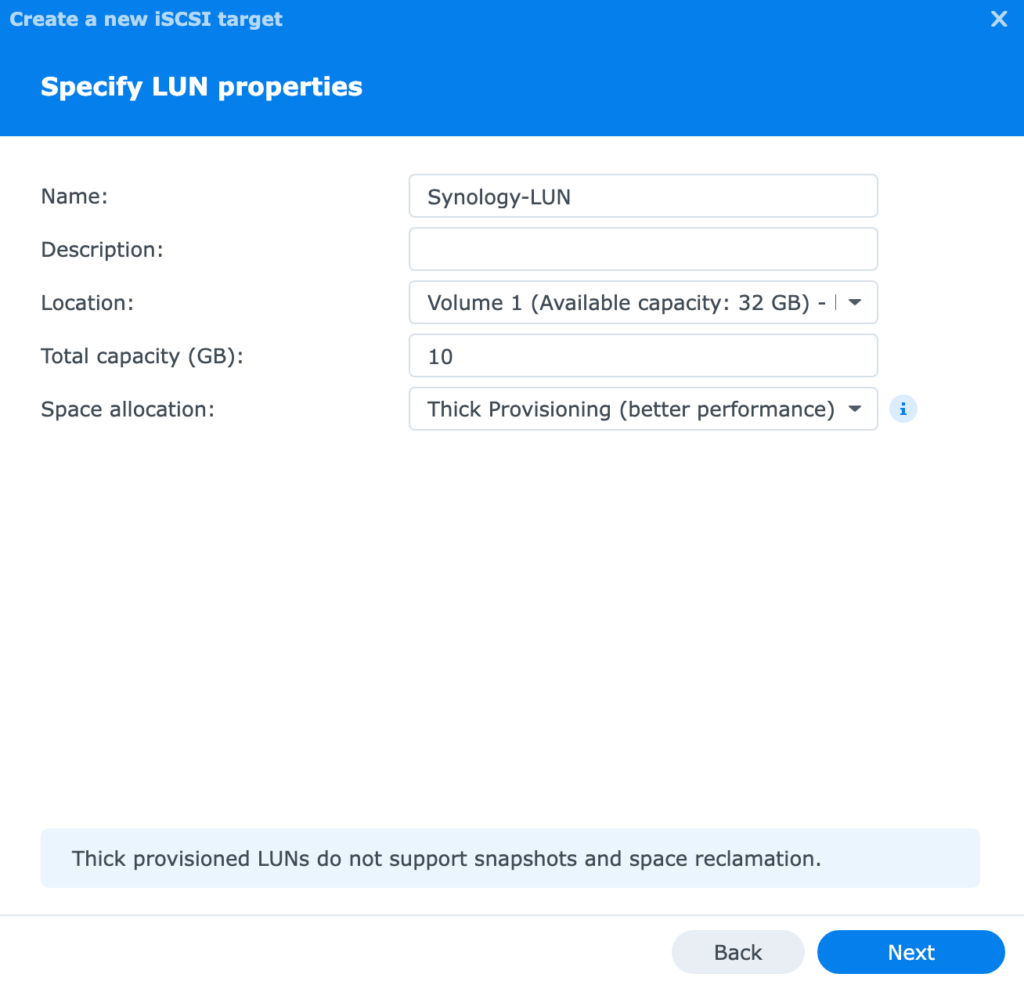
6. Give the LUN a name, then select a volume and enter a capacity in GB. When you’re done, select Next.
NOTE: I am only setting mine as 10GB since this is a virtual DSM instance and is only being used for testing. You will most likely have to configure this significantly higher.
7. Review the settings, then select Done. The iSCSI target is now created!

Connecting to an iSCSI Target on a Synology NAS
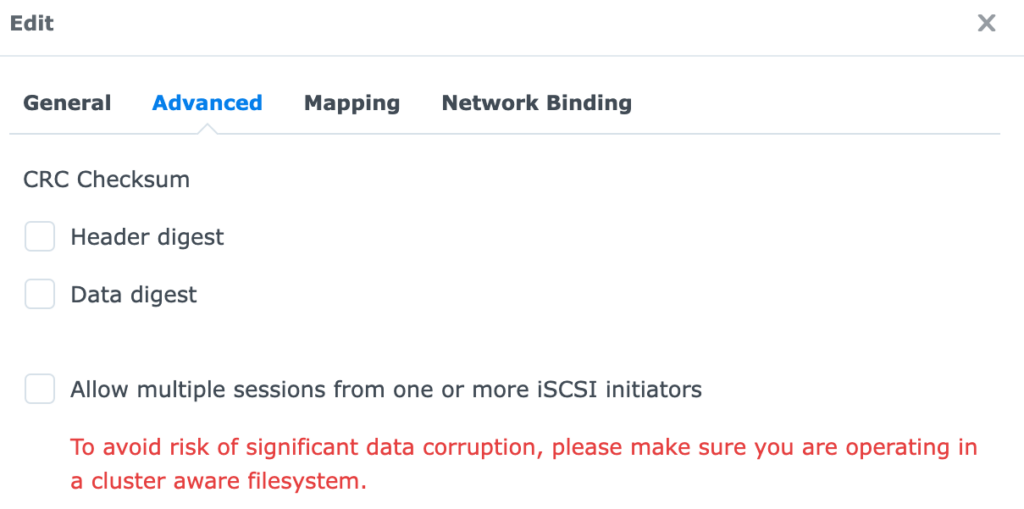
Now that the Synology NAS iSCSI target has been configured, you can connect to it using an initiator. Please be aware that connecting multiple clients to an individual iSCSI target can cause data corruption.
If you plan on connecting from multiple clients, ensure that you edit the iSCSI target, select Advanced, then enable Allow multiple sessions from one or more iSCSI initiators.
Rather than displaying the process for different initiators here, I created a dedicated tutorial on how to connect to an iSCSI Target on Proxmox. It’s important to remember that the settings you configured above (as far as authentication goes) must be used when configuring the initiator to use this iSCSI target.
Configuring Permissions
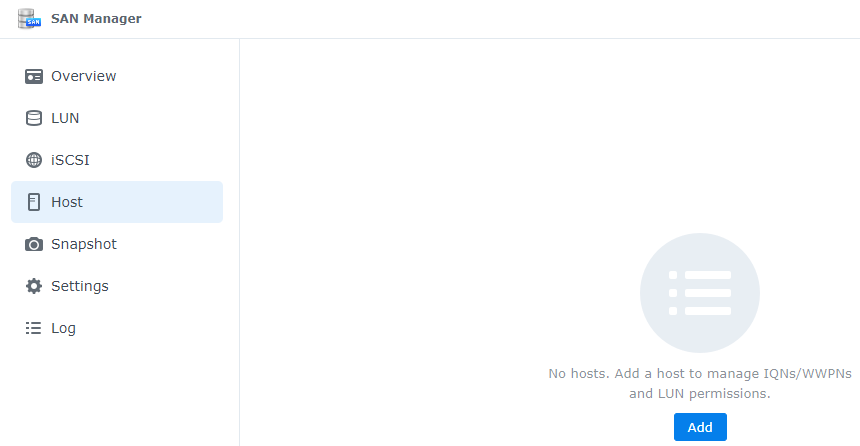
While we won’t be going over how to connect as an initiator, it’s important to know exactly how to configure permissions. After an initiator attempts to connect, you must grant permissions on the Synology NAS so that the initiator can connect to the target specified above (you can create them in advance as well if you know the IQN).
1. Select Host in the SAN Manager, then select Add.
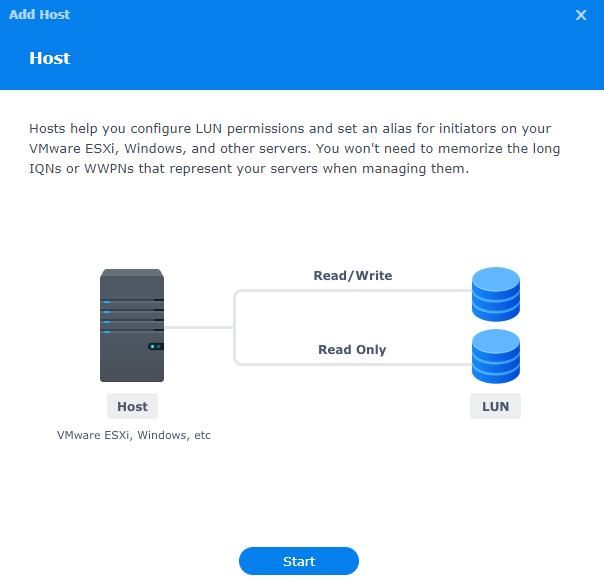
2. Select Start on the main screen.
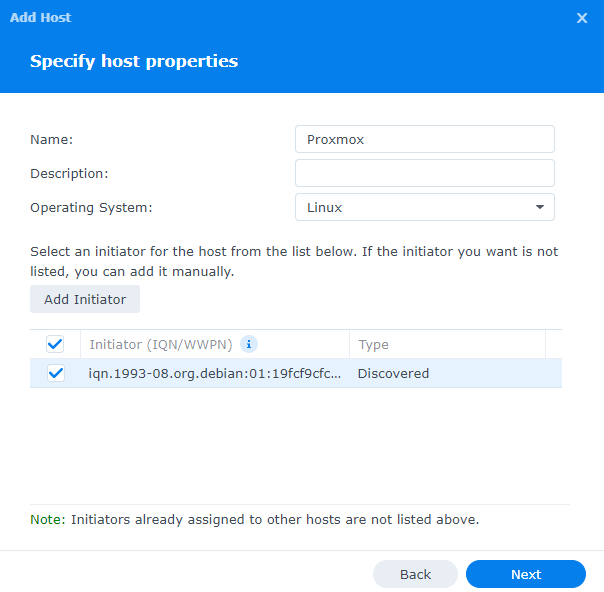
3. Enter a Name and Operating System, then select the Initiator. If you didn’t attempt to connect yet, you will have to use the Add Initiator button. When you’re done, select Next.
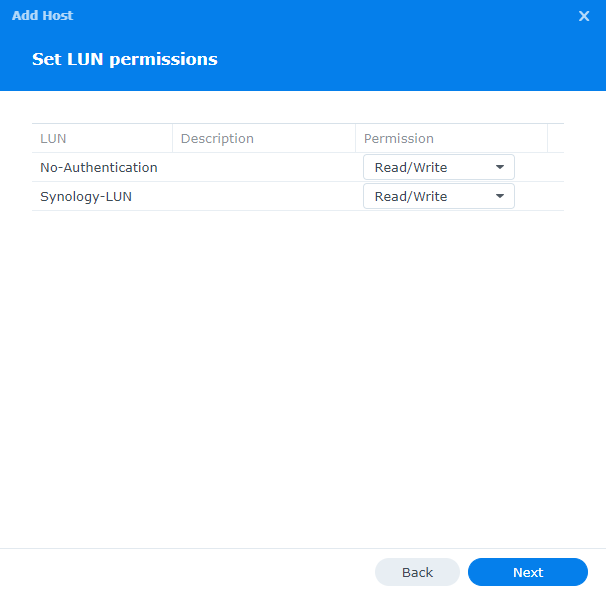
4. Specify the permissions for each LUN, then select Next.
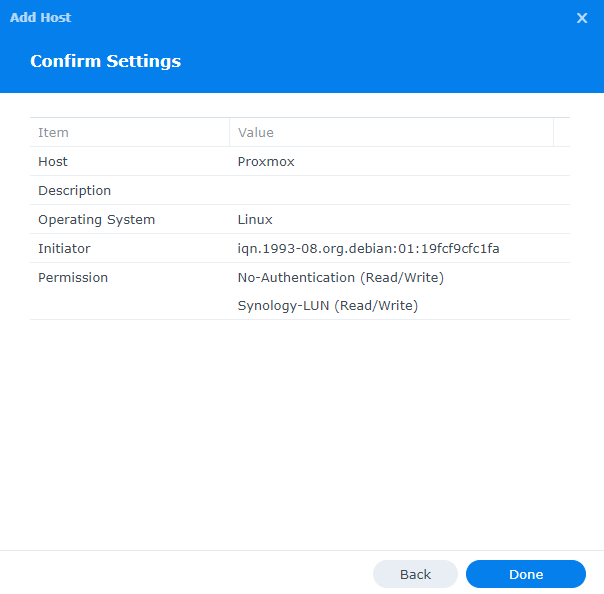
5. Review the settings, then select Done. The permissions will now be created!
Conclusion: How to Set Up an iSCSI Target on a Synology NAS
This tutorial looked at how to set up an iSCSI Target on a Synology NAS. The process for setting up iSCSI on a Synology NAS is extremely simple, but you must ensure you’re using the correct authentication in order to get this to properly work. The main benefit of iSCSI is speed, so using it for something like VMs can result in significantly greater performance than something like an NFS or SMB share. Please keep in mind however that iSCSI is entirely different than these file-sharing protocols.