In this tutorial, we will look at how to install Xpenology on Proxmox (DSM 7).
Xpenology is a community-based bootloader than runs Synology’s DSM 7. It allows you to have a fully functional Synology NAS operating system (DSM 7) that can run inside of a virtual machine in Proxmox. The process is pretty straightforward, but I want to be clear on two things:
- The most important point: Xpenology is a home-brewed version of Synology’s DSM. It is suggested that you use this for testing purposes. Xpenology has a great developer community, but there is no true “support”, and no guarantee that this operating system will be stable. I would highly suggest that you purchase a Synology NAS if you’re interested in this type of NAS device due to increased support and authenticity.
- Do NOT update Xpenology without ensuring that the new version works with the existing bootloader. Incremental updates are generally fine, but major version updates may require a new or updated bootloader.
How to Install Xpenology on Proxmox (DSM 7)
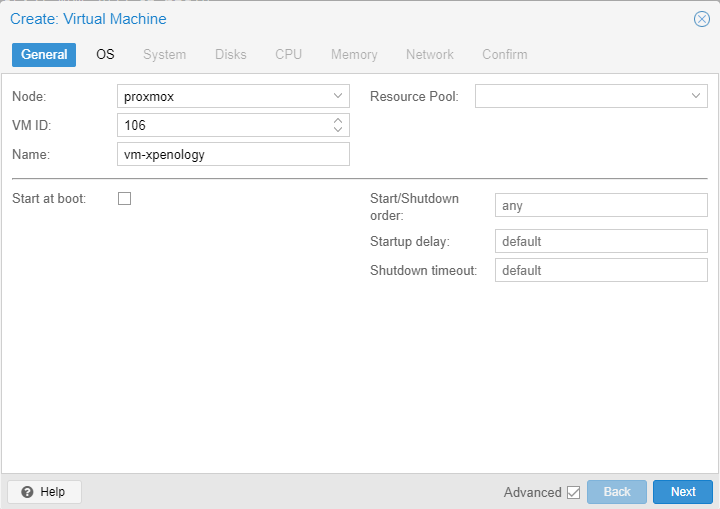
1. Launch Proxmox and select Create VM.

2. Select a node and give the VM a name. Select Start at boot if you’d like this VM to start when Proxmox is started.
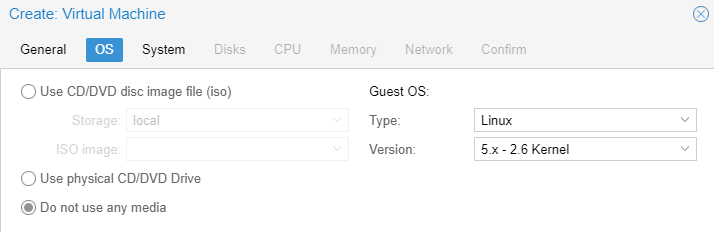
3. In the OS tab, select do not use any media.
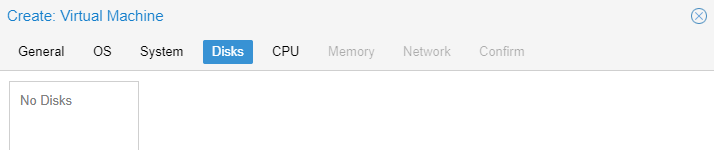
4. Skip to the Disks tab and delete the scsi0 disk (red icon next to scsi0).
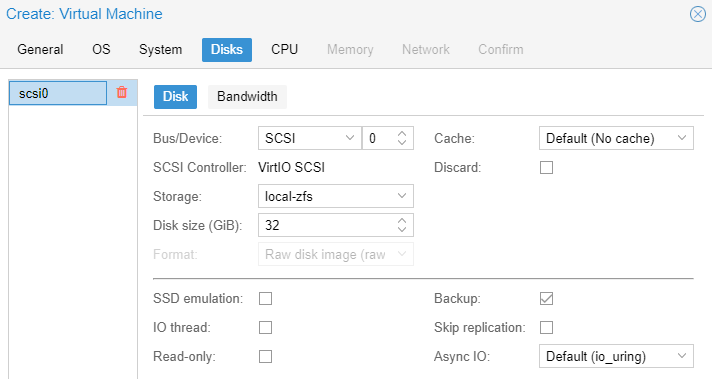
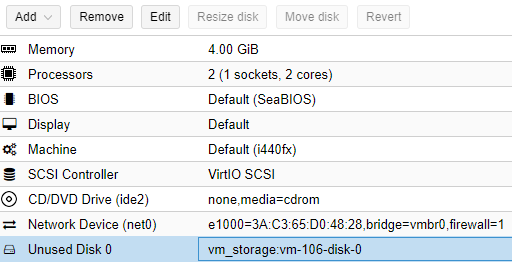
The VM should look like this when completed:
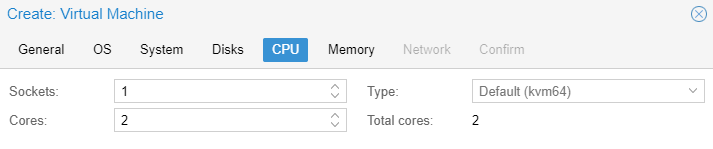
5. Set the CPU to use as many cores as you’d like.
6. Set the Memory to use as much as you’d like.

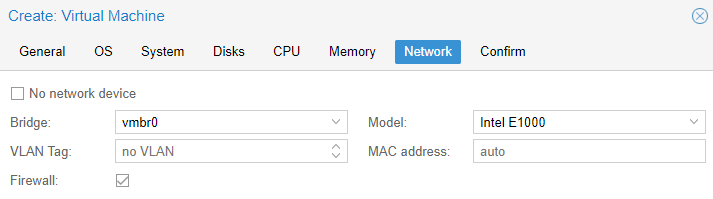
7. In the Network tab, set the Model to be Intel E1000.
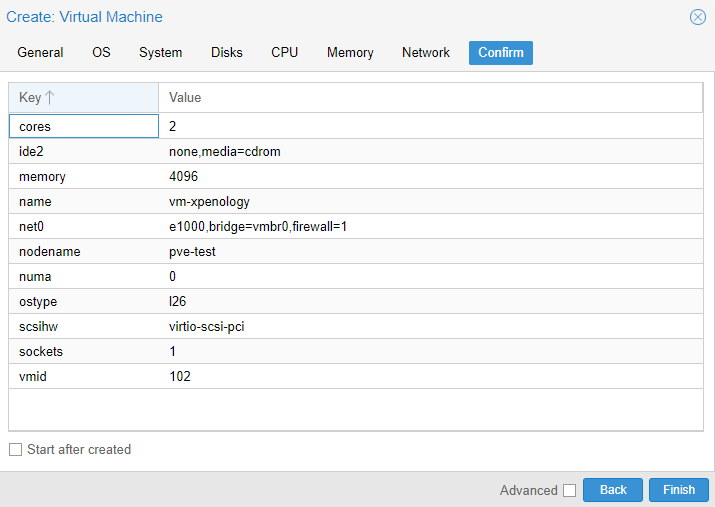
8. In the Confirm tab, ensure start after created is not selected, then select Finish.
9. Download the redpill bootloader which we’ll use to get Xpenology setup and configured. When it’s done downloading, extract it on your local machine.

10. Navigate to the Local Proxmox Storage (you can select a different storage location to upload it, but you’ll have to modify the location in step 12) and upload the redpill.img file.
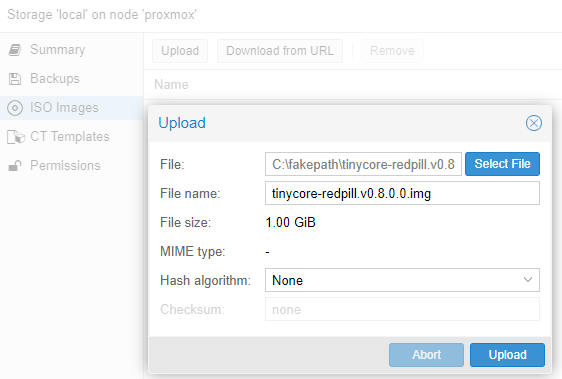
11. After the file is finished uploading, access the Proxmox Shell.

12. Run the command below substituting the current version of the redpill bootloader and your VM ID.
qm importdisk <VMID> /var/lib/vz/template/iso/tinycore-redpill.v0.8.0.0.img <STORAGE_LOCATION>

13. In the VMs Hardware section, select Edit on the Unused Disk.
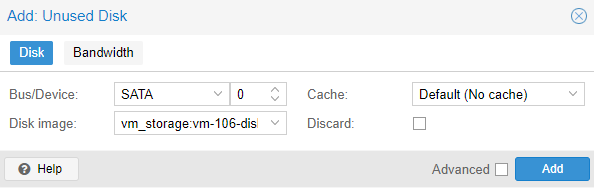
14. Change the Bus/Device to SATA and then select Add.
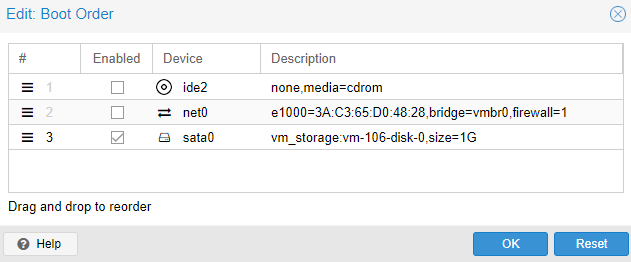
15. In the Options menu, select Boot Order and Edit.
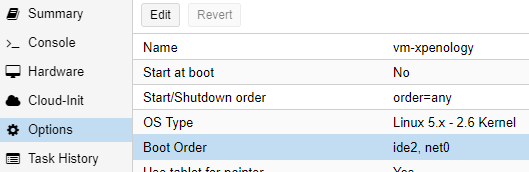
16. Uncheck all options other than sata0 and then select OK.
17. Start the virtual machine and navigate to the console! The loader should run and when it’s ready, you’ll be at a blue screen.
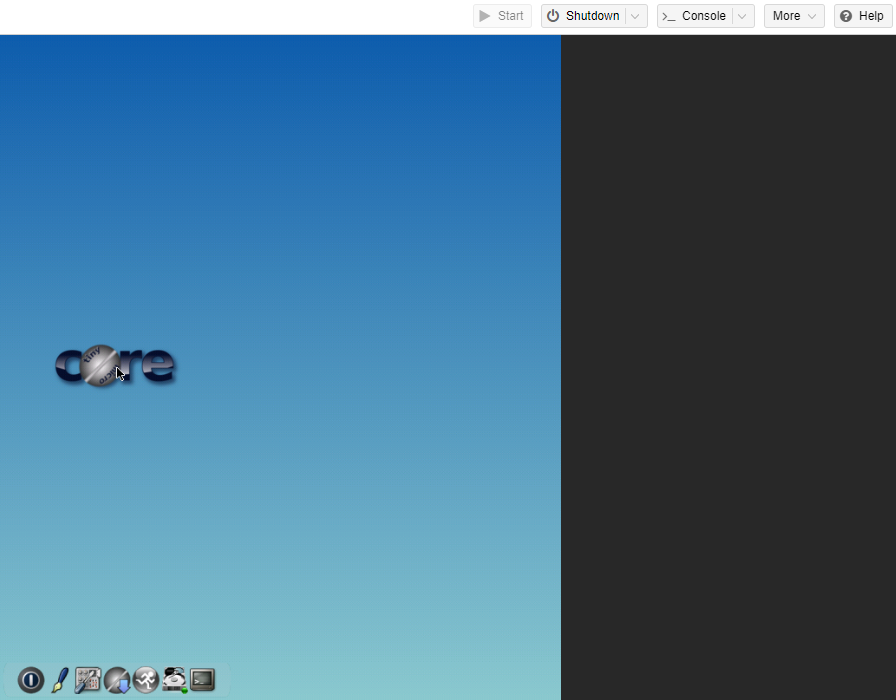
18. Select the icon all the way to the right to launch the terminal.

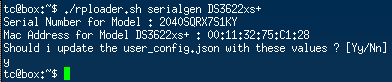
19. Run the command below to generate a serial number and press y when asked to update the values.
./rploader.sh serialgen DS3622xs+
20. Run the command below to find the latest DS3622xs+ build (at the time of this tutorial, it’s broadwellnk-7.1.0-42661).
./rploader.sh build
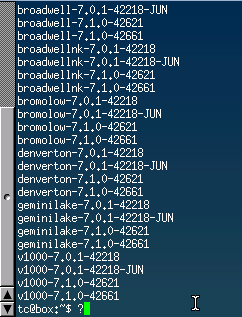
21. Update the command to install the latest broadwellnk version.
./rploader.sh build broadwellnk-7.1.0-42661
22. If the command above states that there’s a newer version of the loader found, enter y and then run the command above again.

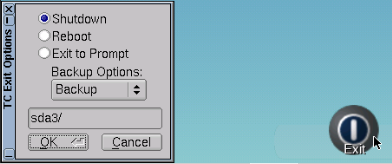
23. Select the Exit icon and then Shutdown.
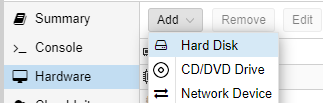
24. When the virtual machine is no longer running, select Hardware and then add a new hard disk.
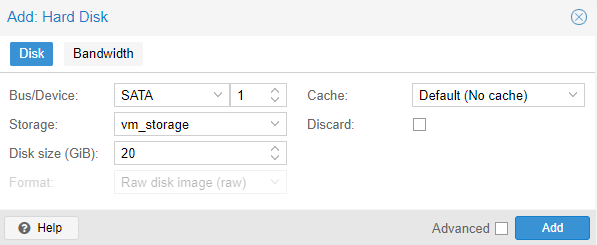
25. Select the correct storage location, set the disk size as 20GB, and then select Add.
26. Select Start to start the virtual machine.

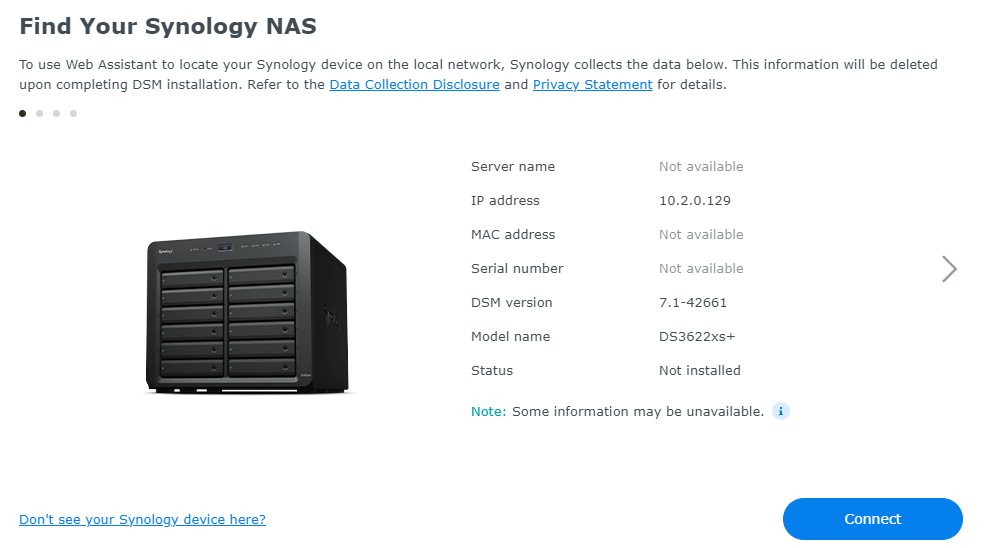
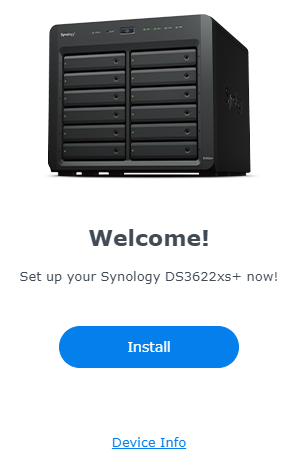
27. After a few minutes pass, navigate to the URL below to find the new Xpenology system. If the system is found, you’ll see that you can connect to it!
NOTE: I had some issues and after selecting connect so I had to navigate to the URL below again and connect to the NAS, then install the OS.
https://find.synology.com
28. You can now install the new DSM operating system! Download the correct version of DSM (what you selected earlier) from Synology’s Download Center (for the DS3622xs+), then install it. Just make sure that you don’t automatically install updates as they may break Xpenology.
29. After installing the DSM operating system, it should boot up!
NOTE: Please keep in mind that in Proxmox, you’ll have to pass the hard drives (either the drives themselves or something like a SAS controller) to the virtual machine!
Conclusion – How to Install Xpenology on Proxmox (DSM 7)
This tutorial looked at how to install Xpenology on Proxmox. The overall process on how to install Xpenology on Proxmox isn’t particularly complicated, but I want to reiterate that for authenticity and reliability purposes, you should really purchase a Synology NAS. This is a great way to test the OS and determine if you like it, but a device purchased from Synology directly will have much greater support.