Today we are going to look at how to back up a Linux PC to a Synology NAS using Active Backup for Business.
If you’re using Synology’s DSM 7 (recently released), you will be able to back up your Linux PC’s to a Synology NAS using Active Backup for Business. The process is similar to how you back up Windows PC’s, though the installation and configuration is slightly different. Please keep in mind that as of the writing of this tutorial, this is a beta feature. While everything functions as expected for me, you might run into issues that are more difficult to troubleshoot.
Instructions – How to Back Up a Linux PC to a Synology NAS
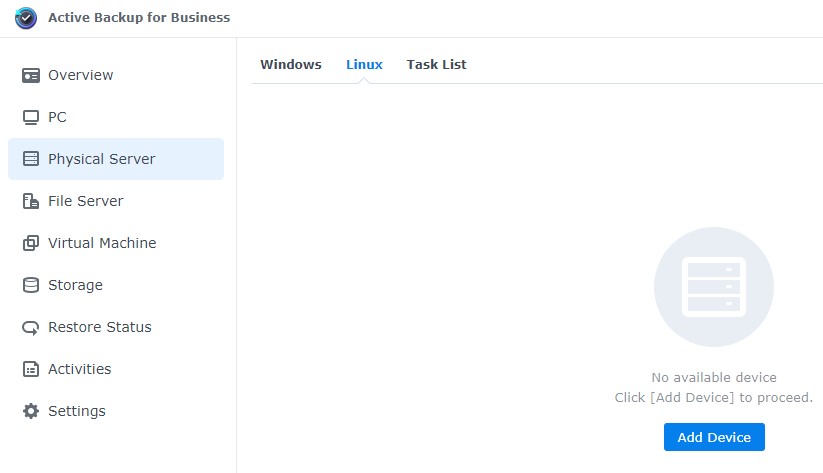
1. Ensure the Active Backup for Business is installed and launch the application.
2. Select Physical Server, then Linux, then select Add Device.
3. Download the correct package (I will be using Debian as I am using Ubuntu). You will have to either do this from the Linux device, or on a different device and then transfer the file to your Linux device.
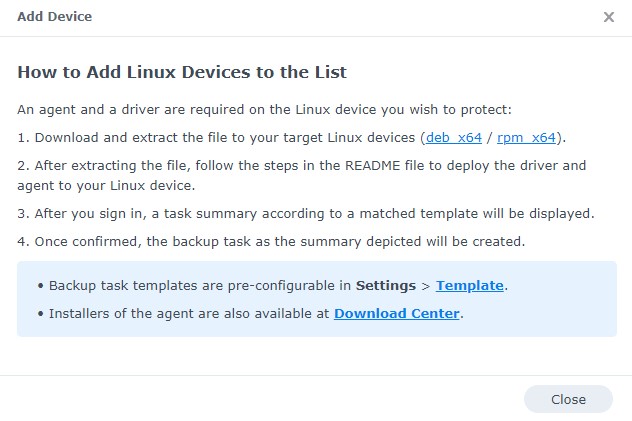
4. Navigate to the folder where the package exists and unzip it. NOTE: If you have multiple files with the name Synology, you might have to use the full name as opposed to the *.
unzip Synology*
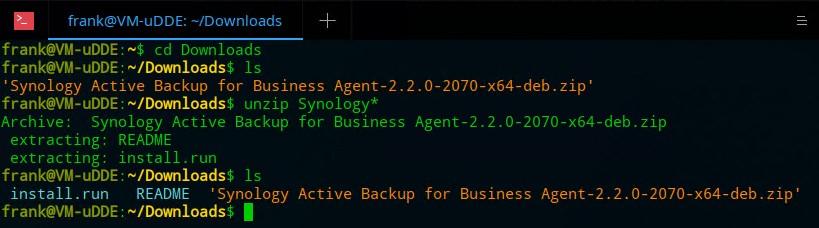
5. Two files will extract – an install.run file and a README. We will install the application by running the install.run file using the command below.
sudo ./install.run

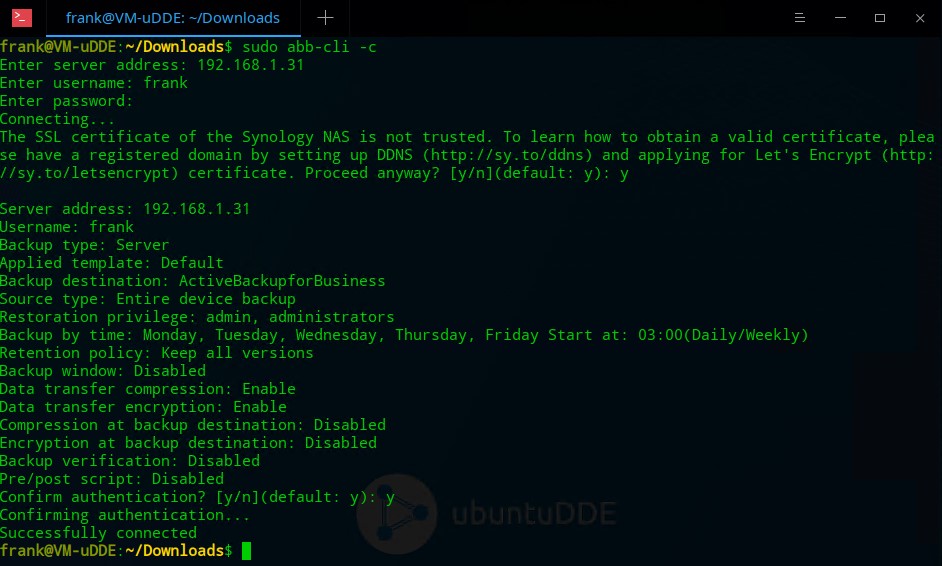
6. After the install finishes, we will need to connect to our Synology NAS. Run the command below to connect to the instance.
sudo abb-cli -c
7. Enter the Server Address, Username and Password. If you receive a message asking you to trust the certificate, proceed if you agree. Confirm the settings and then proceed.
8. If you’d like to see all the commands that you can run using the Active Backup client, you can run the command below. This will list everything out.
sudo abb-cli -h
9. Your device is now connected to Active Backup for Business!
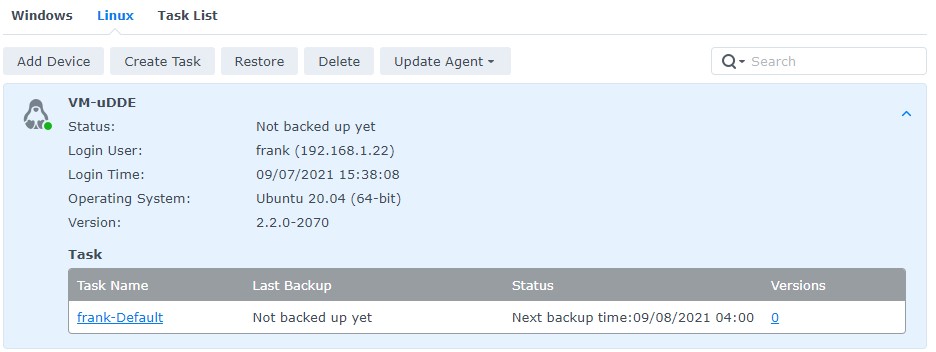
10. You can edit the task for this machine if you’d like to change the settings of this backup. This section is actually very important as you can modify the Name, Schedule, and most importantly, Retention policy. The retention policy determines how many versions of the backup should exist, so if you set it as 7 versions, you will have 7 total backups (generally 7 days worth of backups). You can then start the backup by select Back Up.

11. Your machine will now back up based on the frequency specified!
Conclusion
This tutorial showed how to back up a Linux PC to a Synology NAS using Active Backup for Business. In the YouTube video above, I showed how you can restore some of your files using the Active Backup for Business portal. What I like about Active Backup for Business is its centralized management. Being able to manage all of my machines on one device is superior to managing individual machines, though both are technically options.