Today we are going to look at how to install AdGuard Home on a Raspberry Pi. In our last tutorial, we looked at how to install AdGuard Home on a Synology NAS. If you implemented that, you might be interested in implementing a secondary DNS server using AdGuard Home as well. There are various reasons why implementing a secondary DNS server is important.
If you only have one Raspberry Pi, it might be a good idea to pick up a cheap Raspberry Pi Zero and run a secondary DNS server.
The AdGuard Home Raspberry Pi setup process couldn’t be easier. Ensure that you have Raspberry Pi OS installed and you can SSH into your Raspberry Pi.
How to Install AdGuard Home on a Raspberry Pi
After Raspberry Pi OS has been installed, follow the instructions below to install AdGuard Home.
1. SSH into your Raspberry Pi. When you SSH in, run the commands below. These commands will get the latest version of AdGuard Home, extract the archive and silently install it. The install file is found on the official AdGuard Home github page.
wget https://static.adguard.com/adguardhome/release/AdGuardHome_linux_arm.tar.gz
sudo tar xvf AdGuardHome_linux_arm.tar.gz
cd AdGuardHome
sudo ./AdGuardHome -s install
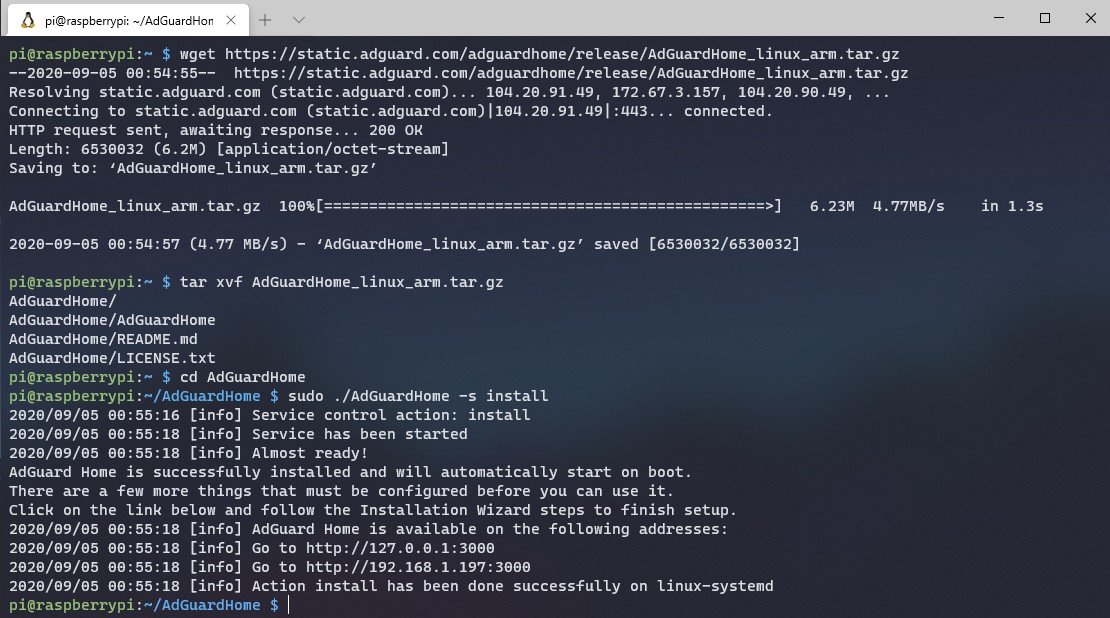
2. That’s it! Access AdGuard Home using the IP address of your Raspberry Pi and port 3000.
http://[IP_ADDRESS]:3000
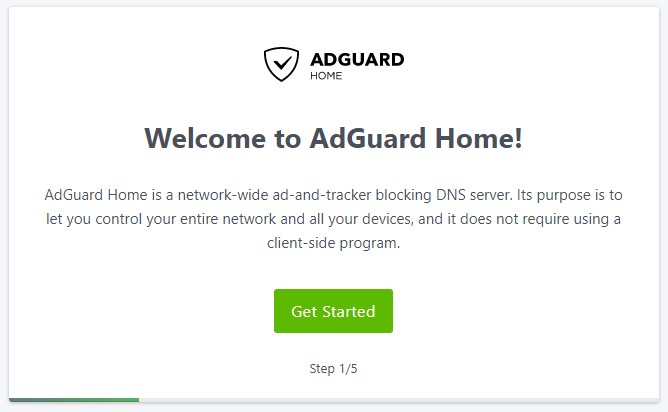
3. Select Get Started to start the configuration process.
4. Change the listen interface to the IP address of your Raspberry Pi.
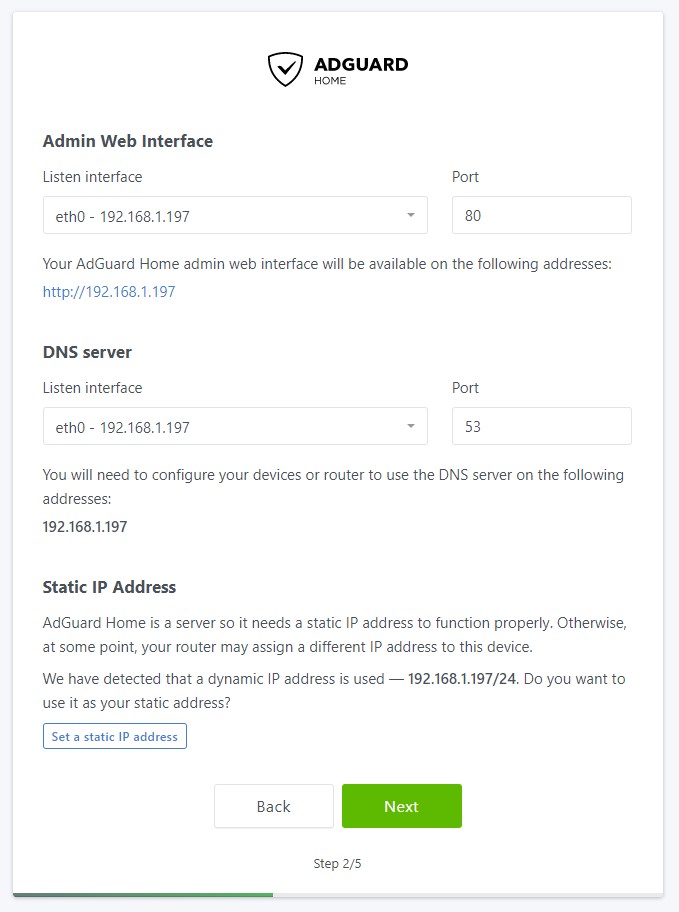
5. If you didn’t assign your Raspberry Pi a static IP address from your router, select Set a static IP address. You will receive a message that AdGuard Home will configure your IP address to be the Raspberry Pi’s static IP address. Select OK. You will now see that the static IP address section has changed.
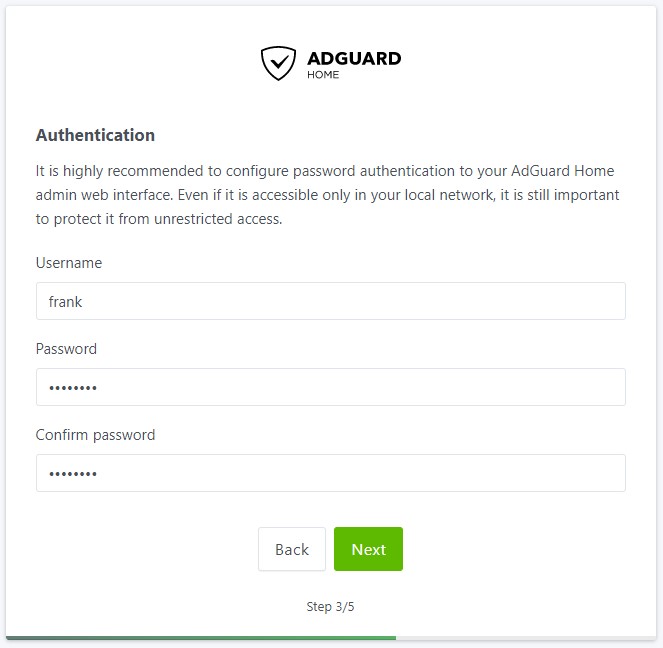
6. Specify a username and password.
7. The next screen will show you how to configure different devices. In the next section, I will go over my preferred approach which is setting AdGuard Home to be my router’s DNS server. If you aren’t interested in doing that, this is a great section to learn how to set up the DNS server on your local device.
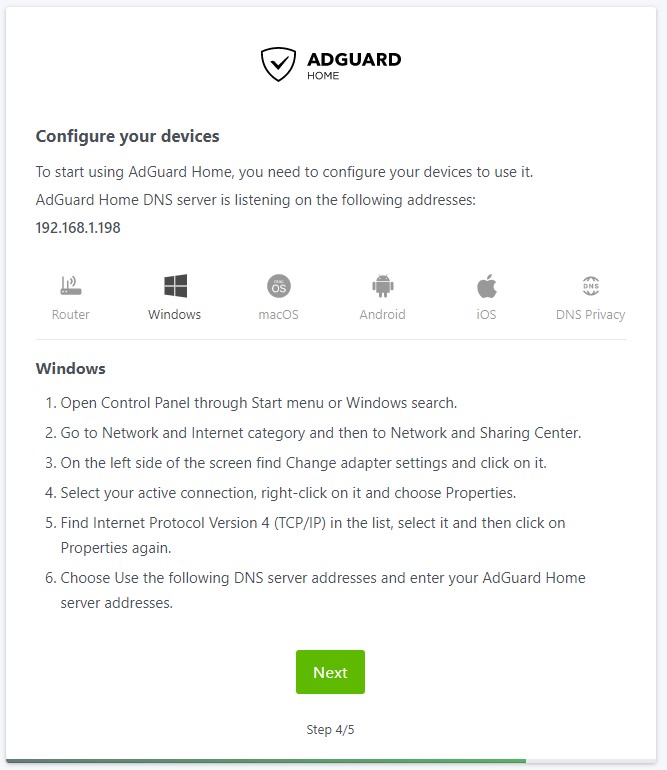
8. Select Next and then Open Dashboard. Sign in when prompted.
9. AdGuard Home is now set up and installed. Please note that you will no longer use port 3000 when navigating to the web portal. After the setup process is complete, you will be able to access to management portal using the IP address only (as it uses port 80).
http://[IP_ADDRESS]
AdGuard Home Raspberry Pi Settings
I’m not going to go into specifics as far as settings go because they’re mostly personal preference, but here are a few things you might want to check right after installation:
- Settings – DNS Settings: These are your upstream DNS servers. By default, the upstream DNS server will be listed as quad9 which is encrypted DNS-over-HTTPS. If you don’t configure a certificate, you will not get the benefits of DNS-over-HTTPS.
- Settings – Encryption Settings: This is where you will configure your certificate if you’d like to enable DNS-over-HTTPS. The AdGuard team has a pretty good tutorial here that will show you how to configure it if you’re interested.
- Settings – General Settings: The majority of settings are somewhat self-explanatory on this page but this is where you can configure logging and query retention.
- Filters – DNS Blocklists: This is where you can add new blocklists (if you’d like to add any).
- Filters – Blocked Service: Quickly block an entire service.
- Filters – DNS Allowlists: Define domains that should not be blocked.
There are plenty of options that you can play around with but these are some of the most important ones right after installation.
DNS Configuration
Now that the setup of AdGuard Home is complete, we need to determine a way to point our clients to our DNS server. There are two main ways to do this:
- Point your router’s DNS server to your AdGuard Home server IP address. This will ensure that any device connected will use AdGuard Home as its DNS server.
- Point each client to your DNS server. This is beneficial if you only want certain clients to use AdGuard Home as a DNS server.
I point my routers DNS servers to my AdGuard Home server as I want to ensure every device connects to it.
NOTE: The 192.168.1.198 IP address below is the IP address of my Synology NAS, as I am using two DNS servers for redundancy. If you are only using your Raspberry Pi, you will only add the IP address of your Raspberry Pi.

Conclusion on Installing AdGuard Home
This tutorial looked at how to install AdGuard Home on a Raspberry Pi. Installing AdGuard Home on a Raspberry Pi is incredibly easy and very powerful. Set it up and you’ll be able to easily block ads or other defined sites on your network.
Thanks for reading the tutorial on how to install AdGuard Home on a Raspberry Pi. If you have any questions on how to install AdGuard Home on a Raspberry Pi, please leave them in the comments!


