In this tutorial, we will look at adding drives to a storage pool on a Synology NAS.
If you would like to expand a storage pool and volume, you must add new hard drives to the existing storage pool. The process is relatively straightforward, but there is a specific process that I’d recommend you follow. The goal is to ensure that the hard drive you’re adding doesn’t have any issues before adding it to the storage pool. This can be accomplished by running a S.M.A.R.T test, so that’s the first thing we will do before looking at adding drives to a storage pool on a Synology NAS.
This process is different than replacing a failed drive. If you would like to replace a failed drive (meaning that the drive is already added to a storage pool, but has failed), please follow this tutorial!
Adding Drives to a Storage Pool on a Synology NAS
We will look at the process of adding drives to a storage pool on a Synology NAS below.
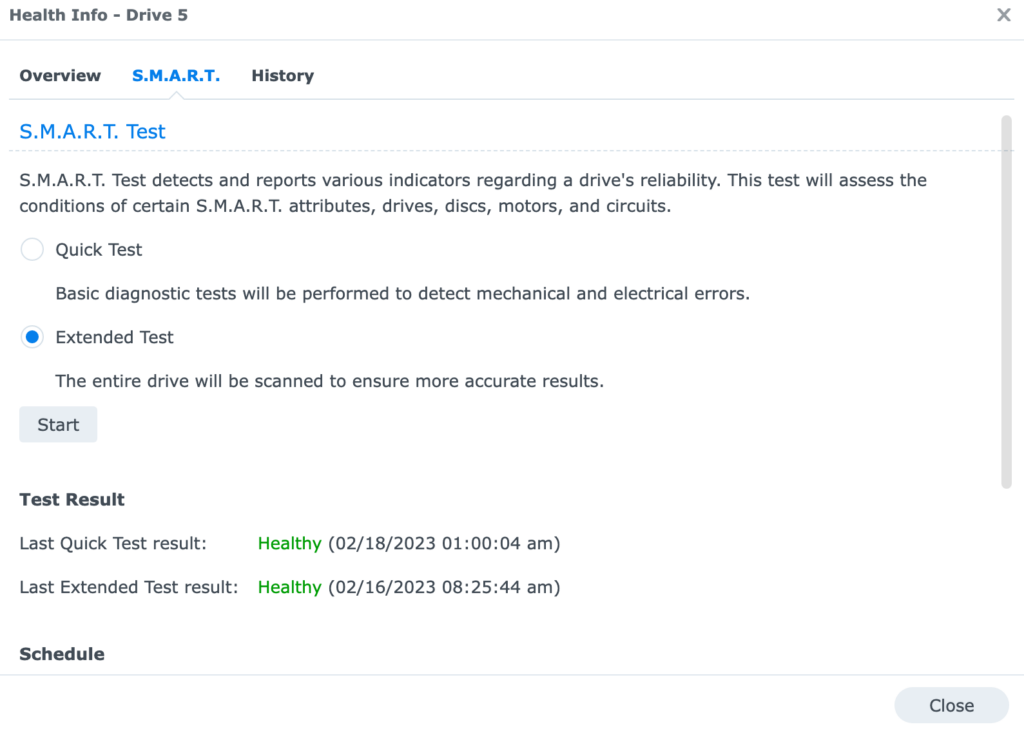
1. As mentioned above, the first thing I’d recommend is running a S.M.A.R.T test on the new hard drive. This will ensure that you won’t be adding a hard drive with bad sectors to the storage pool. If the hard drive does have bad sectors, return it and get a new one.
Open the Storage Manager, select HDD/SSD, highlight the new hard drive, then select Health Info. In the S.M.A.R.T tab, select Extended Test, then Start. The test can take a long time depending on the size of the hard drive. As long as the results show healthy, move on to the next step.
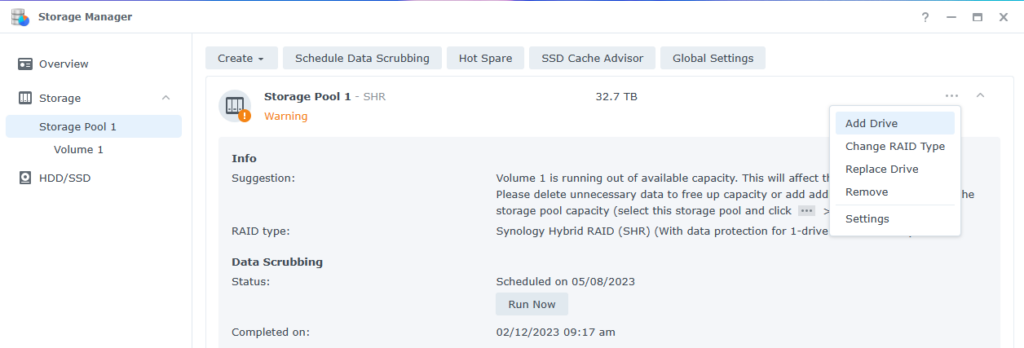
2. Select Storage Pool, then select the three ellipses next to the storage pool you’d like to expand, and finally, Add Drive. If you have multiple storage pools, make sure you select the correct one.
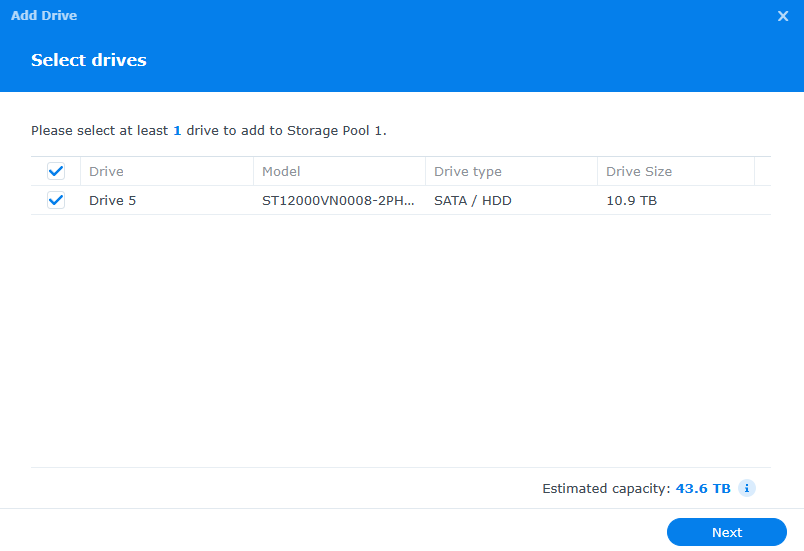
3. Select the drive you’d like to add, then select Next. The estimated capacity after the drive has been added will be displayed in the bottom right.
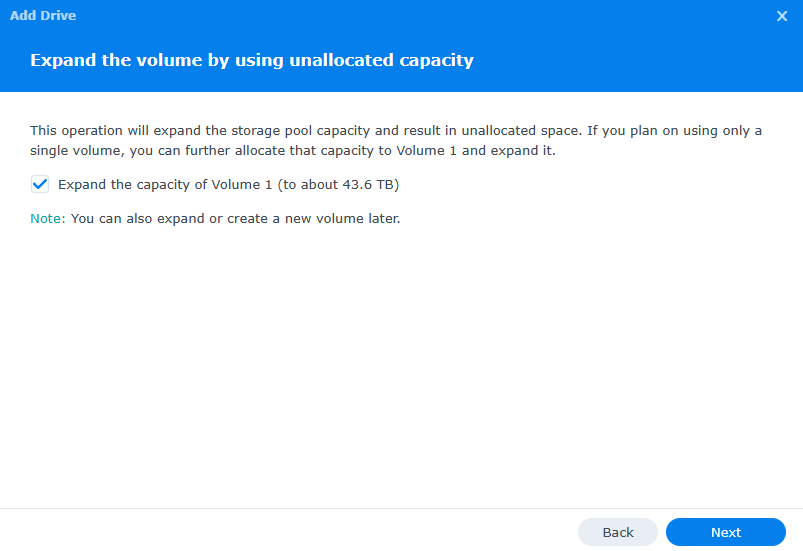
4. The next step will allow you to expand the volume automatically. Please keep in mind that the storage pool must have a volume that has been expanded as well in order to utilize the newly added space.
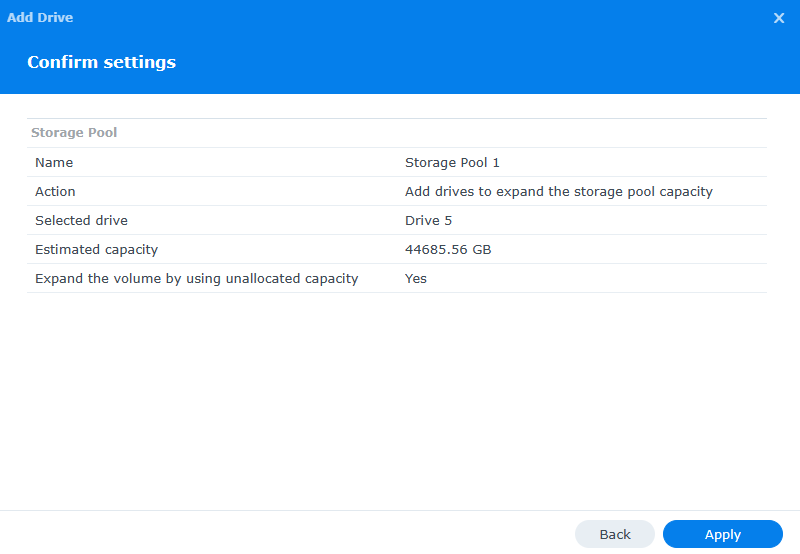
5. Confirm the settings, then select Apply to start expanding the storage pool!
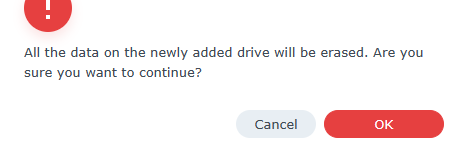
6. The final step before the process will actually begin is to confirm that all data on the drive will be erased. If you had anything important on it, make sure that you remove it before proceeding.
7. The storage pool will begin to expand! This process can take a long time depending on many factors, but if you simply leave the NAS running in the background, the storage pool and volume will expand!

Conclusion: Adding Drives to a Storage Pool on a Synology NAS
This tutorial looked at adding drives to a storage pool on a Synology NAS. Overall, you may have to go through this process a few times if your NAS has multiple bays and you only have a few of them populated with hard drives. The time that it takes to expand the pool will depend on various factors, but it’s safe to say that the process generally takes 12-24 hours for most people. With that said, the process can take significantly longer (even a few days) for larger storage pools.