Today we are going to look at how to setup Heimdall on a Synology NAS using Docker.
Heimdall is an awesome little tool that will allow you to create a nice dashboard to access all of your home lab services or webpages. After it’s set up, you simply add a new service, enter the information and a new “service” will appear on your dashboard. From there, you can either navigate to this page to access all of your services or set it as your homepage.
There are different options that you can set up (accounts, background options, etc.), and it functions relatively well on a Synology NAS.
1. Instructions – How to Setup Heimdall on a Synology NAS
1. Ensure that the Docker package is installed on your Synology NAS.
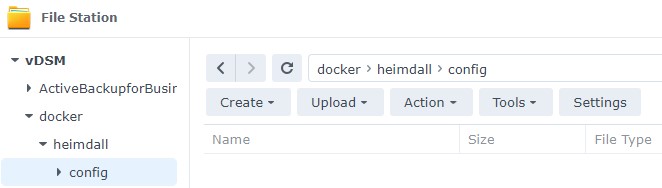
2. Create a subfolder under the Docker folder named Heimdall, then create a subfolder inside of that folder named config. We will use this folder at a later step to map our configuration files.
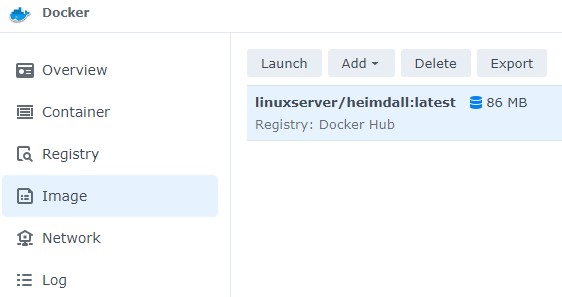
3. Launch Docker and download the linuxserver/Heimdall image from the Registry.

4. When it’s done downloading, double-click the Image to launch the configuration.
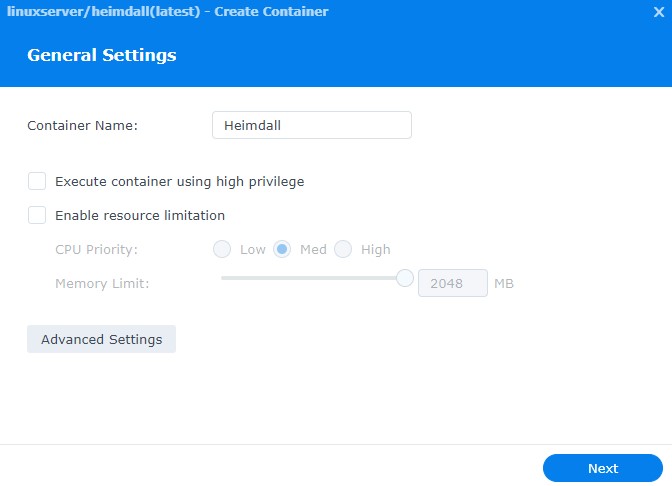
5. Give the container a Name, then select Advanced Settings.
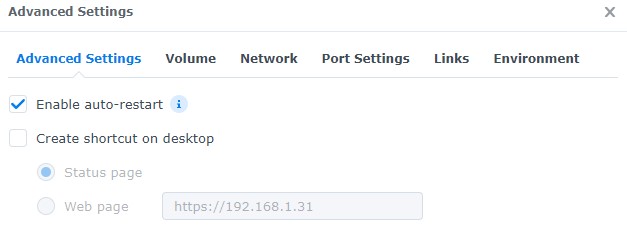
6. Select Enable auto-restart, then select Volume.
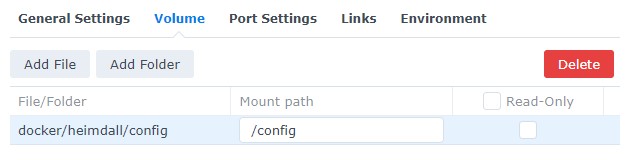
7. Select Add Folder, then map the folder that we created earlier to the /config mount path. Keep in mind that this is the folder that will contain all of your personal data. Therefore, if you’d like to back up your data, you will need to back up this folder using a tool like Hyper Backup.
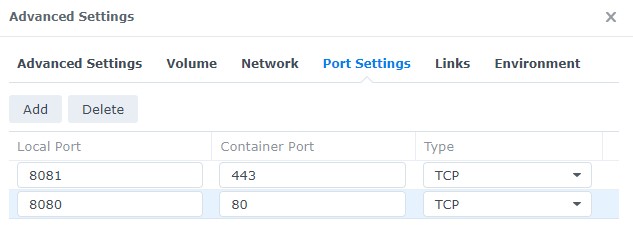
8. In the Port Settings section, change the Auto port for 443 to 8081 and the Auto port for 80 to 8080. NOTE: If you are using these ports for anything else on your Synology NAS, you will have to use different ports.
9. Select Next and then create the container. Give the container about five minutes, and then stop the container and restart it. This step was necessary for me, as Heimdall would not be accessible until the container was restarted. If you’d like to try it before restarting, you can, but this was my experience.
10. After the container has been restarted, navigate to the IP address of your Synology NAS and port 8080.
http://SYNOLOGY_NAS_IP:8080
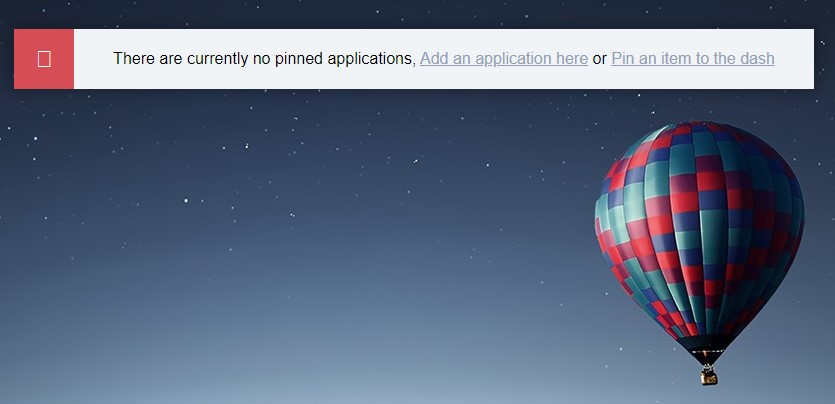
11. When the webpage loads, you can now configure it! Select add an application here to add whatever service you’d like.
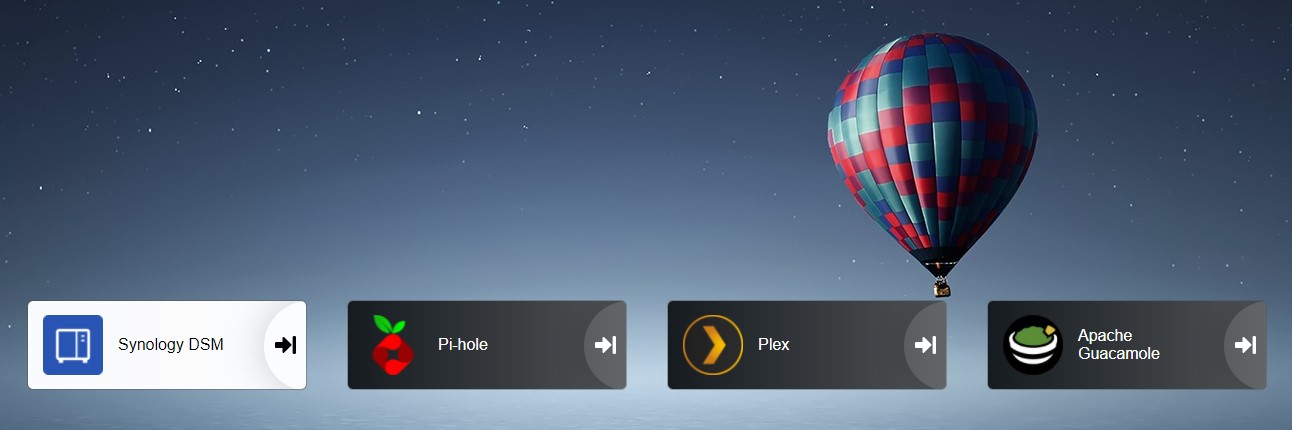
12. When you’re done adding all your services, you will have a dashboard that will automatically connect you to all of your services! At this point, you can also add an administrator account password if you’d like (select the person icon in the bottom right).
2. Conclusion
This tutorial showed how to setup Heimdall on a Synology NAS. If you’re running a bunch of different services from your local network (doesn’t necessarily have to be on your NAS), this is an awesome tool to manage them all. It’s very customizable, easy to set up, and can look pretty cool when you’re done configuring it!
The video tutorial has a few additional settings that are no shown here. They include setting up an administrator login and password, changing the background, and configuring a few other settings. If you’d like to see any of those, please skip to the middle of the YouTube video at the top of this screen. Please keep in mind that none of this is necessary, but Heimdall allows you to take it one step further and change these settings if you’d like.
Thanks for checking out the tutorial. If you have any questions, feel free to leave them in the comments!