In this tutorial, we will look at how to view system logs on a Synology NAS. This will ensure that you can assess potential issues happening on your Synology NAS and determine the resolution.
No matter what operating system or application you’re using, the logs that are produced are the most important item to access when troubleshooting an issue. This ensures that at a minimum, the basic troubleshooting information required to find and diagnose an issue is accessible. On a Synology NAS, there are a few different locations to access logs.
How to View System Logs on a Synology NAS
We will look at how to view system logs on a Synology NAS below, but as mentioned above, there are a few different locations to view this information. For this reason, you might have to use a combination of all options below.
Log Center
The first location where you can view logs for a Synology NAS is in the log center. The log center provides fairly general information, meaning that more verbose logs may be required to troubleshoot the issue that you’re experiencing.
With that said, using the Log Center is the first place to check as it’s easy to get to and use, and might provide the information that you’re looking for.
1. To access the Log Center, log in to Synology DSM, select the Main Menu, then open the Log Center.

2. Select the Logs menu option.
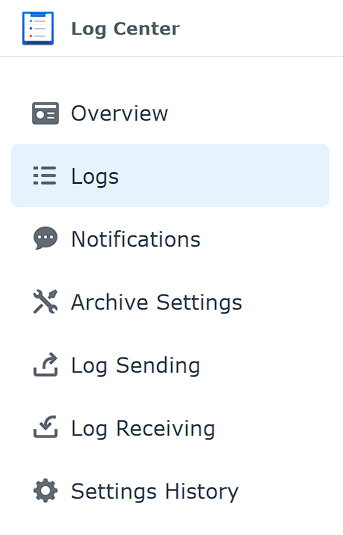
3. At this point, all of the logs will be accessible and you’ll be able to change between General, Connection, File Transfer, and Drives logs.

4. As mentioned above, these are fairly generic logs. While you should certainly start here, if you can’t find the correct logs that you’re looking for, move on to the next section below to generate logs using the Support Center.
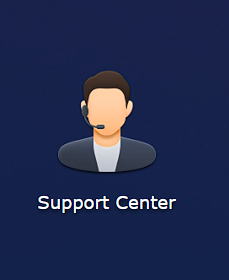
Support Center Log Generation and Viewing
While using the Log Center should be the first step that most users take, you can generate more verbose logs in DSM 7 by following the steps below and using the Support Center.
1. Open the Main Menu, then select Support Center.
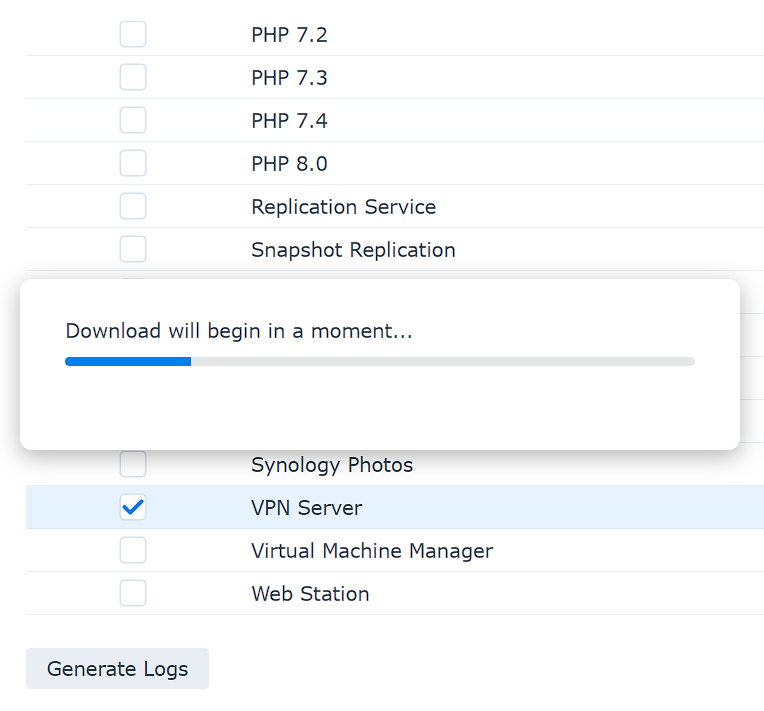
2. Select Support Services and scroll down to the Log Generation section. In this section, there will be a bunch of applications (based on what you have installed) listed. You can select the log(s) that you’d like to generate, then select Generate Logs at the bottom.
Wait a few minutes (this can take some time), and the logs will automatically begin to download in your browser window.
3. When the logs are generated and downloaded, they will be in a .dat file extension. You cannot open this type of file on Windows or Mac and view it, however, you can extract it using an extraction tool like 7-Zip on Windows.
NOTE: 7-Zip doesn’t work on MacOS and I was not able to find a suitable replacement.
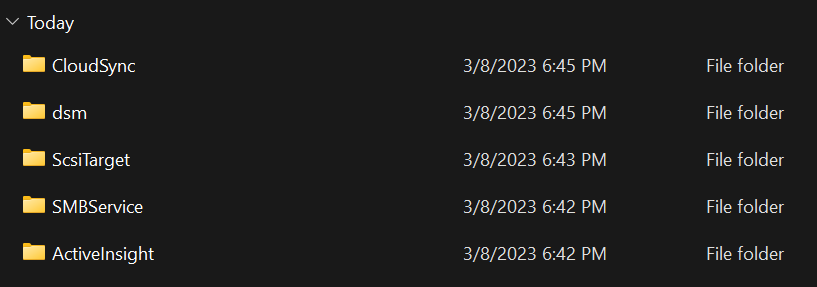
4. If you navigate through the folders listed, you should find all different types of log files. Most helpful logs will be in the location listed below with the file name messages, though any of the files can potentially provide the information you need.
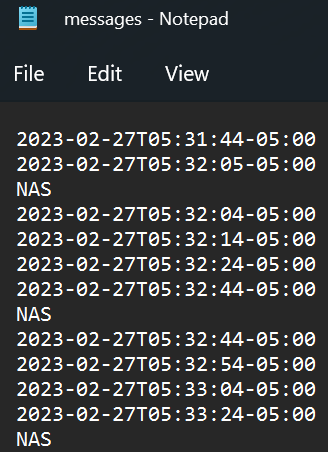
/[APPLICATION]/var/log5. If you open the messages file with a text editor, you’ll be able to view the log information. Please keep in mind that there’s a chance that the log information needed is located somewhere else in the file.
Terminal Logs – How to View System Logs on a Synology NAS
Similar to the process above using the Support Center, you can view the same logs through the command-line interface by using SSH to access your NAS. From there, you can navigate through the file system to access logs.
1. Running the command below will bring you to a bunch of logs that can be viewed.
cd /var/log2. From there, you can run the command below to view the log.
cat [FILENAME]Please keep in mind that it’s not particularly dangerous to simply navigate through the file system and view log files, but there are certainly risks while using SSH on a Synology NAS, so be careful.
If you’re not comfortable with the command-line interface, use the Support Center option above.
Conclusion: How to View System Logs on a Synology NAS
This tutorial looked at how to view system logs on a Synology NAS. For most people, this is the first step that should be taken when troubleshooting an issue as the logs can point you in the right direction, or even tell you exactly what is wrong so that you can fix it. I would recommend following the steps above, meaning Log Center first, Support Center second, then the command-line interface if necessary, but any option above will work.