In this tutorial, we will look at how to view SMART results in TrueNAS.
When you run any type of NAS operating system, it’s a good idea to set up SMART tests for your hard drives. S.M.A.R.T stands for Self-Monitoring, Analysis, and Reporting Technology, and is a way to detect and report different indicators of drive reliability.
Setting up SMART tests in TrueNAS is something that every user should do. In this tutorial, we will look at how to set up SMART tests, how to view the results of those tests, then how to set up email alerts (if desired).
The tutorial below will look at how to view SMART results in TrueNAS using TrueNAS Scale. The process will be extremely similar for TrueNAS Core.
1. How to Set Up SMART Tests in TrueNAS
Before looking at how to view SMART results in TrueNAS, we will look at how to set up SMART tests. Skip to step two below if you’ve already set these up.
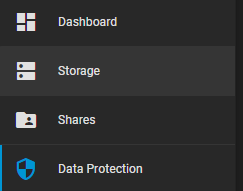
1. Select Data Protection on the left side.
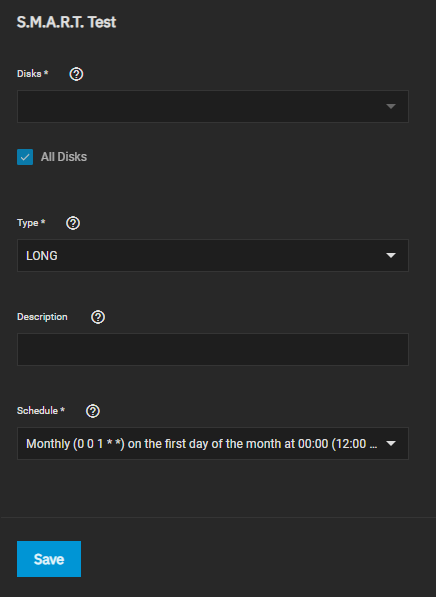
2. In the bottom right, you’ll see SMART Tests. Select Add.

3. Select All Disks, then change the Type to SHORT or LONG. Pick a Schedule, then Save.
NOTE: You can create multiple tests if you’d like, meaning that you can configure a Monthly LONG test and a daily SHORT test if desired.
4. Your SMART Test will now run based on the schedule you configured!
2. How to View SMART Results in TrueNAS
Now that you configured your SMART test, you’ll have to wait for it to actually run. After it’s run, you’ll only be notified if the test result failed, meaning that there was a problem with one of your drives.
If any of your hard drives don’t have an error, you will NOT receive any notification in the TrueNAS GUI.
2.1 How to View SMART Results in TrueNAS using the CLI
While we can’t view SMART results in the TrueNAS GUI, you can view them from the TrueNAS Shell (CLI) if you’d like.
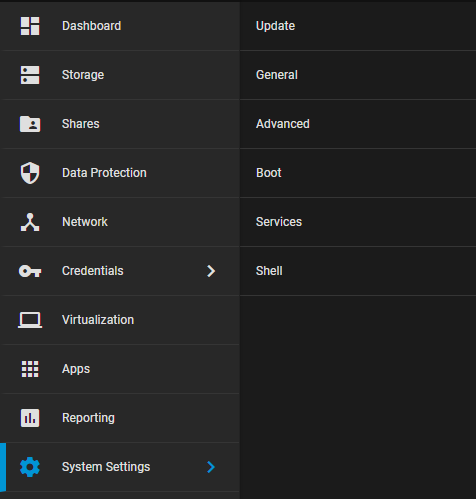
1. Select System Settings then Shell.
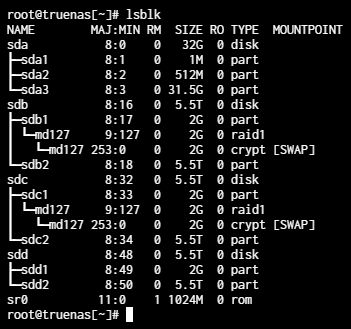
2. Run the command below to get all of your hard drive names.
lsblk
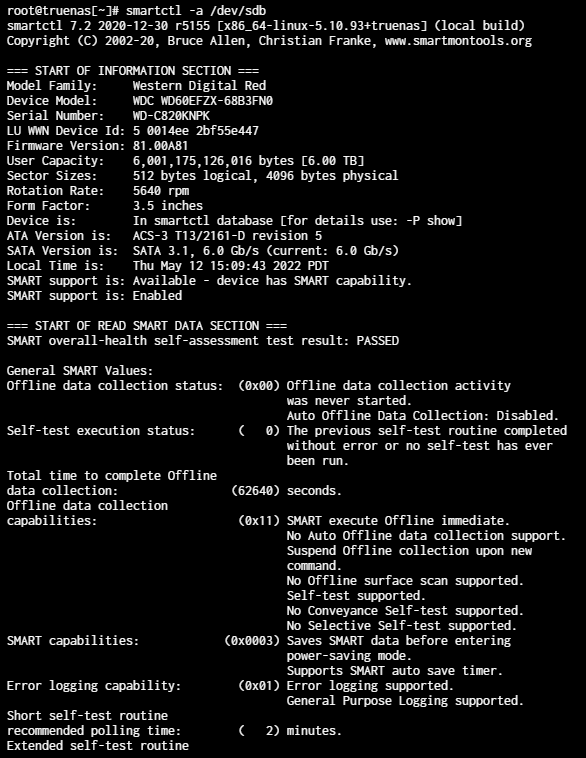
3. After you retrieve the hard drive names, you’ll be able to run the command below to get the SMART results for a specific hard drive. You’ll have to substitute the Name.
smartctl -a /dev/[NAME]
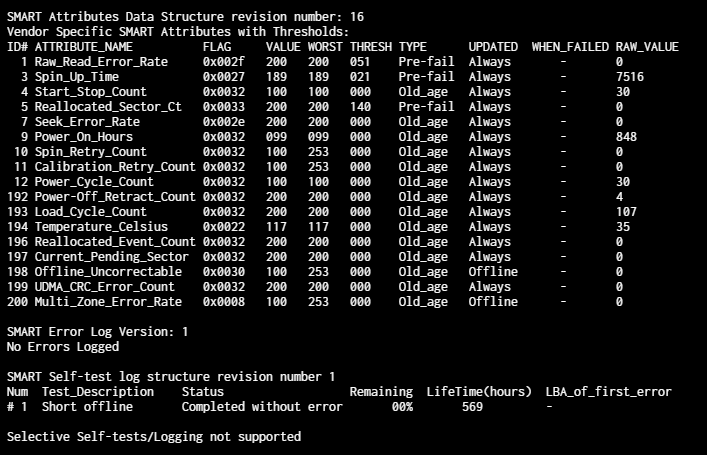
4. If you look through the results, you should see a result at the bottom saying No Errors Logged.
5. Please keep in mind that if the SMART test returns an error, you should receive a message through the TrueNAS GUI and do not have to use the process above.
This should only be used if you’re interested in manually looking at the results.
2.2 Email Alerts
If you are worried about not receiving the SMART test results (in the case of an error), you can enable email alerts.
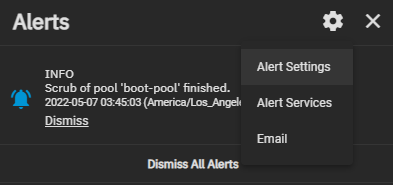
1. Select the bell icon in the top right.

2. Select the Gear in the top right, then select Email.
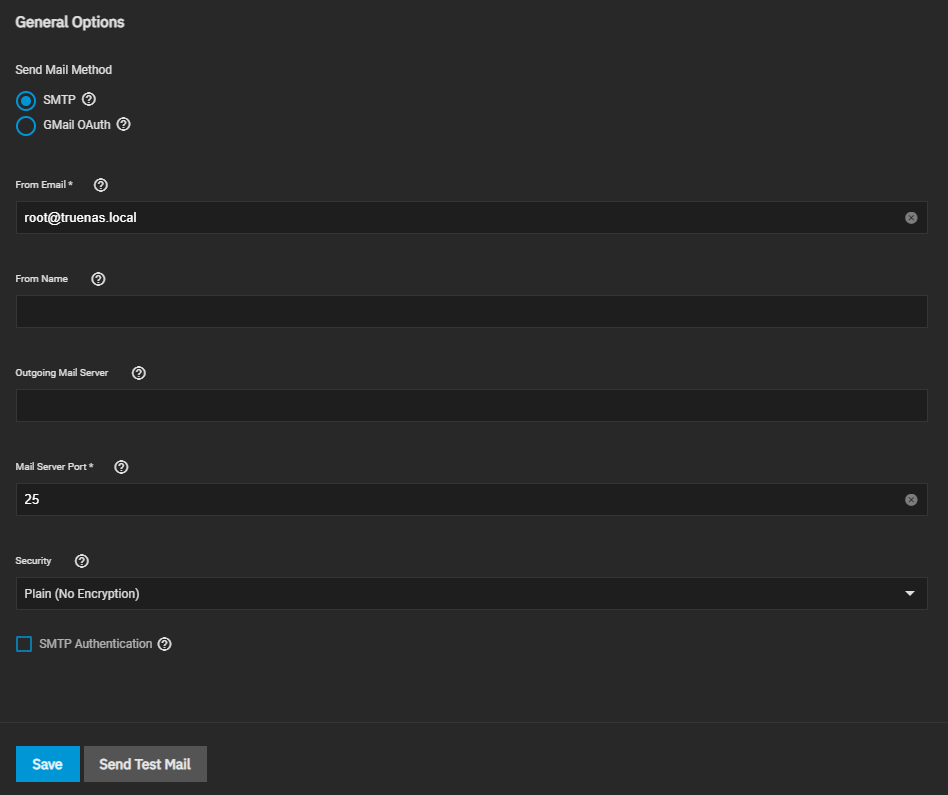
3. Configure the SMTP settings or use GMail oAuth (this will differ for everyone). When you finish configuring it, make you send a test email to make sure everything works as expected.
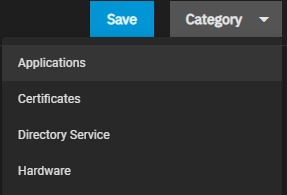
4. Finally, check the Alert settings by selecting the Alert Settings.
5. Change the Category to Hardware.
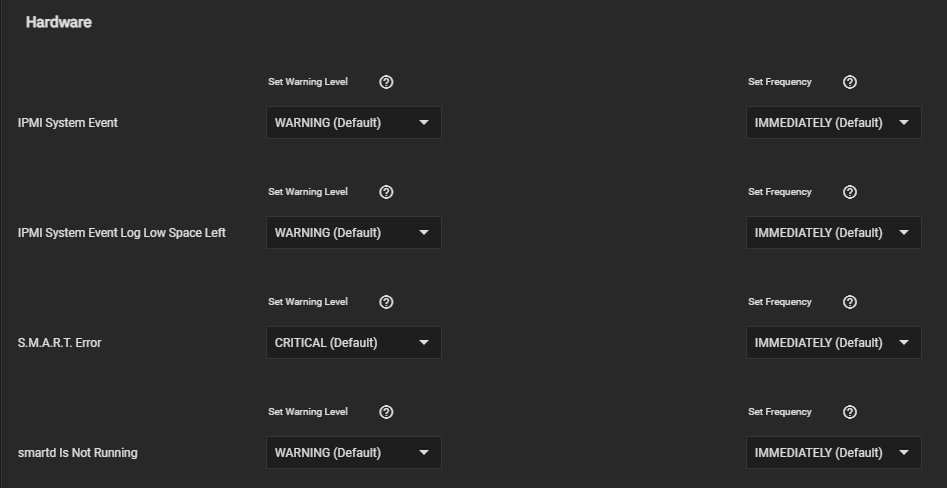
6. Confirm that S.M.A.R.T Error is set to Immediately. As long as your email settings are configured properly, you’ll receive an email immediately if any errors are reported.
NOTE: You can change the warning level of the email if desired.
3. Conclusion
This tutorial looked at how to view SMART results in TrueNAS. This is something that every TrueNAS user should have set up. Whether your drive is about to fail or simply receives its first error, it’s important to know so that you can plan ahead.
Thanks so much for checking out the tutorial on how to view SMART results in TrueNAS. Also, feel free to check out our other tutorials!