In this tutorial, we will look at how to set up WireGuard on TrueNAS Scale.
WireGuard is a fast and lightweight VPN protocol that is incredibly easy to set up on TrueNAS. After setting up the WireGuard-Easy (WG-Easy) application (which runs in Docker), you can complete the port forwarding, configure a new client, then modify the client settings and everything should work as expected.
In comparison to running WireGuard on pfSense or OPNsense, it’s significantly easier. However, I will admit that I prefer running WireGuard on my router (but that’s not an option for everyone).
How to Set Up WireGuard on TrueNAS Scale
The process below will explain how to set up WireGuad on TrueNAS Scale.
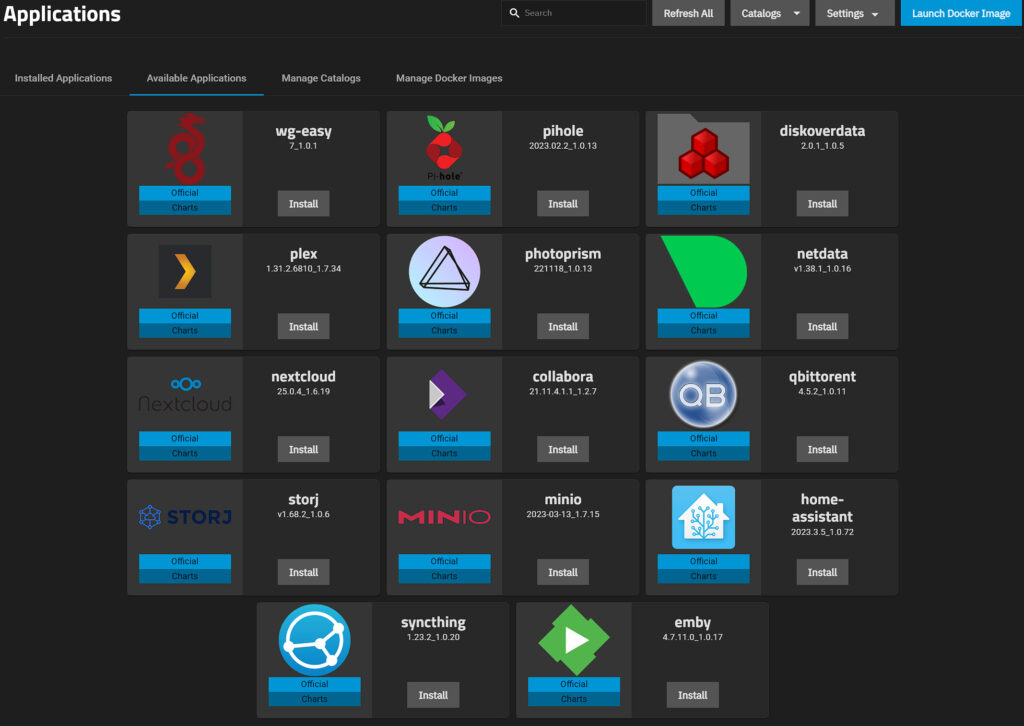
1. Select Apps, then install the wg-easy application. This will install the WireGuard Docker package for WireGuard-Easy.
2. Almost all of the settings can stay as default, however, there are a few that we will modify.
- Set the default Web GUI password in the Password for WebUI field.
- Modify the IP keep-alive settings, IP range, or DNS server. These can stay as default, but if you’d like to modify them, this is where you can.
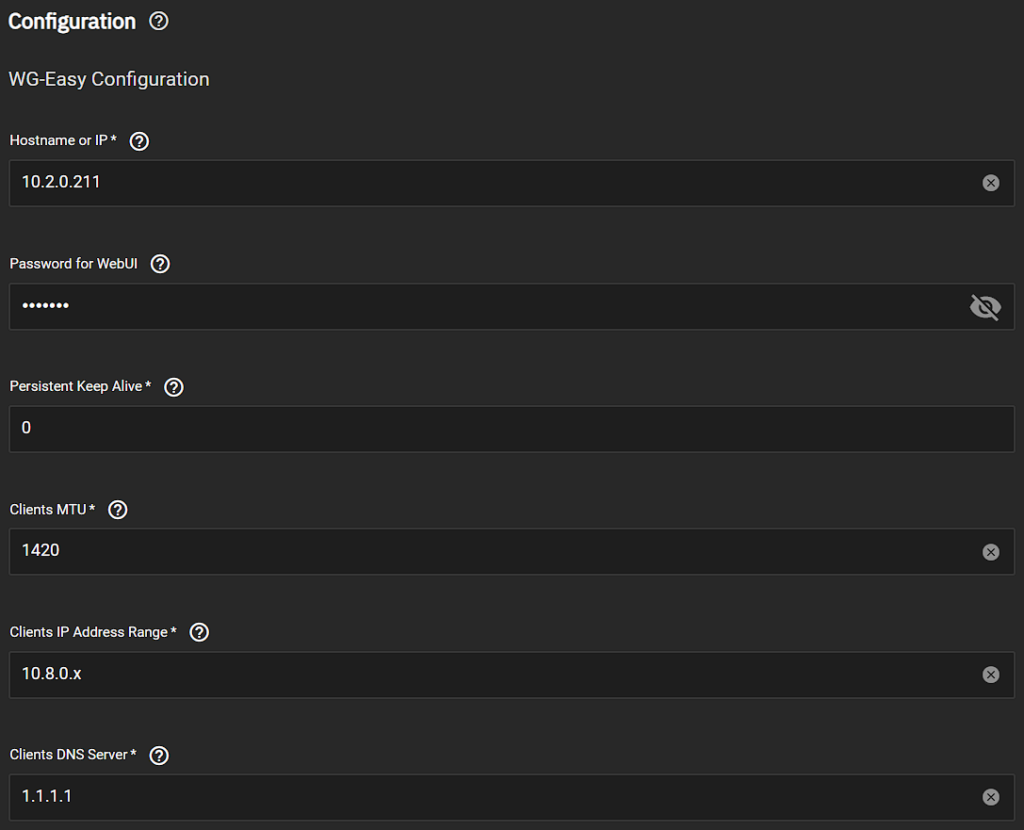
- In the networking section, set the UDP port for WireGuard and the WebUI. This may be different than what’s displayed below, but the default WireGuard port is 51820. You can set the WebUI port to be whatever you’d like.

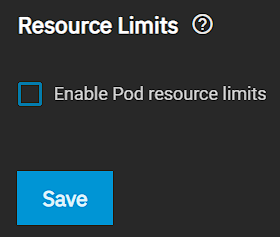
3. Select Save to create the container.
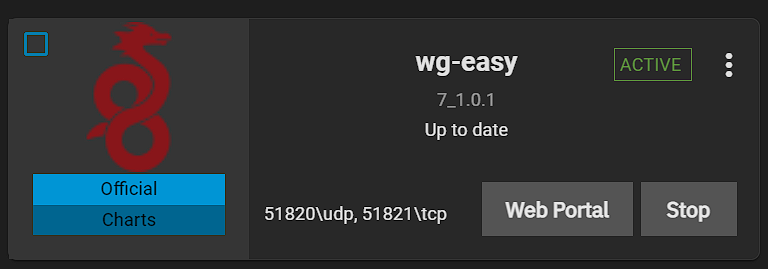
4. The container will now download and install! When it’s done deploying, move on to the port forwarding section.
Port Forwarding – How to Set Up WireGuard on TrueNAS Scale
Since the WireGuard container will be hosted on the TrueNAS server, we must port forward UDP port 51820 to the TrueNAS server (if you’re using the default port). Port forwarding will be completely different on every brand’s router settings page.
This is a great guide that shows how to port forward on a few different brands of routers, but the best thing to do is try and google the name of your router and port forwarding. Example: Netgear port forwarding
- Create a port forwarding rule for UDP port 51820 to your TrueNAS server’s IP address. In the example below, 10.2.0.247 will be the IP address of your TrueNAS server (mine is 10.2.0.211 if you’re following the screenshots above, but I am using a screenshot from my Unraid tutorial).
NOTE: If you changed the port number to something different than 51820, make sure you use that port number.

Client Configuration – How to Set Up WireGuard on TrueNAS Scale
Now that the container is created and the port forwarding is complete, we can create a client. Creating a client using the WireGuard-Easy container is incredibly easy. However, there are some modifications that we’ll make.
1. After the container is started, access it by navigating to the IP address of your TrueNAS server and port 51821 (unless you used a different port). Then, log in with the password you defined in the last step.
http://TRUENAS_IP:51821
2. Select New Client to create a new client.
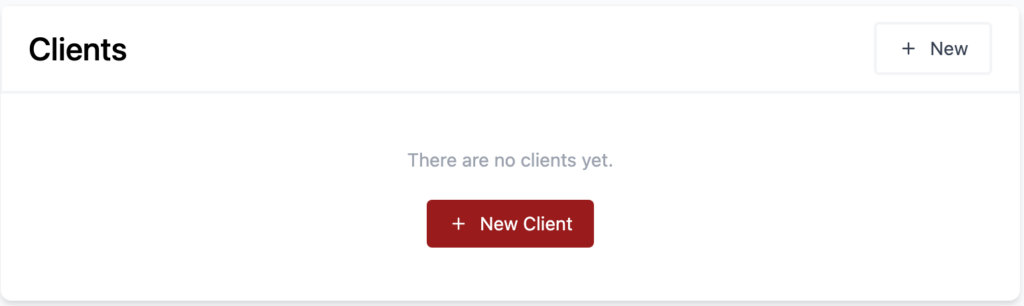
3. Enter a name for the client, then select create.

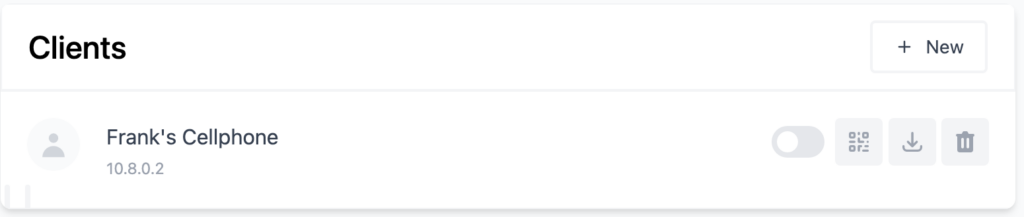
4. At this point, the client is technically created. However, we will make some modifications before attempting to connect. Depending on which device you’ll be connecting with, either download the configuration file or scan the QR code (generally done with the mobile app).
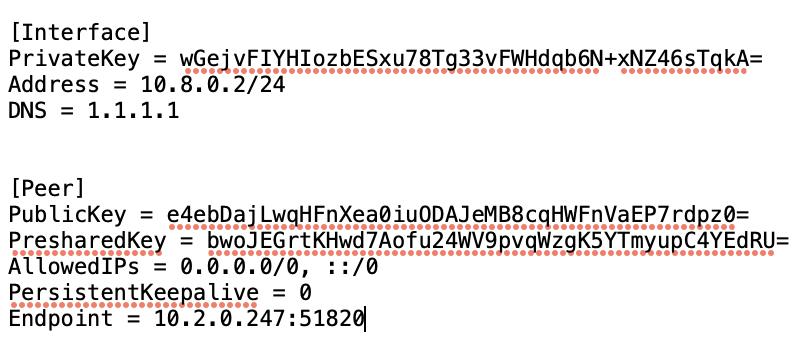
Configuration File Example
Scanned QR Code Example (Android WireGuard Application)
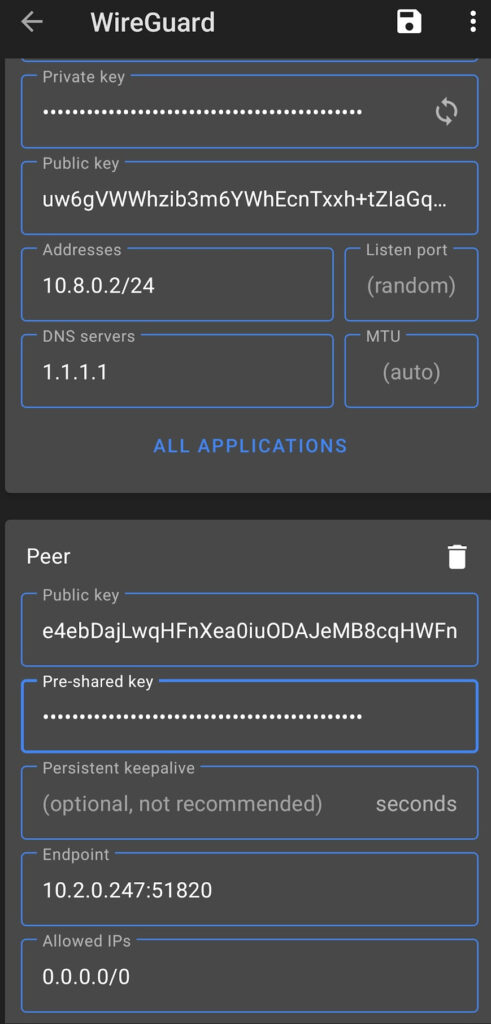
The first modification that must be made is to the Endpoint. If you have a static external IP address, you’ll have to change the TrueNAS server’s IP address to your static external IP address.
STATIC_IP:51820
However, if you have a dynamic IP address (most people do), you’ll have to modify the endpoint to be your DDNS hostname and port 51820.
DDNS_HOSTNAME:51820
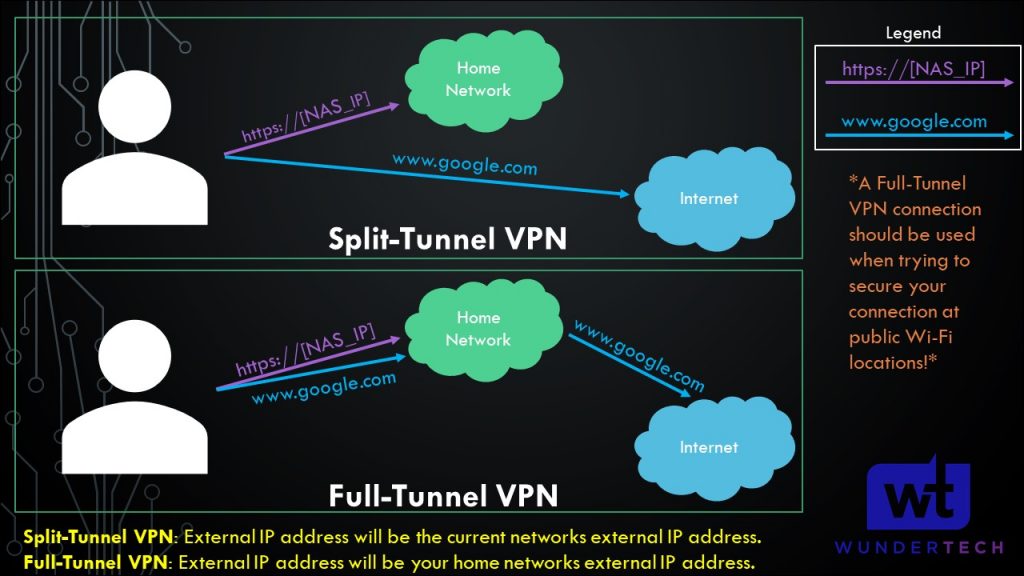
5. The next modification that must be made is to the AllowedIPs section. There are two types of VPNs that you can set up – split tunnel and full tunnel.
- Split-Tunnel VPN: Traffic is only sent through your network if it is attempting to access an internal resource. Your IP address when navigating to a site outside of your network will be the IP address of the network that you are currently on.
- Full-Tunnel VPN: All traffic is sent through your VPN tunnel. Your IP address for internal and external requests will be the network that WireGuard is set up on. I created a very basic image below that explains this.
It’s important to understand that both VPN types will allow you to access your local network. This only shows how traffic is routed differently to external networks.
NOTE: This is not the exact network flow. I am simplifying the process as much as I can.
Depending on which type of VPN you’d like to use (you can technically create one for both), modify the AllowedIPs parameter to reflect that.
- For a full tunnel VPN, set the AllowedIPs as 0.0.0.0/0.
- For a split tunnel VPN, set the AllowedIPs to be your local subnet or any subnets that you’d like this VPN tunnel to be able to access.
- For the example I am using above, I’d set the AllowedIPs as 10.2.0.0/24 so that the VPN can access everything on that subnet.
6. You should now be able to connect if you are on an external network! Depending on the type of VPN you set up, you’ll either have all traffic routing through the VPN (full tunnel) or only the local subnets you defined (split tunnel).
Conclusion: How to Set Up WireGuard on TrueNAS Scale
This tutorial looked at how to set up WireGuard on TrueNAS Scale. It’s very easy to get WireGuard working on TrueNAS Scale thanks to WireGuard-Easy. It’s also great to manage peers using the web client as it simplifies the process and only forces you to do the necessary steps.
WireGuard is my favorite VPN protocol and is gaining tons of popularity as the years go on. If you’d rather run WireGuard on another device, please check out some of our other WireGuard tutorials.