Today we are going to take a look at how to set up Emby on a Synology NAS. Emby is a home media server that will allow you to stream your digital media to client devices. When running Emby on a Synology NAS, I prefer running it using Docker.
Emby is a great alternative to Plex and is the platform that Jellyfin was forked off of before Emby changed to closed-source. If you’d prefer using an open-sourced media tool, please check out my tutorial on Jellyfin!
Before you get started, make sure your media is stored on your Synology NAS.
How to Set Up Emby on a Synology NAS
1. Open Synology’s Package Center and search for Emby, then install it.

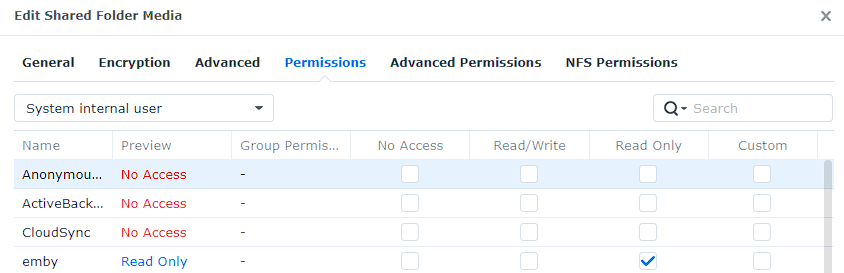
2. Open the folder that is storing all of your media (you might have multiple). You’ll have to do this from the control panel, then select Permissions on the folder. Select System Internal User and ensure that the emby user has read-only permission to your media.
NOTE: You’ll have to do this for each media folder.
3. Navigate to the IP address of your Synology NAS and port 8096 to launch Emby.
http://[SYNOLOGY_NAS_IP]:8096
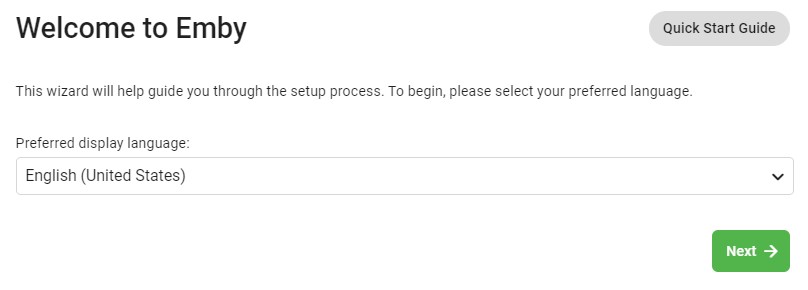
Emby Configuration
1. Select your preferred language and proceed.
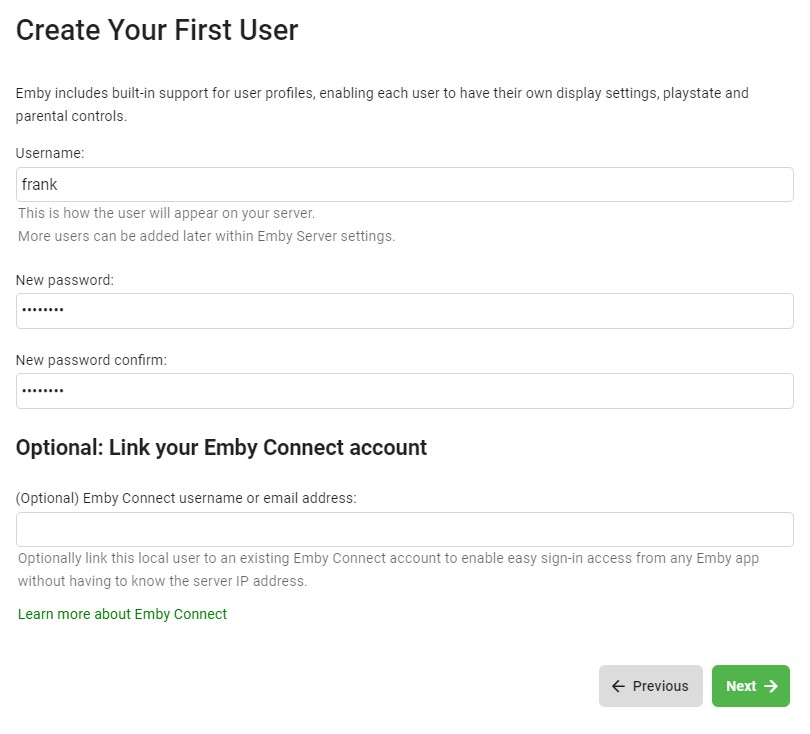
2. Create your user account.
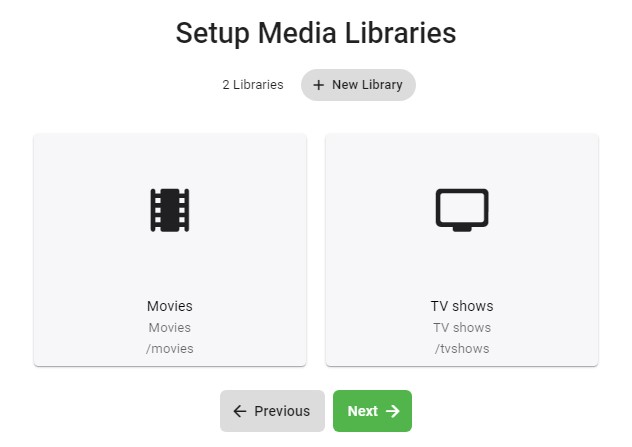
3. Select your Content Type, then add folders for each content type (where we gave permission earlier).
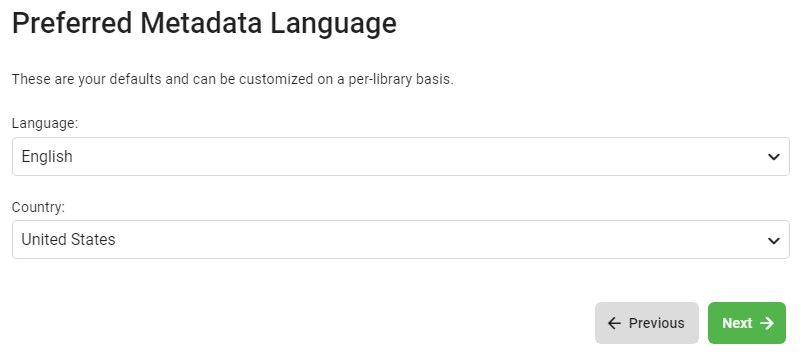
4. Select your Metadata language.
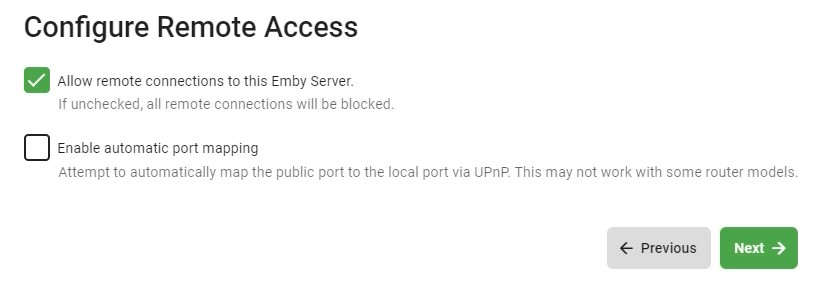
5. Configure Remote Access as you’d like.
6. Accept the Terms of Service, then Finish! You will be able to login using the username and password you defined, and your media library will start to sync!
Conclusion – How to Set Up Emby on a Synology NAS
This tutorial took a look at how to set up Emby on a Synology NAS. Your media files will now slowly start to crawl in all of the metadata. If you’ve watched my last tutorial on Jellyfin, Emby will look and function very similarly since they have a close relationship.