I’ve been running Plex on a Synology NAS for years, and the question I get asked most often is whether to use the Plex package from the Package Center or run Plex in Docker. The honest answer is that both work, but they solve different problems, and which one is right for you comes down to one specific question that we’ll cover below.
This guide walks through both methods. The Package Center install is the faster path and what most users should pick. The Docker method is what you want if hardware transcoding matters to you, or if you already manage everything else in Docker and want Plex in the same place.
Should You Use the Plex Package or Docker?
The decision really comes down to hardware transcoding. The Plex package on a Synology NAS does not support hardware transcoding, which means if you’re streaming media that needs to be transcoded (different format, lower quality for bandwidth, etc.), the CPU has to do all of the work. On most Plus series devices, that’s fine for one or two streams. Beyond that, you’ll start to see buffering or quality drops.
Docker is the only way to get hardware transcoding working on a Synology NAS, and it only works on devices with an Intel CPU that supports QuickSync. Any Ryzen-based Synology will not support hardware acceleration regardless of which method you use, so the package is the right call for those devices.
Use the Plex package if:
- You want the easiest setup with minimal ongoing maintenance
- You’re running a Ryzen-based Synology NAS (no hardware transcoding support either way)
- You don’t transcode often, or you only have one or two simultaneous streams
- You don’t already use Docker for other applications
Use Docker if:
- You have an Intel-based Synology and want hardware transcoding
- You’re running multiple simultaneous transcoded streams
- You already use Docker for other containers and want Plex in the same place
- You want more control over the version of Plex you’re running
If you’re not sure, start with the package. It’s faster to set up, and you can always switch to Docker later if hardware transcoding becomes important. Both methods read from the same media folders, so the migration isn’t disruptive if you decide to change your mind.
Video on How to Install Plex on a Synology NAS
The video below walks through the Package Center install. The written instructions follow, and the Docker method is covered further down.
Method 1: Installing Plex with the Synology Package Center
This is the easiest install method and works on every Synology NAS that supports Plex. Hardware acceleration is not available with this method, but for most users, that’s not a problem.
Step 1: Installing Plex in the Synology Package Center
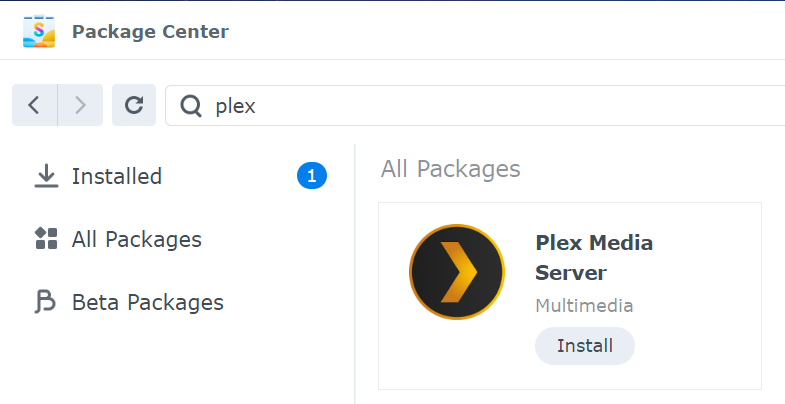
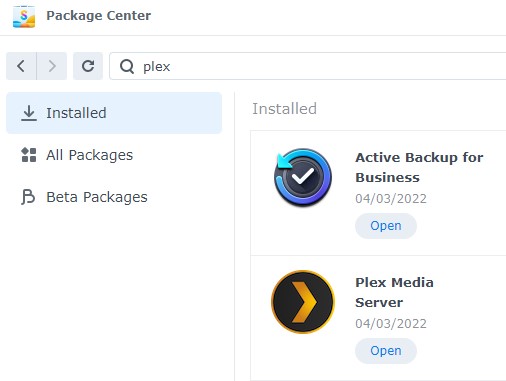
1. Navigate to the Package Center, then search for Plex and install it. The package will download.
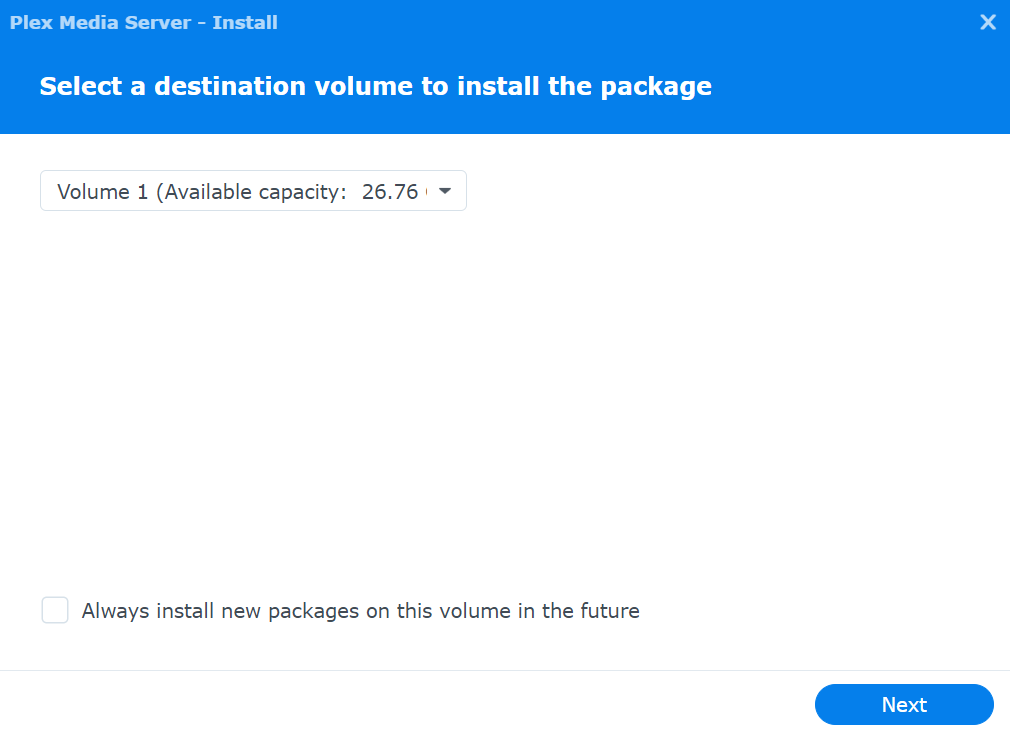
2. Select the volume that Plex should be installed on (you may have completed this step with a prior Package Center install already), then select Next.
Step 2: Claiming the Plex Server with your User Account
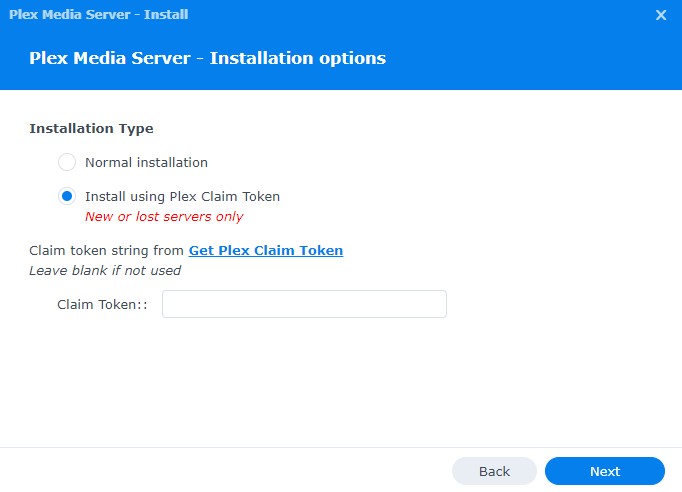
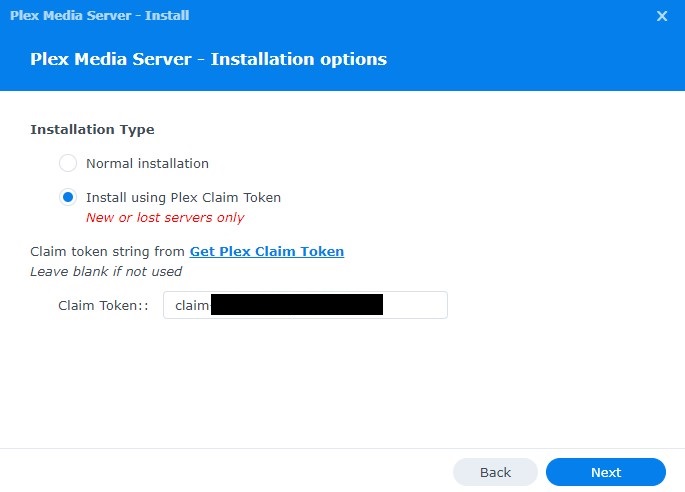
3. You will be prompted with two options. The first is to run the normal installation and claim the server (link it to your Plex user account), or do that at a later time and run the normal installation.
It’s generally easiest to claim the server now so that it’s automatically attributed to your Plex user account as soon as the installation finishes. Select Install using Plex Claim Token and then click Get Plex Claim Token.
4. Sign in to your Plex user account.

5. After you sign in, a claim token will be shown. Copy the claim code.
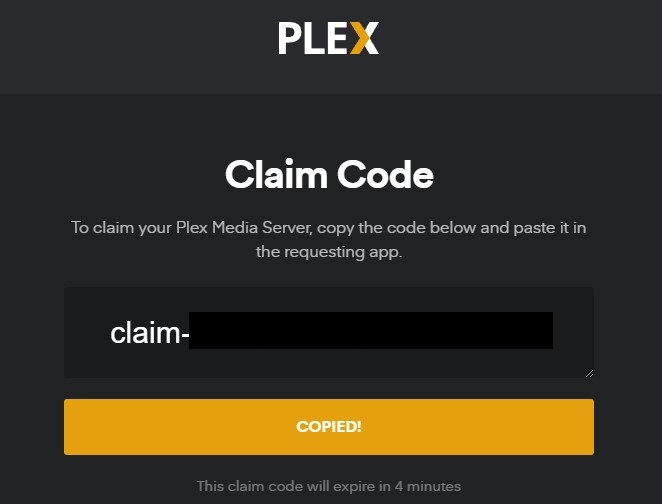
6. In the Plex install section, paste the claim code and select Next.
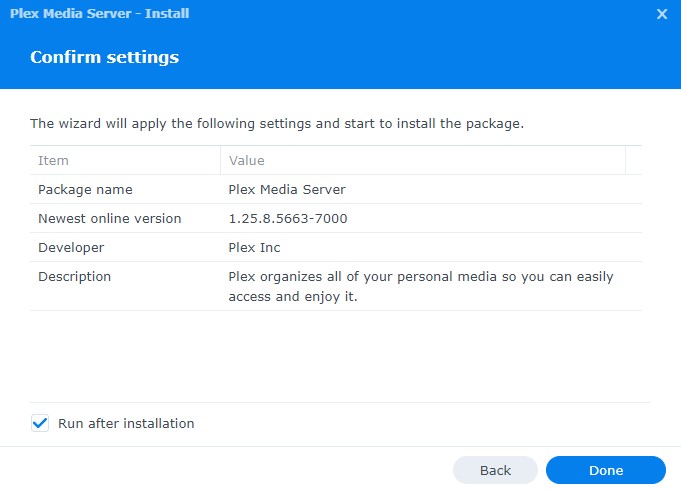
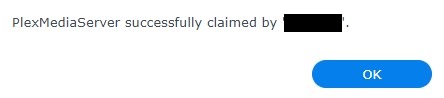
7. Select Done to install Plex on your Synology NAS. Plex will take a few minutes to fully install, and when it’s done, you’ll see that it’s successfully claimed by your user account.
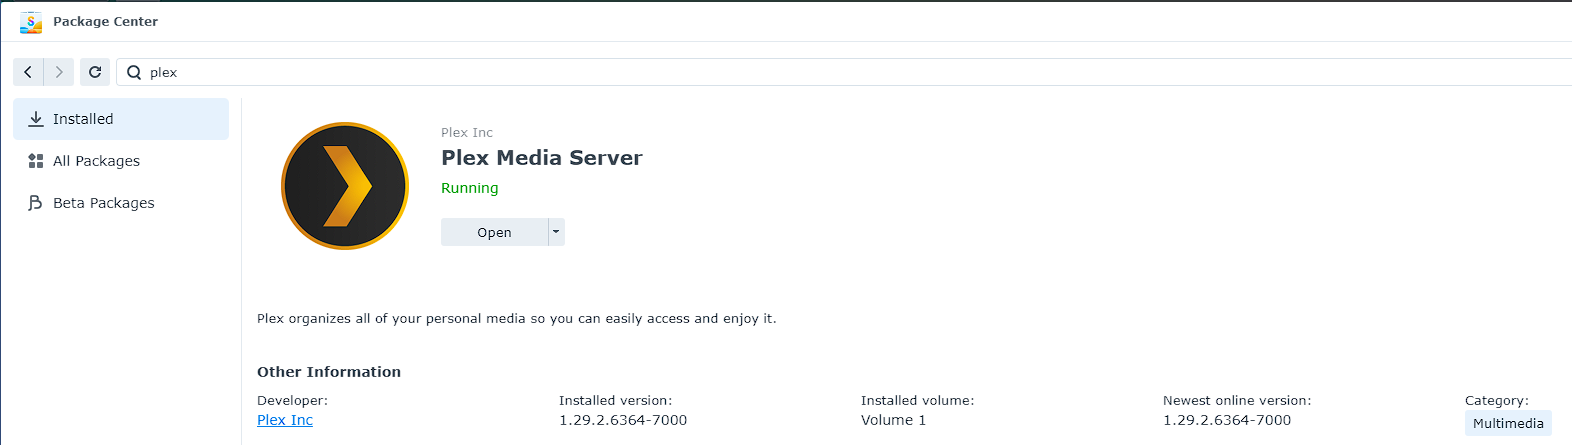
This is how the Synology Plex server will look when it’s successfully claimed.
Step 3: Granting User Permissions for your Media
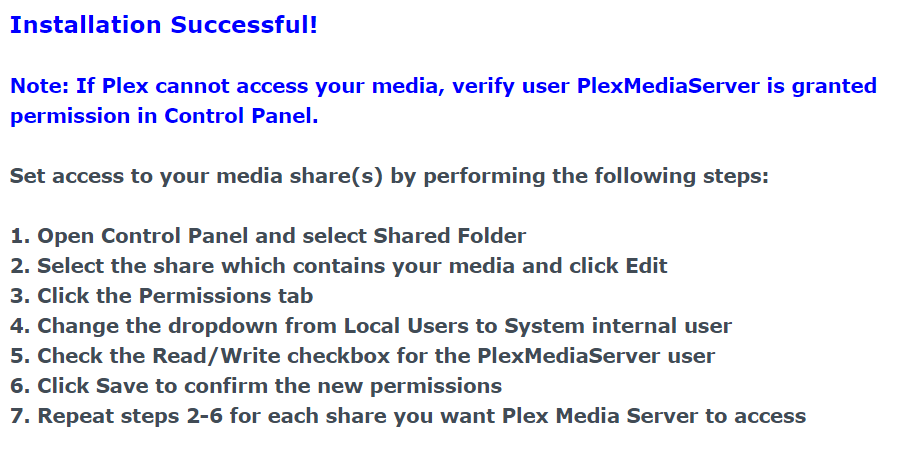
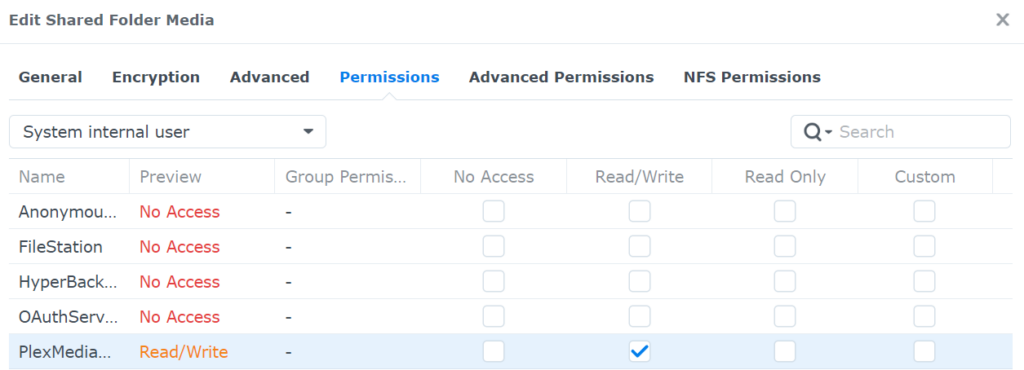
8. You will receive a message stating that permission must be granted in order for Plex to access your media. There are very clear instructions given by the Plex package, but the main thing you need to do is modify the permissions of the shared folders where Plex will be reading your media, and give the PlexMediaServer user the correct permissions.
If you do not modify the permissions, Plex will not be able to see your media files. This is the most common reason people get stuck during setup, so don’t skip it.
Example of permissions being altered
9. After the permissions have been altered, open the Package Center, then select Open to launch Plex.
Step 4: Configuring Plex to Read your Media Files
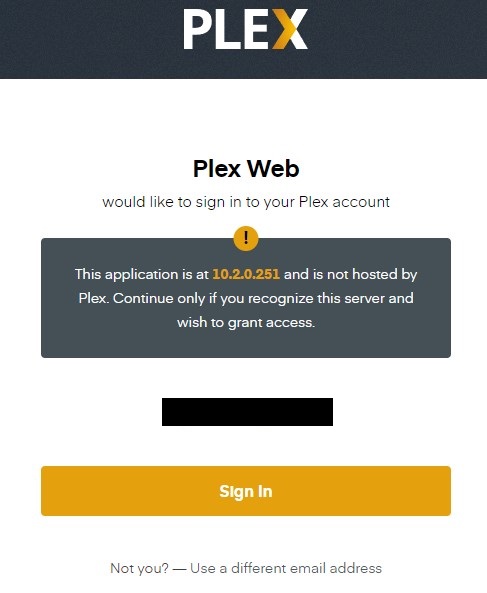
You’ll receive a message stating that Plex would like to sign in to your user account. Sign in to proceed.
10. Plex will automatically bring you to the home page. Select Settings in the top right (wrench icon).
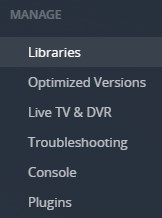
11. Scroll down on the left-hand side and select Libraries.
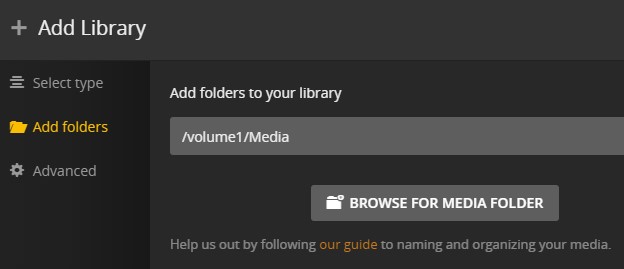
12. Select Add Library, then select the Library Type and add the folder. You’ll have to navigate to the volume you have (most people will have their media in /volume1), then the actual folder holding the media. Please keep in mind that you’ll have to create one for each media type (Movies, TV Shows, Music).
13. Your media files will now start to crawl in the covers and titles. Initial library scans can take a while if you have a lot of media, so it’s not unusual to leave it running overnight on a large library.
Method 2: Installing Plex with Docker (Hardware Transcoding)
The Docker method is what you want if hardware transcoding is important to you. It’s a little more involved than the package, but it’s not difficult, and it gives you a few things the package doesn’t. Most importantly, it lets Synology’s Intel iGPU handle transcoding instead of the CPU.
This method requires that you have Docker (or Container Manager on DSM 7.2+) installed and that you have SSH access to your Synology NAS. If you don’t have Container Manager installed yet, install it from the Package Center first.
Step 1: Prepare the Folder Structure
1. Inside of the docker shared folder, create a sub-folder named plex, then create three sub-folders inside of that folder: config, transcode, and data. The config folder will hold all of Plex’s settings, the transcode folder is used as the working directory during transcoding, and the data folder is where your media will be mounted.
Step 2: Find Your User’s PUID and PGID
This is the part that trips most people up, so it’s worth doing carefully. SSH into your Synology NAS and run the following command, substituting your username:
id [USERNAME]You’ll get back something like uid=1026(yourname) gid=100(users). The number after uid= is your PLEX_UID, and the number after gid= is your PLEX_GID. Make a note of both values — you’ll need them in the next step.
Make sure the user you choose has read/write permissions to the media shared folder you’ll be mounting. If Plex runs as a user that doesn’t have access to your media, you’ll see permission errors that look unrelated to permissions.
Step 3: Create the Plex Container
2. Open Container Manager, navigate to the Registry, and search for and download the latest plexinc/pms-docker image.
3. When the image finishes downloading, double-click it to launch the configuration tool. Give the container a name (like plex), then select Advanced Settings. Make sure Enable auto-restart is selected.
4. In the volume section, map the container’s folders. The three you created in Step 1 should be mapped as follows:
- /docker/plex/config → /config
- /docker/plex/transcode → /transcode
- /docker/plex/data → /data (or map your actual media shared folder here)
If your media is stored in a separate shared folder (most setups have Movies, TV Shows, and Music in their own folders), you’ll need to mount each one separately. The video above walks through this in more detail.
5. In the Network section, select Use the same network as Docker Host. This makes Plex’s discovery features (DLNA, GDM, Plex Companion) work without you having to forward each port individually.
Step 4: Set the Environment Variables
6. In the Environment section, create two variables: PLEX_UID and PLEX_GID. Use the values you found in Step 2.
Note: Plex used to use the variables PUID and PGID. The current version uses PLEX_UID and PLEX_GID — make sure you’re using the correct ones, otherwise the container will fall back to default values.
7. Select Apply and create the container.
services:
  plex:
    image: plexinc/pms-docker:latest
    container_name: plex
    network_mode: host
    environment:
      - PUID=1026 #found above
      - PGID=100 #found above
      - TZ=America/New_York
      - VERSION=docker
      # Optional: only needed for first claim
      # - PLEX_CLAIM=claim-xxxxxxxxxxxxxxxxxxxx
    volumes:
      - /volume1/docker/plex/config:/config
      - /volume1/media:/media
      - /volume1/docker/plex/transcode:/transcode
    restart: unless-stopped
Step 5: Complete the Plex Setup
8. Navigate to the IP address of your Synology NAS using port 32400 with /manage. The URL should look like this:
http://[SYNOLOGY_NAS_IP]:32400/manage9. Sign in with your Plex username and password (or create one if you don’t already have an account).
10. Give the server a name and select Next. If you want Plex to automatically try to allow connections on port 32400 (using UPnP), you can select Allow me to access my media outside my home. I generally stay away from UPnP, so I disable this.
11. Create your media libraries by selecting Add Library, the content type, and the folder location. You’ll need to do this for each media type. Select Next, then Done, and your media will start to sync.
Enabling Hardware Transcoding
Hardware transcoding requires a couple of additional configuration steps that the Container Manager GUI doesn’t expose directly. The Synology iGPU has to be passed through to the container, which means you’ll need to use a Docker Compose file (in Container Manager) or a docker run command rather than relying entirely on the GUI.
services:
  plex:
    image: plexinc/pms-docker:latest
    container_name: plex
    network_mode: host
    environment:
      - PUID=1026 #found above
      - PGID=100 #found above
      - TZ=America/New_York
      - VERSION=docker
      # Optional: only needed for first claim
      # - PLEX_CLAIM=claim-xxxxxxxxxxxxxxxxxxxx
    volumes:
      - /volume1/docker/plex/config:/config
      - /volume1/media:/media
      - /volume1/docker/plex/transcode:/transcode
    devices:
      - /dev/dri:/dev/dri
    restart: unless-stopped
How to Update Plex on a Synology NAS
Updating Plex is different depending on which method you used to install it. Before any update, make sure you have a current backup of your data using a tool like Hyper Backup. Updates rarely cause issues, but it’s worth being safe.
Should You Even Update Plex?
Before installing any update, ask yourself if you actually need to. Media servers are designed to stream media to client devices, so if everything is working and you’re not looking for new features, there might not be a reason to update.
If you’re exposing Plex outside of your local network, you have more of a reason to keep it updated for potential security fixes. But if you’re only using it for local network streaming, you can introduce new bugs that you weren’t experiencing before, so updating “just because” isn’t always the right call.
Updating the Plex Package
The Plex package in Synology’s Package Center isn’t always updated at the same time as Plex itself. To get the latest version, you’ll need to download it from the Plex website and install it manually.
1. Open Synology’s Package Center, search for Plex, and select it. Take note of the Installed Version.
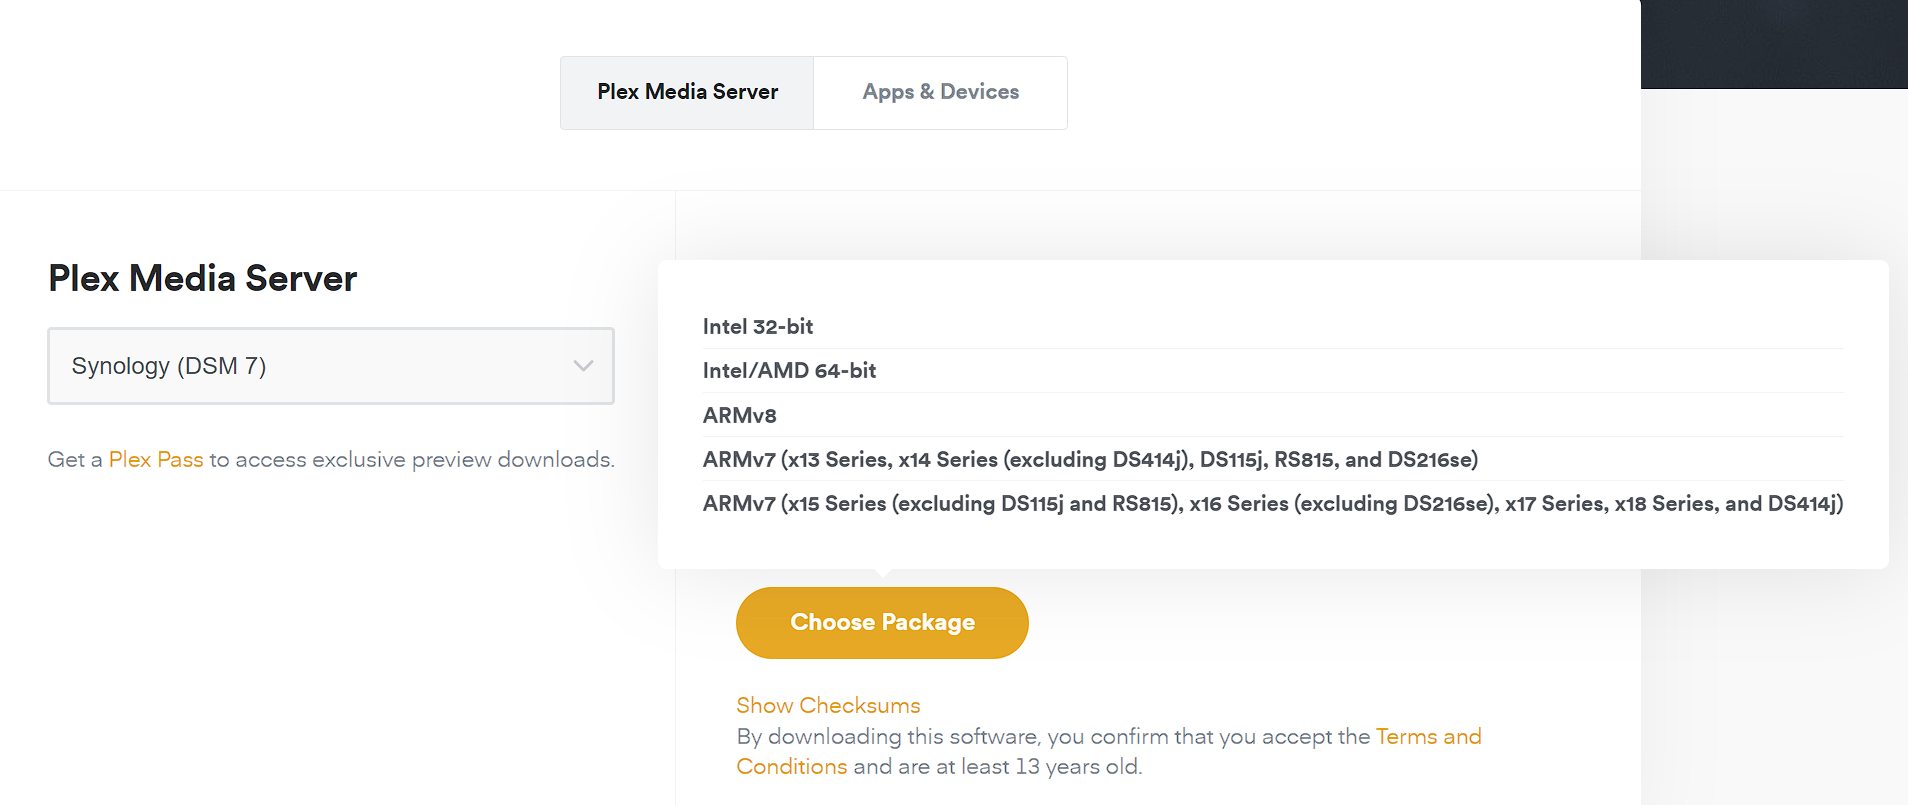
2. Access the Plex Media Server Download page and select Synology (DSM 7). Confirm the version online is newer than what you have installed.

3. Select Choose Package and download the correct architecture. For most users running Plus series devices, the correct version is Intel/AMD 64-bit. If you’re running a J-series device, you might need the ARMv8 version.
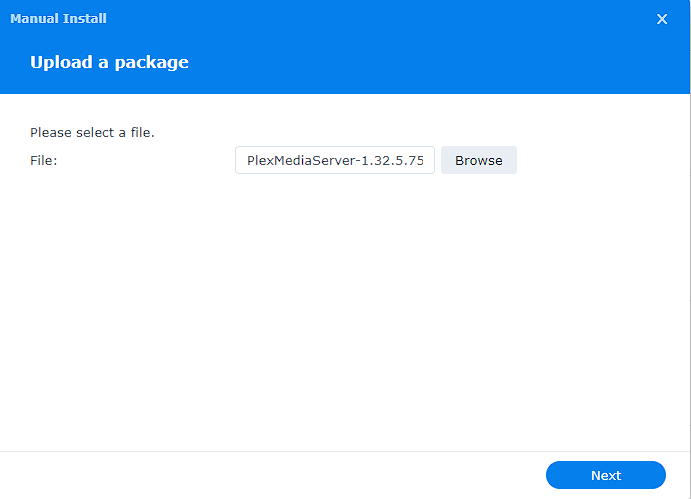
4. Open Synology’s Package Center and select Manual Install.

5. Browse to the package you downloaded, then select Next.
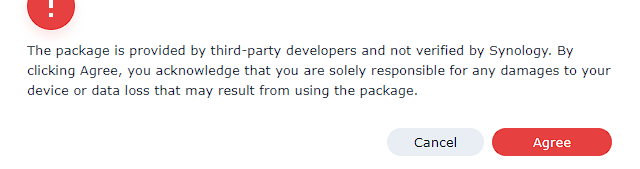
6. You’ll receive a warning that installing third-party developer packages can cause issues. If you’d like to proceed, select Agree.
7. Confirm the settings and select Done. The update will install, and your existing libraries and configuration will carry over.
Plex on a Synology NAS: My Take
For most people, the Plex package is the right call. It’s faster to set up, it’s actively maintained, and the version lag behind official Plex releases isn’t usually an issue unless you’re chasing specific new features.
The Docker method only makes sense if hardware transcoding matters to you, or if you already manage everything in Docker. The setup overhead is real, and unless you have a specific reason to use it, the package will get you where you need to go faster.
If you’re just getting started with self-hosted media, you might also want to check out my comparison of Jellyfin vs Plex — there are real reasons to consider both, and Jellyfin has come a long way in the last few years.