Today we are going to take a look at how to install Portainer on a Synology NAS.
Portainer gives users a way to manage their Docker containers through a great web interface. For my Raspberry Pi and Ubuntu Docker instances, I use Portainer to manage my containers.
For my Synology NAS, I generally use the front-end Docker GUI (Container Manager). Now, the front-end GUI of Docker on a Synology NAS leaves a lot to be desired, but overall, it’s an easy way to set up and maintain your containers.
Why Should You Install Portainer on a Synology Device?
The first question you’ll probably have is why you should install Portainer, and the truth is that you don’t have to. However, if you’re willing to experiment with it, you might find it easier to manage and use than Synology’s GUI (Container Manager).
Portainer also gives you the ability to use stacks which is an easy way to create new containers and allows them to be created using a docker-compose format (which until Container Manager, weren’t supported in Synology’s GUI).
If you haven’t used docker-compose before, it’s just an easy way to copy/paste pretty much all of the configurations you’ll need for a container and create it with the push of a button.
Please check out some of the containers that you can create and manage on a Synology NAS!
How to Install Portainer on a Synology NAS
1. If you haven’t already, install Docker from Synology’s Package Center. While we won’t be using the GUI interface, this installs the necessary components to get Portainer installed.
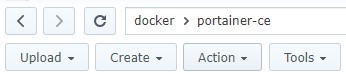
2. Open File Station and create a new folder named portainer-ce. This is where all of the Portainer files will be stored.
NOTE: Please keep in mind that if you’d like to back up your Portainer instance, this is the folder you must back up!
3. Ensure you can SSH into your Synology NAS. Open Control Panel, select Terminal & SNMP and Enable SSH service. If you are using Synology’s Firewall, ensure that you allow port 22 traffic.
If you’d rather follow a video tutorial on how to SSH into a Synology NAS, I created this video that you can follow.
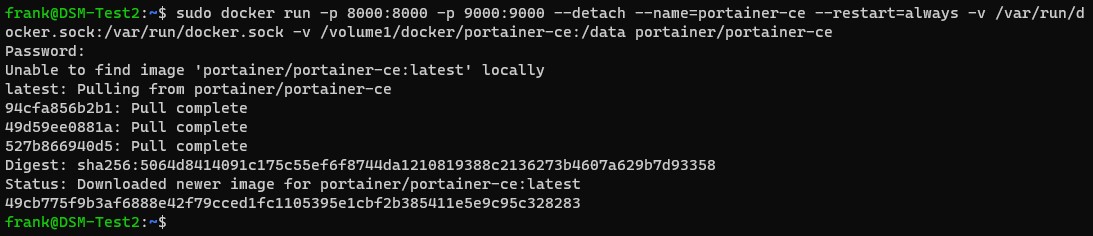
4. Run the command below to create the Portainer container. Unfortunately, this cannot be done through Synology’s GUI.
NOTE: If you have Docker installed on a volume different than one, you will have to update the volume1 location in the command below.
sudo docker run -p 8000:8000 -p 9000:9000 -p 9443:9443 --detach --name=portainer-ce --restart=always -v /var/run/docker.sock:/var/run/docker.sock -v /volume1/docker/portainer-ce:/data portainer/portainer-ce
5. Navigate to the IP address of your Synology NAS and port 9000 (for HTTP) or port 9443 for HTTPS. If you are using Synology’s firewall, make sure you create an allow rule for port 9000/9443 so that you can access the management portal.
HTTP:
http://[SYNOLOGY_NAS_IP]:9000HTTPS:
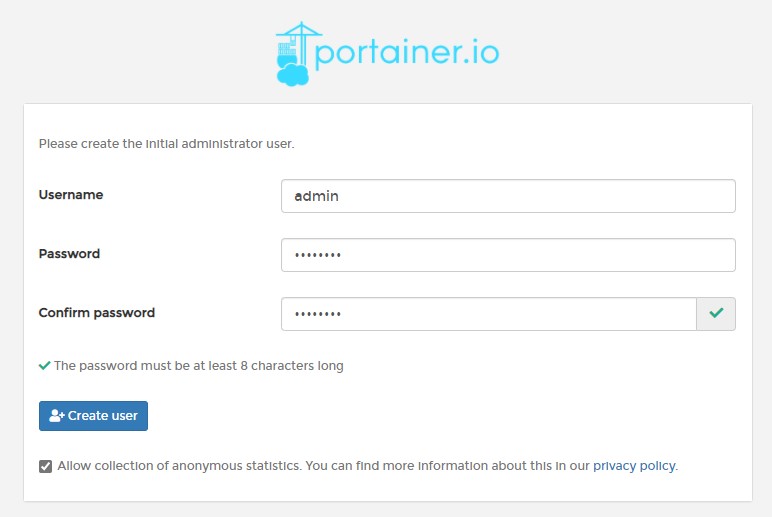
https://[SYNOLOGY_NAS_IP]:94436. Create a username and password to access Portainer, then select create user.
7. Select Docker and then Connect.
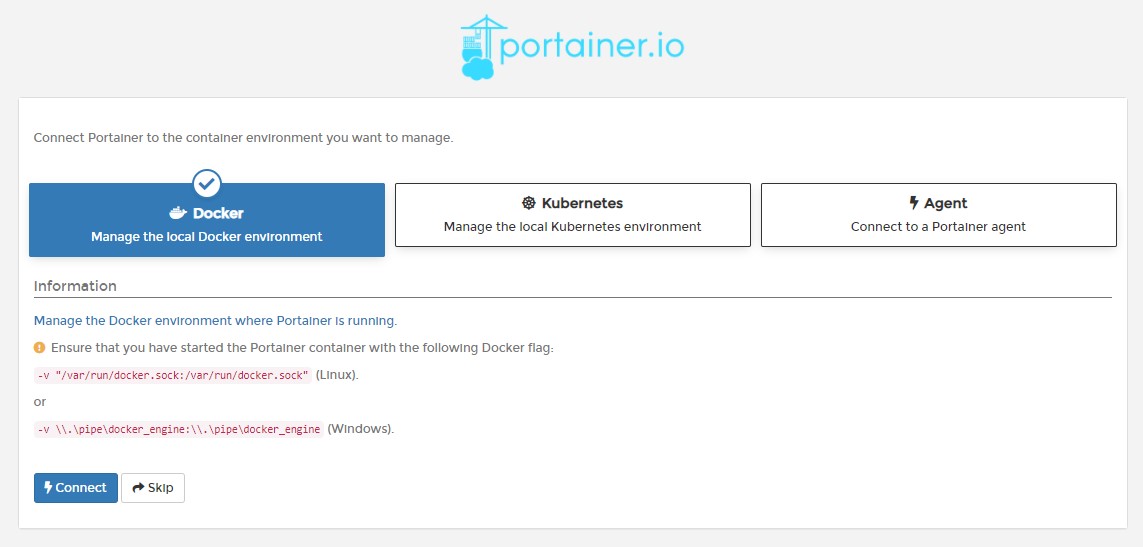
8. Select Local to manage the local Docker instance (on your Synology NAS). Docker is now properly set up and configured!

Conclusion & Final Thoughts
This tutorial took a look at how to install Portainer on a Synology NAS. Like I said a little earlier, this isn’t necessary, but it is a great alternative to managing your containers if you’d like. A lot of people hate Synology’s Docker GUI and this is an easy way to get around that.
Portainer is also standard across different devices, meaning that if you use Docker on different devices, it will provide a unified interface that you can use and one that you’ll become comfortable with.
Thanks a lot for checking out the tutorial on how to install Portainer on a Synology NAS. If you have any questions, please leave them in the comments!