Today we are going to look at how to host a WordPress website on a Synology NAS.
A lot of people would like to host a website, but the monthly costs associated with web hosting isn’t always ideal. While it’s a good idea to scale your website to match the daily traffic it receives, it’s sometimes easier to host the website out of your house in the beginning. This avoids monthly charges and allows you to run the site on a device that most people have running 24/7. To be clear, Synology NAS devices don’t have huge amounts of processing power, so it’s not the best idea to host a site with a lot of traffic on a Synology NAS. In future tutorials, we will look at how to use Cloudflare which can drastically reduce the traffic demands on your local NAS, speed up performance, and increase security.
As a fun fact, this site started by being hosted on a Synology NAS. As it grew, I scaled it up to match the demand and it’s now hosted in the cloud.
1. WordPress Synology NAS Package Install Instructions
1. Purchase a domain name if you don’t already have one, as we will be using it in future steps. Namecheap is my favorite provider and the one that I personally use.
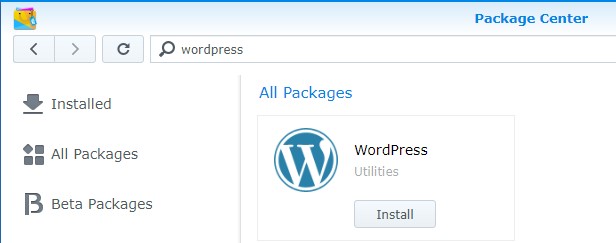
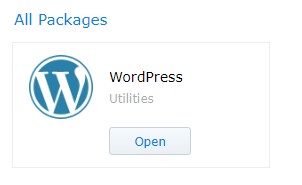
2. Open Synology’s Package Center and install the WordPress package.
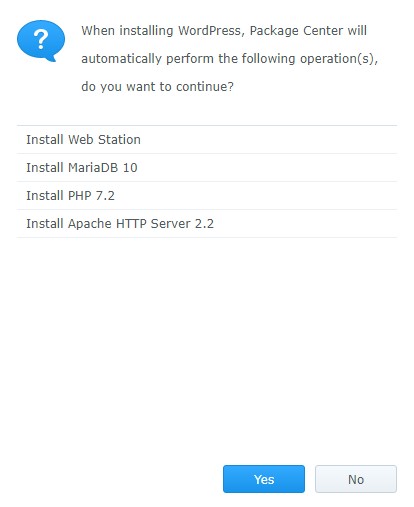
2. You will be informed that WordPress will automatically install a few different packages. Select Yes. The packages will now download and install.
3. Create a password for the MariaDB package that’s installed. After the password has been defined, select Apply to install the package.
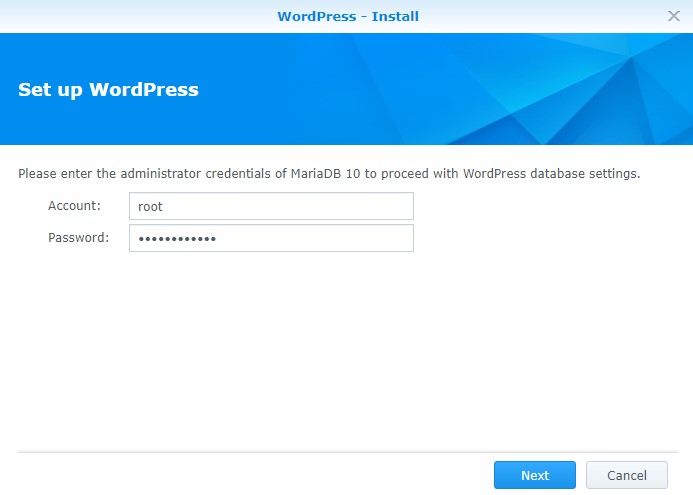
3. Create a password for the MariaDB package that’s installed. After the password has been defined, select Apply to install the package.
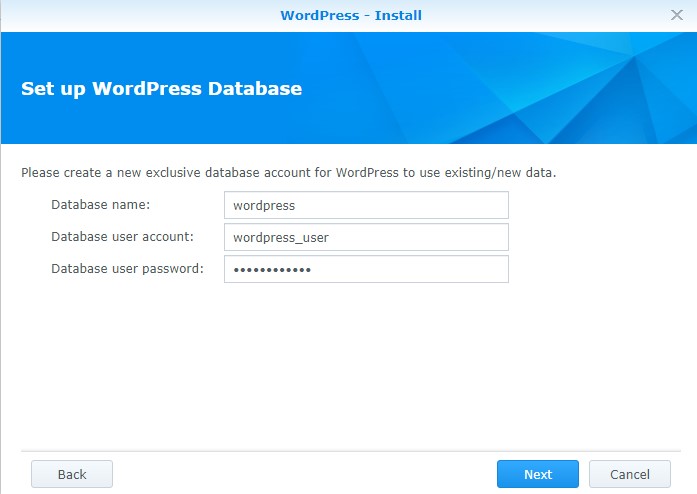
5. WordPress will automatically configure a database user. Enter a password that will be used for the wordpress_user.
6. Select Apply to install the WordPress package.
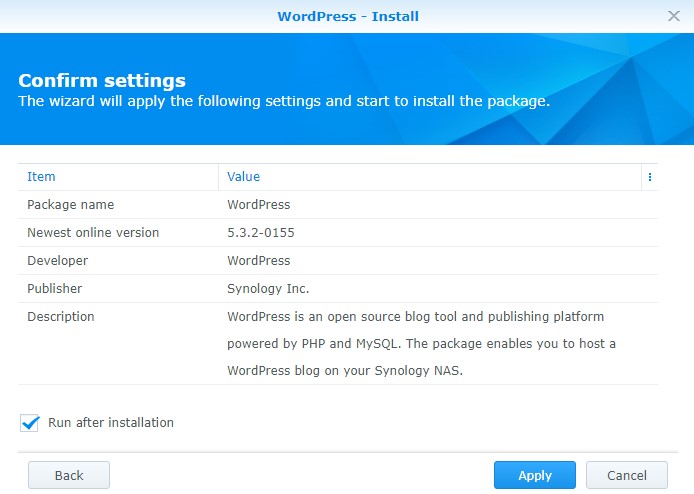
7. The WordPress package is now installed!
2. Creating a DNS Record
This part isn’t difficult, but we have to do it for a somewhat tricky reason. When you install WordPress, it will automatically install using the hostname or IP address you’re currently accessing the website with. Since opening the website will use the IP address of your Synology NAS, we need to create a DNS record or a host record on your local system before installing WordPress. Either will work, we just need to ensure that we’re accessing our WordPress site using the domain name we will be using in later steps.
For example, my site’s name will be dev.wundertech.net, so I will create a host or DNS record for dev.wundertech.net to point to the local IP address of my Synology NAS. This is only temporary, and we will remove this in a later step.
Hosts File
If you’re not using a DNS Server, follow the instructions below to modify your hosts file.
DNS Record
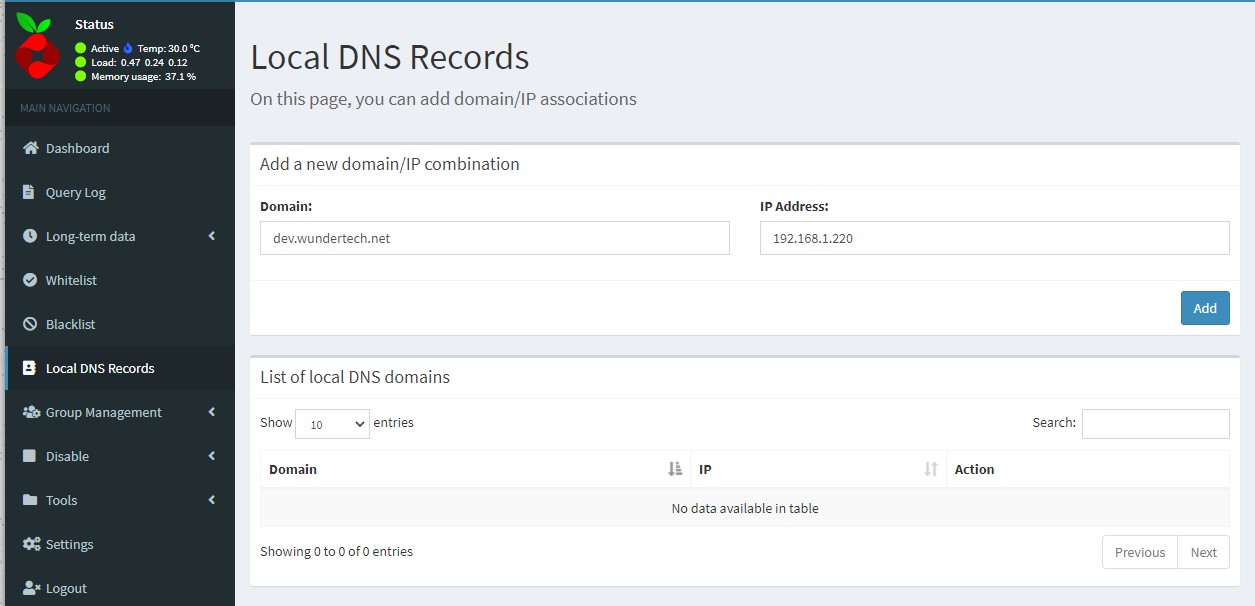
Creating a DNS record will be different depending on the DNS server that you have configured. I use Pi-Hole, so I will create a Local DNS Record for my dev.wundertech.net domain and point it to my Synology NAS’s IP address.
3. Installing WordPress – Synology NAS
1. Select Open to access WordPress.
2. You will be brought to the IP address of your Synology NAS in the URL window. Change the IP address to be the domain name we created in our last step.

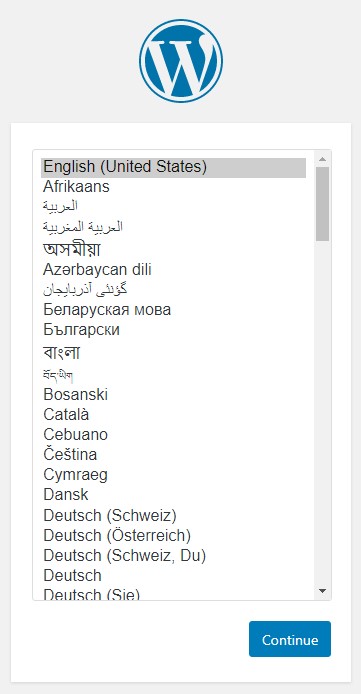
3. Select your language and press Continue.
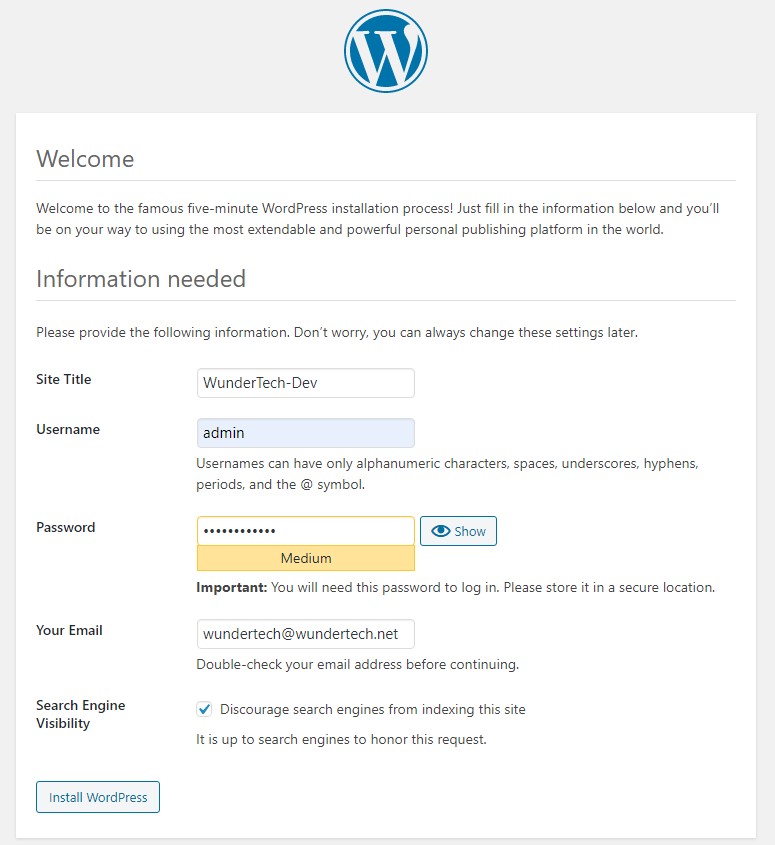
4. Create a Site Title, Username, Password, then enter your email address and search engine visibility. When everything has been entered, select Install WordPress.
5. When it’s finished installing, you will be able to Log In using the password you created.
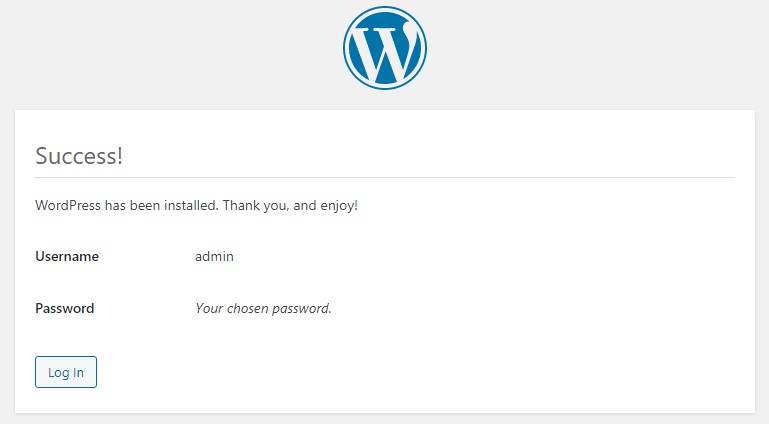
6. WordPress is now installed!
4. Virtual Host Creation
The WordPress package is now installed, a DNS record has been created, and we will now update our virtual host.
1. Install the Web Station package from Synology’s Package Center.
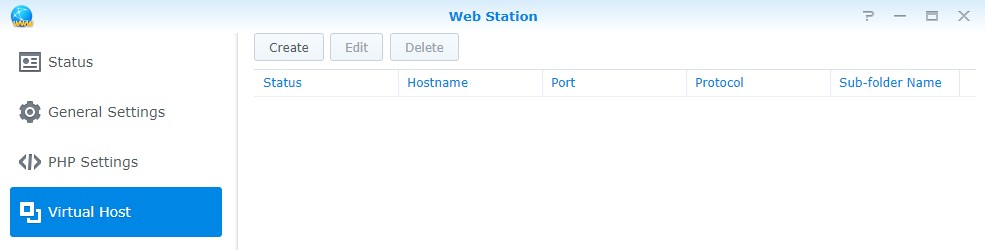
2. Open the Web Station package and select Virtual Host. Then select Create.
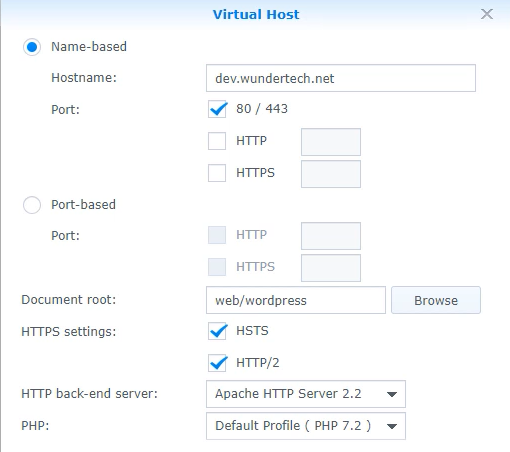
3. Enter the hostname, select the web/wordpress document root, and select Apache HTTP Server 2.2 and Default Profile for PHP. Enable HSTS/HTTP/2 if you’d like. Select OK.
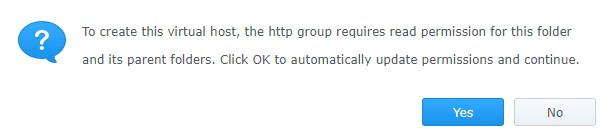
4. If you receive a message asking if you’d like to automatically update permissions, select Yes.
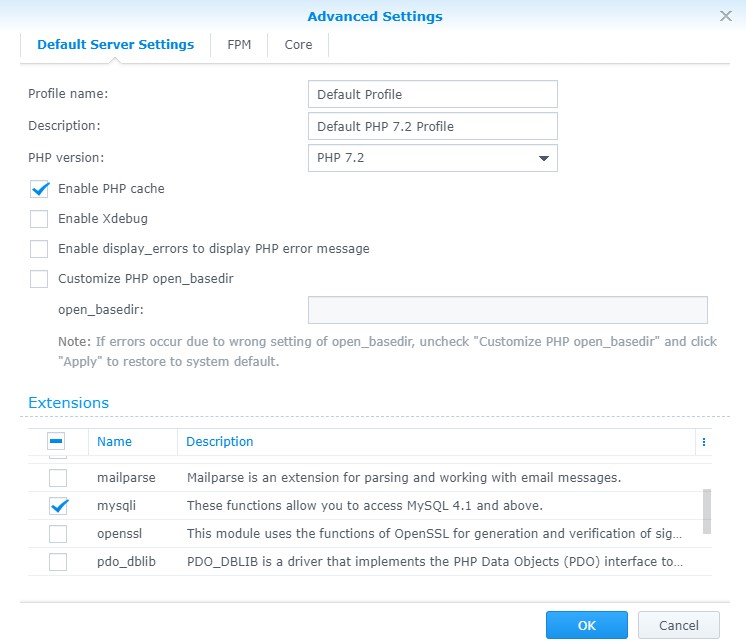
5. The final setting that we need to change allows PHP to access MySQL. Select PHP Settings and on the default profile, select Edit.
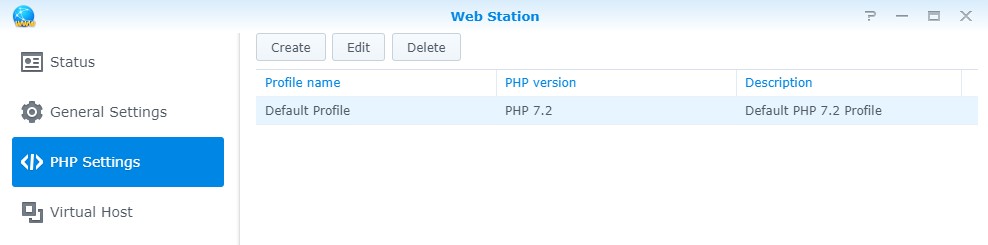
6. Select the checkbox next to mysqli and select OK.
5. File Changes
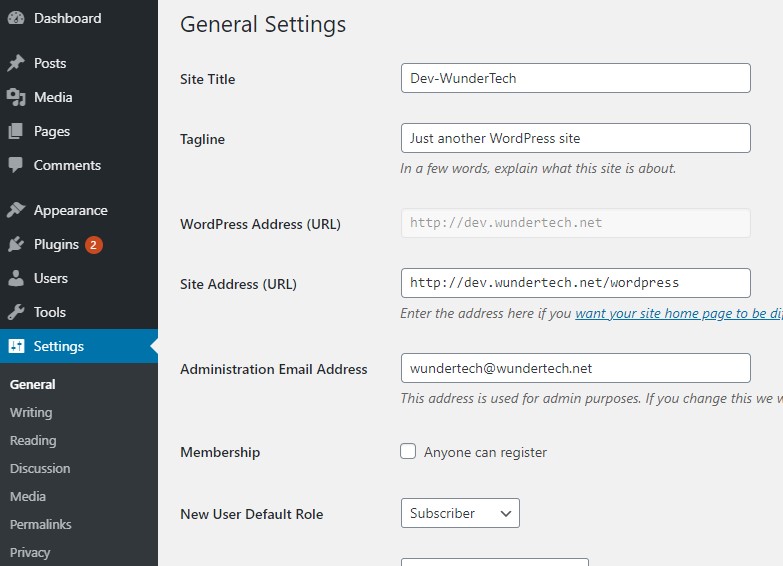
Technically, you will be able to get to WordPress now, but if you try and access any specific posts, you will receive an error. The reason is that our Site Address has /wordpress in the URL. We can quickly change this from the WordPress admin settings.
1. Navigate to your domain and add /wp-admin to the end.
http://[DOMAIN_NAME]/wp-admin
2. Select Settings, then General. Remove /wordpress from the end of your URL and save.
6. Use a Good Caching Plugin
When you’re using something like a Synology NAS as your WordPress server, large amounts of traffic can bog it down as the processor isn’t as cutting age as we’d like. For this reason, using a high-quality cache plugin is integral. For over a year, I wasted my time with “free” caching plugins because I truly didn’t think that the premium plugins were worth the money. I was completely wrong. When I say that I tried to increase the speed of my website for 50+ hours with free plugins, I am not lying. I implemented WP Rocket in about 5 minutes and get better performance than ALL of my previous attempts.
WP Rocket is incredibly easy to use and it WORKS. If you care about SEO, the speed of your site is now a more important ranking factor than it was in years past. I don’t recommend that many services, but if you’re serious about website performance (which you should be) and limiting the impact on your NAS’s processor, WP Rocket is the answer.
I don’t have a tutorial for WP Rocket because it’s so easy to use, but if you would like one, let me know in the comments and I will create one.
7. Website Exposing & Setting up an SSL Certificate
The website will now be set up and configured. Keep in mind, this is a blank website so you’ll probably want to go ahead and customize it before you expose the website to the outside internet. However, at this point, you’re ready to expose the website.
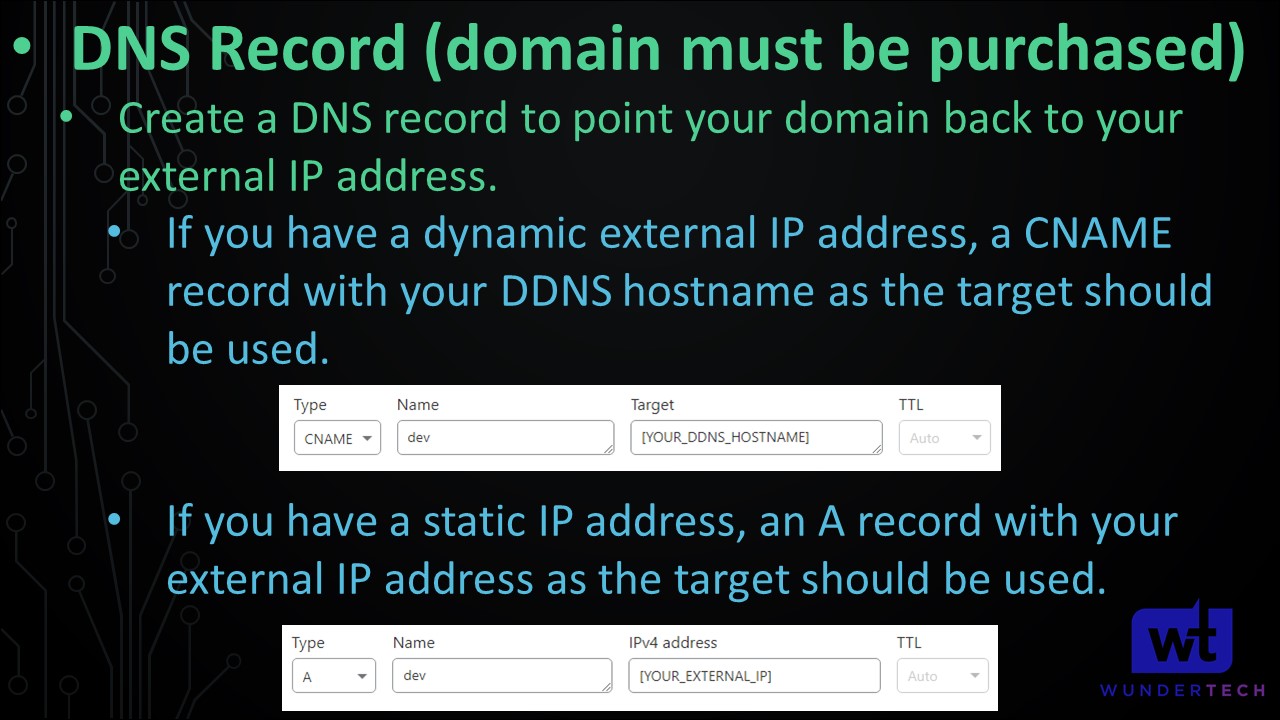
It’s very important to note that you need to have your purchased domain name ready at this point with a DNS record created. I will not be going through this process as there are tons of different registrars where you can purchase domain names, but ensure that you created a CNAME DNS record pointing to your DDNS hostname or an A record pointing to your static external IP address.
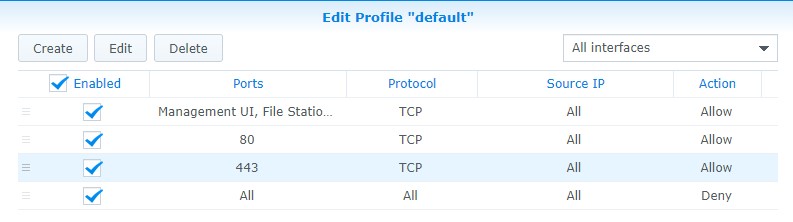
1. Ensure that you port forward ports 80 and 443 on your router to the IP Address of your Synology NAS. Make sure you create two allow firewall rules for ports 80 and 443. If you aren’t using Synology’s Firewall, I highly suggest you set it up before opening ports 80 and 443. I created a tutorial on how you can set up Synology’s Firewall if you’re interested in learning how to use it.
2. After the firewall rules have been created and you’ve port forwarded 80/443, open the Control Panel, select Security, then Certificate.
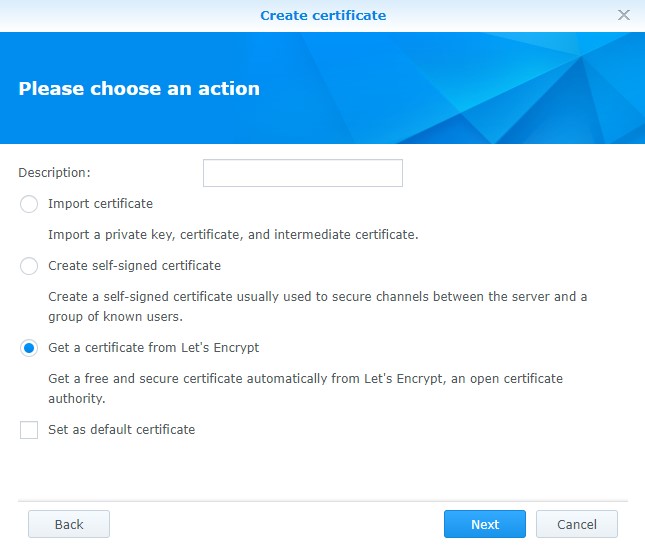
3. Select Add, then Add a new certificate, and Get a certificate from Let’s Encrypt.
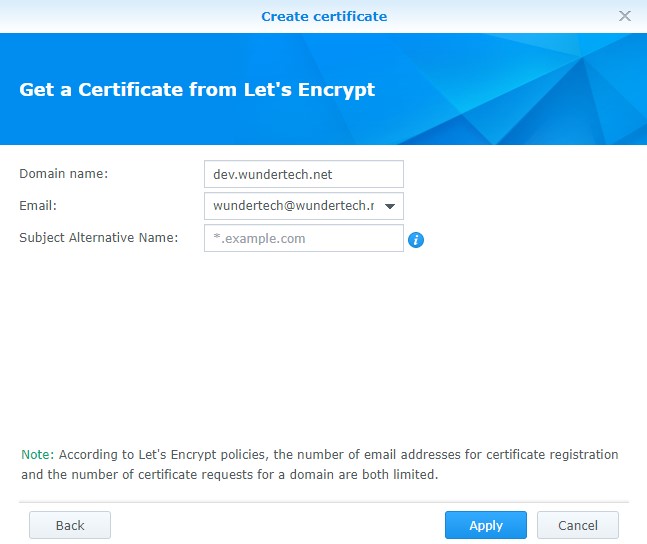
4. In the Domain Name section, type your domain name and then select Apply. It will take a few minutes to validate.
5. The final step is to select Configure and select the correct certificate next to your domain name.
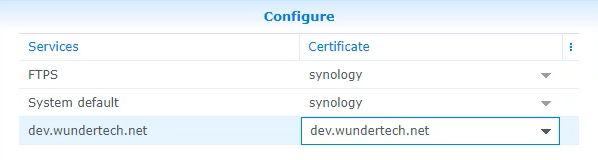
6. Your website is now configured with an SSL certificate and is ready for external traffic!
8. Conclusion – WordPress Synology NAS
This tutorial was meant to guide you through the entire process of setting up and configuring a WordPress website on a Synology NAS. In future tutorials, we will look at utilizing Cloudflare to use some of the free benefits that they provide.