This tutorial will look at how to empty the Recycle Bin on a Synology NAS.
A lot of people forget that they enabled the recycle bin on their Synology NAS when they created a shared folder. This could lead to you storing dozens to hundreds of gigabytes of data on your Synology NAS without even realizing you’re doing it. The good news is it’s incredibly easy to see what’s in your recycle bin and delete it (if you desire).
1. Viewing What’s in the Synology Recycle Bin
The first thing you should do is determine how much storage the recycle bin may be taking up for each of your shared folders. The easiest way to do this is by using the Storage Analyzer which can be set up by following the instructions here.
After the storage analyzer is set up and a task is run, you can look at each shared folder and see the total size of the Recycle Bin. It’s important to note that this should only be used to view the total size of the recycle bin. For some reason the Storage Analyzer doesn’t display files inside of here, so if you navigate further, you’ll only see folders and their total size.

After you see which shared folders have recycle bins enabled and any that are taking up space, move to the second step below which is accessing the files.
2. How to Empty the Recycle Bin on a Synology NAS
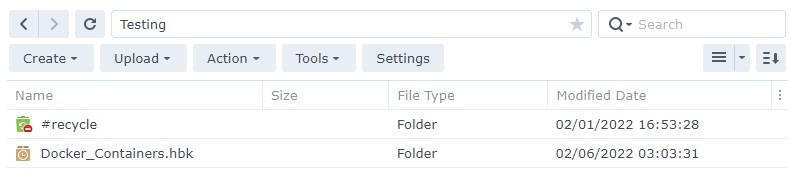
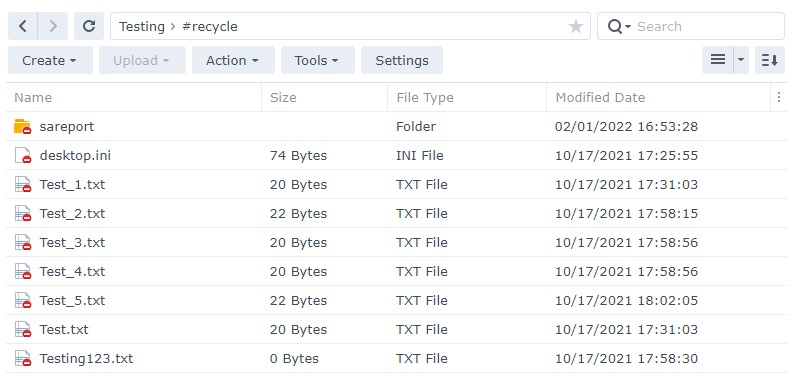
The easiest way to access the files inside of the Recycle Bin is by logging into Synology DSM, opening File Station, selecting the shared folder and double-clicking the recycle bin (#recycle).
When you navigate there, you’ll see all of the files that exist in the recycle bin. From here, you can move any that you’d like back to a shared folder (Right-Click > Copy to/Move to). You can also right-click to delete files if you’d like to individually delete any of these files.
2.1 Deleting the Files in the Synology Recycle Bin
If you’ve viewed all of the files and you’d like to quickly clear them all, you can do that by using the Control Panel and either removing them individually (per shared folder) or in bulk.
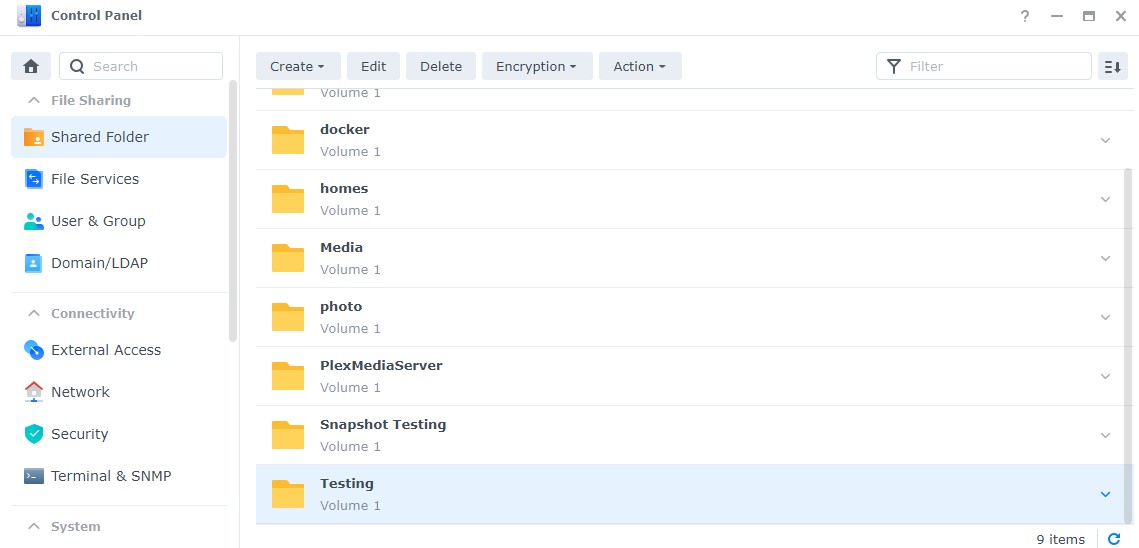
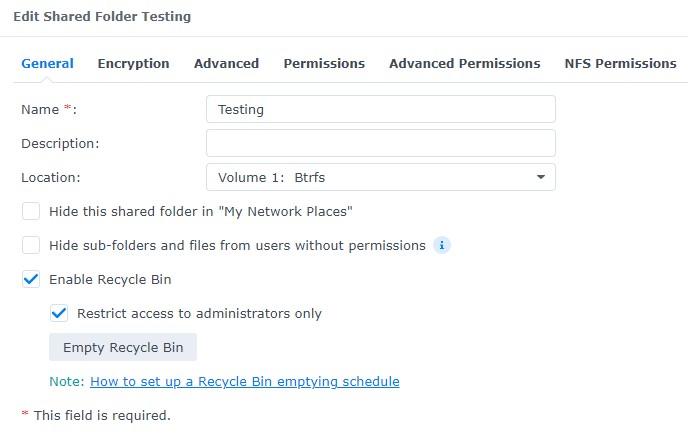
1. Open the Control Panel and select Shared Folder. Select Edit on the Shared Folder where you’d like to clear the recycle bin.
2. Select Empty Recycle Bin to clear all files/folders from that shared folder’s recycle bin only. You will have to do this for every shared folder.
2.1.2 Bulk Deletion
1. Open the Control Panel and select Shared Folder. Select Action and then Empty all Recycle Bins.
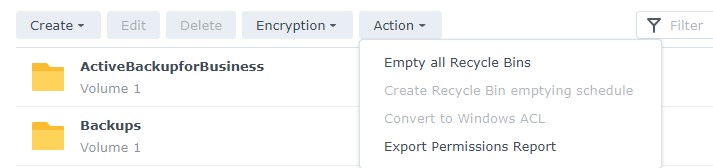
2. You’ll receive a warning stating that all recycle bins will be emptied. If you agree, select Yes. All recycle bins will now be cleared.

3. Automating the Process by Creating a Recycle Bin Emptying Schedule
Deleting files from the recycle bin can be done manually, but it’s easiest to automate this process so that the files are automatically deleted after a specific duration. This tutorial is part of the initial Synology NAS Setup & Configuration Guide, but you can follow the steps below to set up a recycle bin emptying schedule.
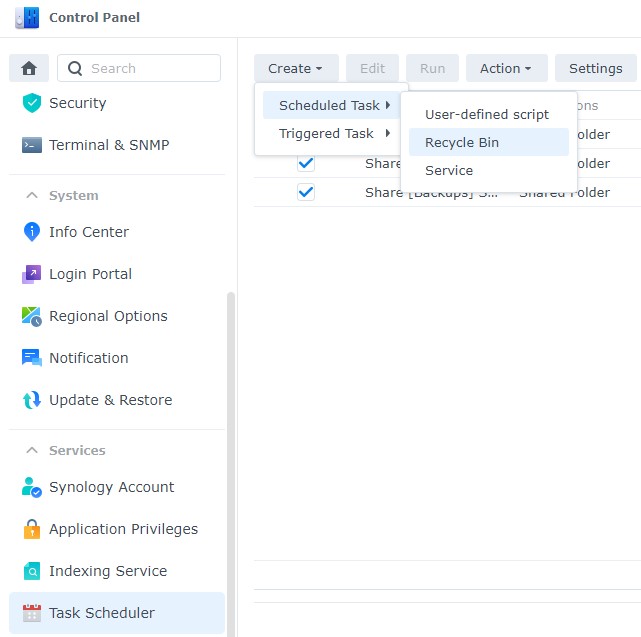
1. Open Control Panel and select Task Scheduler.
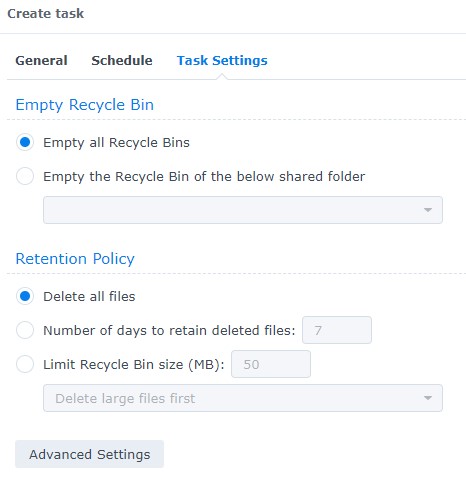
2. Select Create, then Scheduled Task, then Recycle Bin.
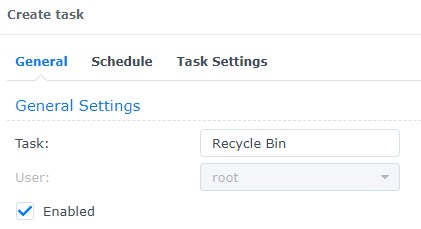
- General: Enter a Task Name.
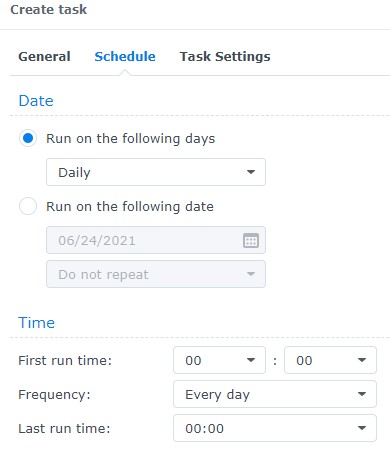
- Schedule: Specify when you’d like the task to run.
- Task Settings: Specify if you’d like all recycle bins to empty or only specific ones.
- Retention Policy: This is an important step! I retain all deleted files for 30 days, but this is completely personal preference. This setting specifies when files are deleted. There are also advanced settings you can check.
4. Emptying the Recycle Bin Not Working? Why Snapshots May be the Cause
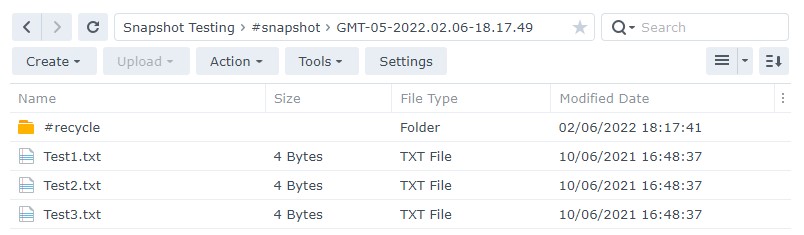
Deleting the files in the recycle bin for a specific shared folder will give you the storage space back, but if you’re using Synology’s Snapshots (which you should be), you need to wait for that retention period to expire before you’ll see your free space increase. To clarify this, since you’re able to restore files/folders when you utilize Synology’s snapshots and BTRFS, the file must exist on the hard disk somewhere to restore it. This is why you might delete files from the recycle bin and not see the storage space show up immediately.
Please keep in mind that you can delete snapshots to restore the space immediately, but then you won’t have any snapshots remaining. It is my recommendation that you keep the snapshots you currently have if you have the available space until the snapshots are automatically deleted based on your retention plan.
Conclusion – How to Empty the Recycle Bin on a Synology NAS
The steps above showcased how to empty the recycle bin on a Synology NAS. In general, most people are unaware that they need to clear their storage space until they realize how much space they’re currently using on their NAS and something “feels off”. The process for deleting them is simple, but I’d recommend setting up an automated schedule so that you don’t have to worry about this in the future.