This tutorial will show you how to configure DDNS on Xpenology or a Synology NAS using DuckDNS.
In this tutorial, we will look at how you can configure DDNS on Xpenology using DuckDNS. Setting up DDNS is very important if you intend on accessing your NAS from outside of your network or setting up a VPN Server. This easy tutorial will show you how in minutes!
What is DDNS?
- An IP address is assigned to you by your ISP. This IP address can be static or dynamic.
- Static IP addresses will always stay the same
- Dynamic IP addresses will periodically change
- DDNS (Dynamic Domain Name Service) assigns a hostname to your external IP address.
- If your IP address changes, your DDNS hostname will update with your new IP address.
- Your DDNS hostname will always be your external IP address.
Instructions – DDNS Xpenology/Synology NAS
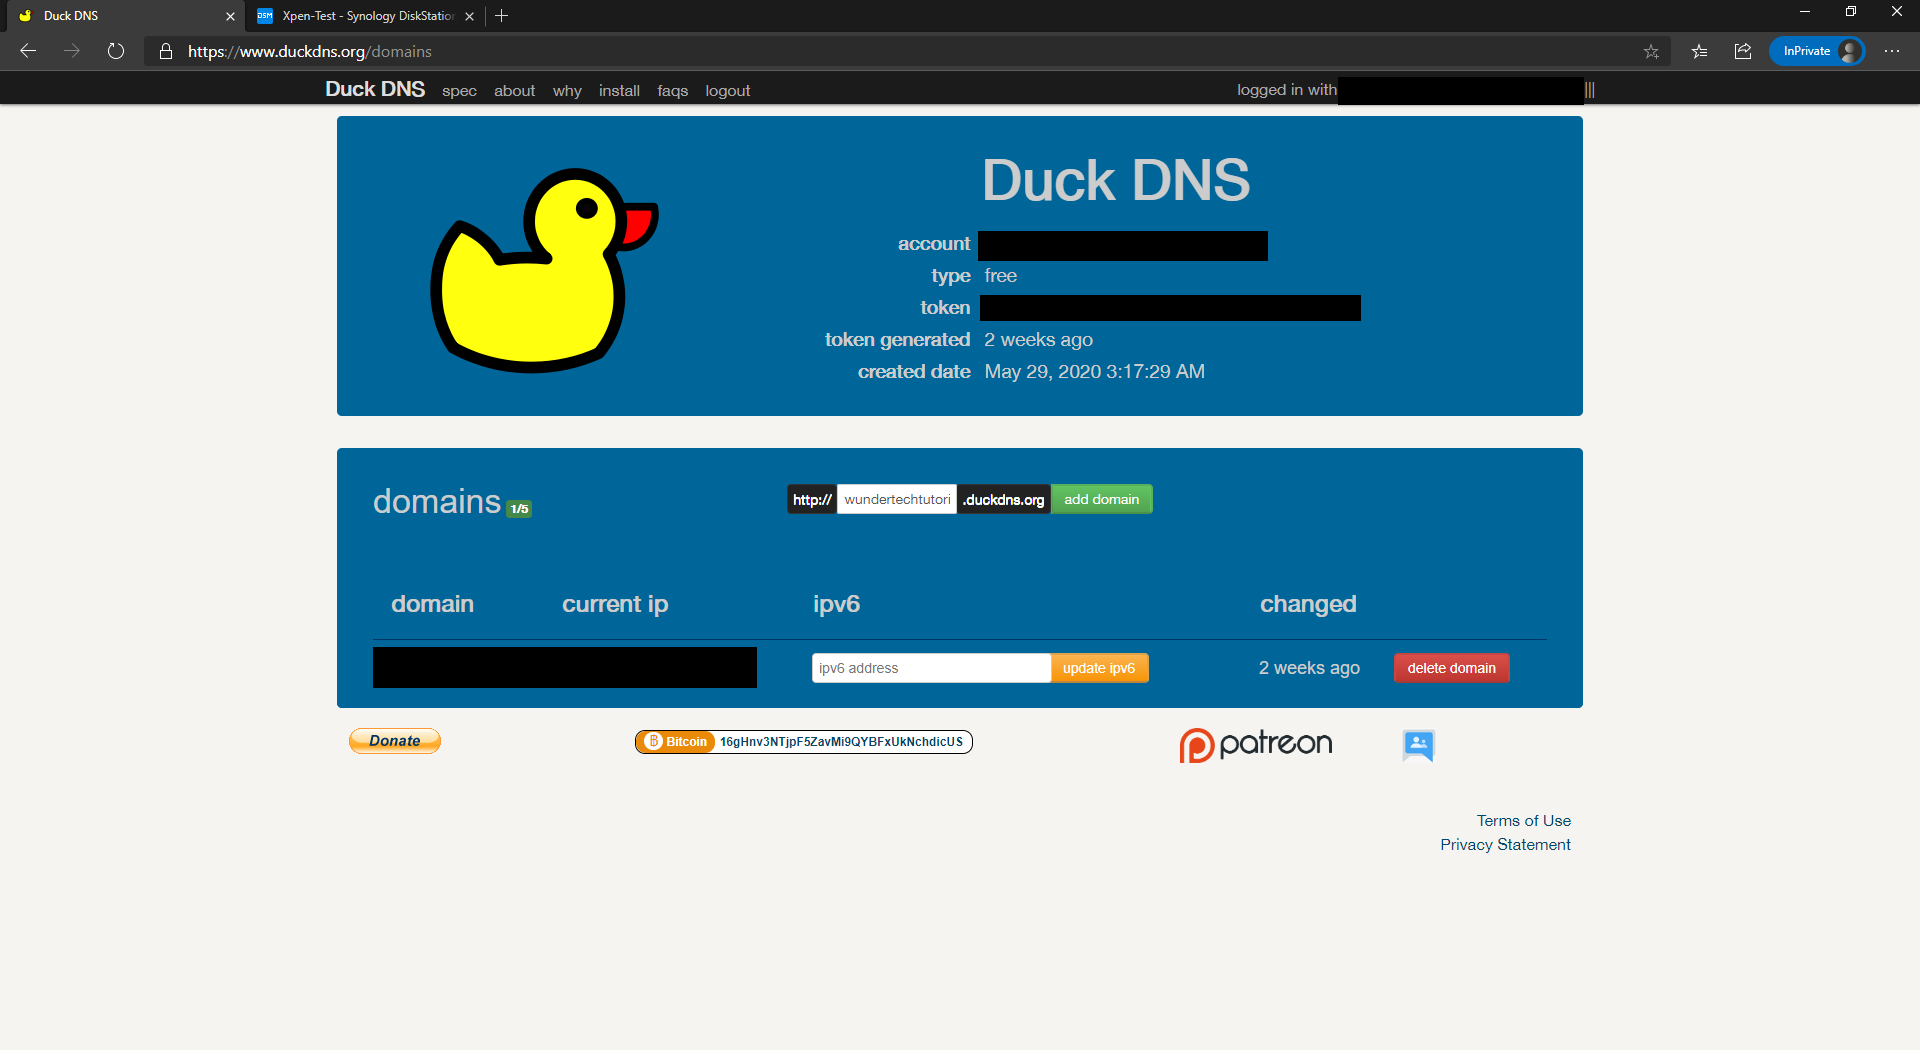
- Login to DuckDNS: https://www.duckdns.org/
- Create a subdomain and click add domain.
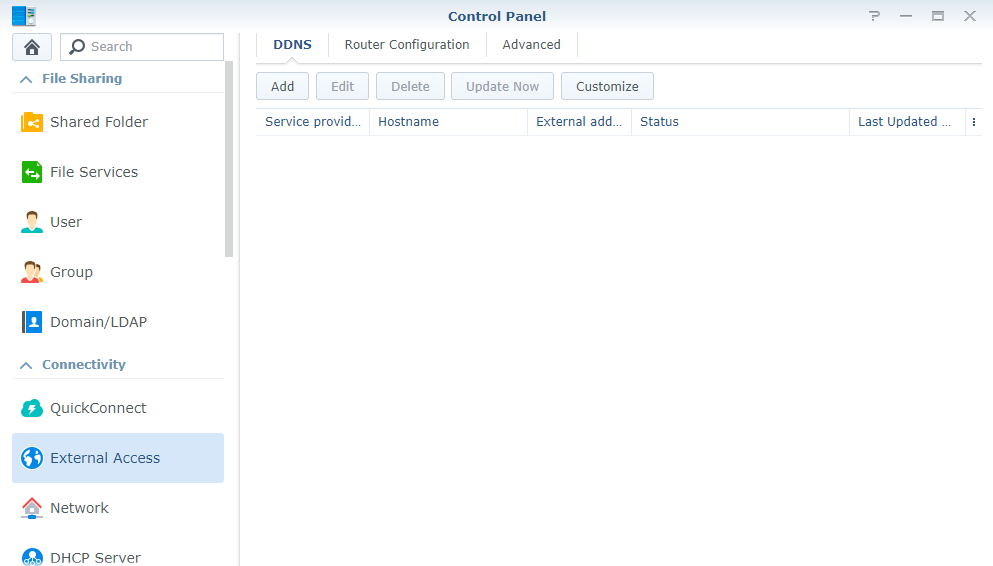
3. Your domain is now created. Go back to Xpenology and navigate to the Control Panel and the select External Access.
4. Select Customize and enter DuckDNS as the Service Provider and the string below (exactly as shown) as the Query URL. Select Save.
https://www.duckdns.org/update?ip=__MYIP__&domains=__HOSTNAME__&token=__PASSWORD__

5. After the Service Provider has been added, select Add. At this point, select the *DuckDNS service provider, enter the full hostname “[sub domain].duckdns.org”, your email address, and the token shown on the DuckDNS webpage as your password.
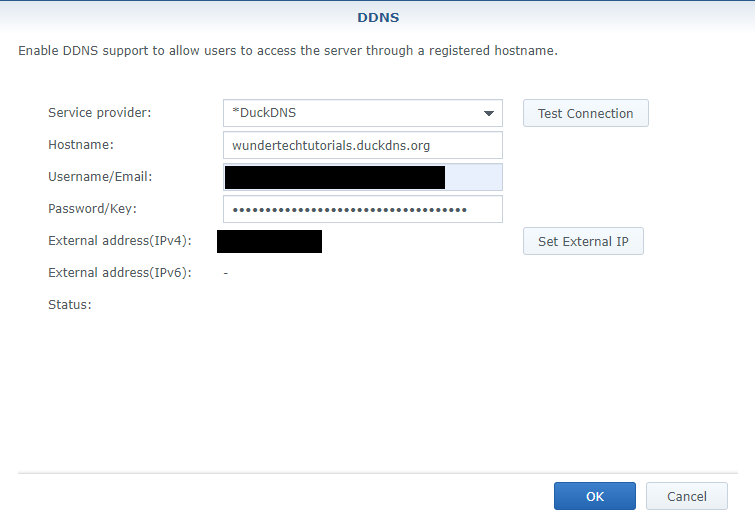
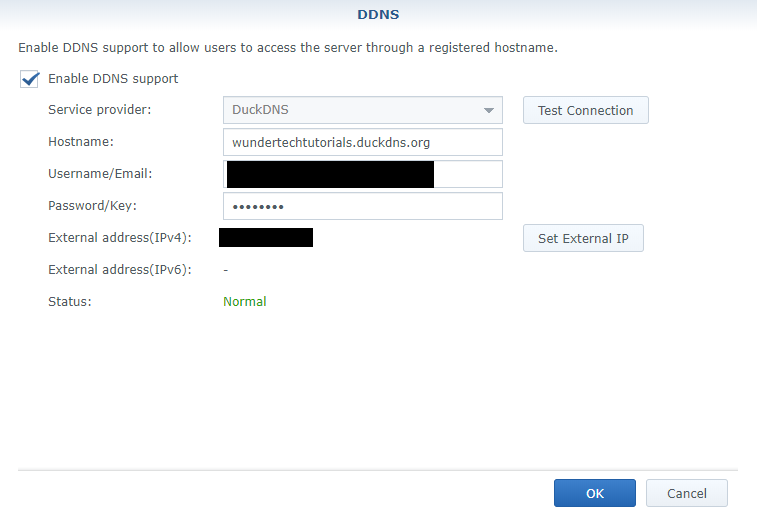
6. Test the connection and if the status returns Normal, select OK.
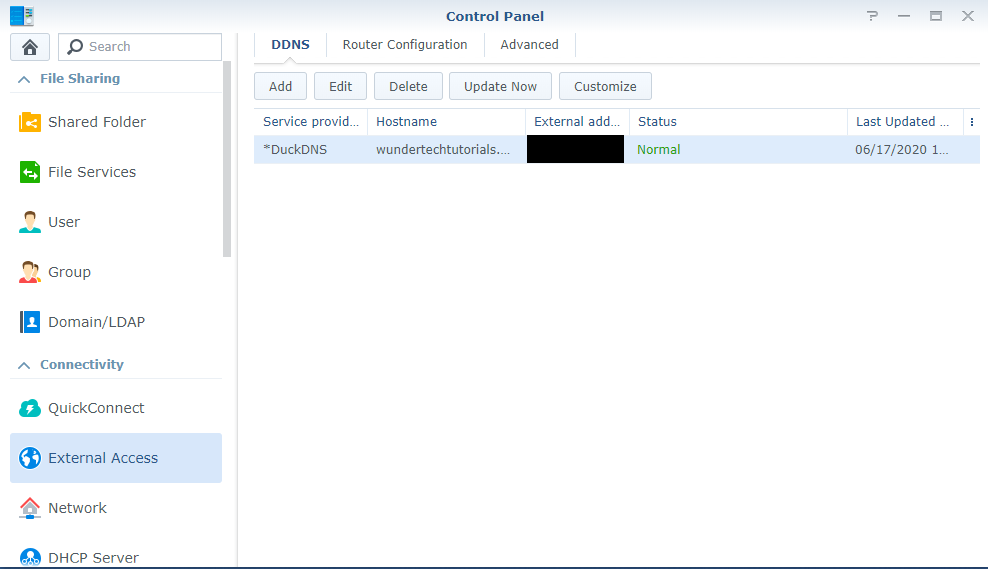
7. DDNS is now configured! Check out our YouTube video to see what this can be used for!
Conclusion
This process is very straight forward and ensures that you are always able to connect to your external IP address. Check out our guide on how to setup OpenVPN as an example of how you can use your DDNS hostname!