In this article, we’re going to look at how to back up to TrueNAS Community Edition with Time Machine, using the most recent macOS. Always remember that for extremely important data, you should follow the 3-2-1 backup rule.
How to Back up to TrueNAS with Time Machine
Step 1: Configure a New Dataset for Time Machine Backups
If you don’t already have a dataset in TrueNAS where you’d like your Time Machine backups to exist, create one by following the steps below.
1. Log in to TrueNAS, then select Dataset and then Add Dataset.

2. Create a Name, then modify any of the Dataset settings you’d like, and Save.
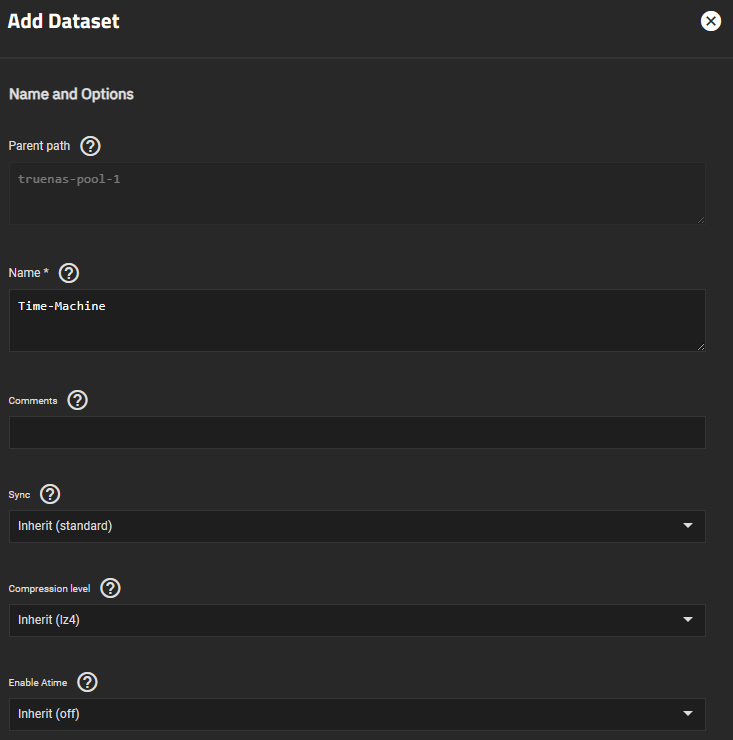
3. Select the SMB Dataset Preset and give the SMB share a name.

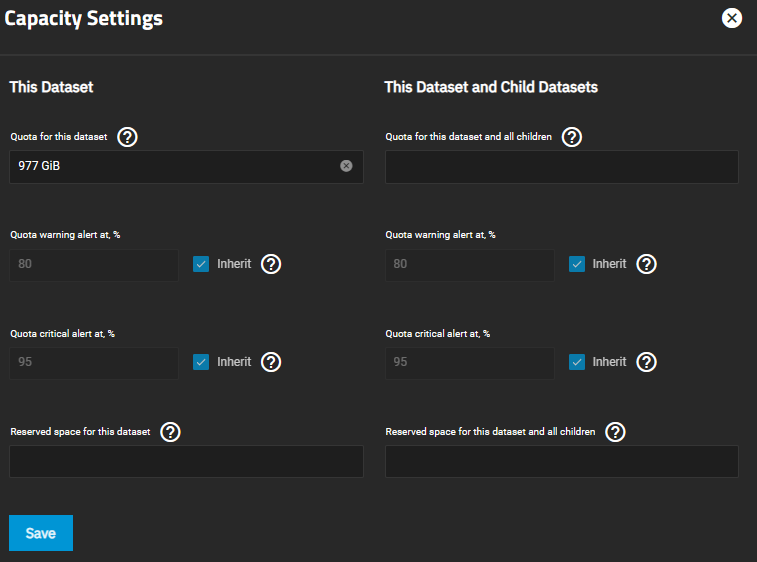
Step 2: Configuring a Quota
By default, Time Machine will use all available space on a NAS. This isn’t ideal if you’re using Time Machine, as it can take up all the space on your NAS. To limit this size, we must set a dataset quota.
1. Select Dataset, then highlight the Dataset and select Edit under Dataset Space Management.

2. Set the quota (default is in MB, so every 1,000 will be equal to 1GB. 1,000,000 = 1TB) then Save. You can also set up custom warnings if you’d like.
Step 3: Modify the SMB Features
With the dataset created, we must modify the SMB settings. create an SMB Share that will be used to access with Time Machine.
1. Select Shares, then find and edit your Time Machine datasets settings (three dots > edit).
2. In the Purpose section, select Time Machine Share.

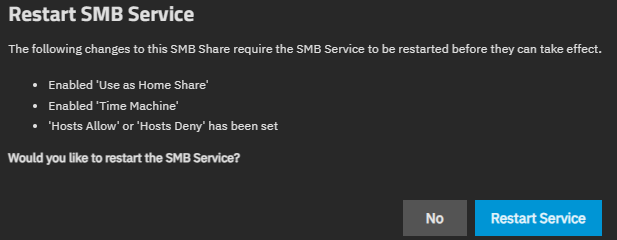
3. Select Save, and you will receive a prompt to restart the SMB service. Select Restart Service.
Step 3: Configuring Time Machine in macOS
Now that TrueNAS is configured, we’re going to connect to TrueNAS.
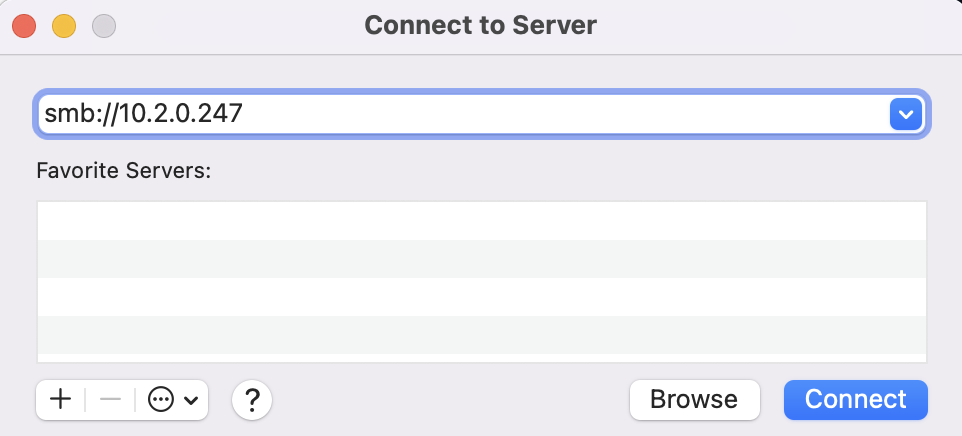
1. On your keyboard in macOS, press Command + K to open the Connect to Server window. Enter the IP address of your TrueNAS server, then press Connect.
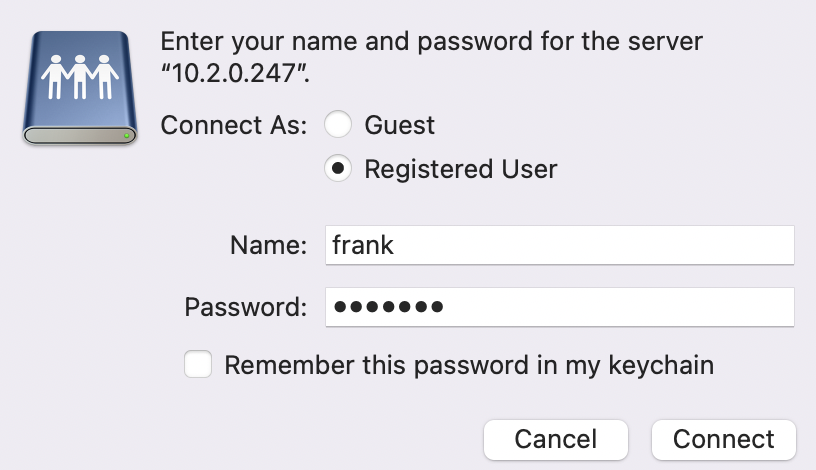
2. Enter the username and password of a TrueNAS user that has access to the dataset, then select Connect.
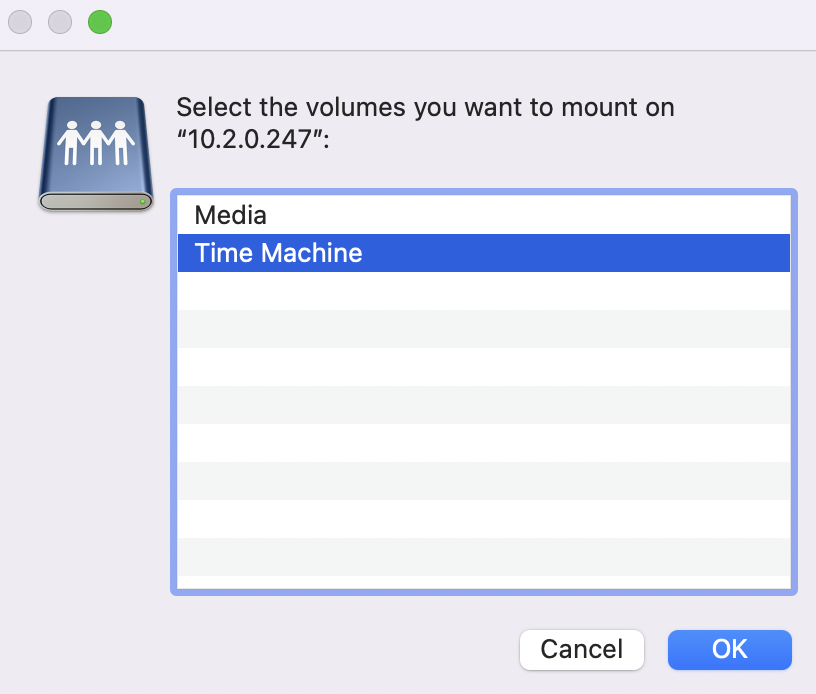
3. Select the Time Machine share, then press OK. After you connect, you can close out of the window. We are doing this so that the Time Machine share is accessible from Time Machine.
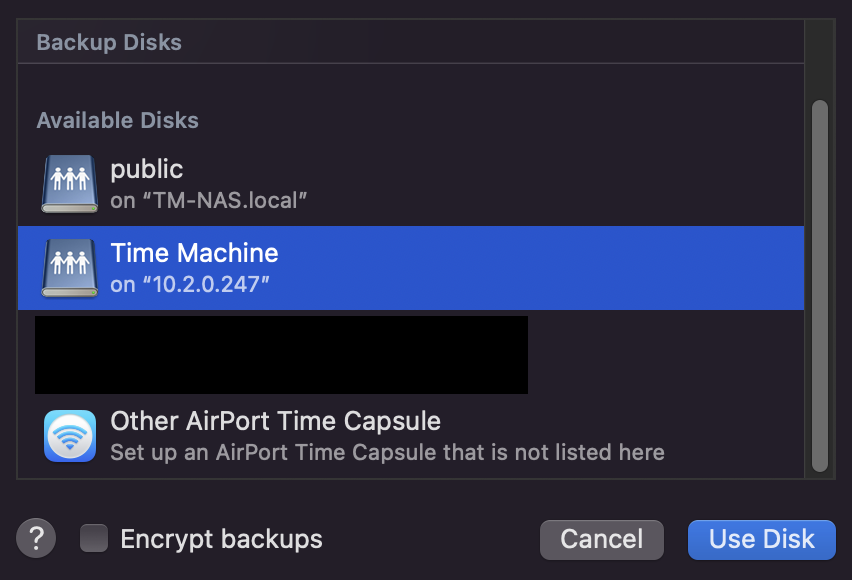
4. Navigate to Settings > General > Time Machine.
5. Select the plus arrow and your TrueNAS Time Machine folder should pop up. Select Use Disk.
NOTE: If you’d like to encrypt the backup, you can select Encrypt backups. A password will be required at a later step to encrypt the backup.
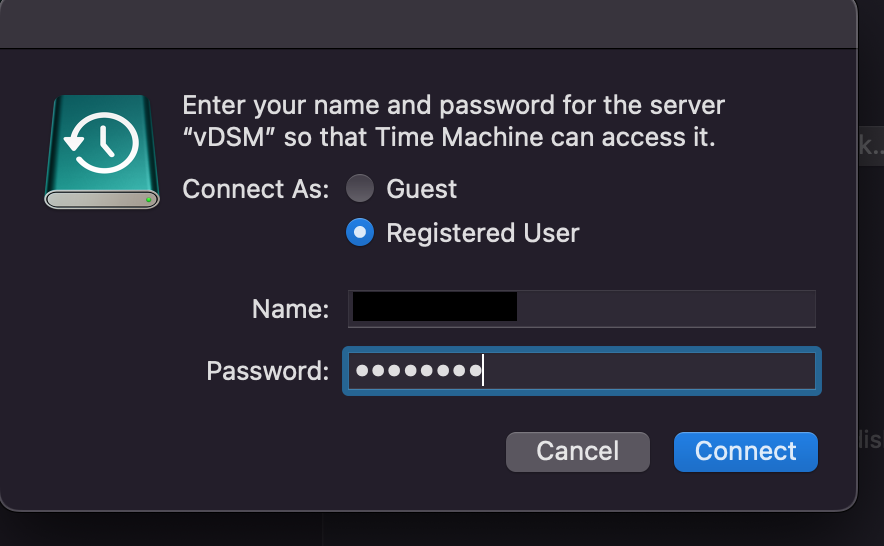
7. You should receive a pop-up asking you to connect. Select Connect, then at the next step, enter the user and password that you’d like to use to connect to your dataset. This will be a TrueNAS user, so you must ensure that the user you’re connecting with has permission to the Time Machine folder.
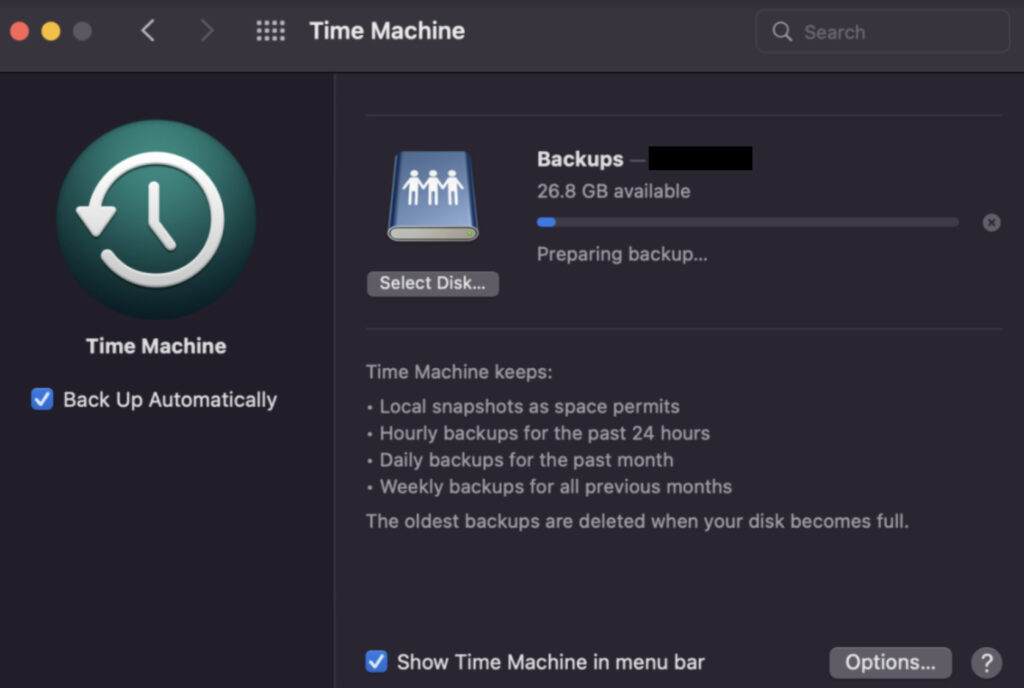
8. Your backup will now run! Depending on how large your system is, it will take some time to fully back up from macOS to TrueNAS.
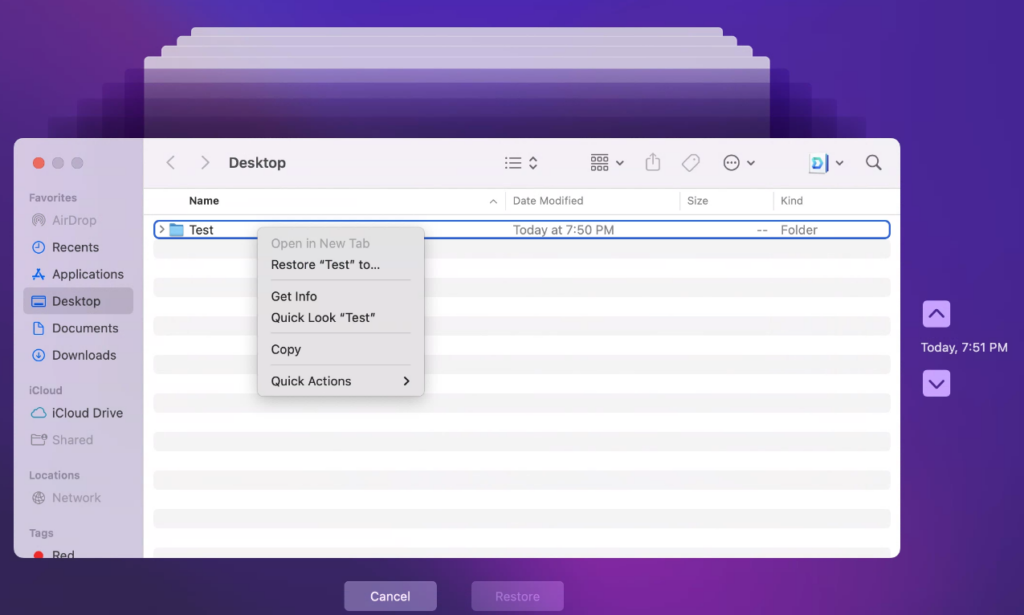
Step 4: Restoring Files with Time Machine
Now that Time Machine has been set up on TrueNAS, we can restore files from it if we ever need to. I am not going to discuss how to restore an entire Mac, however, we’ll look at how to restore individual files below.
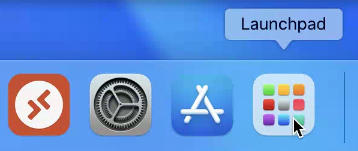
1. Open Launch Pad.
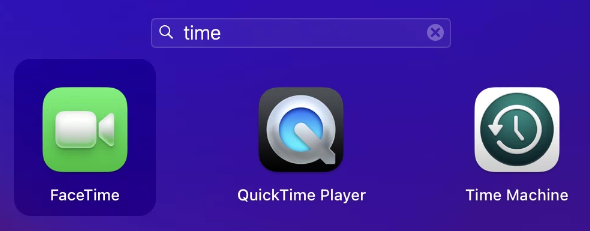
2. Search for Time Machine and launch the application.
3. A window will open up with your backed-up files. You’ll be able to use the slider on the right-hand side to navigate through your past backups and can right-click and restore (or use the restore button at the bottom) to restore any folders/files desired.