Pi-hole is a DNS-level ad blocker that filters ads and trackers for every device on your network — and your Synology NAS is one of the best places to run it since it’s online 24/7.
This guide walks through the full setup using Container Manager and a macvlan network interface, which is the right approach here because ports 80, 443, and 53 are often occupied by other Synology packages on the default bridge network.
The short answer: You’ll create a macvlan network so Pi-hole gets its own dedicated IP on your LAN, deploy it via Docker Compose in Container Manager, then point your router’s DNS to that IP. Every device on your network routes DNS through Pi-hole automatically.
I ran Pi-hole on a Synology NAS for close to five years without issues. If you want to go further after this, there’s also a guide on how to set up Pi-hole and Unbound on Docker for recursive DNS resolution.
What Is Pi-hole?
Pi-hole sits between your devices and your DNS resolver. When a device makes a DNS request, Pi-hole checks it against blocklists — if the domain matches an ad or tracker, the request is blocked. If it doesn’t, the request goes through normally. The result is network-wide ad blocking without installing anything on individual devices.
It’s not a perfect filter — some ads slip through, and occasionally a legitimate domain gets blocked — but it’s one of the most effective and low-overhead options available. If you’re also considering running it on dedicated hardware, our Pi-hole on Raspberry Pi setup covers that.
How to Set Up Pi-hole on a Synology NAS
The setup has four parts: create the folder structure, deploy the container using Docker Compose, access the admin interface, and update your DNS settings.
If you’re new to Container Manager on Synology, the Container Manager overview is worth reading first.
Create the Pi-hole Folder Structure
1. Install Container Manager from Synology’s Package Center.
This automatically creates a shared folder called docker on your NAS.
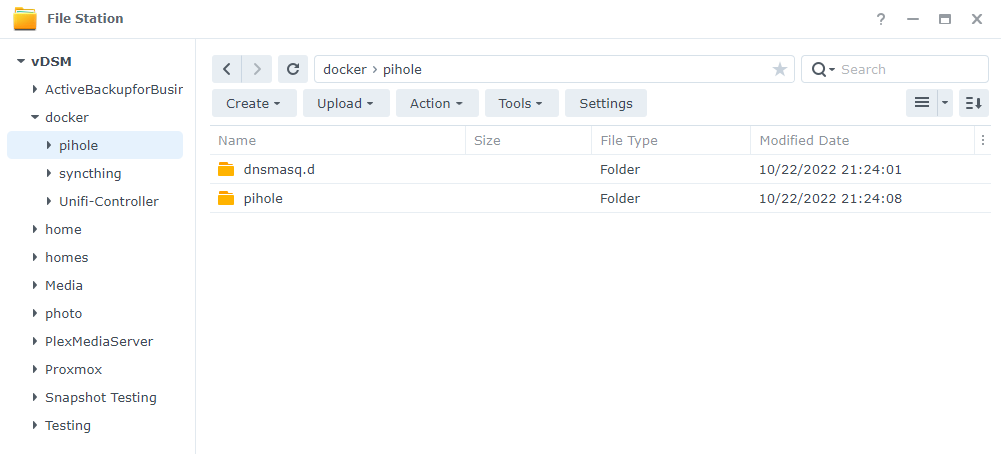
2. Inside the docker folder, create a folder named pihole.
Inside that folder, create two subfolders: pihole and dnsmasq.d. These are the two directories the container will mount for persistent configuration storage.
Deploy the Pi-hole Container
You’ll use a Docker Compose file to create the container. Before you do, you need two pieces of information from your NAS: the network interface name and your NAS’s current IP address.
1. Connect to your NAS via SSH and run ifconfig.
This lists your network interfaces. Find the one associated with your NAS’s IP address — it’s typically eth0, but it may differ depending on your hardware.

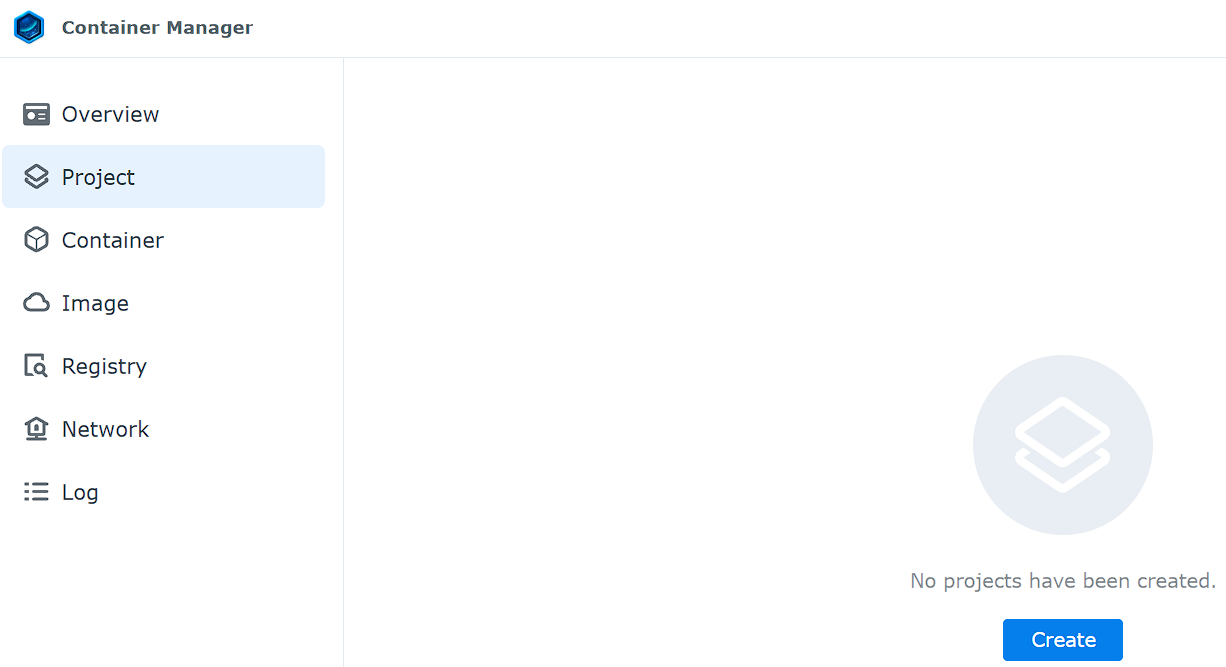
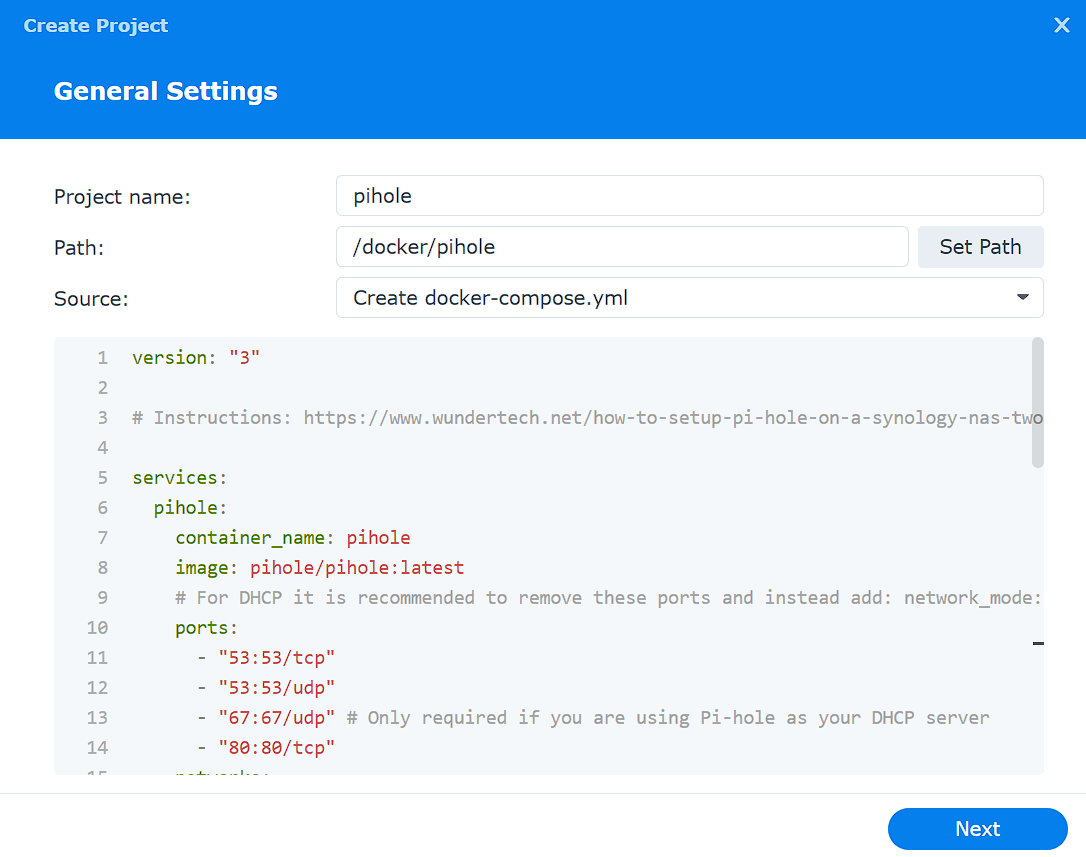
2. Open Container Manager, select Project, then select Create.
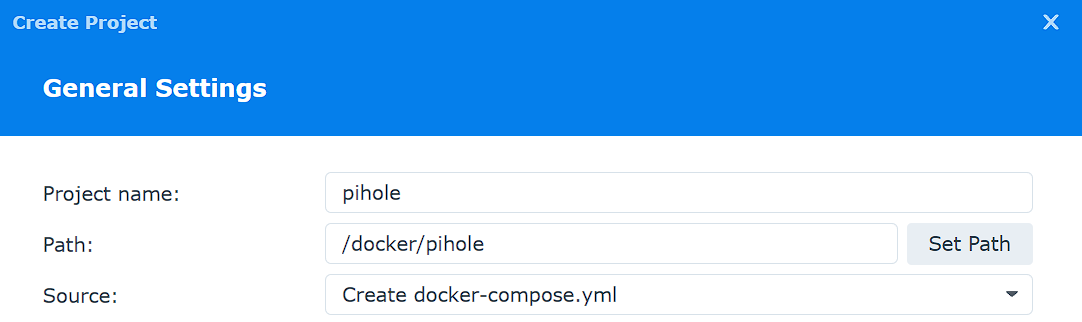
3. Enter pihole as the Project Name, select the pihole folder, then select Create docker-compose.yml.
4. Paste the Docker Compose file below into the editor, then update the values marked with comments.
There are four things to change before running this:
parent: eth0— replaceeth0with your actual interface name fromifconfig192.168.1.198— the IP address you want to assign to Pi-hole on your network (pick something outside your DHCP range)192.168.1.0/24and192.168.1.1— your actual subnet and gatewayFTLCONF_webserver_api_password— set a real passwordTZ— set your timezone (e.g.,America/New_York)
version: "3"

services:
  pihole:
    container_name: pihole
    image: pihole/pihole:latest
    ports:
      - "53:53/tcp"
      - "53:53/udp"
      - "67:67/udp"
      - "80:80/tcp"
    networks:
      ph_network:
        ipv4_address: 192.168.1.198
        priority: 1000
      ph_bridge:
        ipv4_address: 192.168.100.2
        priority: 900
    environment:
      TZ: 'America/Chicago'
      FTLCONF_webserver_api_password: 'password'
      DNSMASQ_LISTENING: local
    volumes:
      - '/volume1/docker/pihole/pihole:/etc/pihole'
      - '/volume1/docker/pihole/dnsmasq.d:/etc/dnsmasq.d'
    cap_add:
      - NET_ADMIN
    restart: unless-stopped

networks:
  ph_bridge:
    driver: bridge
    ipam:
      config:
        - subnet: 192.168.100.0/24
          gateway: 192.168.100.1
          ip_range: 192.168.100.2/32
  ph_network:
    name: ph_network
    driver: macvlan
    driver_opts:
      parent: eth0
    ipam:
      config:
        - subnet: 192.168.1.0/24
          ip_range: 192.168.1.0/24
          gateway: 192.168.1.1
5. Select Next, then Done to create the container.
The container will pull the Pi-hole image and start. This may take a minute or two depending on your connection.
Access the Pi-hole Admin Interface
Once the container is running, open a browser and go to:
http://[PH_NETWORK_IP_ADDRESS]/adminReplace [PH_NETWORK_IP_ADDRESS] with the IP you assigned in the Docker Compose file (192.168.1.198). Log in with the password you set for FTLCONF_webserver_api_password.

From here you can review the default blocklists, add custom lists, and start monitoring DNS traffic across your network.
Point Your Router’s DNS to Pi-hole
Pi-hole only blocks ads for devices that are actually using it as their DNS server. The easiest way to cover your whole network is to update the DNS server setting in your router.
Log in to your router’s admin interface and find the DNS settings — usually under WAN, LAN, or DHCP settings, depending on the router. Set the primary DNS to the Pi-hole IP address (e.g., 192.168.1.198).
Every device that gets its network config from your router’s DHCP will now use Pi-hole automatically. If you only want specific devices using Pi-hole, you can set the DNS manually on those devices instead of at the router level.
Synology NAS Communicating with Pi-hole (Bridge Network Interface)
Here’s the thing — your Synology NAS itself cannot communicate with Pi-hole over the macvlan interface. This is a known macvlan limitation: the host cannot reach containers on the macvlan network directly.
That’s why the Docker Compose file includes a second network (ph_bridge) using a standard bridge driver. The IP address for this bridge interface is 192.168.100.2. If you want the NAS itself to use Pi-hole as its DNS server, configure it to use 192.168.100.2 — not the macvlan IP.
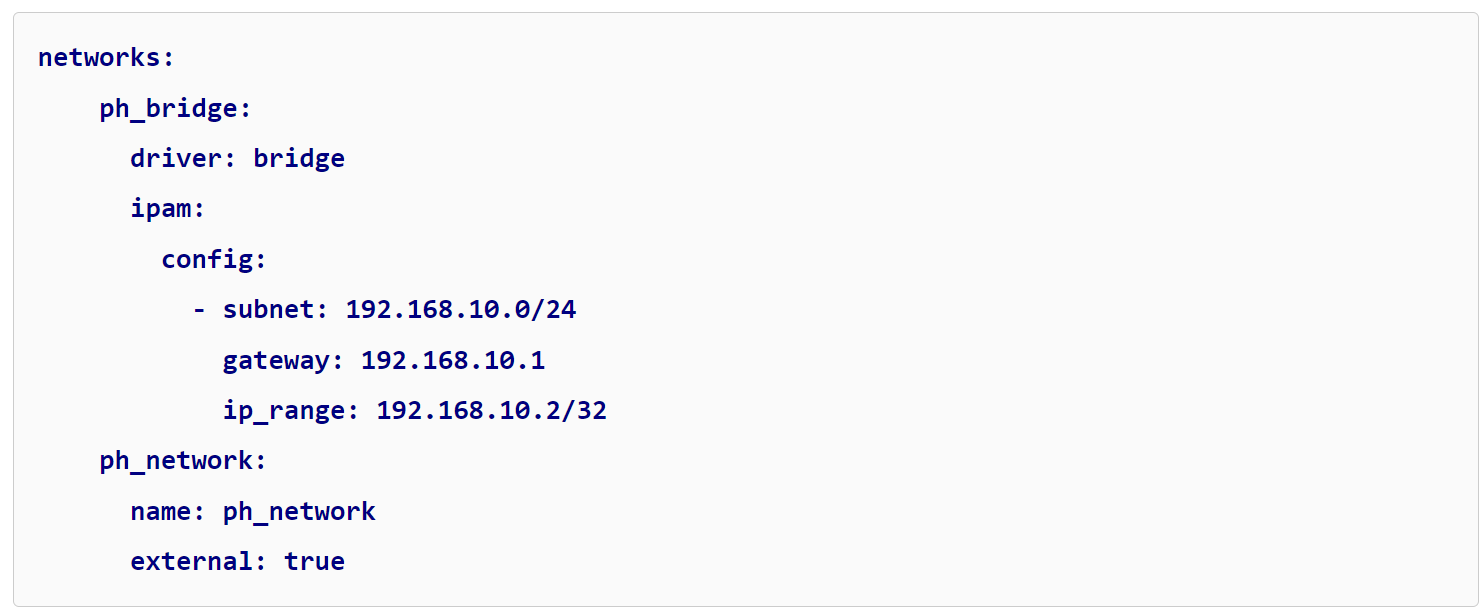
Any other device on your network should use the macvlan IP (192.168.1.198). The bridge address is only for the NAS itself.
FAQ
What is Pi-hole and how does it work on a Synology NAS?
Pi-hole is a DNS-level ad blocker that filters ad and tracker domains before they reach your devices. On a Synology NAS, it runs as a Docker container in Container Manager. Your router points DNS queries to the Pi-hole IP, and Pi-hole decides whether to allow or block each request based on its blocklists.
Why use macvlan instead of the default bridge network for Pi-hole?
Ports 53, 80, and 443 are commonly used by other Synology packages, which means Pi-hole can’t bind to them on the default bridge network without conflicts. A macvlan network gives Pi-hole its own dedicated IP address on your LAN, so it gets exclusive access to those ports.
What IP address should I assign to Pi-hole?
Pick a static IP outside your router’s DHCP range. For example, if your DHCP pool is 192.168.1.100–192.168.1.200, something like 192.168.1.198 or 192.168.1.10 works well. The important thing is that it doesn’t conflict with another device and won’t be handed out by DHCP.
Why can’t my Synology NAS reach Pi-hole on the macvlan IP?
Macvlan is a known limitation — the host machine (in this case, the NAS) cannot communicate with containers on a macvlan network. The Docker Compose file in this guide creates a second bridge network (192.168.100.2) specifically so the NAS can reach Pi-hole. Use that IP if you want the NAS itself to use Pi-hole for DNS.
Do I need to configure Pi-hole on every device individually?
No — if you update the DNS setting in your router to point to the Pi-hole IP, every device using that router’s DHCP will automatically route DNS through Pi-hole. You’d only configure devices individually if you want selective coverage.
Will Pi-hole block all ads?
No. Pi-hole blocks ads at the DNS level, which means it can’t block ads that are served from the same domain as the content you’re viewing (like some YouTube ads). It’s effective for most display and third-party ads, but it’s not a complete solution on its own. Most users find it eliminates the majority of ads across their network.
How do I update Pi-hole after setup?
Pull the latest pihole/pihole image and recreate the container. Your configuration is stored in the mounted volumes (/volume1/docker/pihole/pihole and /volume1/docker/pihole/dnsmasq.d), so nothing is lost when you update. Container Manager’s Project view makes this straightforward.
Can I run Pi-hole on a Synology NAS without SSH access?
You need SSH to run ifconfig and get your network interface name — that’s a required step before deploying the Docker Compose file. If you don’t have SSH enabled, check how to find your NAS on the network and enable SSH from DSM’s Control Panel under Terminal & SNMP.