In this article, we will look at how to set up Tailscale on OPNsense.
Tailscale is a zero-configuration VPN, which means that without any port forwarding, you’ll be able to access all the devices on your local network. If you’re using OPNsense, it’s a great location to run Tailscale.
Please keep in mind that if you’d like to utilize a more traditional VPN, you can still set up OpenVPN or WireGuard. However, both of these options require port forwarding, whereas Tailscale doesn’t. From a pure configuration standpoint, Tailscale is incredibly easy to set up and we’ll look at how to set up Tailscale on OPNsense below.
Before we proceed, I want to be clear that there is no package or plugin for Tailscale on OPNsense. Therefore, we will be utilizing SSH.
How to Set Up Tailscale on OPNsense
We will look at how to set up Tailscale on OPNsense below.
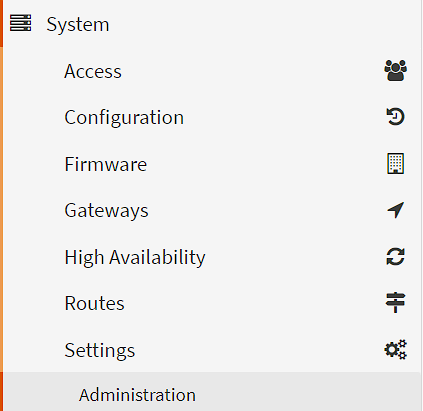
1. As mentioned above, there is no package for Tailscale on OPNsense. In order to get it running, we must SSH into our OPNsense device. Select System, then Settings, then Administration.
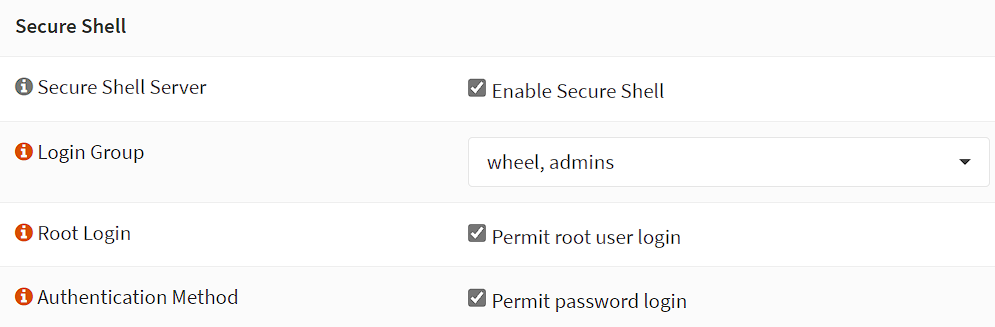
2. Under Secure Shell, enable the three options below:
- Enable Secure Shell
- Permit Root User Login
- Permit Password Login
When you are finished setting up Tailscale, DISABLE ALL THREE OPTIONS ABOVE!
3. SSH into OPNsense using your favorite SSH client or by running the command below in Windows PowerShell or the MacOS Terminal.
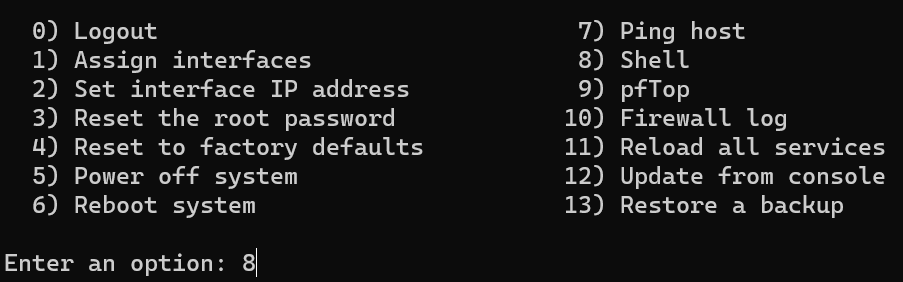
ssh root@[OPNSENSE_IP]4. Enter 8 to access the Shell.
5. Run the commands below, step by step, in order (one line at a time).
opnsense-code ports
cd /usr/ports/security/tailscale
make install
6. After Tailscale is fully installed (it will take a few minutes), run the commands below to enable, start, and bring up the Tailscale tunnel.
NOTE: If you would like to advertise a local subnet (so that you can access it from outside of your local network), add the advertise routes section below with the subnet that you’d like to use.
If you’d like to advertise an exit node (explained in a later step for a full-tunnel VPN), you must use the exit node section below.
service tailscaled enable
service tailscaled start
tailscale up --advertise-routes=[SUBNET] --advertise-exit-node
Example using a Local Subnet

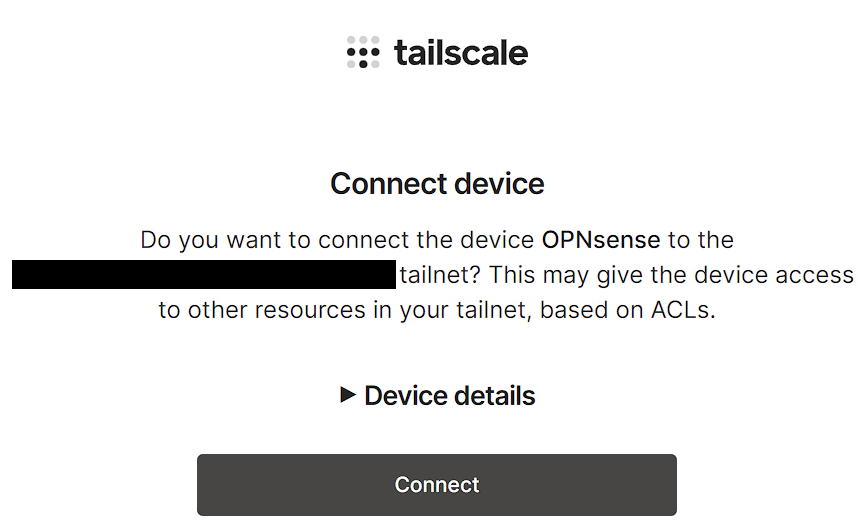
7. At the bottom of the screen above, a URL will be listed. Navigate to that URL.

8. After navigating to the webpage and logging in, select Connect to connect OPNsense to your Tailscale account.
9. Head back to OPNsense, select Interfaces, then Assignments, and add the Tailscale interface.

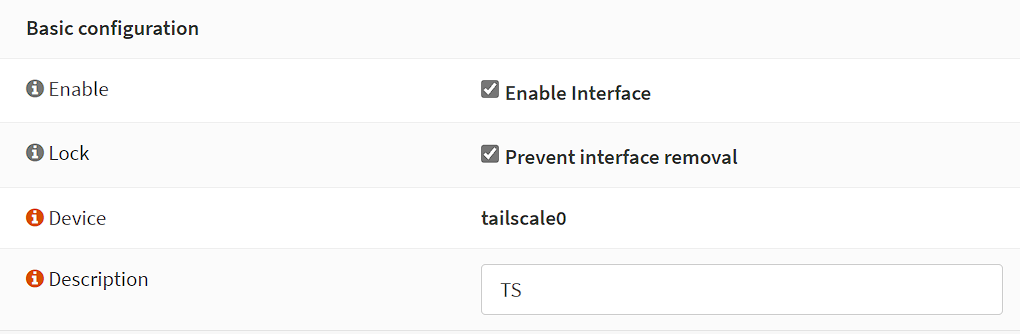
10. After adding the interface, select the name, then enable the interface and prevent interface removal. Give it a description, then save and apply.
Exit Node/Subnet Routes – How to Set Up Tailscale on OPNsense
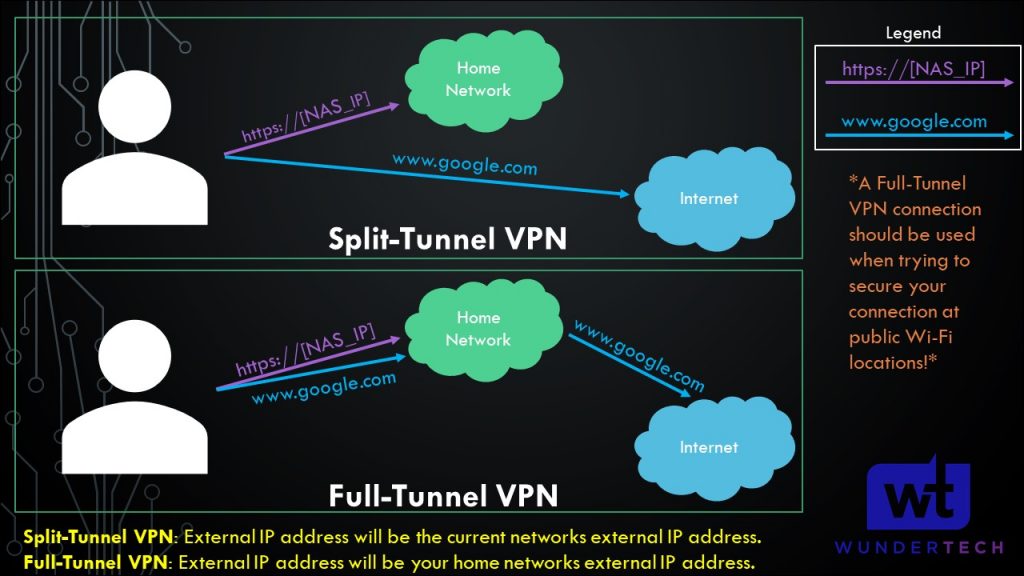
If you set up Tailscale as an Exit Node, the Exit Node can be used as a full-tunnel VPN. The image below shows what a full-tunnel vs split-tunnel VPN is, but the important point is that all traffic will be routed through Tailscale if you use an exit node.
Therefore, if you’re on public Wi-Fi, it’s probably a good idea to use this feature as you’ll be tunneling all traffic through Tailscale (thus, securing the connection).
A few things must be configured to set this an exit node in Tailscale:
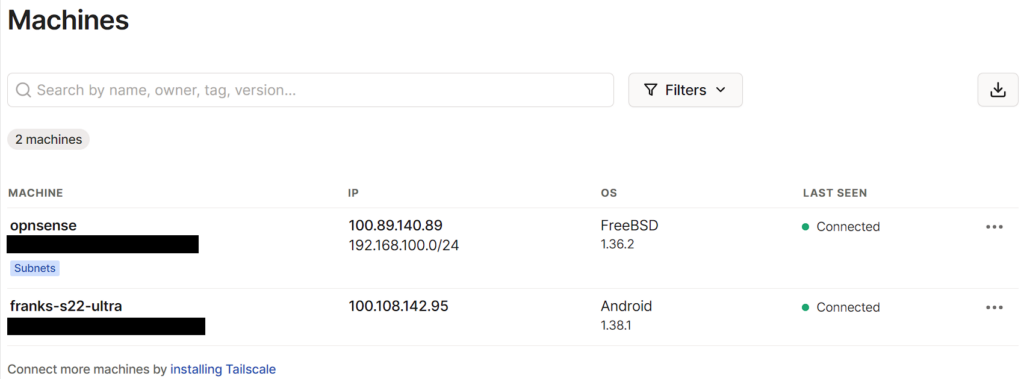
1. On the Tailscale website, select Machines, then the three ellipses next to your OPNsense system, then Edit Route Settings.
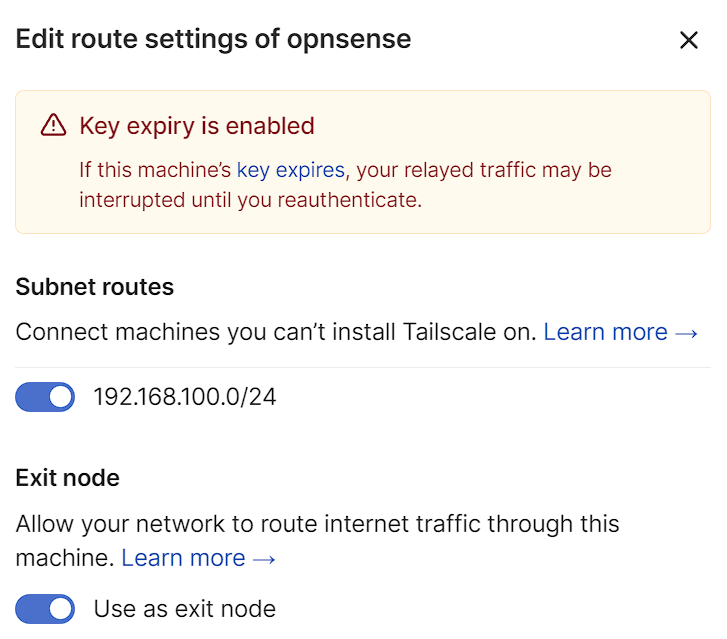
3. If you want to use a full-tunnel VPN, enable the subnet route and use as exit node. This will configure a full-tunnel VPN.
If you only want to use a split-tunnel VPN (meaning only being able to access the 192.168.100.0/24 subnet in the screenshot below), select that option, but do not select the “use as exit node” option.
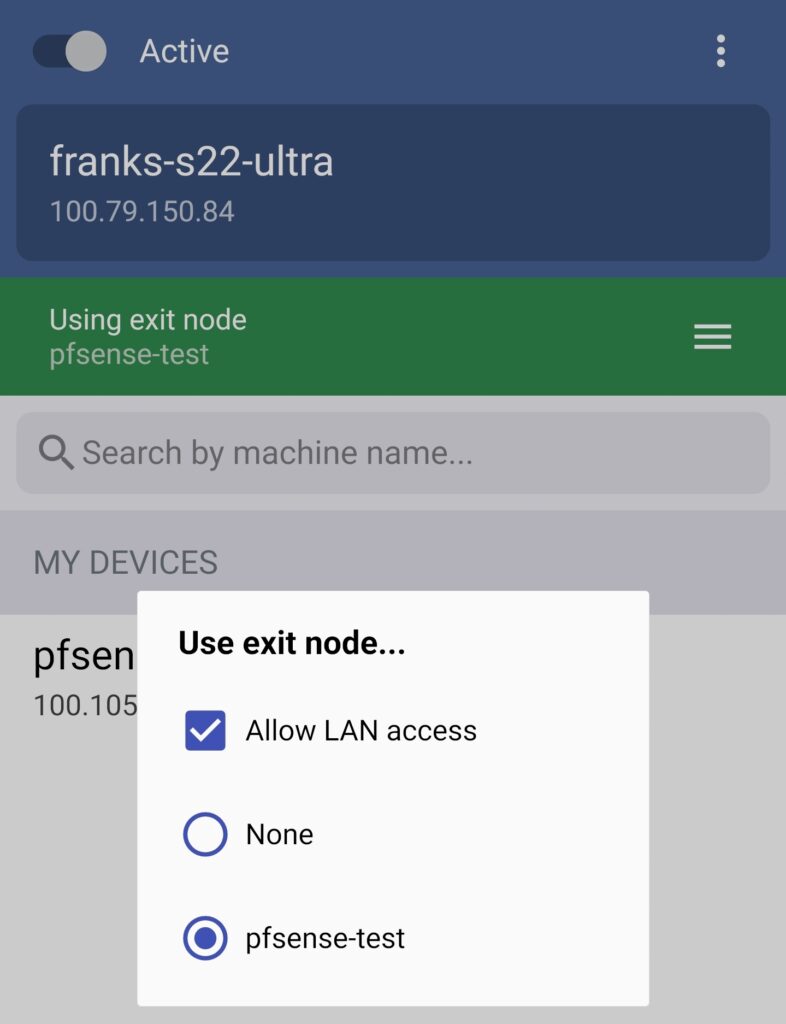
4. If you want to use an exit node, select Use Exit Node (on whatever application you’re using) and change the exit node to the Docker machine.
If you do not want to use the exit node, select None, but ensure that Allow LAN Access is enabled so that you’re able to connect to your local devices.
NOTE: The screenshot below uses pfSense, but it’ll be the same for your OPNsense configuration.
5. Tailscale is now configured! You can now add other devices or simply connect to Tailscale from an external network to access all of your local devices.
Make sure you go back into OPNsense and disable SSH.
Conclusion: How to Set Up Tailscale on OPNsense
This tutorial looked at how to set up Tailscale on OPNsense. Tailscale is slightly more confusing to set up on OPNsense than other operating systems (due to the fact that there’s no package/plugin on OPNsense), but it’s still one of the easiest and fastest ways of setting up a VPN server on OPNsense.
It is important to note that this isn’t a traditional VPN the way that OpenVPN or WireGuard is, but it’s the fastest way to access your local network and doesn’t require any port forwarding.