In this tutorial, we’re going to take a look at how to set up Proxmox Backup Server. Proxmox Backup Server (PBS) is an enterprise backup solution that allows you to back up and restore virtual machines (VMs), containers, and physical hosts. PBS supports incremental and deduplicated backups, which is a fancy way of saying that the storage space will be optimized and the same files won’t be stored twice. This helps to conserve hard drive space on the device running.
Proxmox Backup Server can be run in a Proxmox host, though it’s probably a good idea to install it on bare metal on a separate server (or at least a separate Proxmox server). This way, you have your Proxmox hypervisor backing up to your Backup Server.
If you have a Synology NAS and would like to use a simple solution like NFS, please check out our tutorial!
How to Set Up Proxmox Backup Server
We’re going to walk through the process of setting up Proxmox Backup Server, configuring it, backing up a VM, then restoring it.
Step 1: Installing Proxmox Backup Server
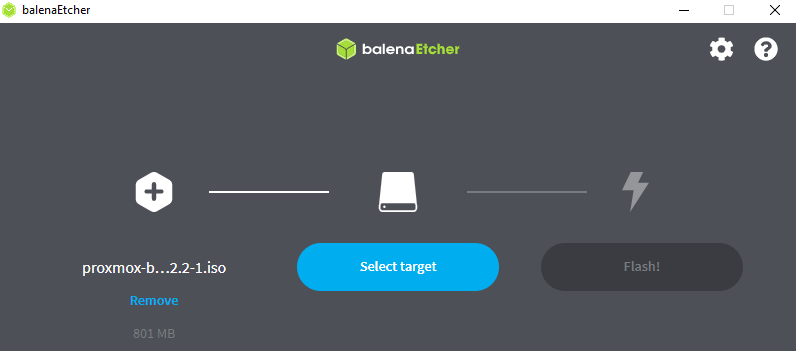
1. Download the latest Proxmox Backup Server ISO image and create a bootable USB stick using Etcher.
2. After it’s done writing, you’ll have to boot your machine from this USB stick. Every machine will be different, but if you’re having trouble, enter the BIOS and make sure that you can boot from USB.
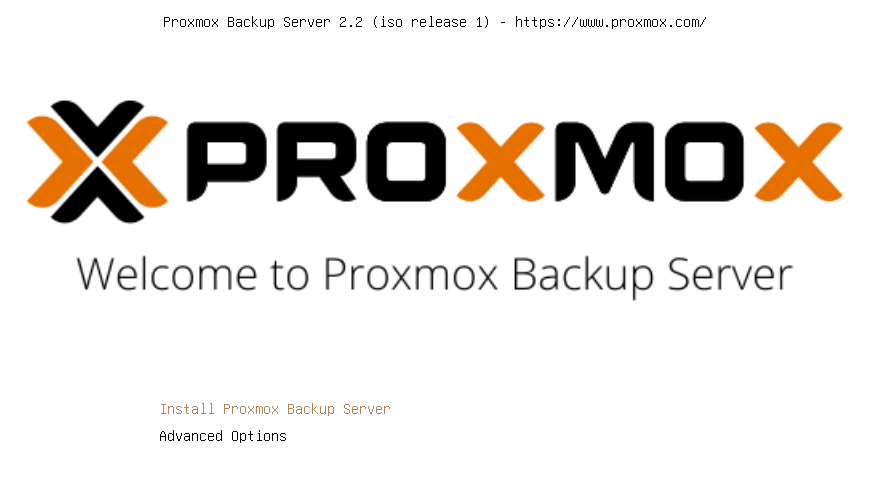
3. After the installer boots, select Install Proxmox Backup Server.
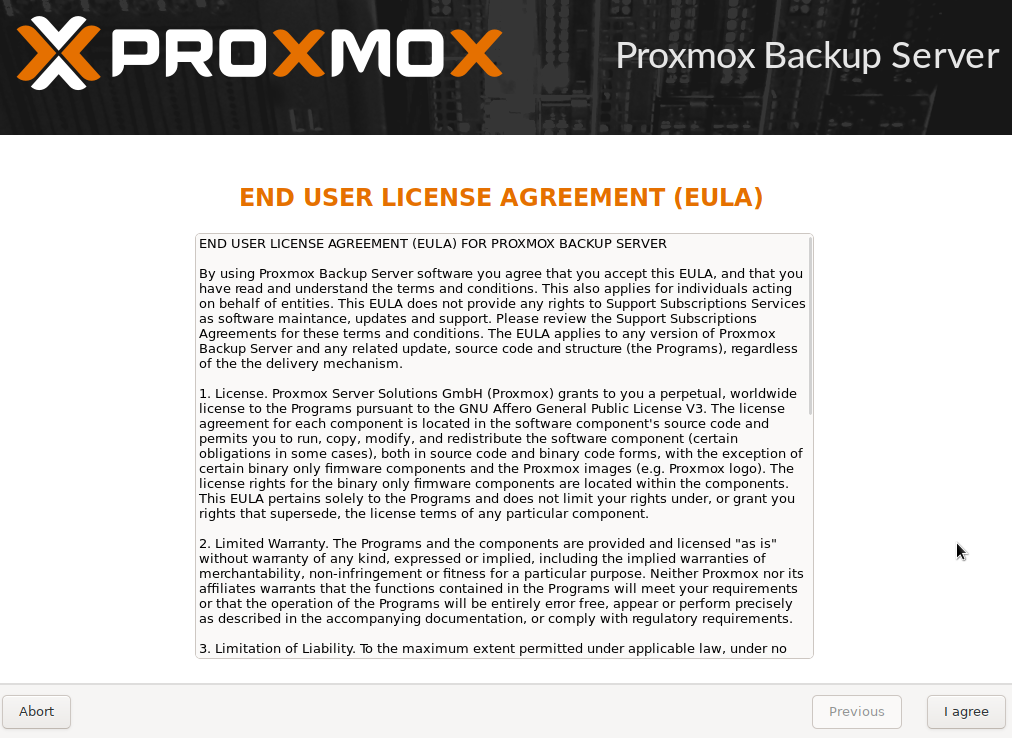
4. The installer will load and after a few seconds, bring you to the end-user license agreement. If you agree, select I agree.
5. Select the target hard disk you’d like to use and the filesystem type by selecting options. You can utilize RAID by using ZFS if you’d like. I’ll be using Ext4 in this tutorial. Select next after your hard disk settings are configured.

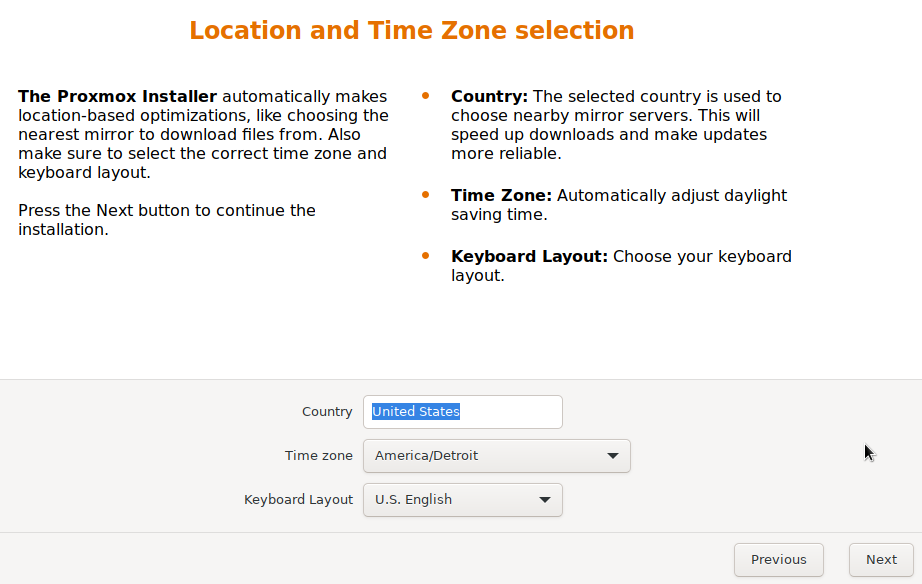
6. Select your country, time zone, and keyboard layout, then select next.
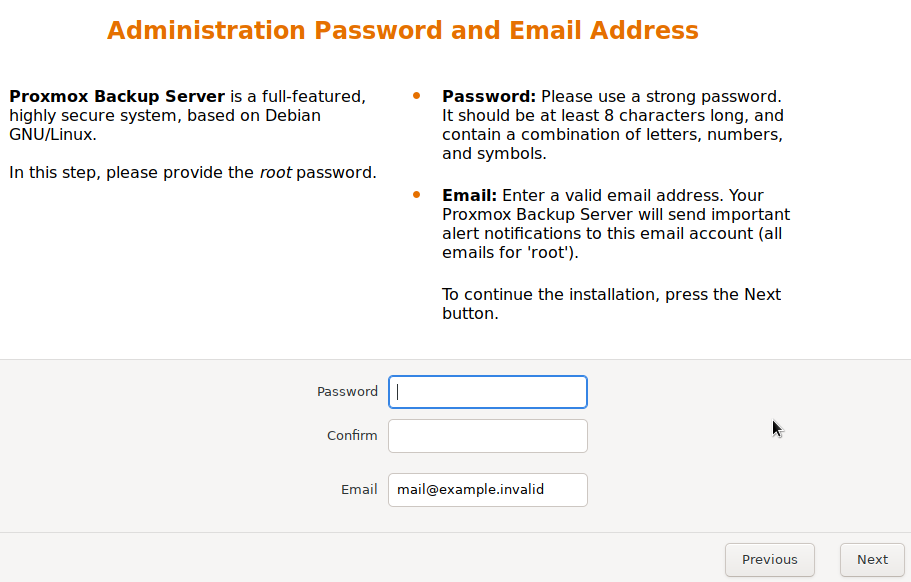
7. Create a password and enter your email address, then select next.
8. Enter the hostname you’d like to use as well as an IP address, then select next.

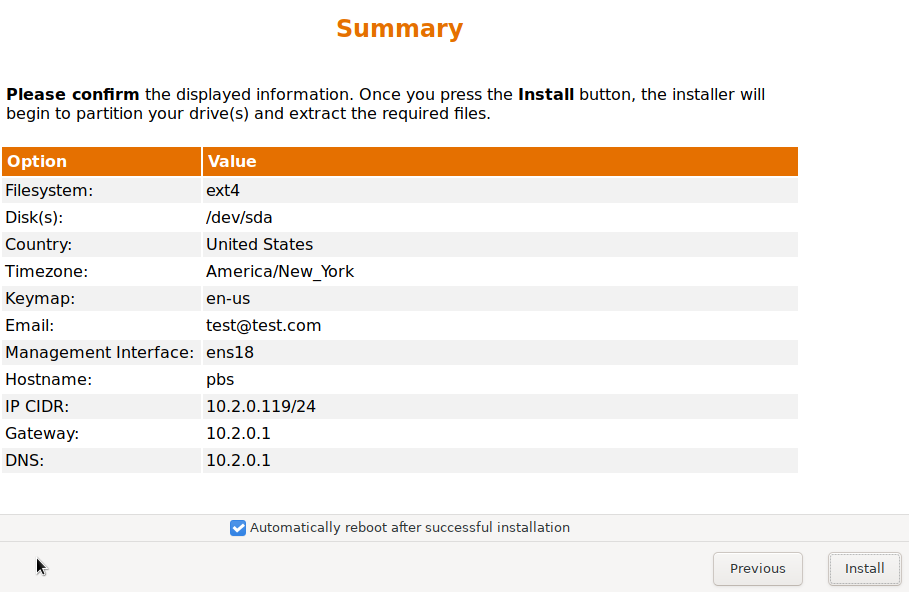
9. Confirm all the settings that you entered, then select install!
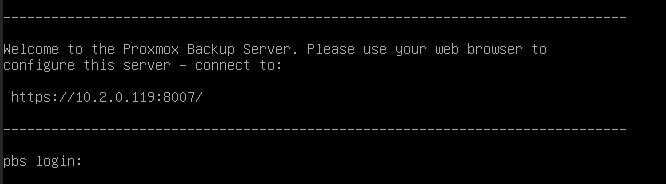
10. The process will take a little while, but the operating system will reboot when it’s finished installing! After it fully boots up, you can navigate to the web management interface by using the IP address selected and port 8007.
https://BACKUP_SERVER_IP:8007
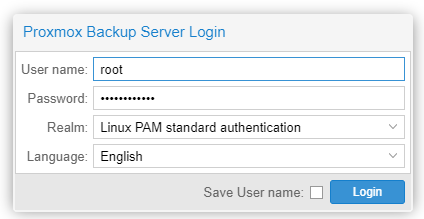
11. Login with the username root and the password that you created earlier.
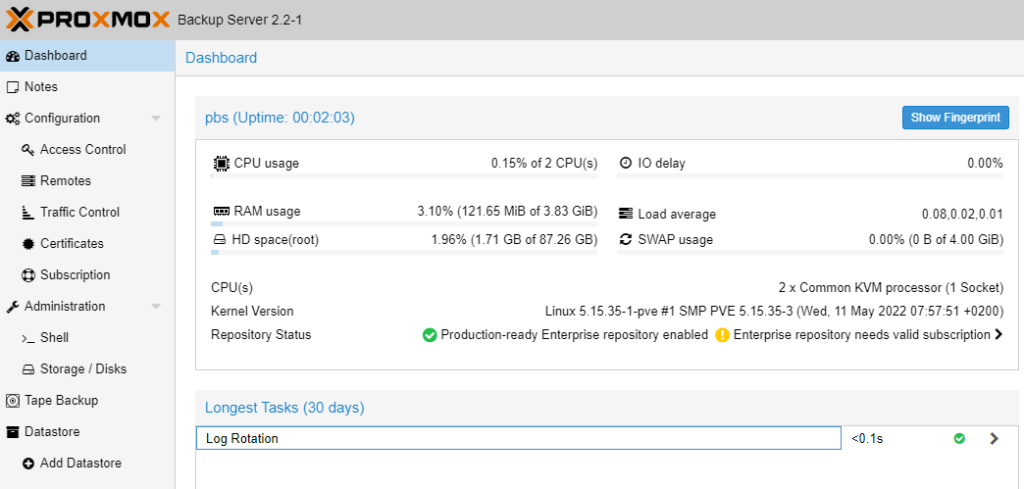
12. Proxmox Backup Server is now installed!
Step 2: Adding the PBS Storage to Proxmox VE
Now that PBS is set up and configured, we have to configure our Virtual Machines in Proxmox to actually back up to them. However, before we do that, we need to set up a Datastore in Proxmox Backup Server.
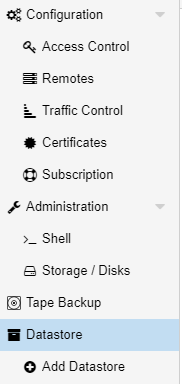
1. Select Add Datastore in Proxmox Backup Server.
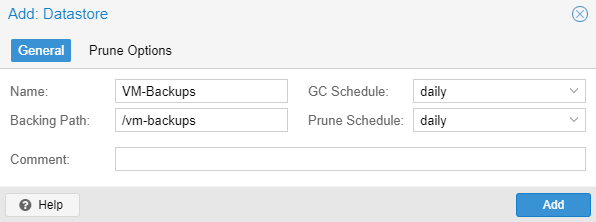
2. Enter a name and a backing path. Please keep in mind that by default, the datastore will write to the operating system hard drive.
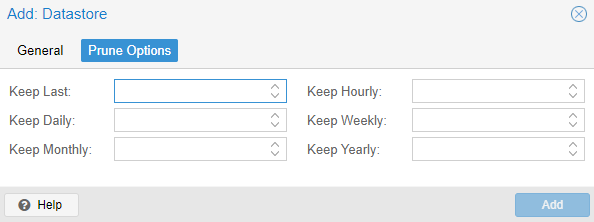
3. In the Prune Options, enter the total number of backups that you’d like to keep. This will limit versions on the PBS side, so it’s a good idea to manually specify the total number of versions you’d like to keep.
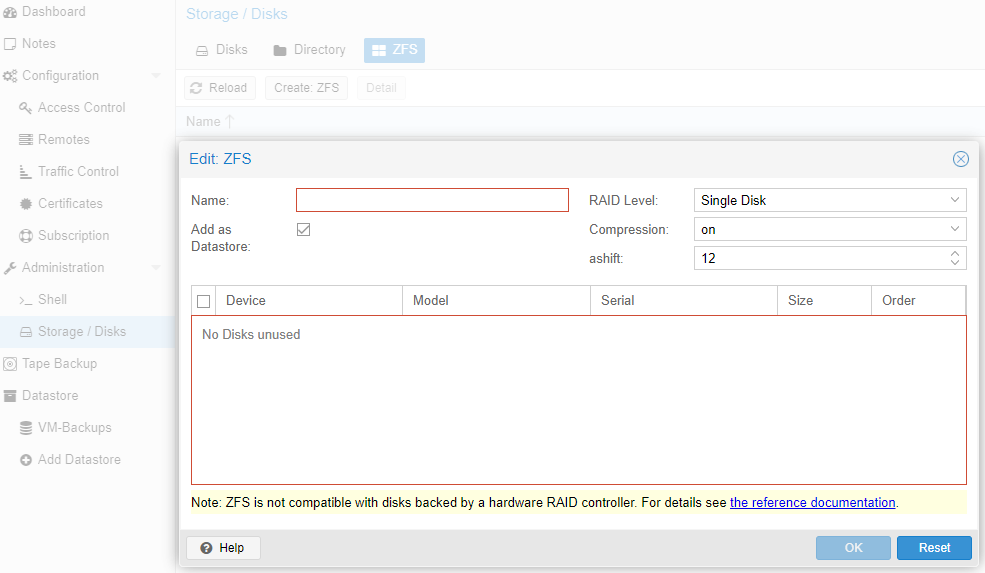
4. If you’d like to use a secondary set of hard drives (not the OS disk), select Storage / Disks, ZFS, then select the disks and RAID level. Using this option will automatically create the datastore, so the prior step will not be necessary.
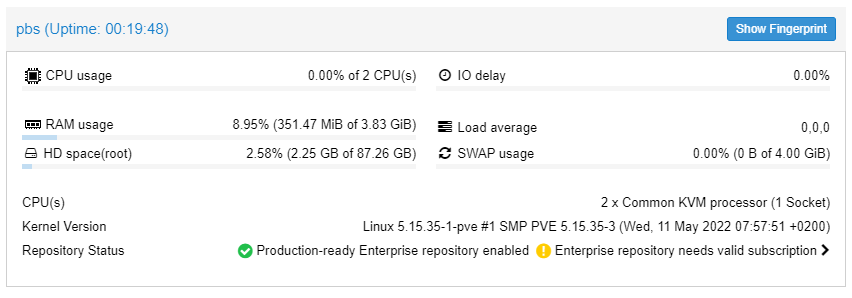
5. After the datastore has been created, we need to copy our Proxmox Backup Server fingerprint as we’ll need it for an upcoming step. Select Dashboard, then Show Fingerprint, and copy the fingerprint to your clipboard.
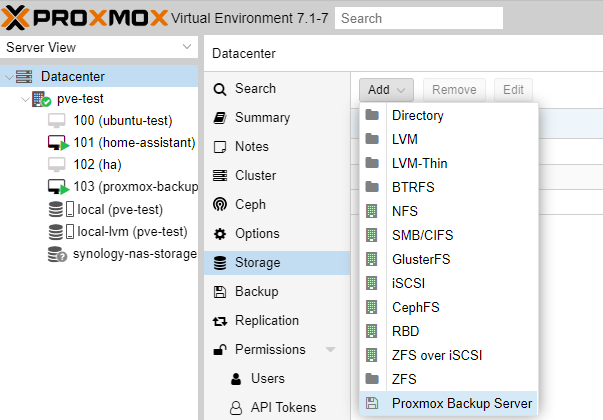
6. Now that our datastore has been created, we can head back to Proxmox VE. Select Datacenter, Storage, then Add. Select Proxmox Backup Server from the dropdown menu.
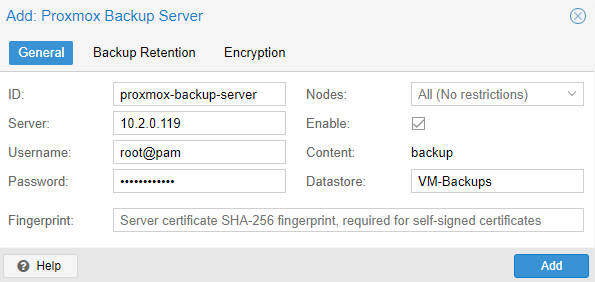
7. Enter in the ID you’d like to use and set the server as the IP address of the PBS instance. Enter the username as root@pam, the root user’s password, then enter the datastore name that we created earlier. Paste the fingerprint into the fingerprint section and then select Add.
NOTE: You can modify the Backup Retention or Encryption at this step as well if desired.
8. After you add the instance, you can back up virtual machines to it!
Step 3: Configuring Backups and Restoring Data
The steps below will show how to back up and restore virtual machines (VMs).
How to Back Up an Individual Virtual Machine to Proxmox Backup Server
Now that we configured everything, we can easily back up a virtual machine.
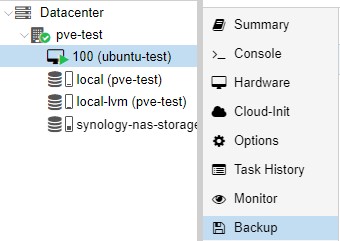
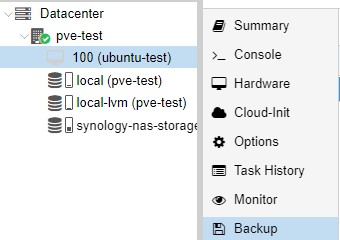
1. Select the virtual machine you’d like to back up, then select Backup.
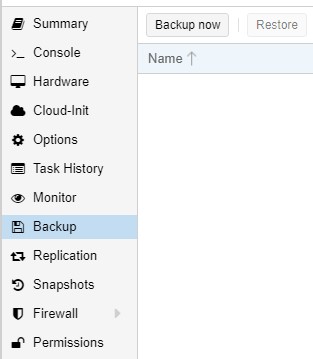
2. In the backup tab, select the PBS storage location in the top right. This will ensure that we back up to the correct location.

3. Select Backup now in the top left corner.
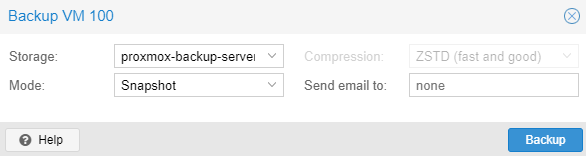
4. Select your Storage and Mode, then select Backup and the backup will start!
Step 4: Configuring Automatic Backups
You can easily configure automatic backups in Proxmox for all of your virtual machines to automatically back up. This will automatically back up the virtual machines on a specific schedule.
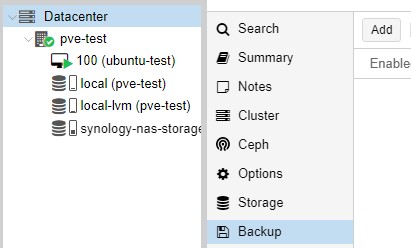
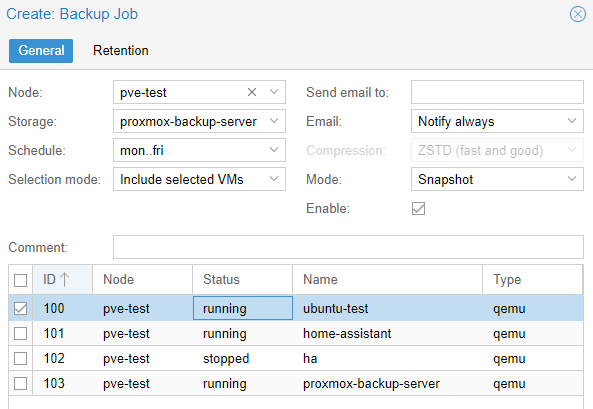
1. Select Datacenter, Backup, then select Add.
2. Select the Storage for Proxmox Backup Server, then specify the Schedule, Selection mode, and Mode.
3. You can change the retention policy to only keep a certain number of versions by selecting the Retention tab.
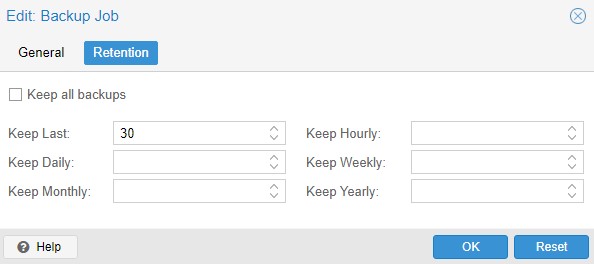
4. Your virtual machines will now back up to PBS automatically after you select Create!
Step 5: Restoring a Virtual Machine
After backups have been created, you can easily restore your virtual machine to one of them if you ever need to.
1. Select the virtual machine, then Backup.
2. Select the Proxmox Backup Server storage in the top right under Storage.

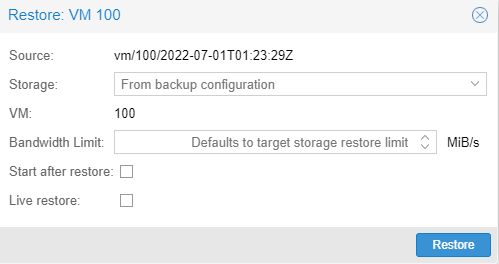
3. Select the snapshot you’d like to restore to, then select Restore.

4. If you’d like to proceed with the restore, select Restore.
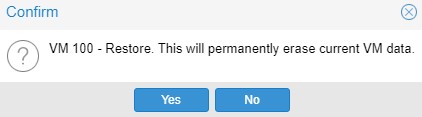
5. You will receive a message that this will permanently erase the existing virtual machine. If you agree, select Yes. Your virtual machine will now be restored from the backup you selected!
6. With PBS, you’ll also have the ability to restore individual files if you’d like by selecting File Restore.
8. Using this option, you’ll be able to navigate through the hard drive and restore individual files.

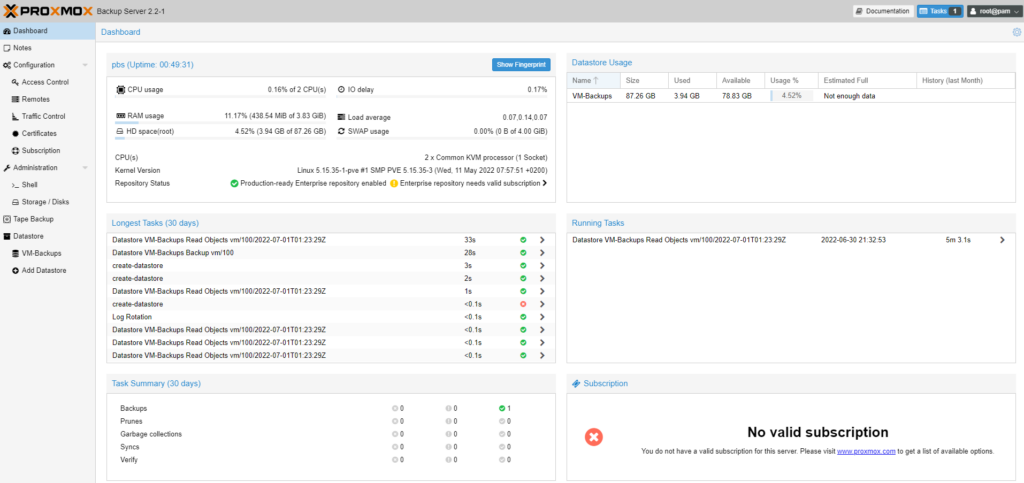
Step 6: Monitoring Backups
Now that Proxmox Backup Server is set up and actually receiving backups, you can view the dashboard to see statistics as well as datastore usage. It’s a handy dashboard, especially as the data and backup totals grow.
Conclusion & Final Thoughts on PBS
This tutorial looked at how to set up Proxmox Backup Server. PBS is an awesome tool that works extremely well with Proxmox. It gives you granular controls and allows you to easily back up and restore virtual machines. As mentioned earlier, it’s in your best interest to set this up on a separate server, but you’ll be confident that your virtual machines and containers are backed up properly after you do.