In this tutorial, we’re going to look at how to set up Home Assistant on a Synology NAS. You can set up Home Assistant relatively easily using a Docker container (now Container Manager since DSM 7.2), however, there are a bunch of benefits to installing the supervised version. The Home Assistant Supervisor will allow you to install a bunch of add-ons that will enable you to configure your Home Assistant install quickly and easily.
The Home Assistant Supervisor is a component of Home Assistant that can be installed alongside Home Assistant. The Supervisor provides an environment to run and manage Home Assistant OS and add-ons. Here are a few features that the Supervisor offers:
- Automatic Updates: The Supervisor can automatically update both itself and Home Assistant Core, ensuring everything is always up to date.
- Add-ons: Through the Supervisor, users can install, update, and manage Home Assistant add-ons to extend the functionality of the system.
- Backups: The Supervisor provides tools for creating and restoring backups of the Home Assistant configuration, ensuring you can recover your setups if something goes wrong.
- System Health Checks: It monitors the system’s health and provides alerts if something isn’t working correctly.
- Networking: The Supervisor can manage the host system’s network settings, making it easier to set up things like WiFi or static IP addresses for Home Assistant OS.
- OS Management: For those using Home Assistant OS (which is what we’ll go over in this tutorial), the Supervisor can manage updates and other system tasks.
For these reasons, we’ll look at how to install Home Assistant utilizing Virtual Machine Manager and the supervised version.
How to Install Home Assistant on a Synology NAS
We will install Home Assistant using Virtual Machine Manager so that we can use the Home Assistant Supervisor. First, ensure that your NAS supports Virtual Machine Manager.
Please be aware that as of right now, the Supervised version of Home Assistant on Docker does not work, so you’re forced to use Virtual Machine Manager.
Installing the Home Assitant Virtual Machine
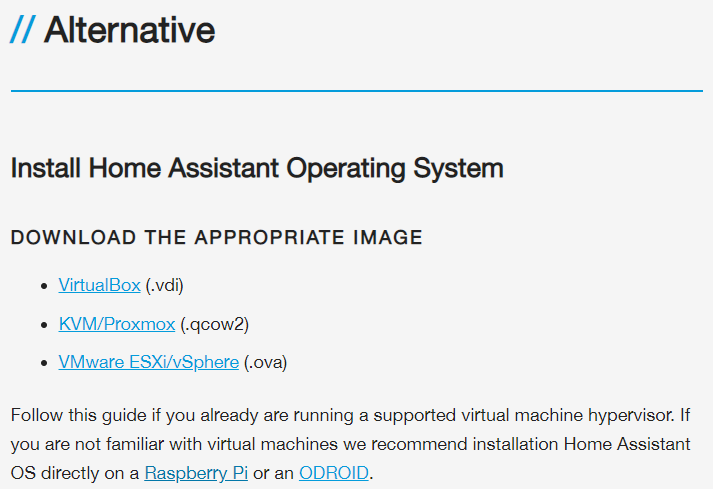
1. Download the latest version of the VMware ESXi/vSphere Home Assistant operating system. Virtual Machine Manager allows you to import OVA files, which is why we’ll be using the VMware ESXi/vSphere version.
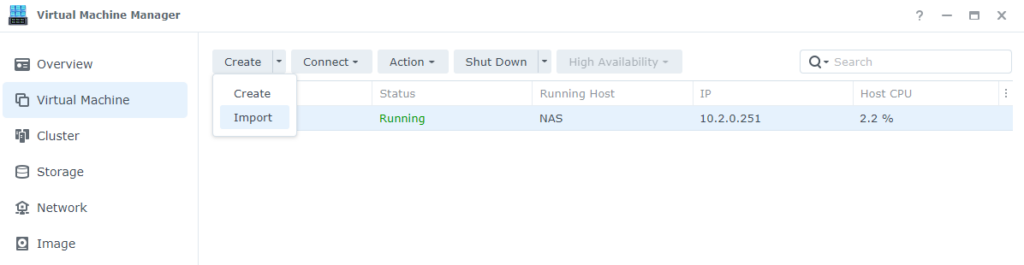
2. Open Virtual Machine Manager, select Virtual Machine, then Create, and finally, Import.
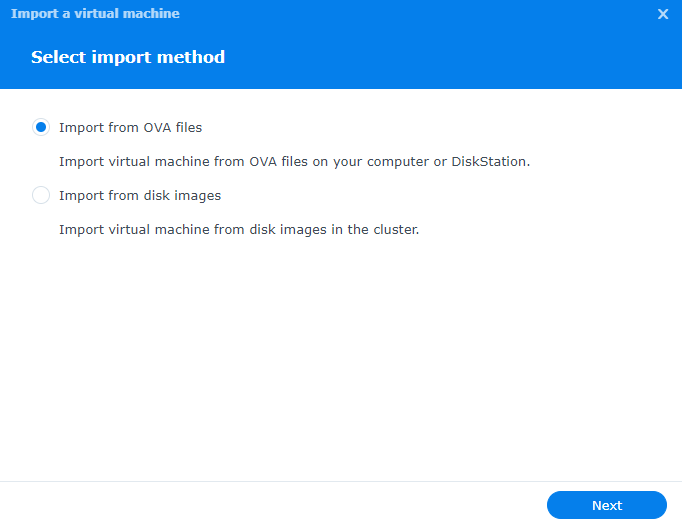
3. Select Import from OVA files, then select Next.
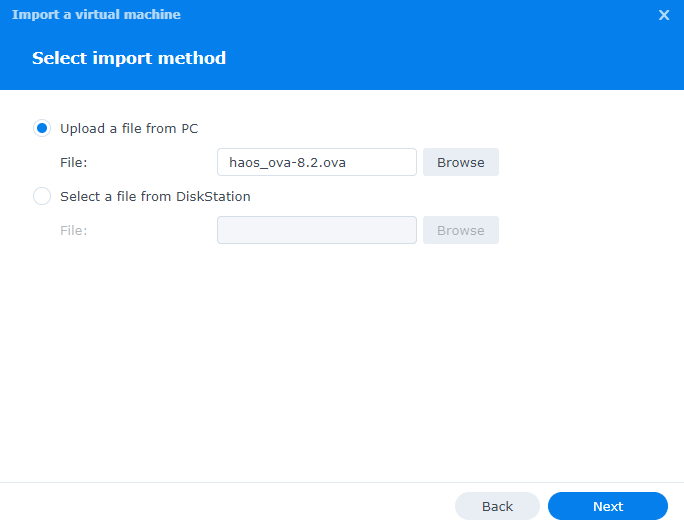
4. Select Upload a file from PC and Browse to the .ova file we downloaded, then select Next. The file will now upload to your Synology NAS.
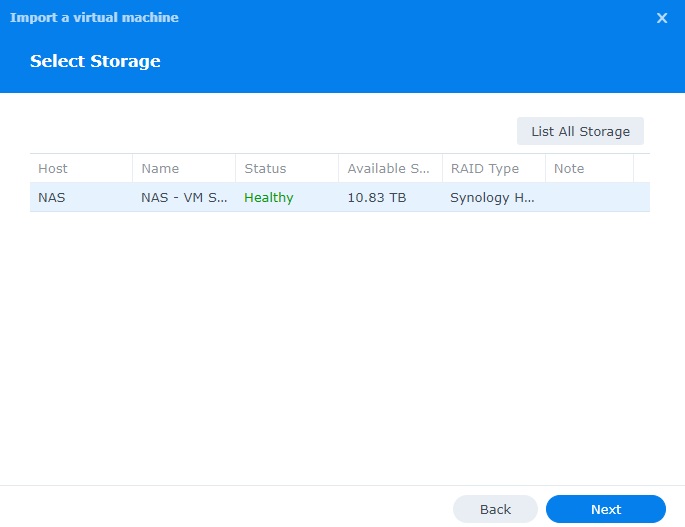
5. Select your Virtual Machine Manager storage, then select Next.
NOTE: If you haven’t created a VMM storage (this is done when you first set up Virtual Machine Manager), you’ll have to go through and first set that up.
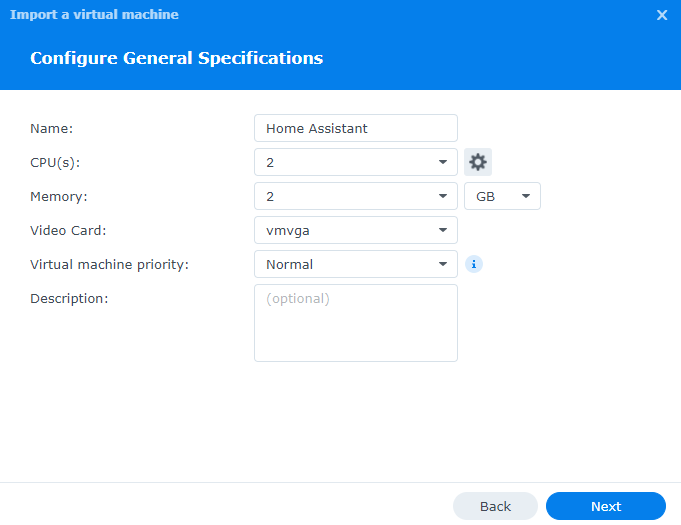
6. You can leave the settings as default (or customize the CPU/Memory if you’d like) and then select Next.
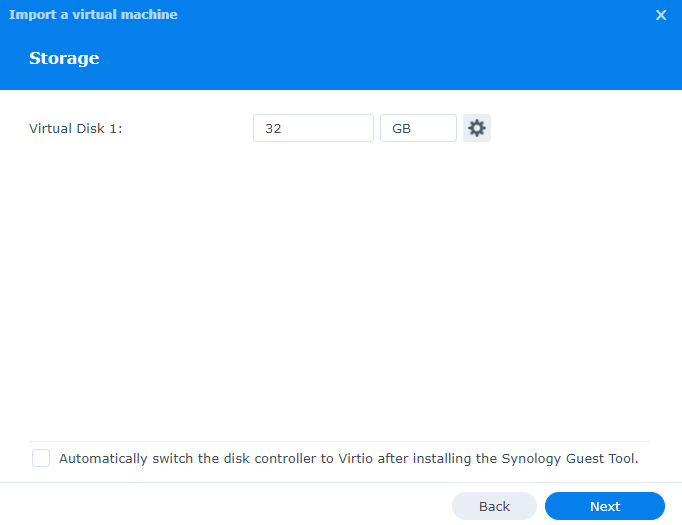
7. Leave the storage as default and then select Next.
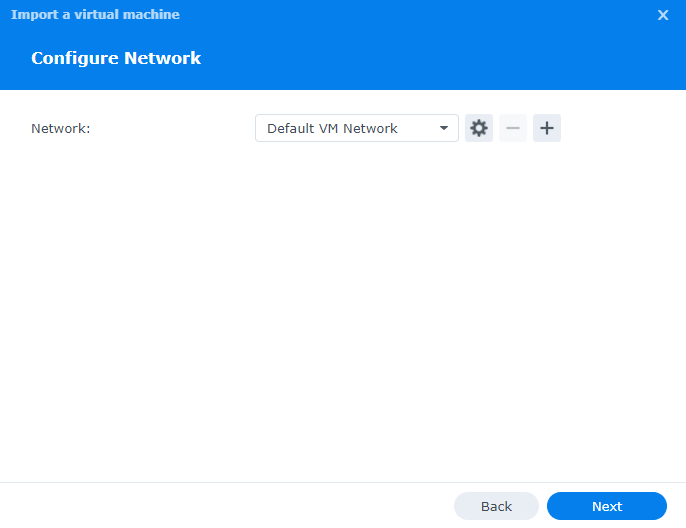
8. Use the default VM network (your network name may be different if you customized it) and then select the gear icon. Ensure that the Model is set as e1000, then select OK.
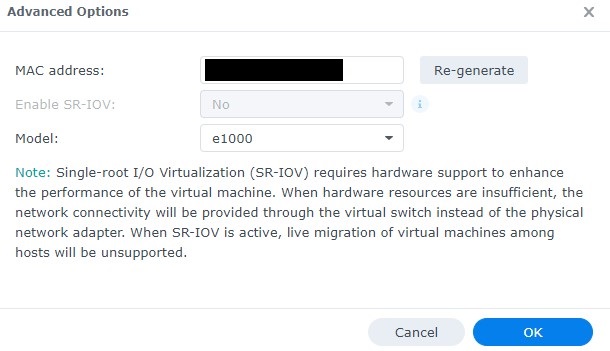
9. Select Next to proceed.
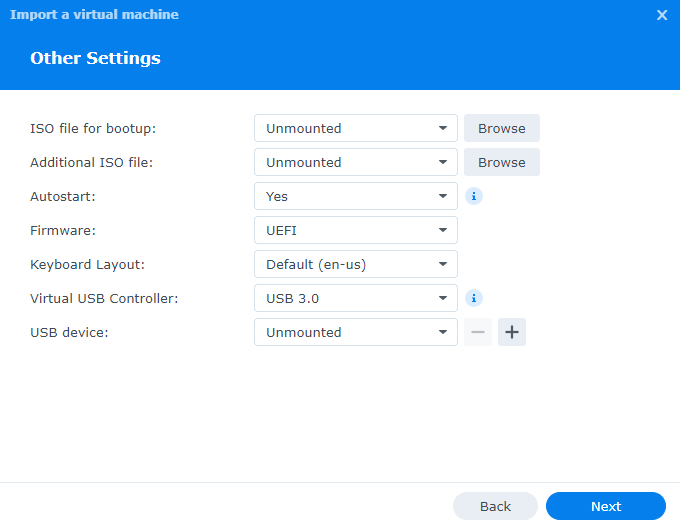
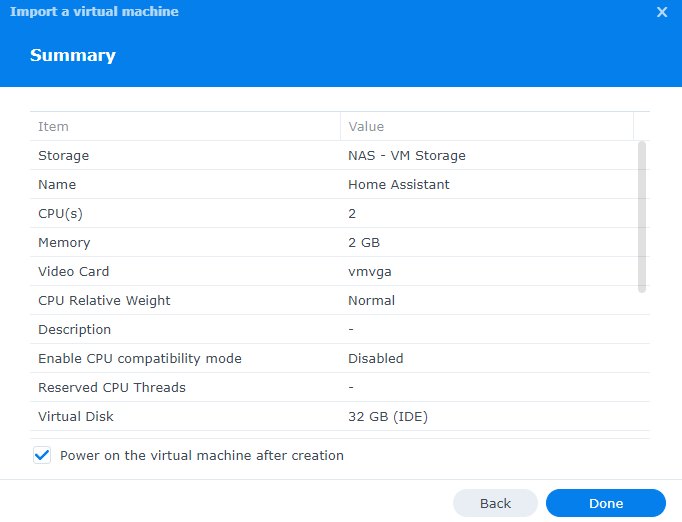
10. Change the settings to match the information below and then select Next:
- Autostart: Yes
- Firmware: UEFI
- Virtual USB Controller: USB 3.0 (this is only necessary if you want to try and pass USB devices from your NAS to the Home Assistant VM. If you don’t, leave it as Disabled).
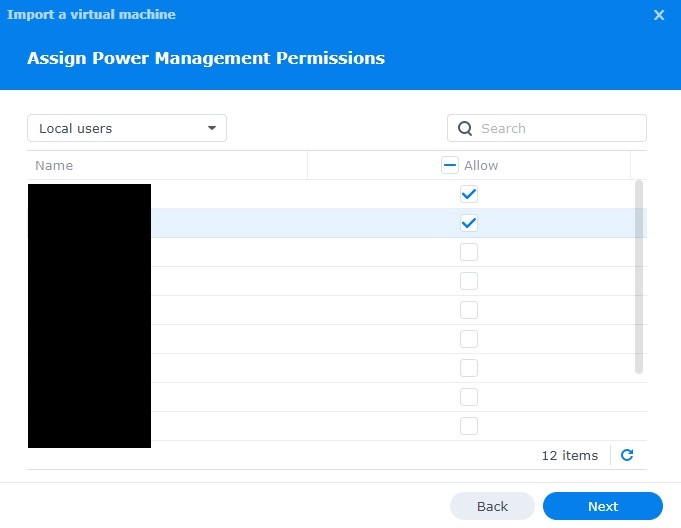
11. Set the users that you’d like to manage the virtual machine, then select Next.
12. Check off the option to Power on the virtual machine after creation, and then select Done to create the VM!
13. The virtual machine will take a little while to import, but after it does, the virtual machine will power on.

14. After the virtual machine fully powers on, you’ll see that an IP address will be assigned to it. Navigate to the first IP address in the list and port 8123 to access Home Assistant!
http://IP_ADDRESS:8123
NOTE: If you’re having trouble connecting to Home Assistant, select Connect from Virtual Machine Manager to access the console and see if anything has gone wrong. If something has gone wrong, try and shut down the virtual machine, then start it back up.

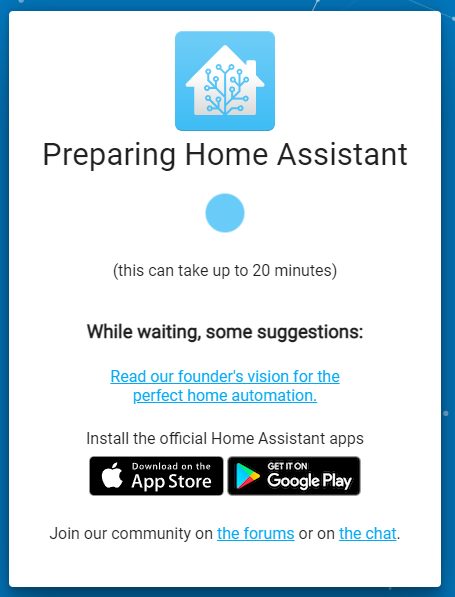
15. After navigating to the Home Assistant URL, Home Assistant will be preparing, which can take 10-20 minutes in total.
Configuring Home Assistant
Now that Home Assistant is installed, we can configure the Home Assistant application.
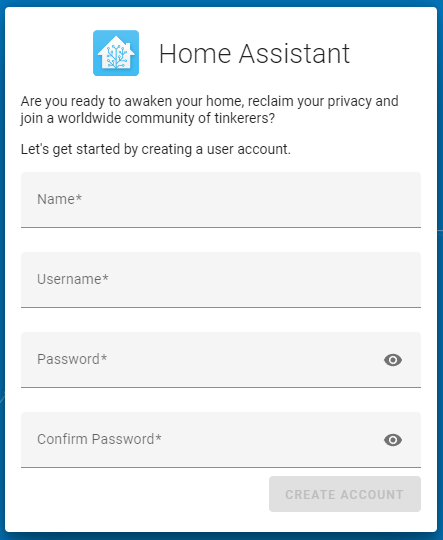
1. After Home Assistant is finished preparing, create an account.
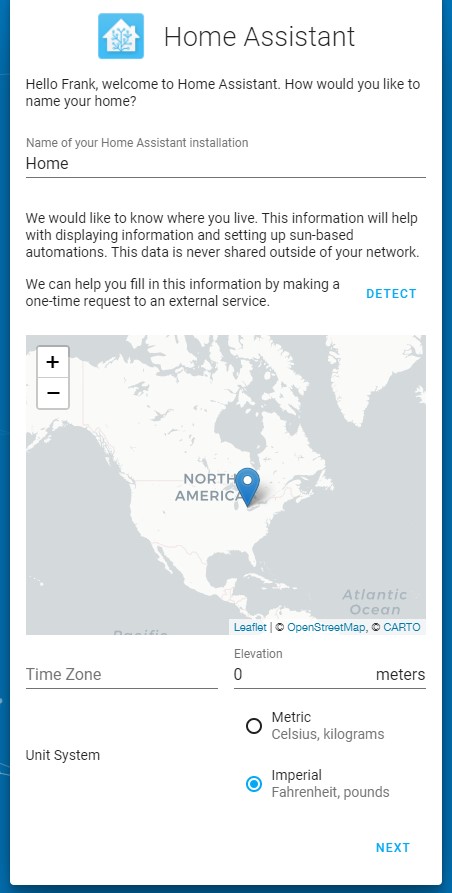
2. Select your location and the unit type you’d like to use, then select Next.
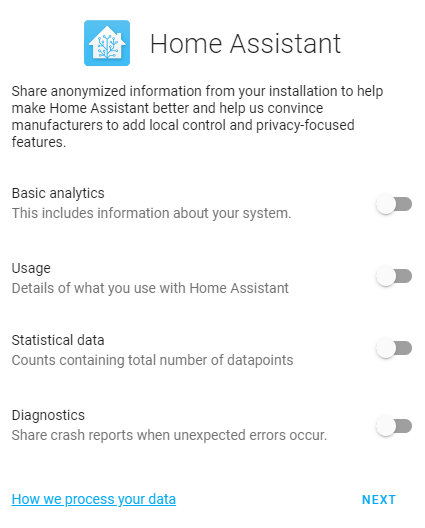
3. If you’d like to share anonymous information, feel free to do so and then select Next.
4. Home Assistant will automatically find devices on your local network. You can also set up any other integrations that you’d like! Select Finish to proceed.

13. Home Assistant (with the supervisor installed) will now be set up and configured! Modify it however you’d like!
Conclusion & Final Thoughts on the Synology Home Assistant Install
The options for installing Home Assistant using the Supervised version are minimal due to how Synology manages its permissions in DSM 7, but this is a quick way of ensuring that it will run properly and work as expected.
While you can use Docker, I prefer using the Supervised version of Home Assistant rather than the Docker (non-supervised) version.
In general, running Home Assistant on a Synology NAS is one of my favorite places to run it as the device is generally online 24/7. My other favorite place is Proxmox, so feel free to check out that tutorial if you’re running Proxmox as well!