This tutorial will look at how to set up a VLAN in OPNsense.
VLANs (Virtual LANs) in OPNsense are a way to separate traffic on your local network. In most traditional home networks, all devices can communicate with one another as there isn’t any network segregation. This means that IoT devices, cell phones, PCs, servers, and any other device connected to the network will be able to see and communicate with each other by default.
After configuring VLANs in OPNsense, you’ll be able to separate the traffic and even entirely block communication between networks if you’d like. This can help if you’re interested in setting up an IoT or Guest network, as you can be certain that those devices won’t be able to communicate with your personal devices.
How to Set Up a VLAN in OPNsense
We will look at how to set up a VLAN in OPNsense below.
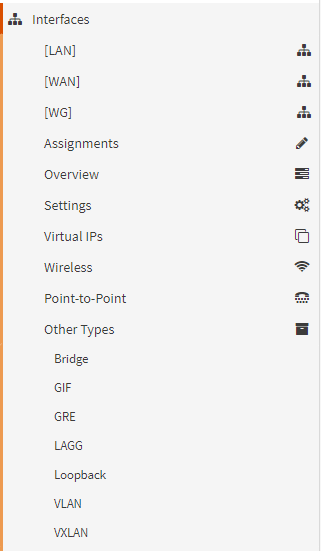
1. Log in to OPNsense, select Interfaces, Other Types, then VLAN.
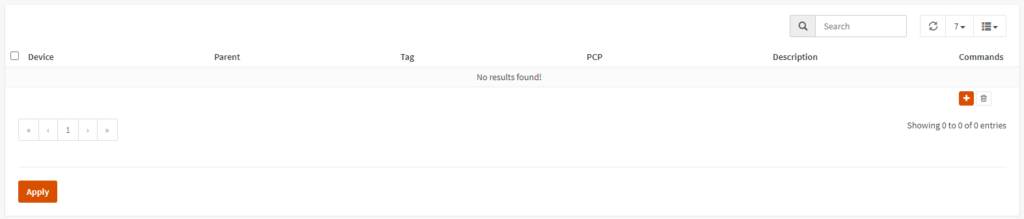
2. Select the + symbol to create a new VLAN.
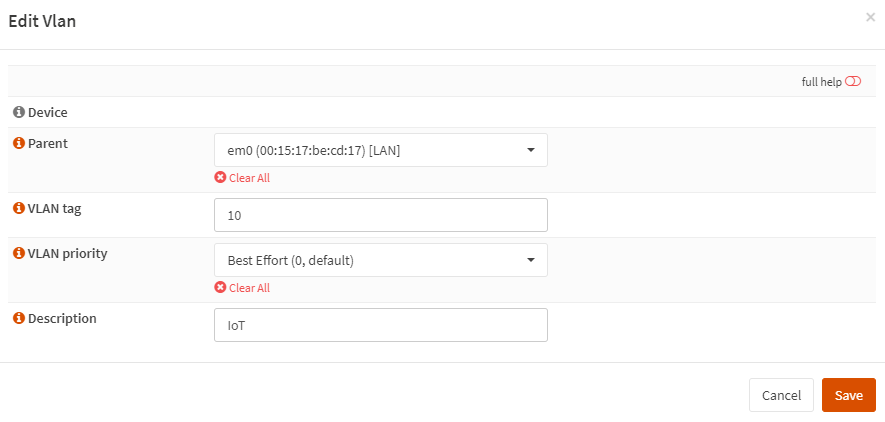
3. Select your LAN interface (which will be used as the parent), set a VLAN tag, then enter a Description for the VLAN.
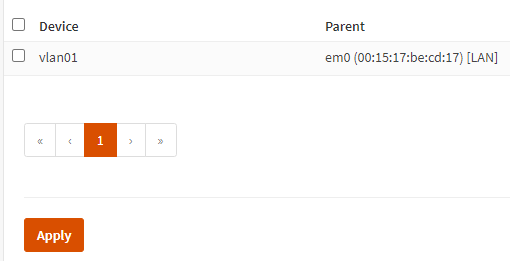
4. Select Apply after the VLAN has been created.
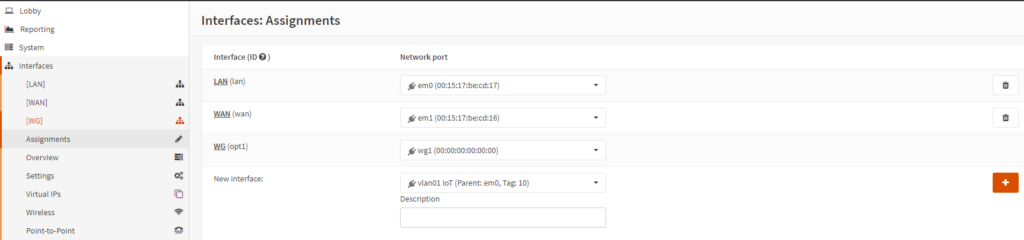
5. At this point, the VLAN is fully configured, but we have to add the interface. Select Interfaces, then Assignments, then + to add the new VLAN interface.
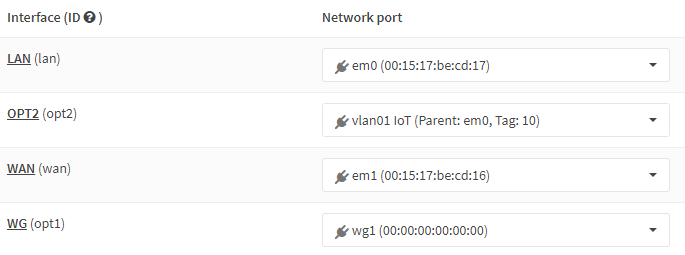
6. An interface name will be assigned automatically (OPT2 in this example). Select the interface name to edit it.
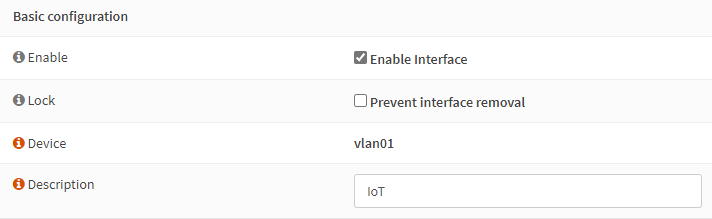
7. Enable the interface, then change the Description to whatever this VLAN relates to.
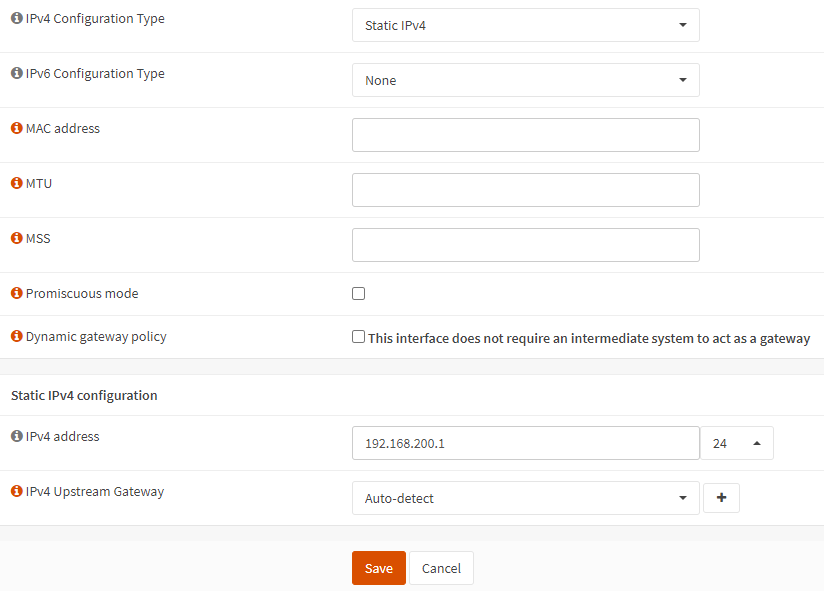
8. In the Static IPv4 Configuration section, assign the local IP address subnet that you’d like this VLAN to use, then /24. When you Save and Apply the interface changes, it will be enabled!
Configuring DHCP for the VLAN
At this point, the VLAN is technically created in OPNsense, however, you might want to configure DHCP so that clients can automatically get an IP address by using the VLAN tag via DHCP.
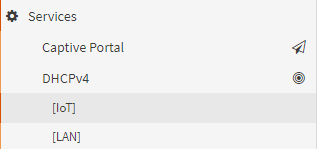
1. Select Services, then DHCPv4, then IoT.
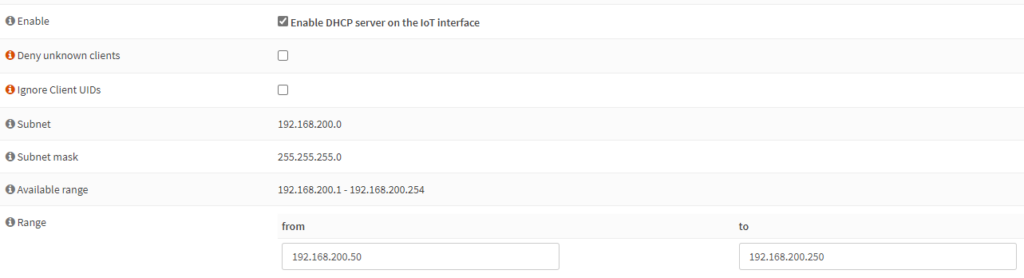
2. Select Enable DHCP server on the [Interface Name] Interface. In the Range section, set the IP addresses that you’d like this DHCP server to use. When you’re done, Save and Apply the changes.
NOTE: There are other settings that you can configure here as well depending on your requirements.
Configuring the VLAN Firewall Rules
The firewall rules you need to create will be based on your requirements. However, there are two things to keep in mind:
- If you want devices on this VLAN to be able to access the internet, an allow rule must be created explicitly allowing traffic.
- VLANs will be able to communicate with each other and the parent by default. If you’d like to limit access, you must create firewall rules blocking access.
We will create two rules below (as this is how I personally like to do it), but you can create an individual firewall rule to accomplish both goals using aliases.
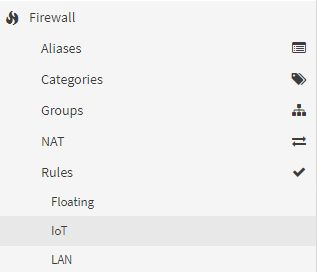
1. Select Firewall, then Rules, then the interface name created (IoT in this tutorial), then select the + symbol to create a new rule.
2. If you want to allow internet access, you can create an IPv4 + IPv6 pass rule that allows traffic for any protocol, source, and destination.
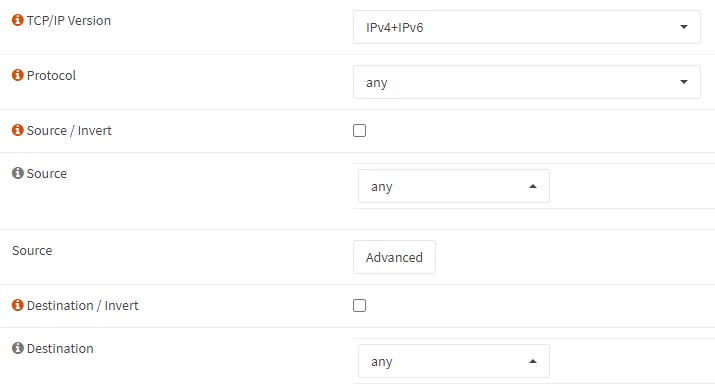
3. If you’d like to block access to another network, you can create a block rule, with the TCP/IP Version as IPv4+IPv6 and the Destination as LAN net. This will block any traffic from the IoT network to the LAN network.
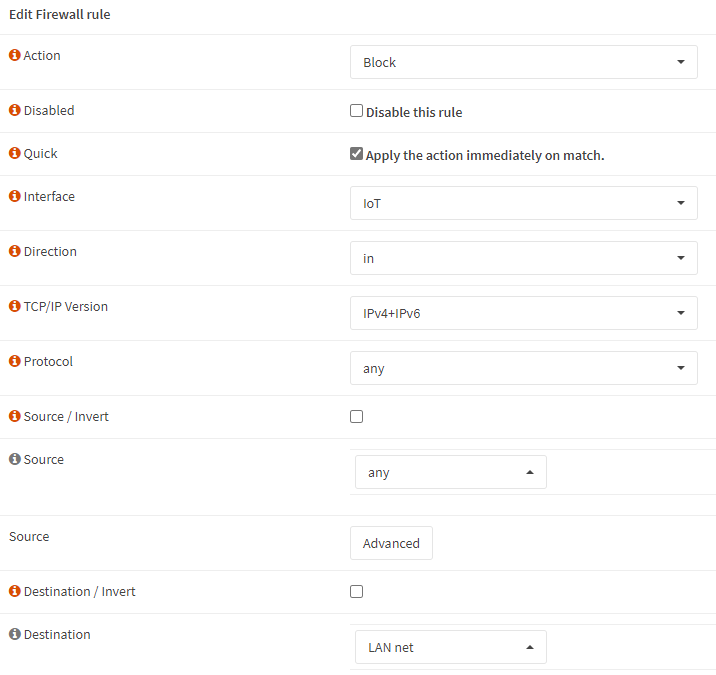
4. With these two firewall rules created, you’ll be able to access the internet on the VLAN interface, and won’t be able to access the LAN interface.
NOTE: Please keep in mind that firewall rules operate from top to bottom, so the block rules must be at the top!

OPNsense VLAN – Access Point + Switch
Now that we configured a VLAN in OPNsense, you’ll have to actually utilize that VLAN with your switch or access point. I can’t really go over this as everyone will be utilizing different hardware, but it’s best to google the switch or access point you’re using with “VLAN setup”.
[switch/access point] vlan setup
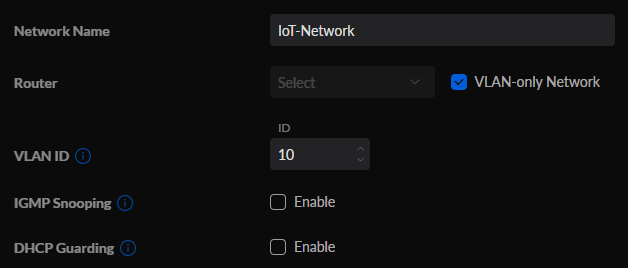
Using Unifi switches/access points as an example, go into the Unifi Controller, select Networks, then create a new network. Give the network a Name, set it as VLAN-only Network, then select the same VLAN ID that we set in OPNsense.
If you’re interested in creating a Wi-Fi network with your new VLAN, you can select WiFi, then Create New WiFi Network. You’ll then be able to give the WiFi network a name and password, then by simply selecting the IoT-Network that we created in the last step, we’ll be able to utilize this WiFi SSID for connections!
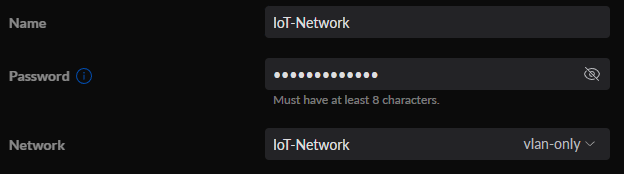
This will ensure that any devices that are connected to this WiFi network will not be able to communicate with any other devices on your LAN network. This is perfect for setting up a Guest WiFi network as well.
Conclusion & Final Thoughts: VLANs in OPNsense
When looking at “how to set up a VLAN in OPNsense”, the process isn’t too complex and there are many benefits. By simply setting up and configuring this, you’re ensuring that any devices connected to your VLAN network will not be able to communicate with anything on your LAN network (unless you explicitly want it to). This is an incredibly powerful way of separating traffic on your local network!