This tutorial will take a look at how to run a speed test on pfSense.
Running a speed test on pfSense is desirable because for the most part, you’re getting the speeds that are coming directly from your modem. When you run a speed test on a PC or mobile device, you’re normally utilizing a switch or access point. That’s not to say that you’re going to get a completely inaccurate result, but there are circumstances where it’s nice to know that you’re getting the advertised speeds from your ISP that you’re paying for. This process is easily completed on pfSense and outlined below.
Please keep in mind that if there are other devices on your network that are in-use, you may not get a completely accurate representation of the speeds you’re getting from your ISP. This is because bandwidth may be consumed by those devices when you run your test.
1. How to Run a Speed Test on pfSense
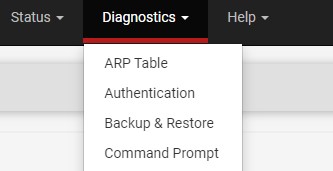
1. Select Diagnostics, then Command Prompt.
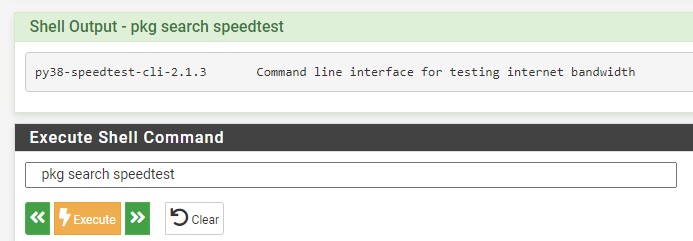
2. In the Execute Shell Command section, enter the command below and select Execute.
pkg search speedtest
NOTE: The packages are periodically updated and version numbers may change. For this reason, it’s best to search for the current version by running the command above first, then installing the latest version. For this reason, your version may be different than the version I have in this screenshot. Ensure the command you run below matches the version you see returned in this result.
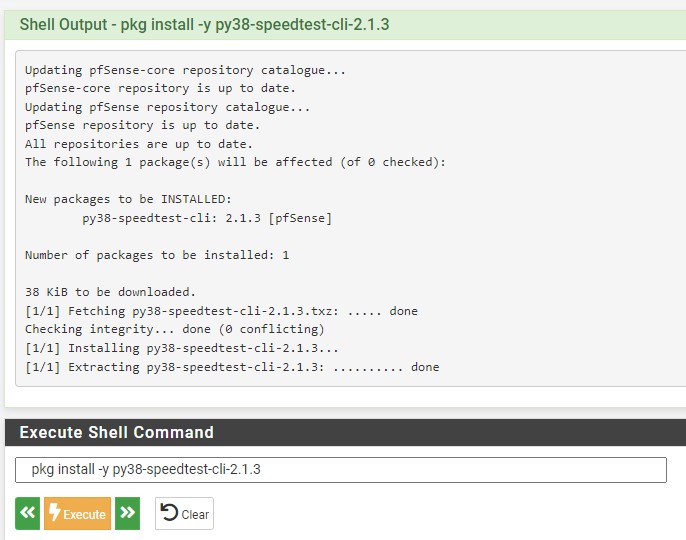
3. Execute the command below to install the pfSense speed test client, ensuring that you replace the item below in red with the current version.
pkg install -y py38-speedtest-cli-2.1.3
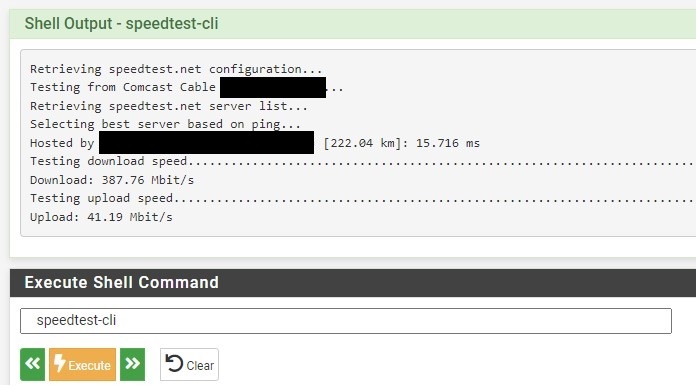
4. Execute the command below to run a speed test. Please keep in mind that it will take a little bit to run.
speedtest-cli
5. The results will be shown in the Shell Output section.
2. Customizing the pfSense Speed Test Client Command
When you run the command above, you’re running the default speed test. You can customize this command (especially the server, if you find the automatically located server is not the one you’d like to use). You can run the command below to see the help menu.
speedtest-cli -h
This is an output of the command above. You can use the options below to customize your command:
usage: speedtest-cli [-h] [--no-download] [--no-upload] [--single] [--bytes]
                     [--share] [--simple] [--csv]
                     [--csv-delimiter CSV_DELIMITER] [--csv-header] [--json]
                     [--list] [--server SERVER] [--exclude EXCLUDE]
                     [--mini MINI] [--source SOURCE] [--timeout TIMEOUT]
                     [--secure] [--no-pre-allocate] [--version]
Command line interface for testing internet bandwidth using speedtest.net.
--------------------------------------------------------------------------
https://github.com/sivel/speedtest-cli
optional arguments:
  -h, --help            show this help message and exit
  --no-download         Do not perform download test
  --no-upload           Do not perform upload test
  --single              Only use a single connection instead of multiple. This
                        simulates a typical file transfer.
  --bytes               Display values in bytes instead of bits. Does not
                        affect the image generated by --share, nor output from
                        --json or --csv
  --share               Generate and provide a URL to the speedtest.net share
                        results image, not displayed with --csv
  --simple              Suppress verbose output, only show basic information
  --csv                 Suppress verbose output, only show basic information
                        in CSV format. Speeds listed in bit/s and not affected
                        by --bytes
  --csv-delimiter CSV_DELIMITER
                        Single character delimiter to use in CSV output.
                        Default ","
  --csv-header          Print CSV headers
  --json                Suppress verbose output, only show basic information
                        in JSON format. Speeds listed in bit/s and not
                        affected by --bytes
  --list                Display a list of speedtest.net servers sorted by
                        distance
  --server SERVER       Specify a server ID to test against. Can be supplied
                        multiple times
  --exclude EXCLUDE     Exclude a server from selection. Can be supplied
                        multiple times
  --mini MINI           URL of the Speedtest Mini server
  --source SOURCE       Source IP address to bind to
  --timeout TIMEOUT     HTTP timeout in seconds. Default 10
  --secure              Use HTTPS instead of HTTP when communicating with
                        speedtest.net operated servers
  --no-pre-allocate     Do not pre allocate upload data. Pre allocation is
                        enabled by default to improve upload performance. To
                        support systems with insufficient memory, use this
                        option to avoid a MemoryError
  --version             Show the version number and exit
3. Conclusion – How to Run a Speed Test on pfSense
This tutorial showed how to run a speed test on pfSense. Overall, the speed test client runs very well, but you might have to customize the command as shown in step two above.