This tutorial will provide a step-by-step guide on how to port forward on UniFi devices to ensure you do it in the most secure way.
What is Port Forwarding, and Should You Use It?
To keep it simple, port forwarding allows you to expose a service on your local network to external networks. A port forwarding rule creates a mapping from a device on your local network to the external world. This can be used for just about everything related to remote access.
Generally, it’s best practice to access your local resources by using a VPN server like WireGuard, OpenVPN, L2TP, or even Teleport (a UniFi-specific service). This forces users to authenticate before access to the service is granted. Unfortunately, this doesn’t always work (from a usage perspective), and there are times when port forwarding is necessary.
Before implementing this, it’s important to understand that there are risks with port forwarding, as the entire world has access to the service (if you don’t use firewall rules to limit access). Always follow best practices and ensure you do this in as secure a way as possible. It’s important to always follow the best practices shown below and ensure that this is the best way to manage the overall requirements before proceeding.
If you understand the risks and have still determined that you’d like to configure port forwarding, you can follow the steps below to port forward on UniFi devices.
How to Port Forward on UniFi Cloud Gateways
Follow the steps below to configure port forwarding on UniFi Cloud Gateways.
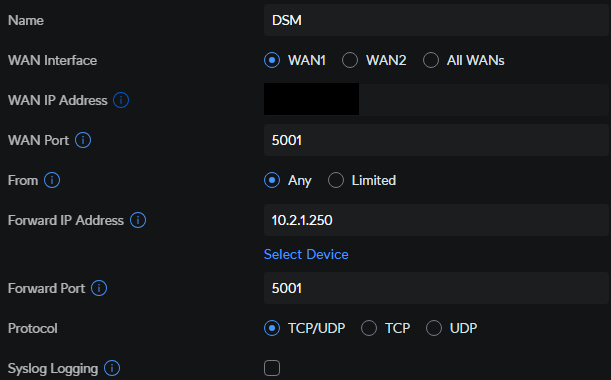
1. Open the Settings, select Routing, then Port Forwarding.
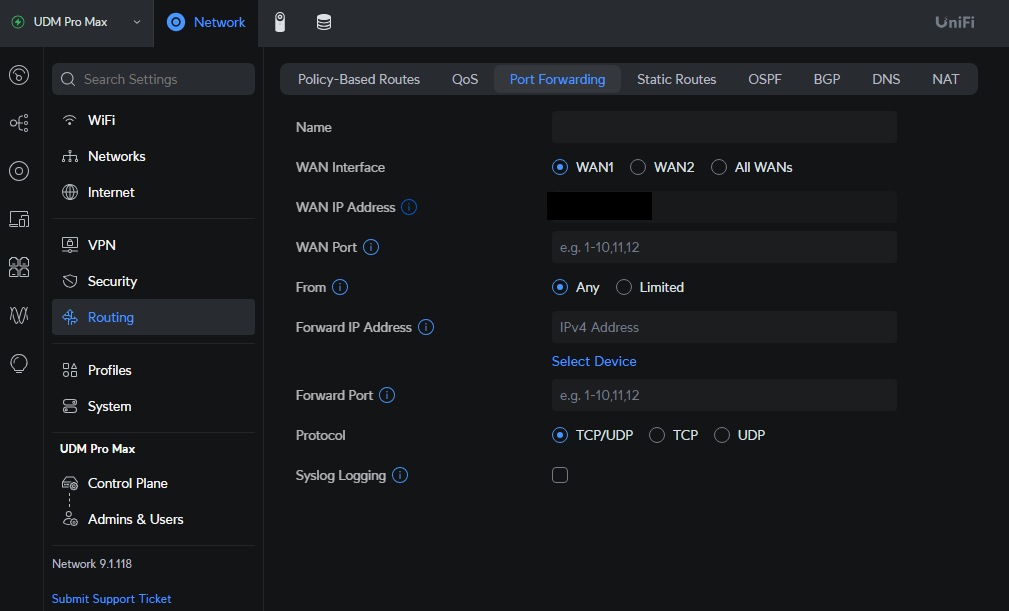
2. Update the port forward settings using the information below:
- Name: Port forward rule name (for your usage to know what this rule is for).
- WAN Interface: This is only required if you have multiple WANs.
- WAN Port: The port that will be accessible to the outside world (note, you do not have to match the external port to the internal port).
- From: Use Any to allow traffic from all IP addresses, or Limited to limit it to specific IP addresses.
- To limit access, you can enter an individual IP address, IP range, or subnet. From a security perspective, it’s best to limit traffic.

- Forward IP: The local IP address of the service you’d like to expose.
- Forward Port: The port on the internal device that you’d like to forward and access externally.
- Protocol: TCP or UDP (or both). Depending on the service you’re using, select the correct protocol.
- Logging: If you’d like to enable logging, you can check this option off.
3. After completing these steps, the port forwarding rule is created and accessible. By default, a firewall rule will be created (viewable in the Firewall Rules section), though the rule cannot be altered.
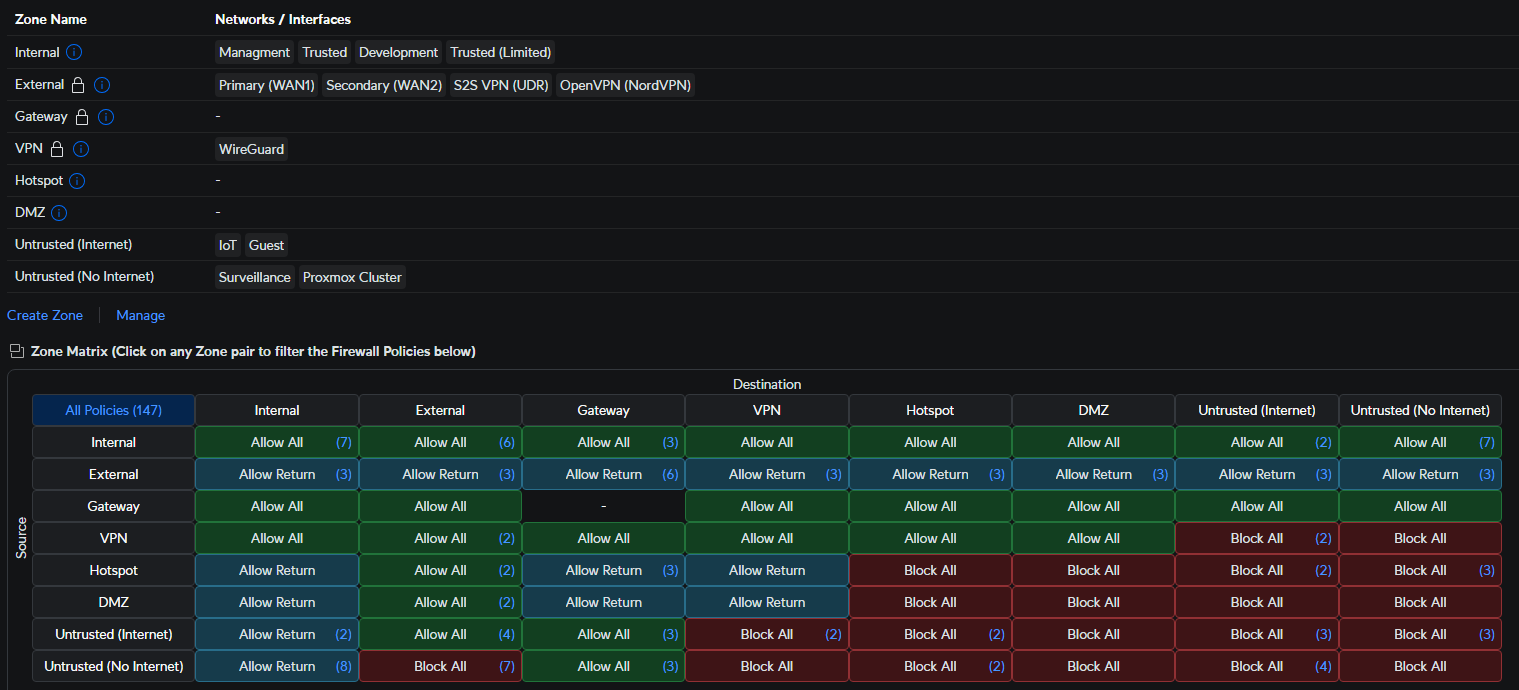
Using UniFi Firewall Rules for Secure Remote Access
When the UniFi port forwarding rule is created, you have the option to limit access to an IP address, range, or subnet. However, the true value of limiting access to port forwarding rules is with UniFi’s Firewall.
This allows you to limit access in various ways, meaning IP addresses, but also by setting country restrictions and more. With UniFi’s new Zone-Based Firewall, this is done using a firewall rule for the External zone (where the WAN interfaces are). However, Ubiquiti improved the firewall entirely, and depending on exactly what you’re exposing, you might want to use Ubiquiti’s DMZ so that the traffic is entirely isolated.
If you’re interested in using Ubiquiti’s zone-based firewall to limit access, please check out our YouTube video on the process below.
Final Thoughts: UniFi Port Forwarding
This tutorial looked at how to port forward on UniFi devices. As mentioned above, you should really only use port forwarding rules if you must. It is far more secure to utilize a VPN for secure remote access, and they’re super easy to set up on UniFi devices. However, there are times when this makes the most sense for flexibility and ease of use. Thanks for checking out the article on UniFi Port Forwarding!